Subscribe to @ArtIDEA4U
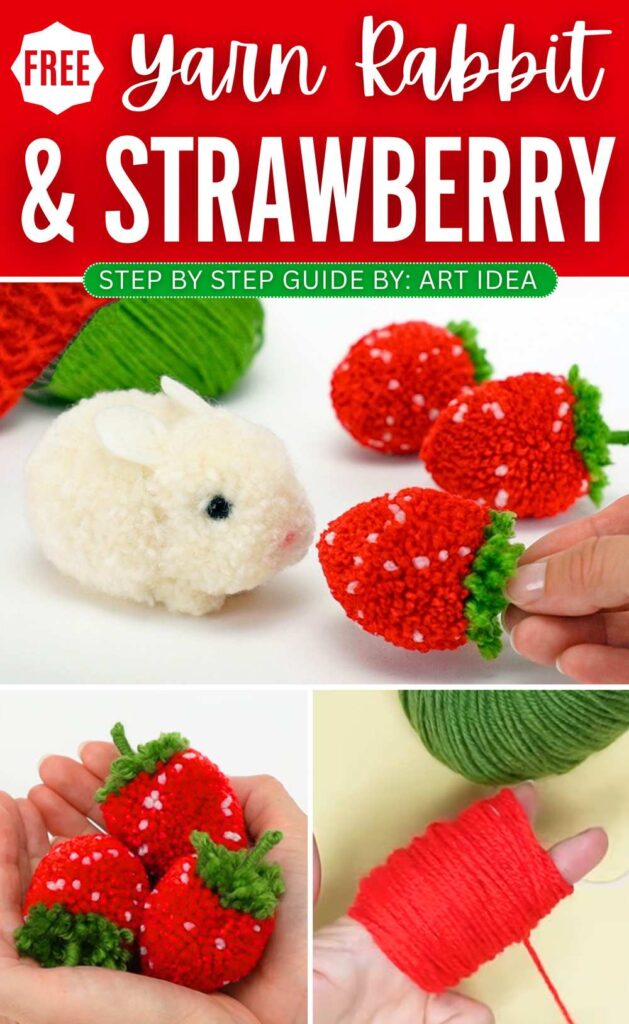
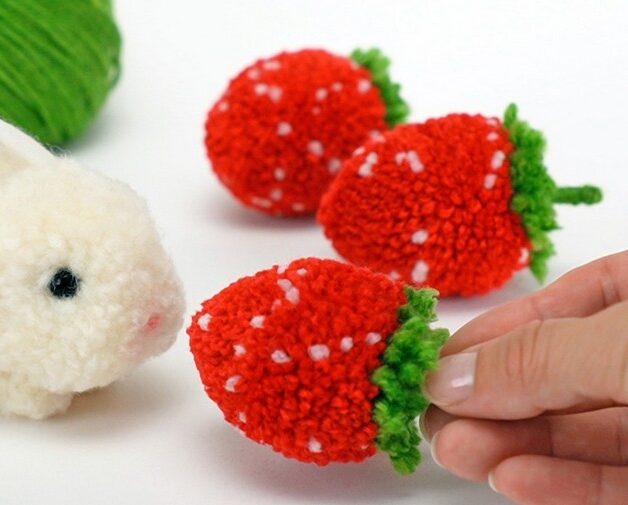
With today’s 2-in-1 tutorial, learn how to DIY this life-like strawberry plush + a no-knit bunny pet for any season. Make the pom-pom strawberry plushie to sell at fall craft fairs, or add it to a garland, since you will only need 5 minutes to make one strawberry. As for the pom pom bunny, you can prepare it for spring, a baby shower, or as a quick present for kids.
Both of these yarn plushies are so kawaii and soft, with a store-bought finish. The strawberry plush also has white embroidery spots, and the bunny plush has felt ears.
DIY No-Knit Yarn Strawberry
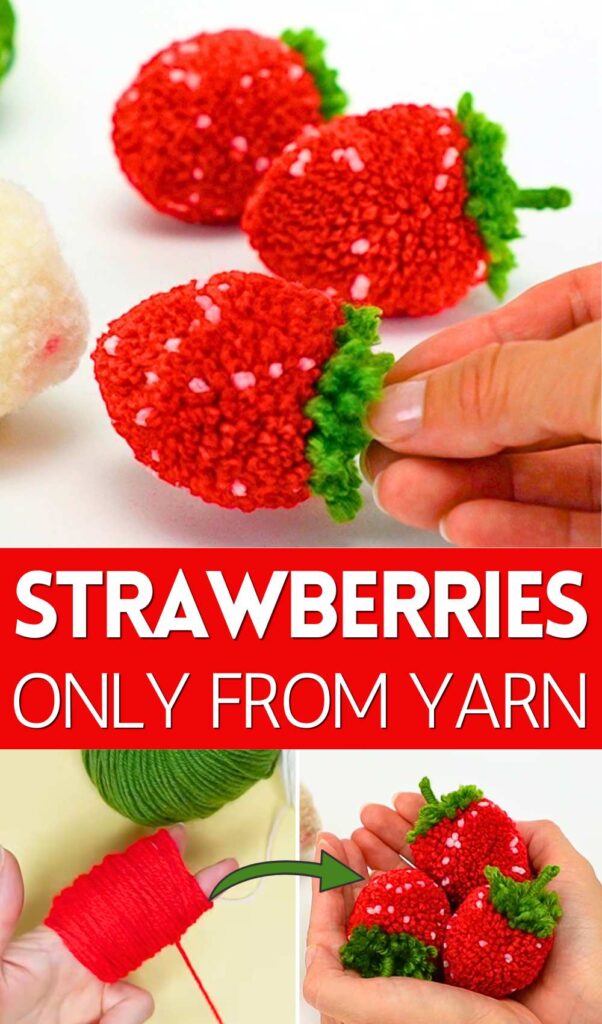
You can DIY these animal & fruit plushies within 30 minutes. However, I am mainly excited to share the guide for the strawberry plush, as I have already shared many tutorials for making the no-sew baby bunny plush. Now, continue reading for the full DIY strawberry & bunny tutorial.
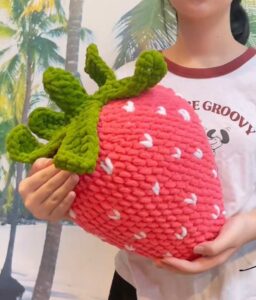
DIY Strawberry + Bunny from Pom Poms Plushies Tutorial
Skill Level: Intermediate (making a 2-color pom pom, making a yarn-wrapping stem, trimming, making an oval pom pom, working with the felt, and more).
Pom pom variation: Sphere pom pom, 2-color pom pom & spotted pom pom.
Materials Needed
The following are the materials & tools needed to do it yourself: this strawberry plush + bunny:
- 1.5mm Cotton + acrylic blend yarn in red, white, and green.
- 2.5mm acrylic + sheep wool yarn – cream yarn
- Sharp scissors
- Cream felt
- Blush
- Pink Yarn
- Pom pom clover maker/cardboard base/fingers
- Hot glue gun with glue sticks
- Safety eyes
Are you a beginner?
Better learn pom pom making and assembling this oh-so-cute strawberry plush with the following tutorial:
Step-by-Step Instructions
Step 1: Creating the Yarn Bundle
-
The Base Wraps: First, make 70 wraps of red yarn around your two fingers.
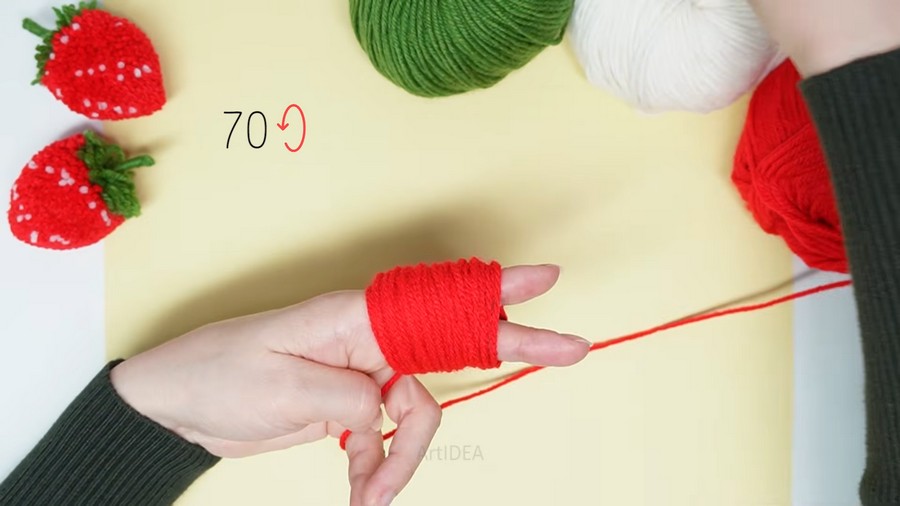
-
Adding the Seeds: Next, make 10 wraps of white yarn, trying to distribute them evenly along the previous red wraps.
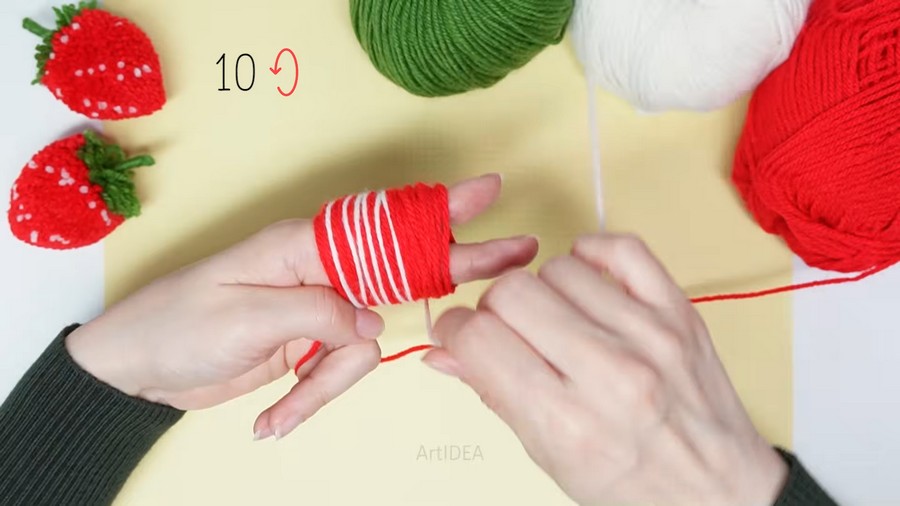
-
The Final Layer: Finally, make another 70 wraps of red yarn directly over the top of the previous layers.
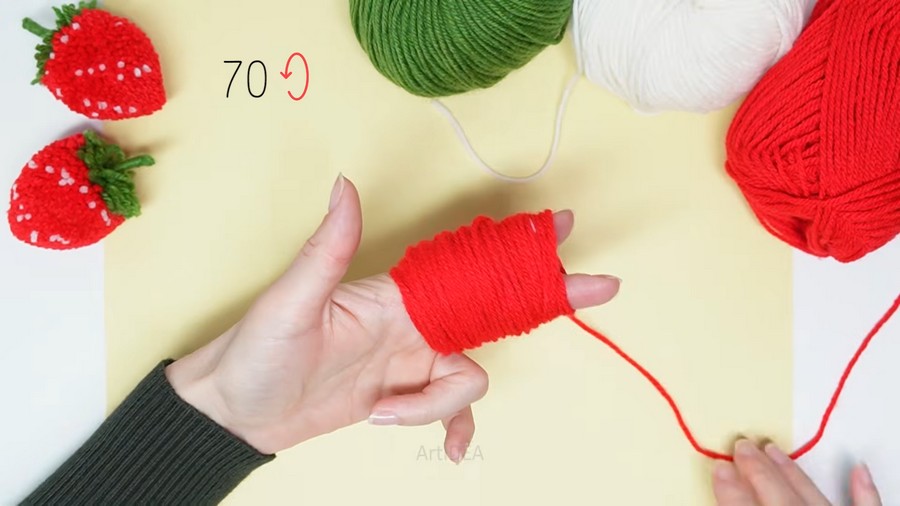
Step 2: Securing and Shaping the Body
-
Tie the Center: Carefully slide the entire bundle of yarn off your fingers and tie a strong piece of green yarn tightly around the very center of the bundle.
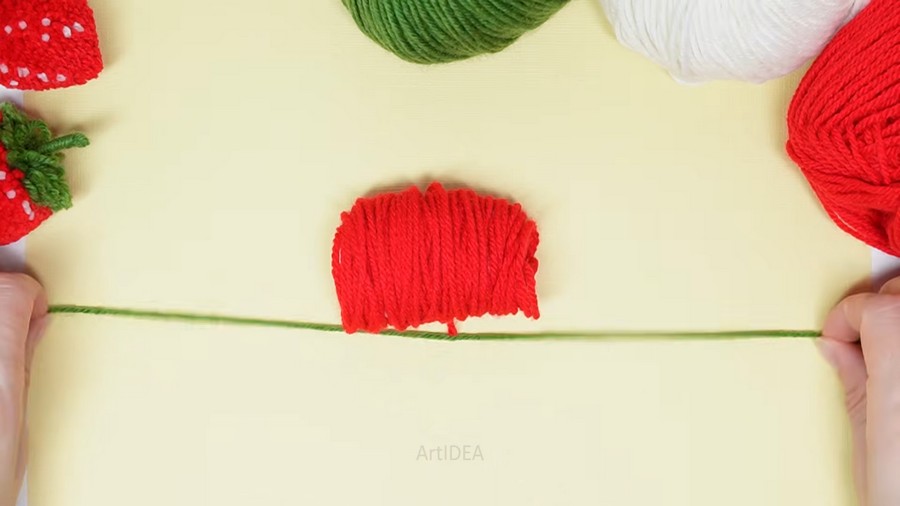
-
Fold the Yarn: Fold the yarn bundle completely in half at the green tie, pulling all the red yarn ends together so they face the same direction.
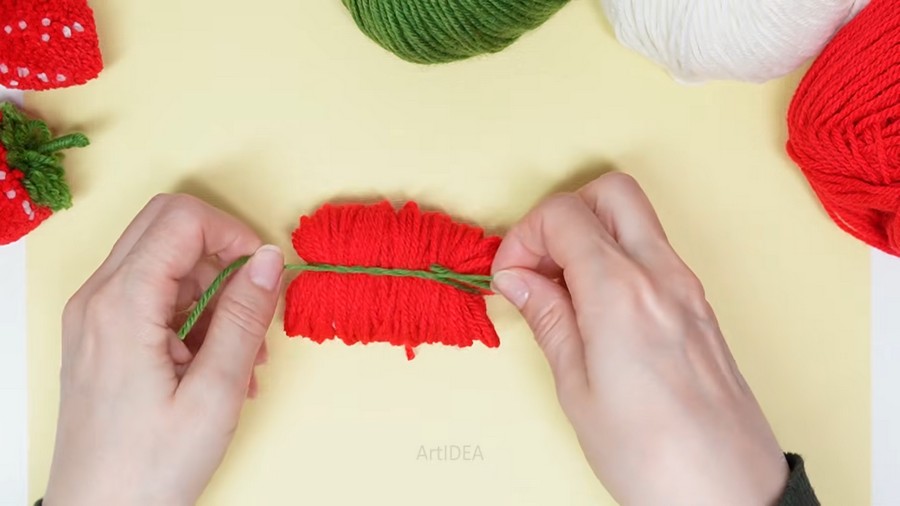
-
Initial Trim: Hold the folded bundle tightly near the top green tie and use sharp scissors to trim the loose ends into a rounded, tapered shape.
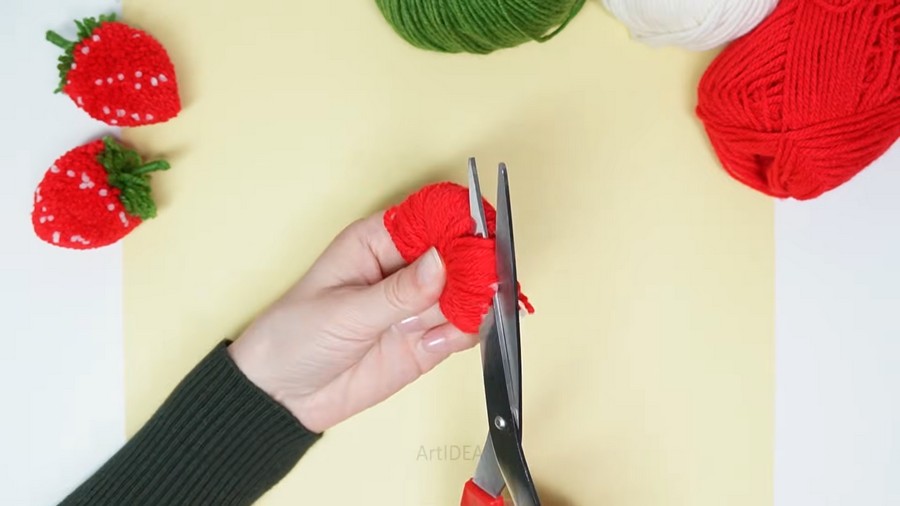
-
Refining the Shape: Continue shaping and snipping the yarn until you have a smooth, distinct cone or strawberry shape.
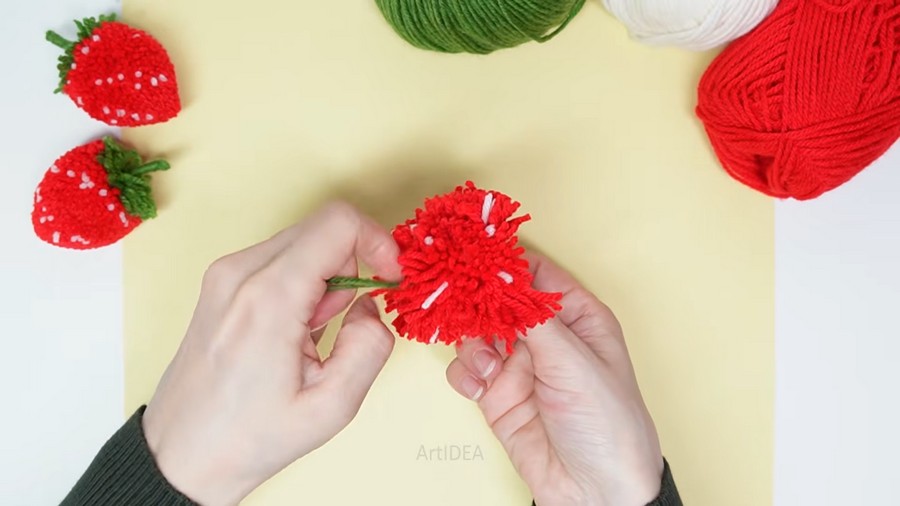
-
Check the Form: Your main strawberry body is now fully formed, with the white yarn wraps acting as tiny seeds scattered across the surface.
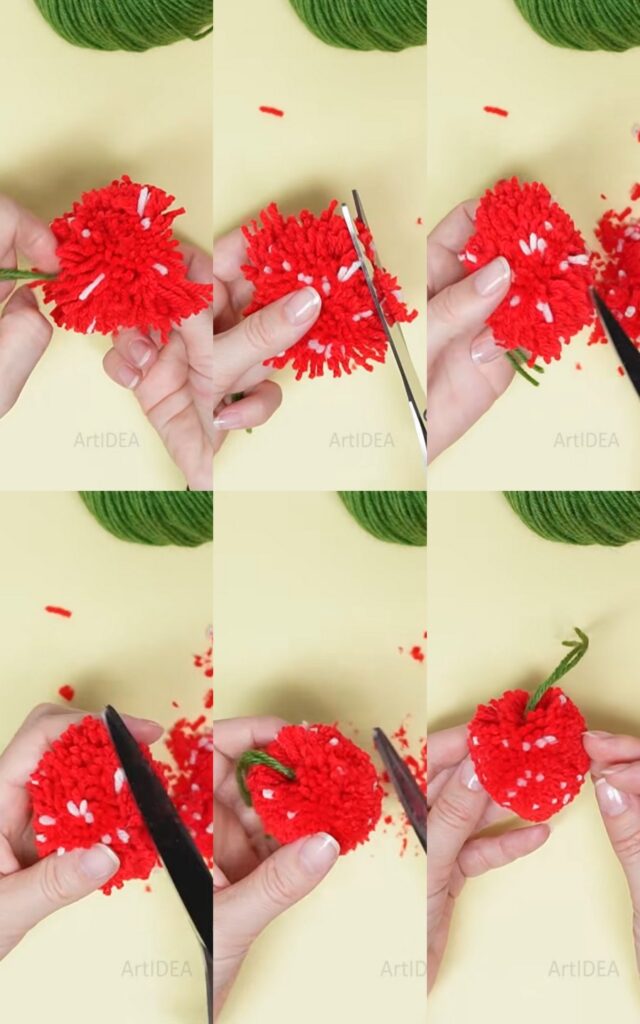
Step 3: Leaves & Stem
- Stem: Make 5 wraps with green yarn around your index finger.
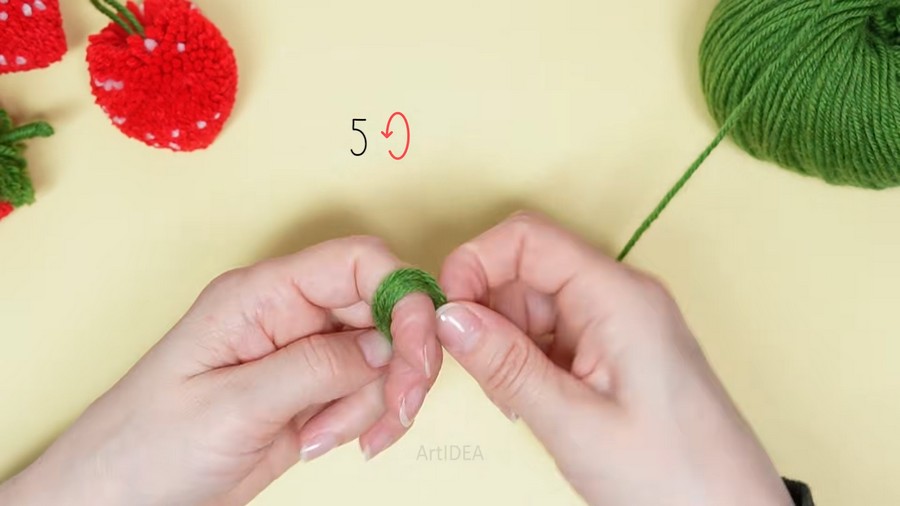
- Fold the loop in half and wrap the ball end around this halved loop. Cover about 1/3 of the loop length.
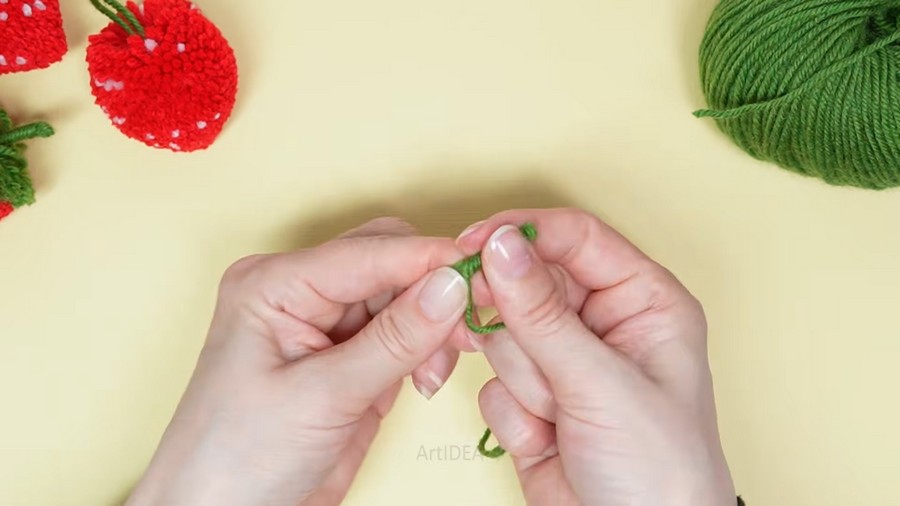
- Secure the end with the glue. You will have a yarn wrapping stem at the top and the small loops at the bottom which are small loops.
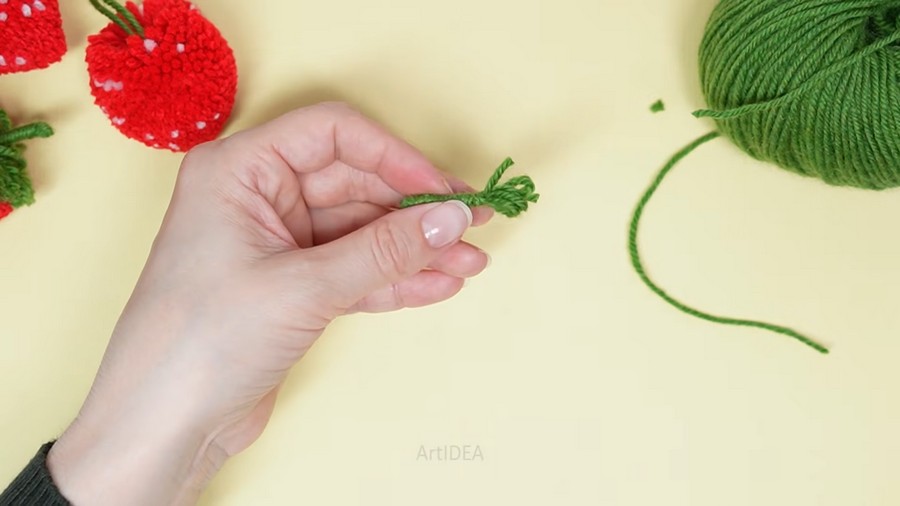
- Leaves: Wrap the yarn around three fingers of your hand 15 times.
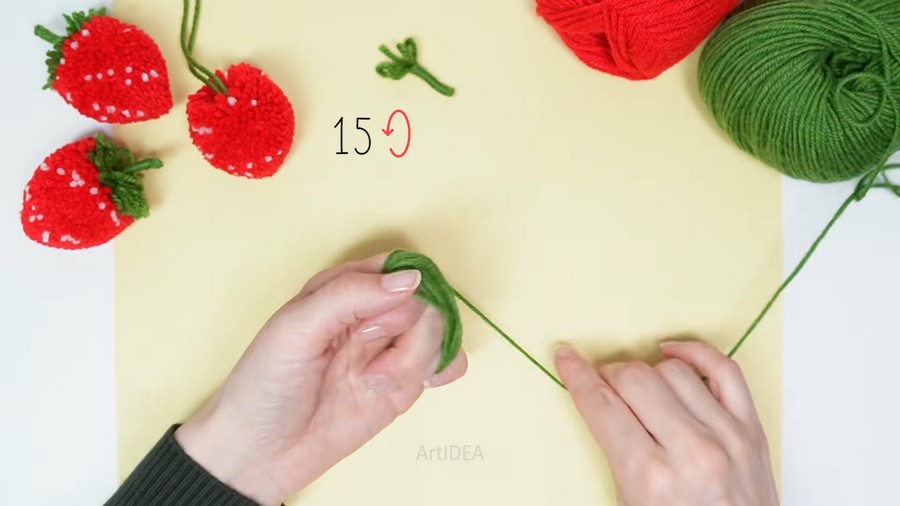
- Put this wrapping over the top of your strawberry and secure it by using the same strings of the strawberry plush.
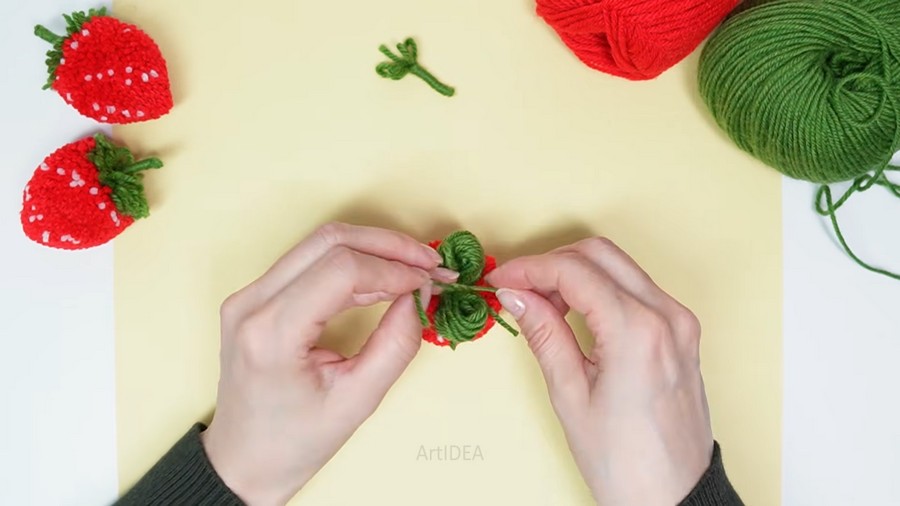
- Cut the yarn loops!
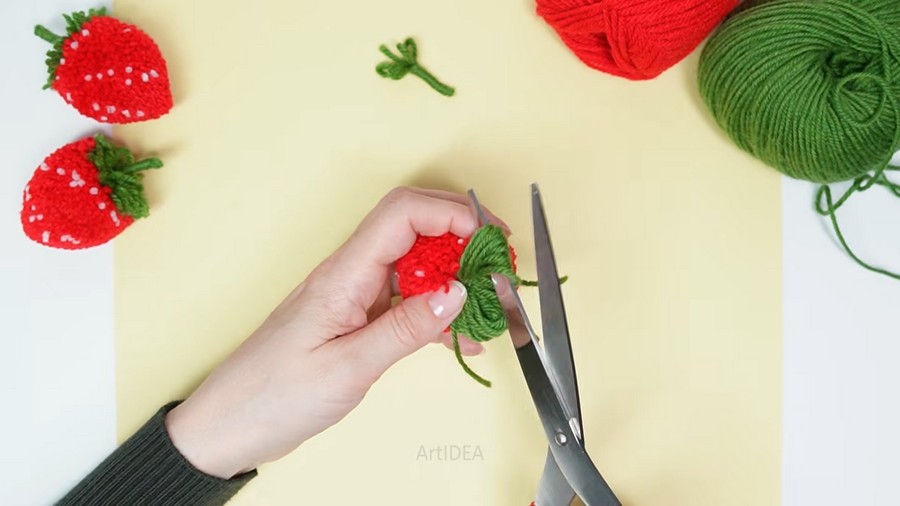
- Trim 5 sections to make the proper leaves.
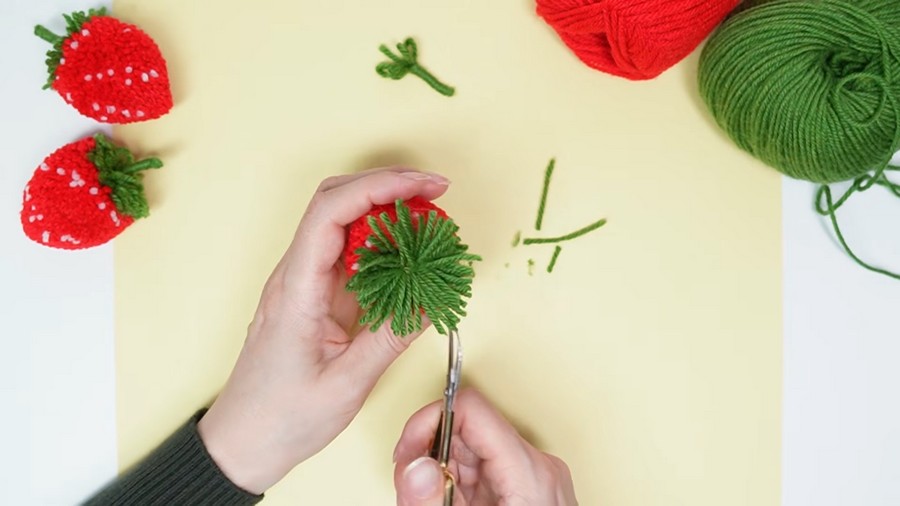
- You will have a rough star shape which is needed!
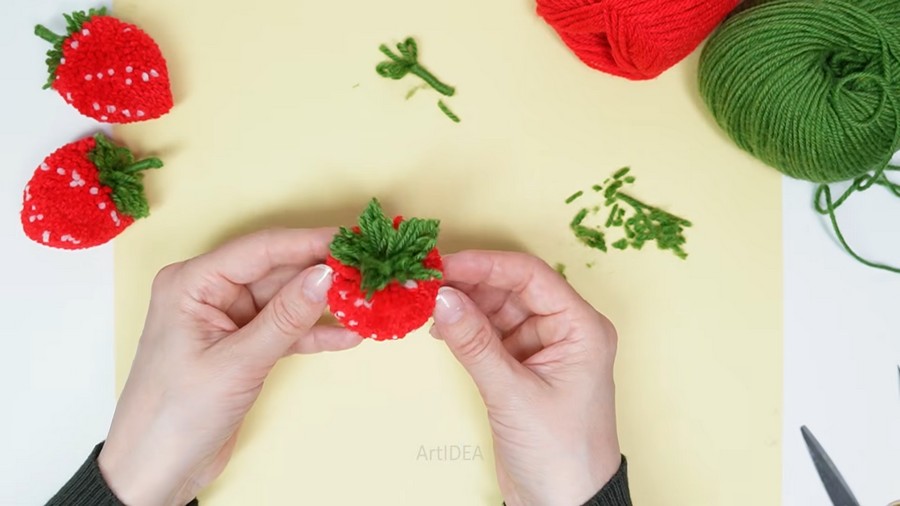
- Hot glue the stem over the leaves!
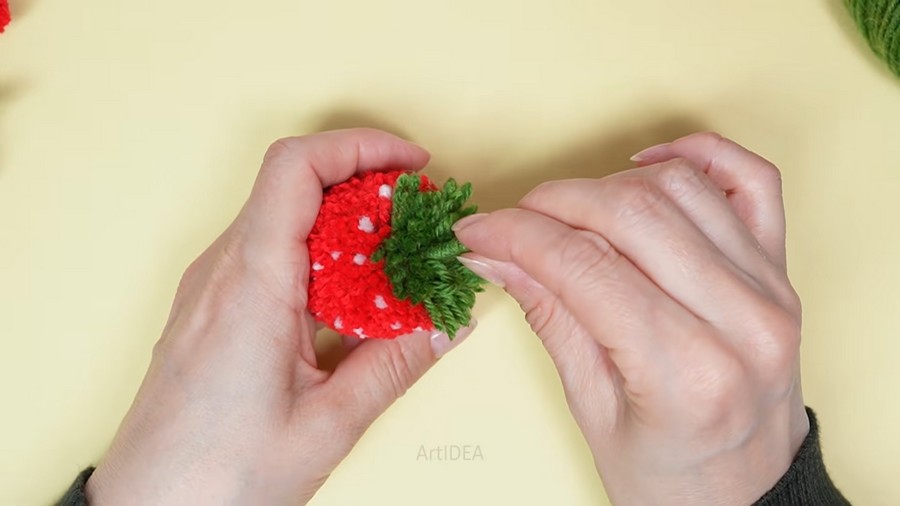
Your strawberry plush is ready. Learn making the bunny plush from the video tutorial.