
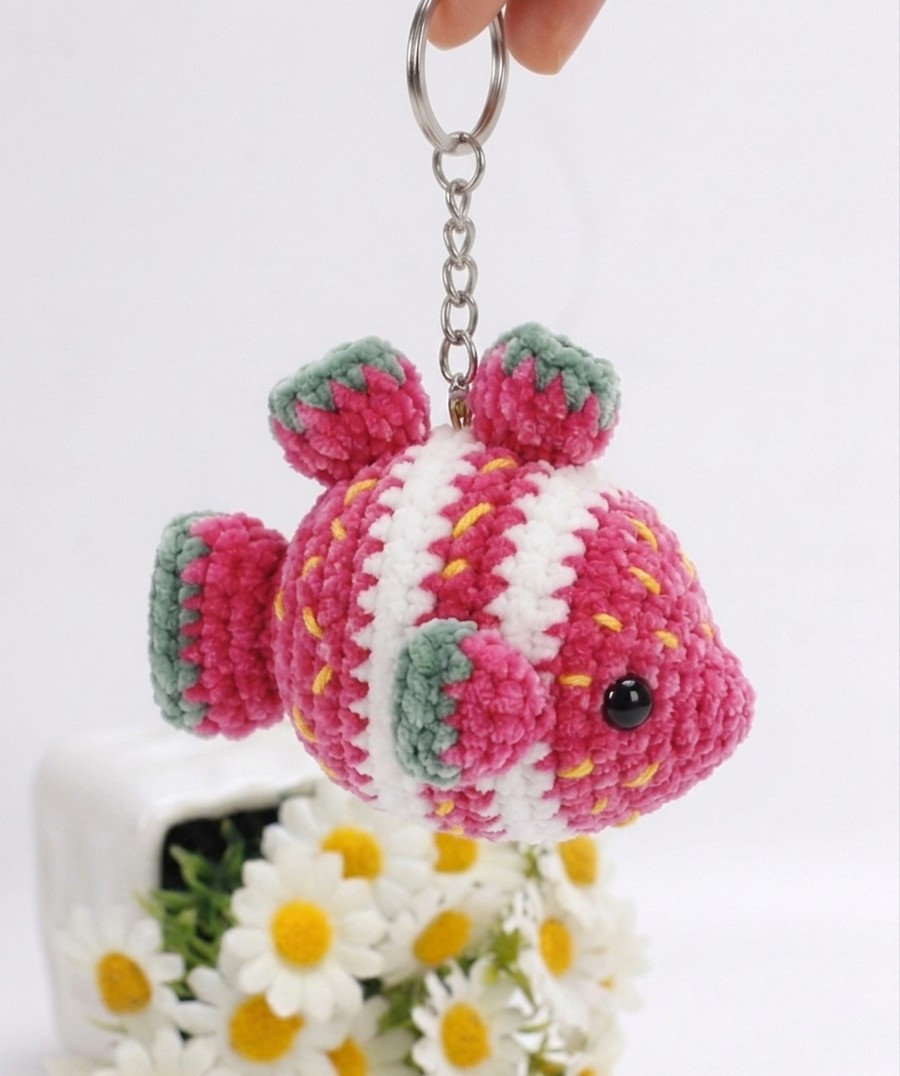
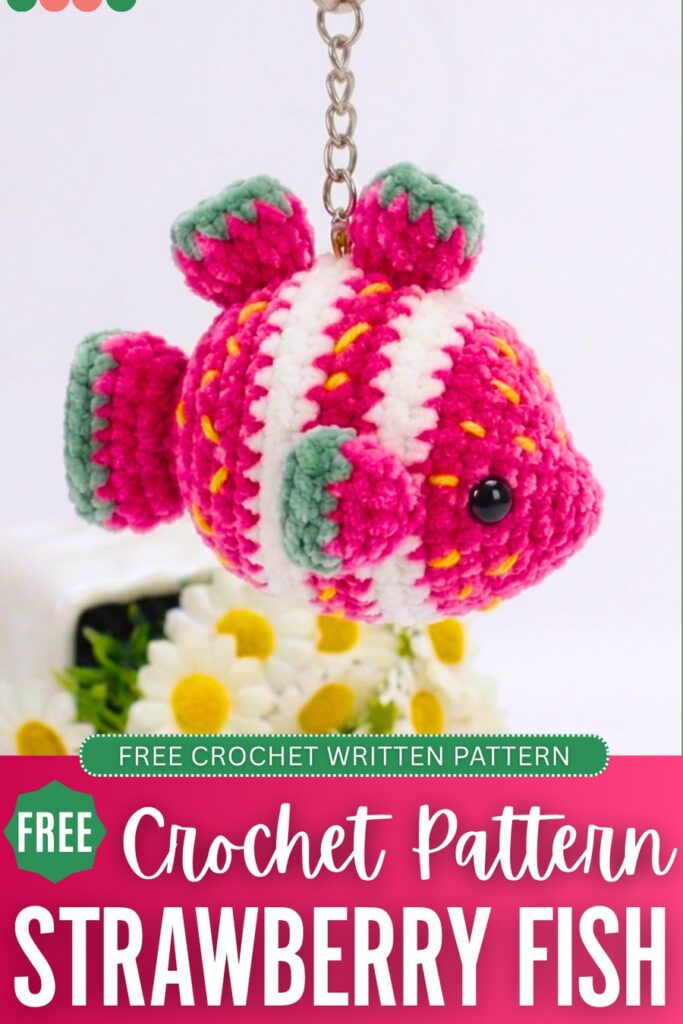
While the crochet clownfish plushie was already oh-so cute and gift-ready, I again wanted to show you the strawberry version of that plushie. So, here is the FREE crochet strawberry clownfish plushie pattern that you can keep as a “spring memory.” I have replaced the black stripes of the fins with the light green. In the body, the hot pink is used, retaining the white stripes. Also, there are embroidery seeds all around the body that make it unique.
You can crochet it using both the super bulky chenille or thin cotton or plush yarn, as the pattern is small. You can easily crochet it in less than 45 minutes, just like the first clownfish plush. As you all know, it is a part of the “Strawberry-themed Plushies” series. So, you can also check the strawberry whale, strawberry pig, and other ideas, too.
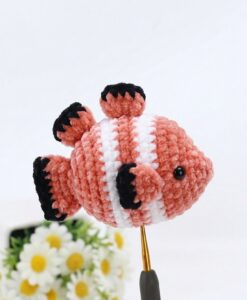
The fish plushies? Why not check the one below?
Nemo Strawberry Plush: Round-by-Round Pattern
Here is the complete crochet pattern for the plush strawberry Clownfish. The assembly is in the end:
Materials Needed
- Yarn: Thin or super bulky plush yarn or 4ply Milk Cotton yarn.
- Main Color (MC): Deep Deep Magenta/Deep Velvet Pink
- Secondary Color 1 (CC1): White
- Secondary Color 2 (CC2): Sage Green
- Crochet Hook: A larger hook, e.g., 3.5 mm to 4.5 mm, to match plush yarn if you are using super bulky yarn. Otherwise, a 2.5mm hook will be good enough.
- Other Tools: Polyester fiberfill stuffing, a blunt-tipped tapestry needle, stitch markers, and a pair of 3 mm safety beads. Otherwise, if you are using super bulky yarn, use bigger eyes accordingly.
- Finishing: Yellow embroidery thread or thin yarn for spots.
- Optional: A keychain ring and small chain.
Pattern
The main body is worked in continuous rounds from the mouth backwards towards the tail, closing. Color changes must be made in the final stitch of the round (e.g., for R9, make the last MC stitch, but draw through CC1 to complete it). All fins are made separately and sewn on. Yellow spot embroidery is the final decorative step.
Color Pattern
- Body Mouth & Head (R1-R8): MC Deep Magenta.
- Stripe 1 (R9-R10): CC1 White.
- Body Section 1 (R11-R12): MC Deep Magenta.
- Stripe 2 (R13-R14): CC1 White.
- Body Section 2 & Tail Closure (R15-R19): MC Deep Magenta.
- All Fins: CC2 Sage Green at the tips (R1), and MC Deep Magenta for the remaining body of the fin.
1. Body
Worked from mouth to tail.
- R1: Using MC (Deep Magenta), 5 sc into a MR. [5]
- R2: 2 sc, 1 inc, 2 sc. [6]
- R3: 1 inc, 1 sc, 2 inc, 1 sc, 1 inc. [10]
- R4: 1 sc, 7 inc, 2 sc. [17]
- R5: 4 sc, (1 inc, 1 sc) × 4, 1 inc, 4 sc. [22]
- R6: 5 sc, (1 inc, 1 sc) × 6, 5 sc. [28]
- R7: 8 sc, 1 inc, 10 sc, 1 inc, 8 sc. [30]
- R8: 30 sc. [30]
- Change to CC1 (White) in the last stitch.
- R9–R10 (First Stripe): Using CC1, 30 sc. [30] (2 rounds)
- Change to MC (Deep Magenta) in the last stitch of R10.
- R11–R12 (Middle Body): Using MC, 30 sc. [30] (2 rounds)
- Change to CC1 (White) in the last stitch of R12.
- R13–R14 (Second Stripe): Using CC1, 30 sc. [30] (2 rounds)
- Change to MC (Deep Magenta) in the last stitch of R14.
- R15: Using MC, 30 sc. [30]
- R16: (4 sc, 1 dec) × 6. [24]
- R17: (3 sc, 1 dec) × 6. [18]
- R18: 18 sc. [18]
- Stuff the body firmly with fiberfill before closing.
- R19 (Tail Closure): (1 sc, 1 dec) × 6. [12]
Finishing Body: Fasten off, leaving a tail. Flatten the edge and sew closed side-to-side.
2. Tail Fin
Worked around both sides of a foundation chain.
- R1 (Green Tip): Using CC2 (Sage Green), ch 8. Starting from 2nd ch from hook: 6 sc, 1 w (3 sc in corner ch). Turn to work the opposite side of the chain: 5 sc, 1 inc. [16]
- Change to MC (Deep Magenta) in the last stitch.
- R2–R4 (Magenta Fin Body): Using MC, 16 sc. [16]
- R3: (1 dec, 6 sc) × 2. [14]
- R4: (1 dec, 5 sc) × 2. [12]
Fasten off using an invisible join and leave a long tail.
3. Dorsal Fins — Make 2
Worked around both sides of a foundation chain.
- R1 (Green Tip): Using CC2 (Sage Green), ch 5. Starting from 2nd ch from hook: 3 sc, 1 w (3 sc in corner ch). Turn to work opposite side of chain: 2 sc, 1 inc. [10]
- Change to MC (Deep Magenta) in the last stitch.
- R2–R4 (Magenta Fin Body): Using MC, 10 sc. [10]
- R3: (1 dec, 3 sc) × 2. [8]
- R4: (1 dec, 2 sc) × 2. [6]
Fasten off, leaving a long tail for sewing.
4. Pectoral Fins — Make 2
Worked in continuous rounds, MR point is the tip.
- R1 (Green Point): Using CC2 (Sage Green), 4 sc into a MR. [4]
- Change to MC (Deep Magenta) in the last stitch.
- R2–R5 (Magenta Fin Body): Using MC, work remaining rounds.
- R2: (1 sc, 1 inc) × 2. [6]
- R3: (1 sc, 1 inc) × 3. [9]
- R4: 9 sc. [9]
- R5 (Wide Base): (2 sc, 1 inc) × 3. [12]
Finishing Pectoral Fins: Flatten the base edge and sew it closed flat. Leave a long tail.
5. Assembly and Embroidery
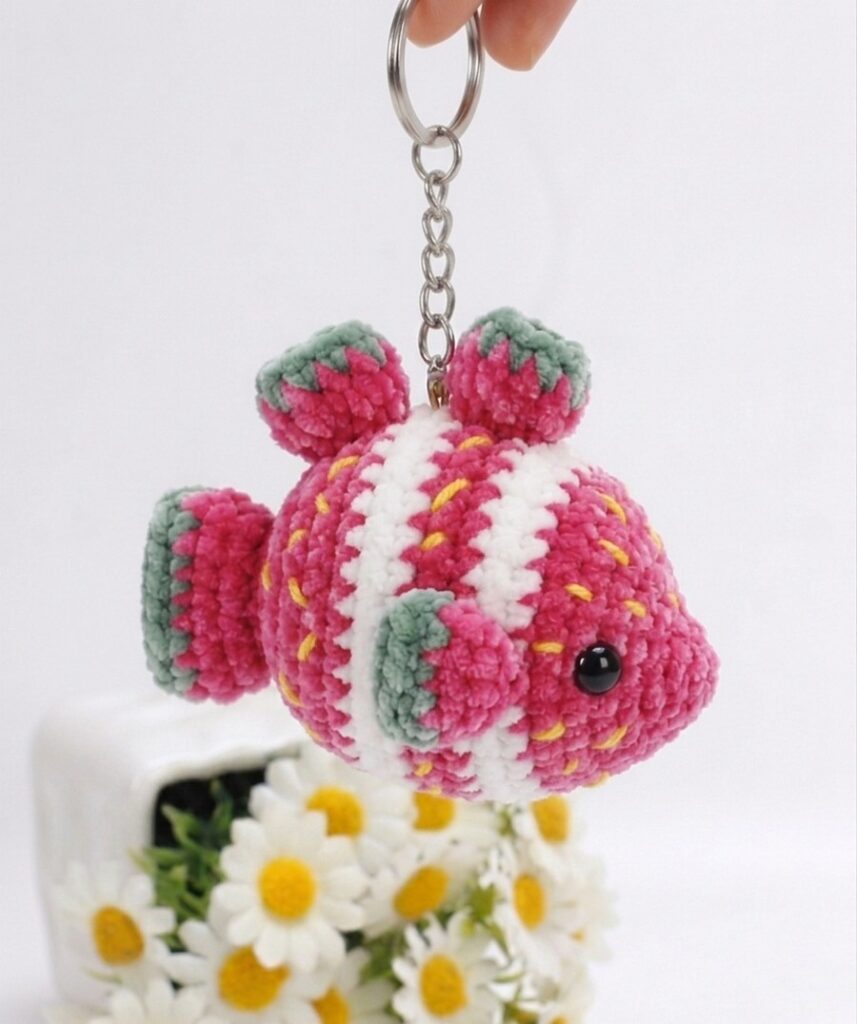
- Tail Fin: Position and sew the tail fin flat against the closed end of the body.
- Dorsal Fins: One dorsal fin is sewn vertically onto the body spine in front of stripe 1. The second dorsal fin is sewn on top of stripe 2 and pink section R15, creating two shapely dorsal nubs.
- Pectoral Fins: Attach the pectoral fins symmetrically right where the first white stripe meets the magenta head section, covering the transition.
- Eyes: Position and attach the safety eyes.
- Finishing – Yellow Spots (New Step): Using yellow embroidery thread or thin yarn, embroider small, scattered seed spots (tiny vertical stitches) over all deep magenta body sections.
- Many spots on the head/mouth.
- Spots on the middle body (R11-R12).
- Spots on the tail end (R15-R19).
- Optional Keychain: Attach a keychain ring and chain to the MR (point) of the front-most dorsal fin, or centered on the back between the two dorsals.