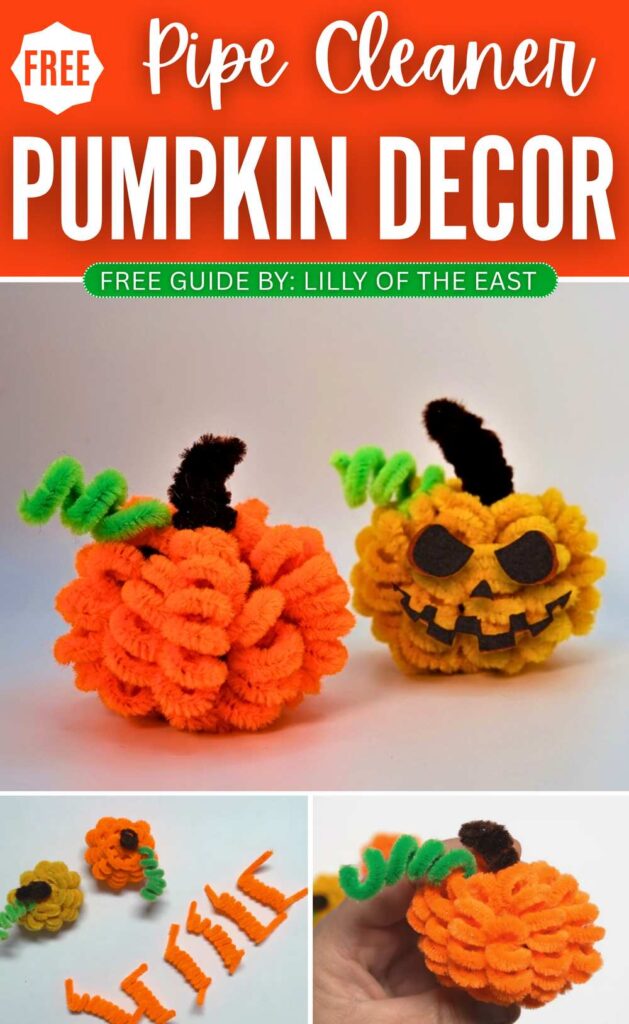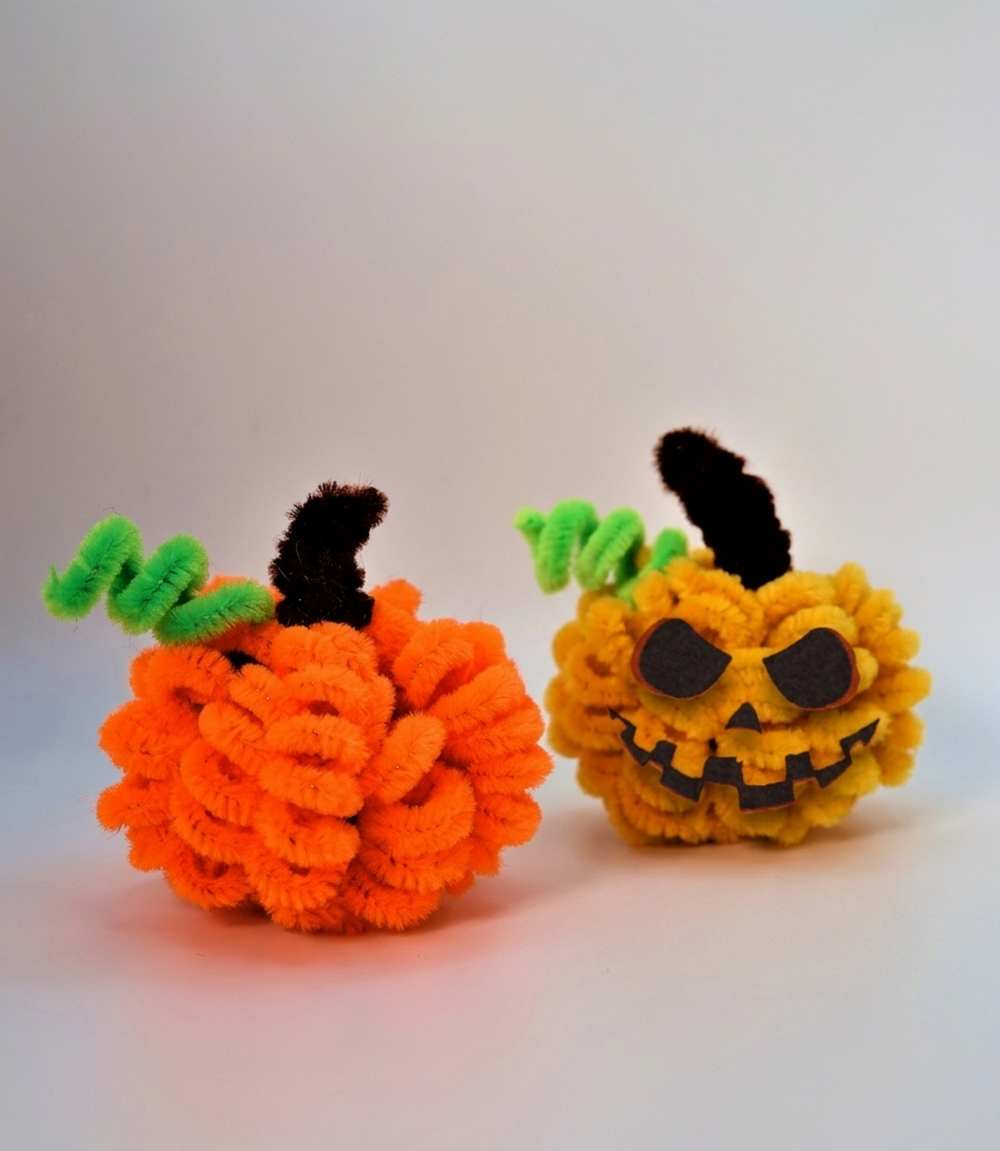
Looking for the fastest no-knit pumpkin plush for fall? Learn how to make a small loopy pumpkin plushie that you can also turn into a jack-o’-lantern pumpkin for Halloween with this tutorial. Make this 5-minute chenille stem pumpkin to make a glittery pumpkin & acorn garland, add to hair clips and hair bands, or turn into a tote bag charm.
Pipe Cleaner Loopy Pumpkin Plushie
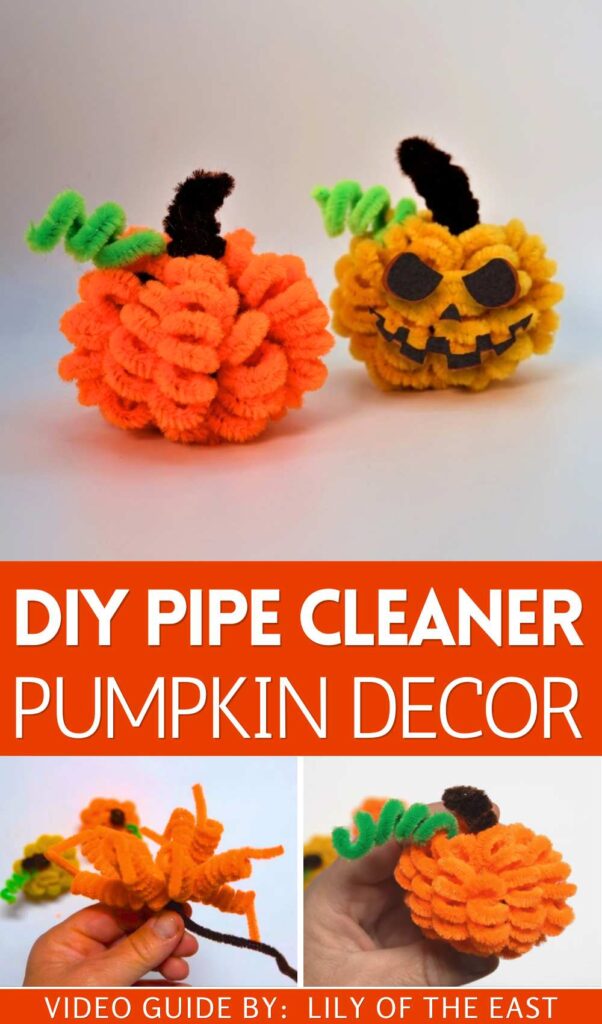
This pumpkin plush is all made from just the twisted orange and green pipe cleaners. The brown pipe cleaner will be used both for securing and making the stem of this pipe cleaner pumpkin.
This is also a low-budget Halloween decoration, as you only need 10 orange pipe cleaners. Also, whether you are handling the pipe cleaners for the first time or for a long time, you can make this. You can also check my pipe cleaner guide before getting started!
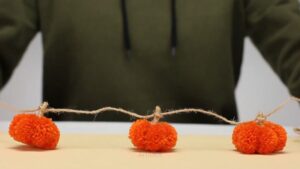
DIY Chenille Stem Fall Pumpkin Plushie
Skill Level: Beginner (twisting around the pencil, rolling around, etc).
Below is the step-by-step guide for making this lovely pipe cleaner fall pumpkin:
Materials Needed
To make these tiny plushie pumpkins, gather the following supplies:
- Orange Pipe Cleaners: For the main body of the pumpkin. (You can also use yellow for variations).
- Brown or Black Pipe Cleaners
- Green Pipe Cleaners: To create the little curly vine on the finished pumpkin.
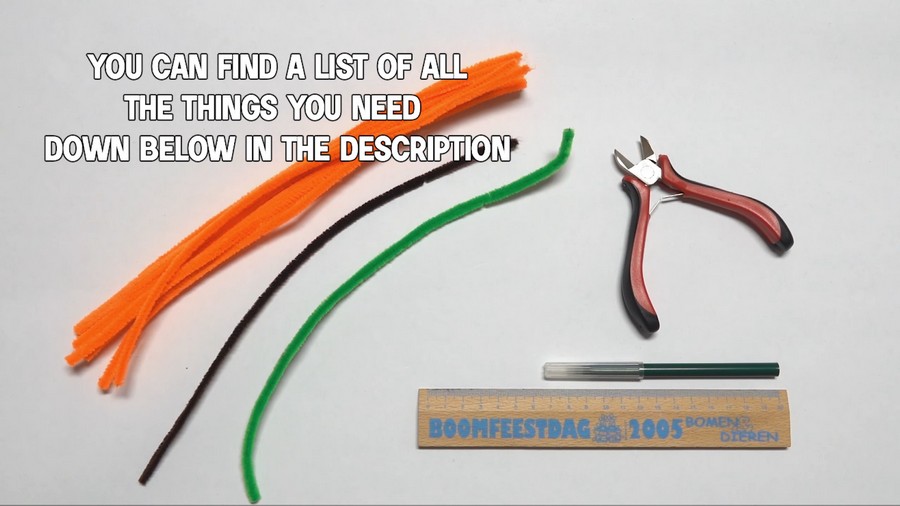
- A Cylindrical Object: A pen, pencil, or marker (like the green one shown) to wrap the pipe cleaners around.
- A Ruler: For precise measuring.
- Felt
Amount:
- 10 Orange or Yellow pipe cleaners
- 1 Brown Pipe Cleaner
- 1 Green Pipe Cleaner
Step-by-Step Instructions
1. Measure the Ends
- Take an orange pipe cleaner and measure 3 cm (or 1.2 inches) from the end using your ruler.
- Tip: Leaving this straight, uncoiled section is crucial because you will need these “tails” later to assemble the pumpkin’s structure.
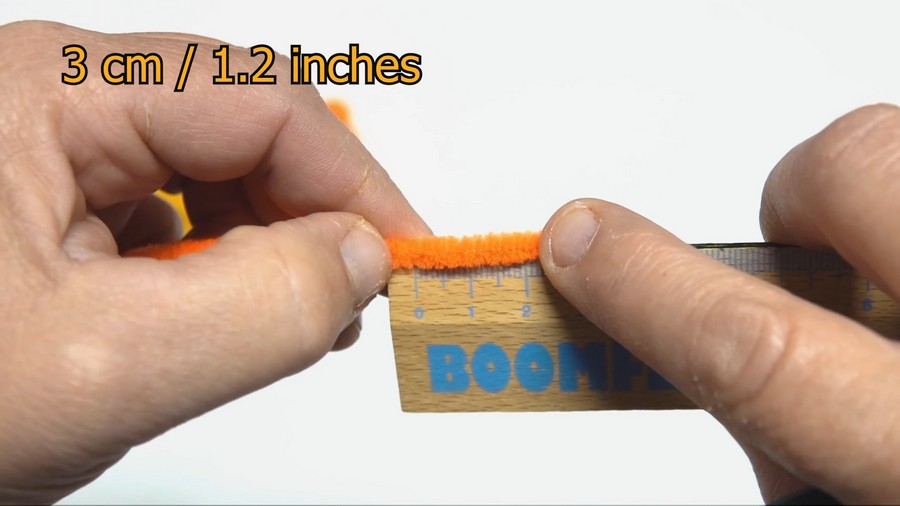
2. Coil the Pipe Cleaner
- Starting immediately after your 3 cm measured point, begin tightly wrapping the orange pipe cleaner around your pen or cylindrical object.
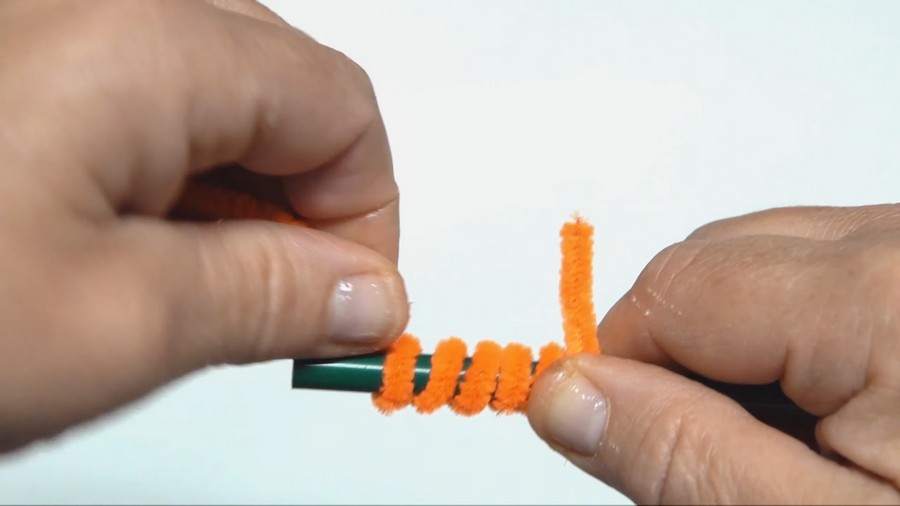
- Stop wrapping before the end so that you leave an identical straight tail on the opposite side. The resulting shape should look like a U-shaped bridge with a coiled center.
3. Make Multiples
- Repeat the first two steps to create a total of 9 identical coiled pieces.
- Tip: Try to keep the coil tension and tail lengths as uniform as possible so your final pumpkin comes out perfectly round!
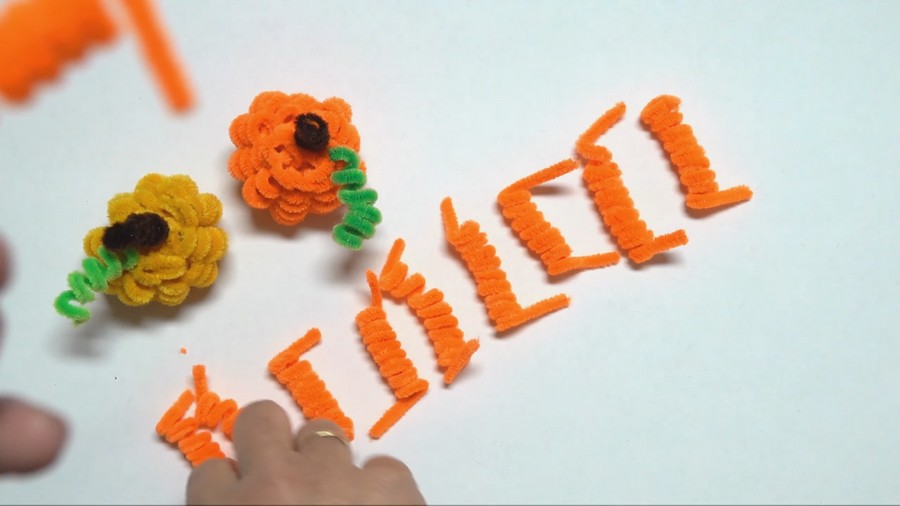
4. Assemble the Core
- Take a dark brown or black pipe cleaner to act as your center hub, and begin attaching the middle of your orange coils to it.
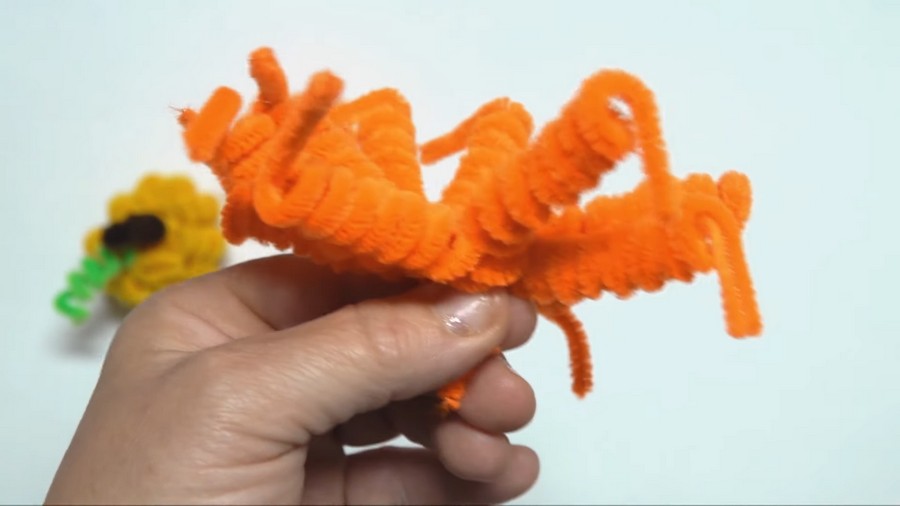
- Arrange the 9 orange pieces so they fan outward in a complete circle, resembling a spider.
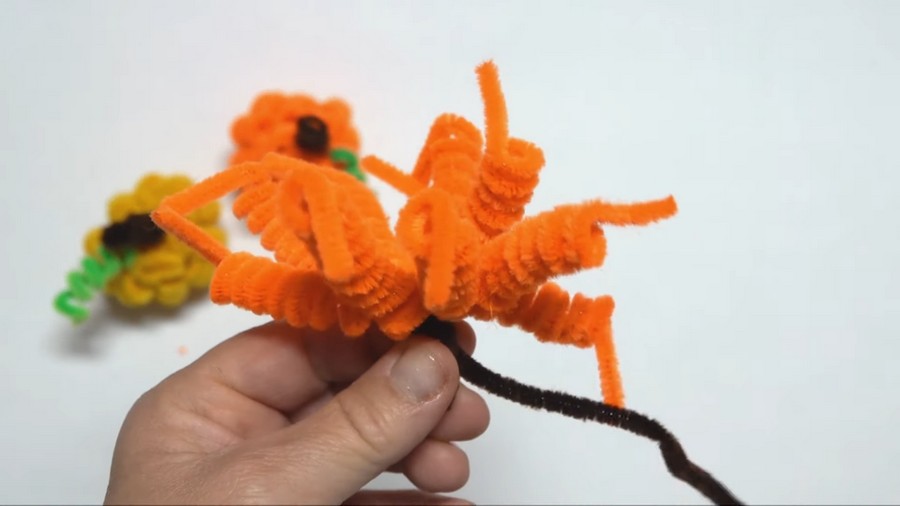
5. Create the Stem
- Once all the pieces are secured to the center, take a brown pipe cleaner and loop it through the center hub.
- Twist it and pull it straight up to form the vertical stem of the pumpkin.
6. Shape the Pumpkin
- Now, take those straight 3 cm tails you left on the orange pieces and start bending them inwards towards the bottom center.
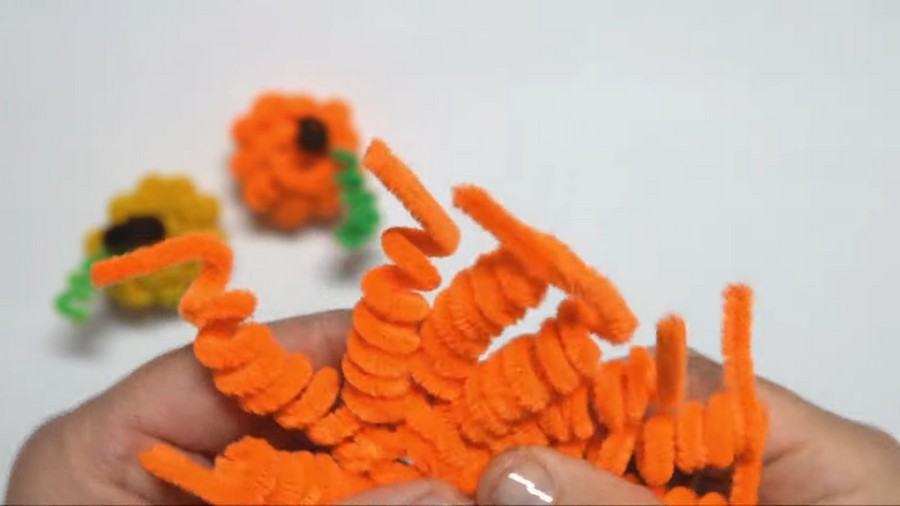
- Gather all the tails tightly at the bottom and twist or tuck them in to close off the shape, creating the plump, rounded bottom of the pumpkin.
- Tip: You can gently squish and massage the finished shape with your hands to make it look wider and rounder.
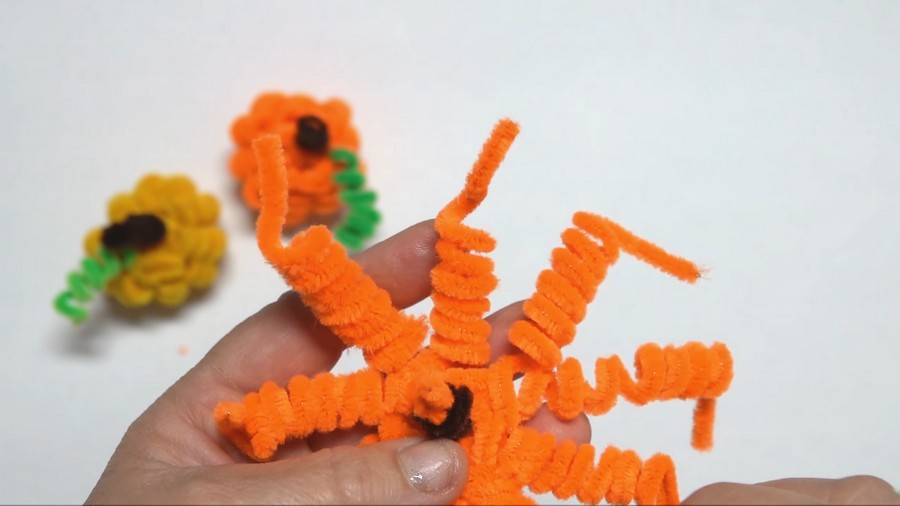
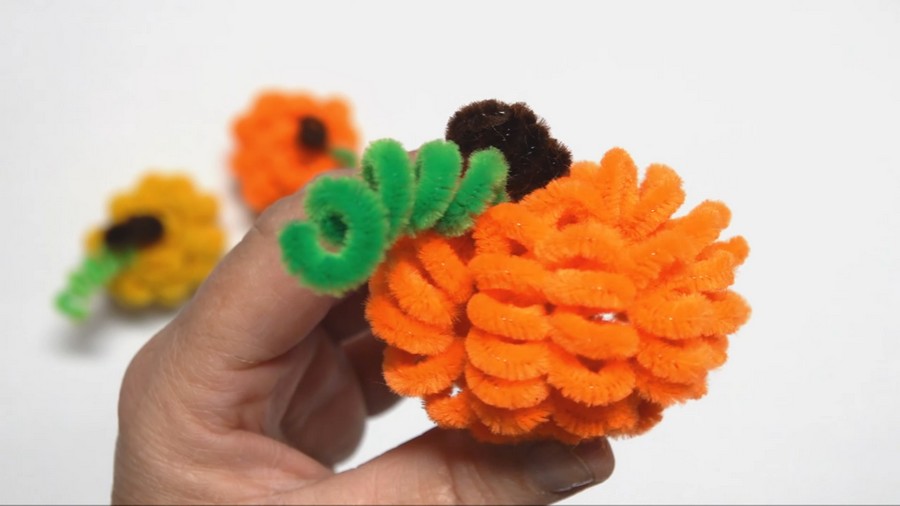
To finish, coil a small piece of green pipe cleaner around a thin tool and attach it near the stem to create the vine seen on the finished examples.
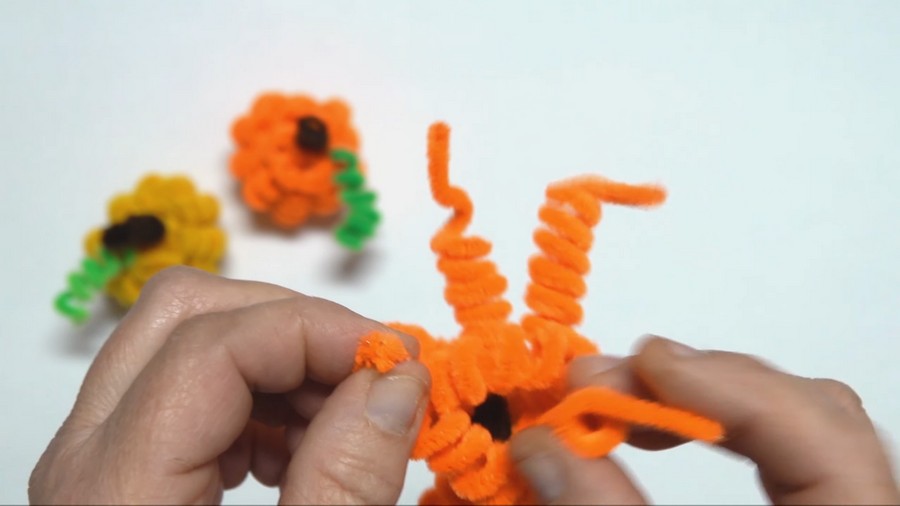
7. Finish the Stem
- Take the long brown pipe cleaner extending from the top center of your pumpkin and begin rolling or curling it downwards upon itself.
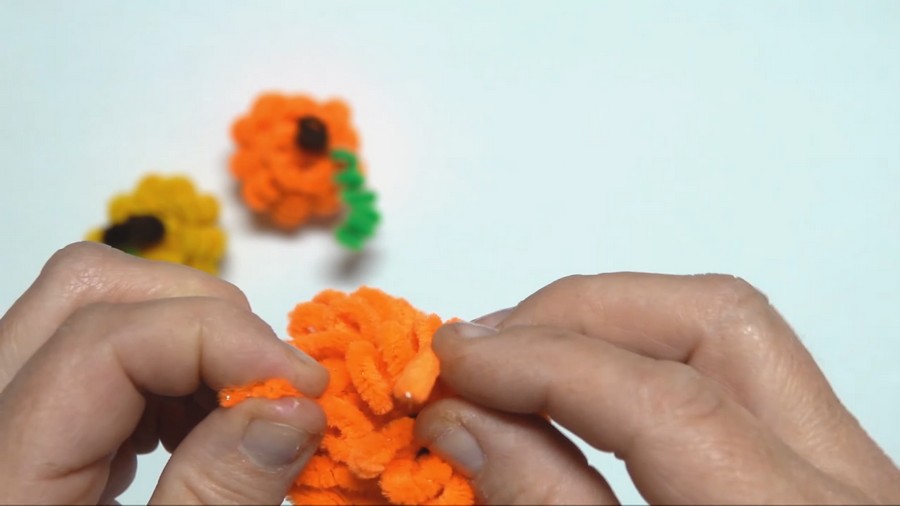
- Pinch it tight to create a thick, short nub for the stem resting right on top of the orange coils.
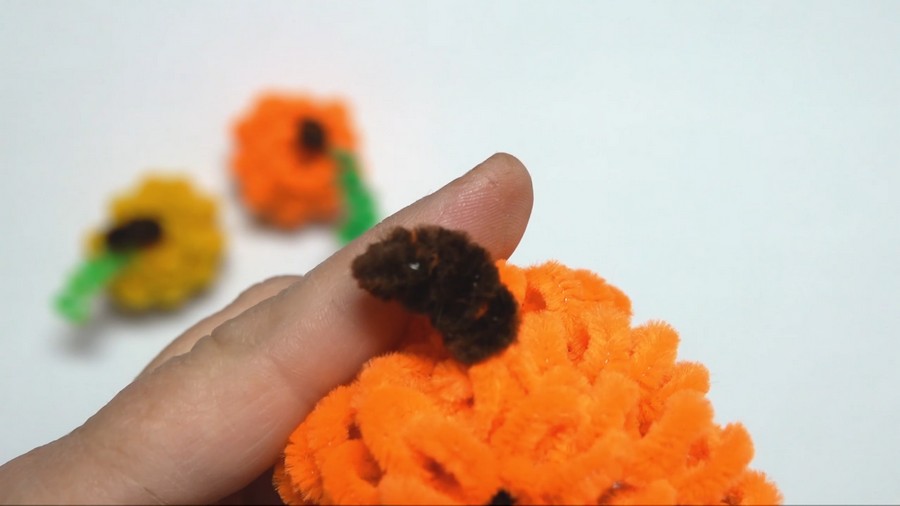
8. Create the Vine
- Take a short length of green pipe cleaner and coil it into a tight, bouncy spring shape.
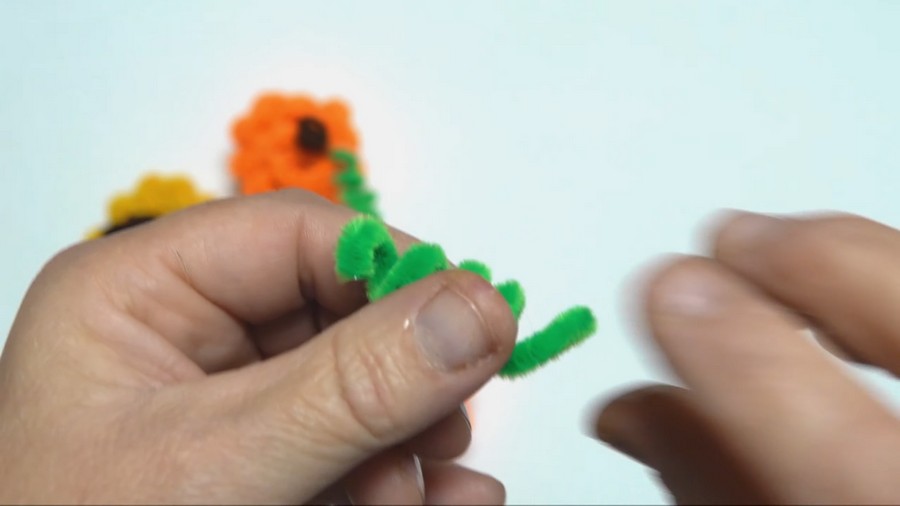
- Tip: If you need help getting a perfect spiral, wrap it tightly around a thin tool like a skewer, toothpick, or the ink tube of a pen, and then slide it off.