
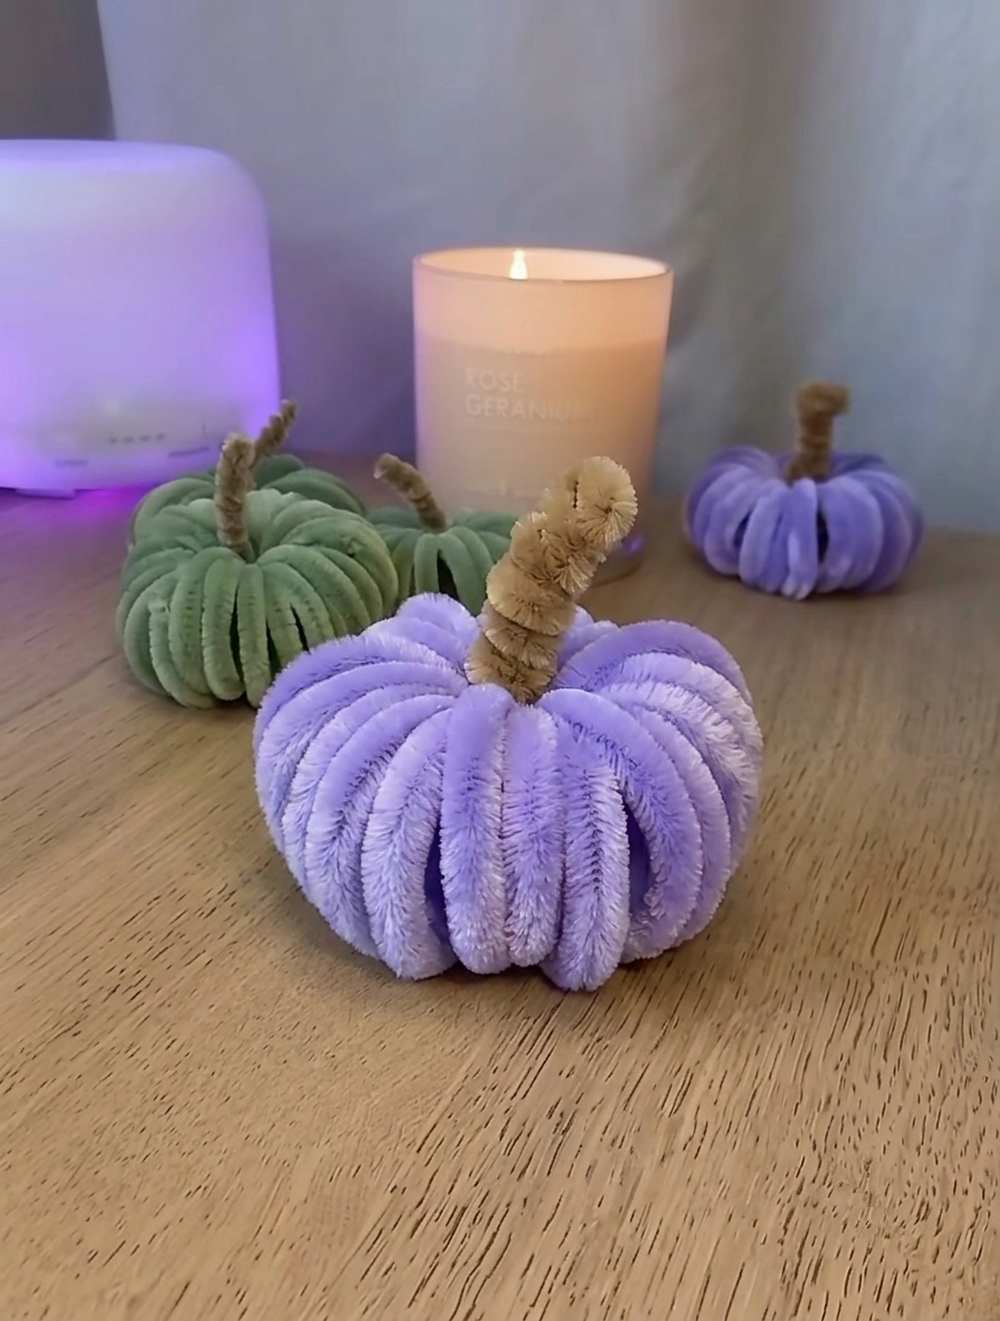
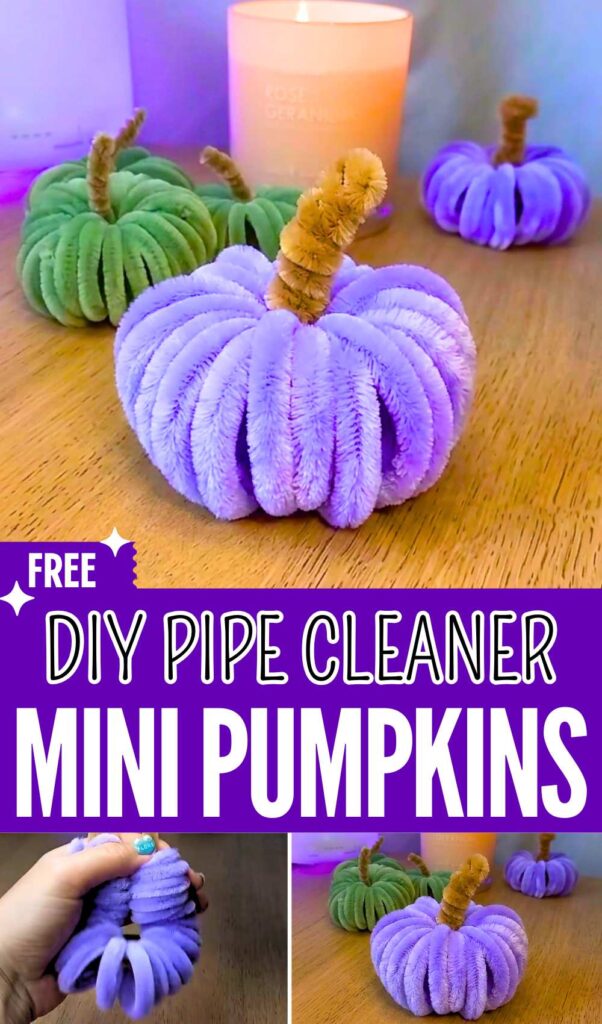
Looking for the fastest, cheapest, and easiest method to make a no-knit pumpkin? Learn how to DIY this small vintage pumpkin plush out of pipe cleaners with this UNIQUE method. This method is even faster than the loopy pumpkin and perfect for making in bulk for Halloween decorations or selling at fall craft fairs.
You can also add this chenille stem pumpkin to a fall garland, your bag charm collection, or make a bigger one to hold Halloween candies. One will take less than 3 minutes.
Make No-Knit Pumpkin Plush
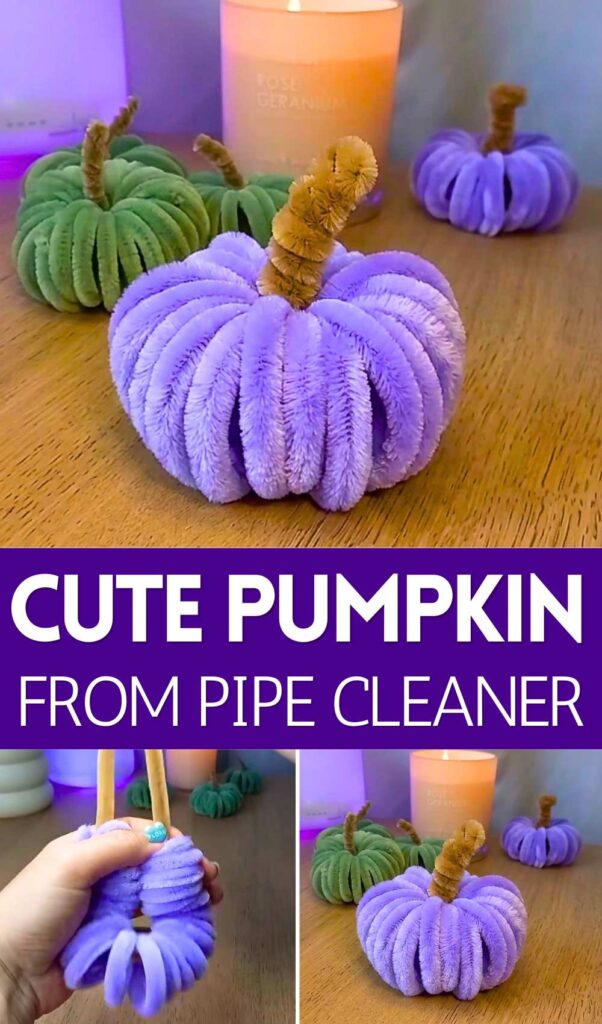
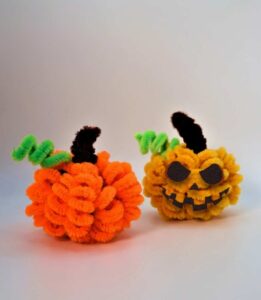
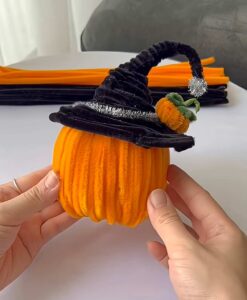
You can either DIY a purple, cottage green, or traditional orange or yellow version of this pumpkin plush. These cozy fall pumpkins will definitely make Halloween more special, as kids can also group up to make these pumpkins for room decoration (this is really easy!). Now, continue reading to learn how to make this pumpkin plush in detail.
[ez-toc]
How to DIY No-Knit Pumpkin Plush out of Pipe Cleaners
Skill Level: Beginner (twisting around a glass rod or any cylindrical shape, locking by twisting).
Below is the step-by-step guide for making this lovely vintage pipe cleaner fall pumpkin. Making these plush pipe cleaner pumpkins is an easy and mess-free project. Here is how:
Materials Needed
To get started, you will need a few basic crafting supplies.
- Jumbo/Plush Pipe Cleaner (Chenille Stem): 1 long piece for the main pumpkin body (e.g., purple, orange, or your preferred color).
- Standard Pipe Cleaner: 1 piece for the pumpkin stem (e.g., brown, green, or tan).
- Cylindrical Wrapping Tool: A thick acrylic tube, a large marker, or a wooden dowel (roughly 1 inch in diameter).
- Wire Cutters: To cleanly snip the thick metal core of the pipe cleaners.
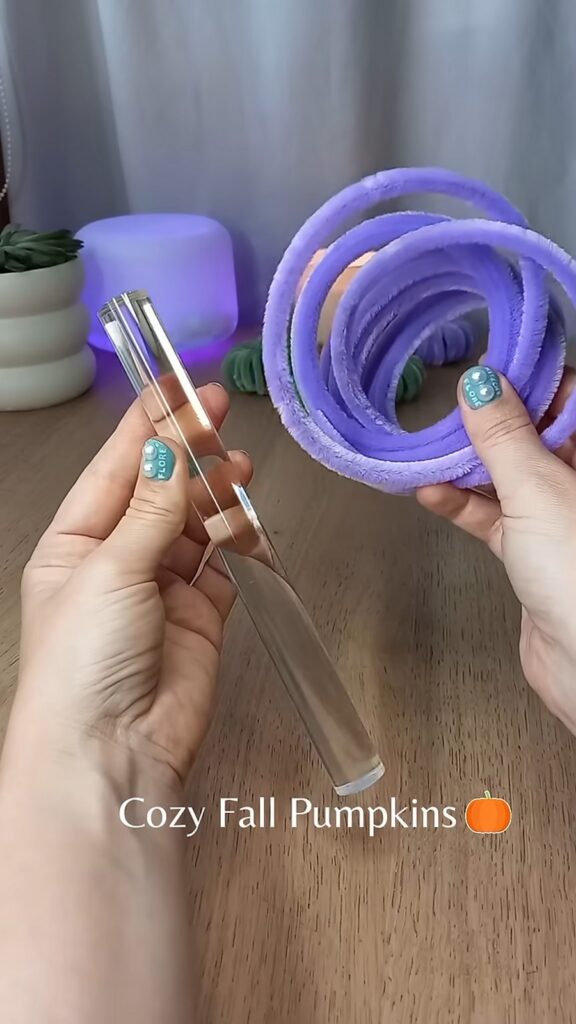
Step-by-Step Instructions
Step 1: Coil the Pumpkin Body. Take your jumbo plush pipe cleaner and hold one end against your cylindrical tool. Carefully and tightly wrap the pipe cleaner around the cylinder.
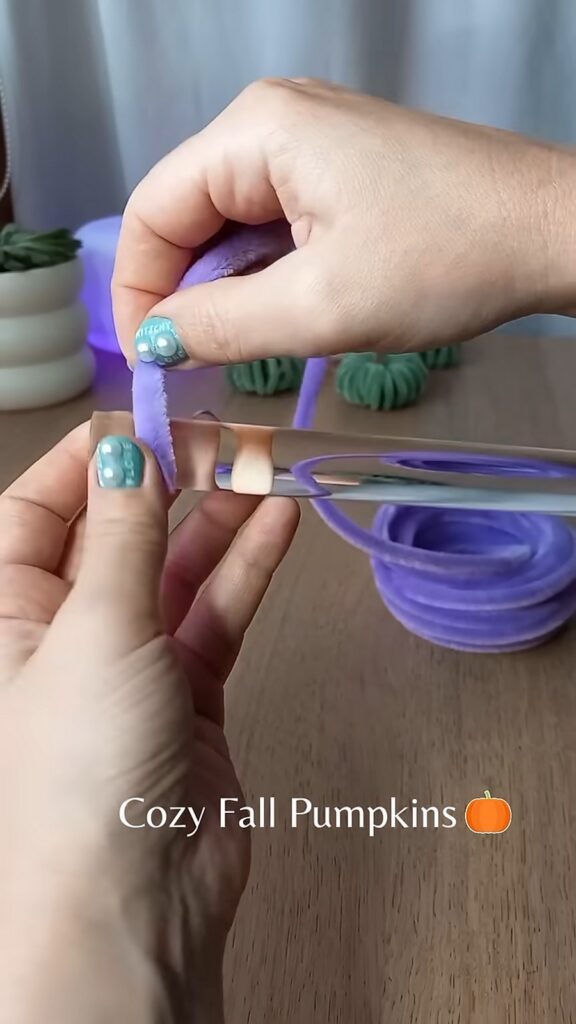
Make sure each loop sits flush against the previous one without overlapping. Continue wrapping until you have a coil that is roughly 4 to 5 inches long.
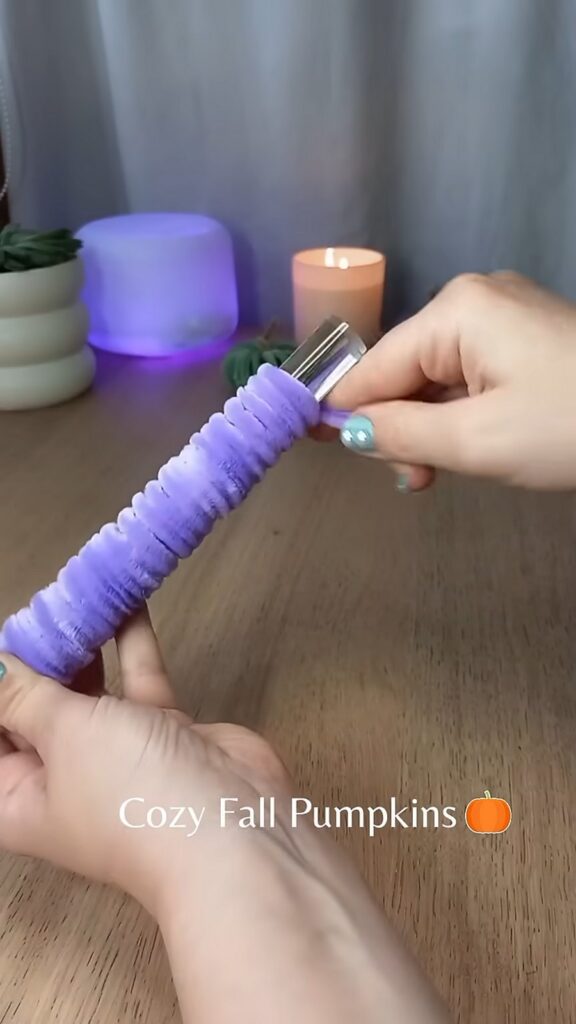
Step 2: Trim the Excess. Once you have achieved your desired coil length, use your wire cutters to snip off the remaining tail of the jumbo pipe cleaner.
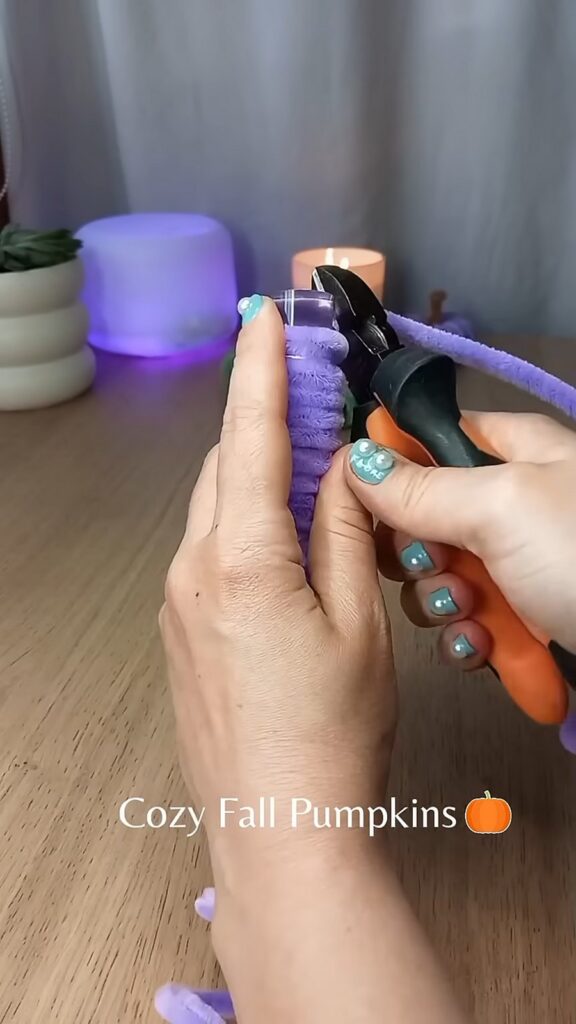
Step 3: Thread the Center. Gently slide the plush coil off of your cylindrical tool. You will now have a hollow, spring-like tube. Take your standard brown pipe cleaner and thread it completely through the hollow center of the plush coil, leaving an equal amount of the brown pipe cleaner sticking out of both ends.
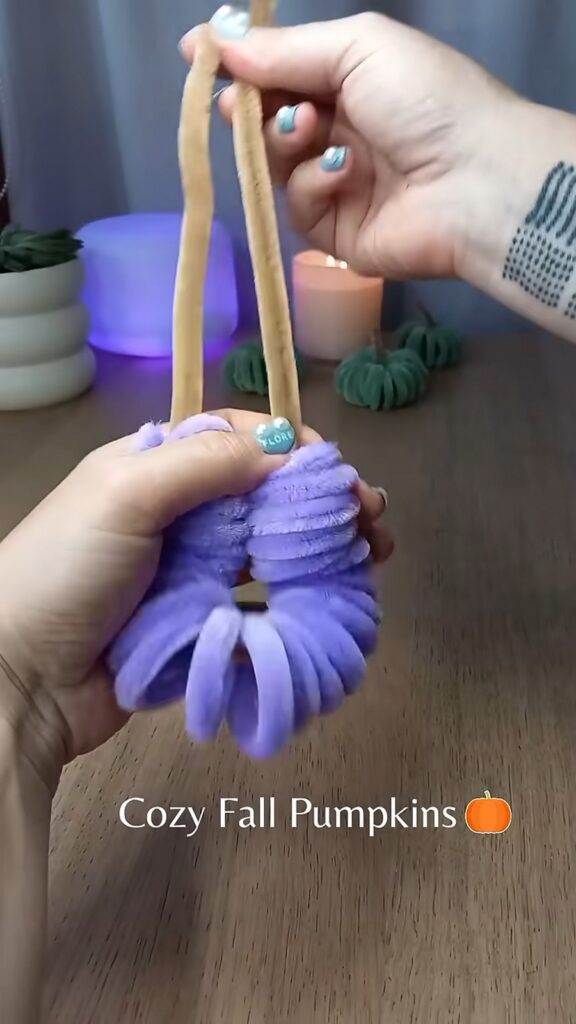
Step 4: Form the Pumpkin Shape Hold both exposed ends of the brown pipe cleaner and gently pull them together. As you pull, the plush coil will naturally bend into a circular, donut-like shape.
Once the two ends of the purple coil are touching seamlessly, twist the two ends of the brown pipe cleaner together tightly at the top to lock the circular shape in place.
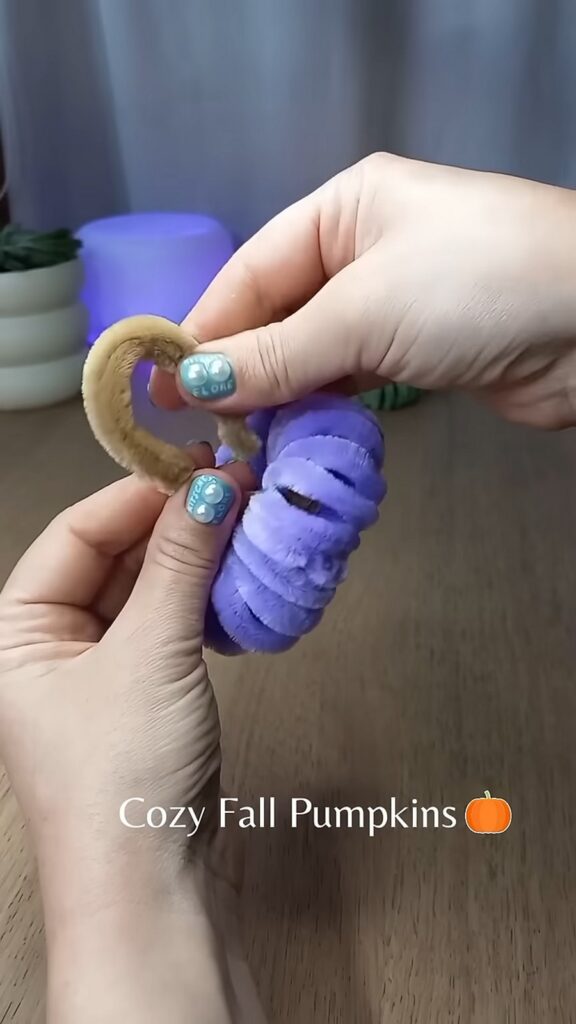
Step 5: Craft the Stem. You will now have a long piece of the brown pipe cleaner sticking out from the top of your pumpkin. To create a realistic, chunky stem, twist the brown pipe cleaner down onto itself in a spiral motion. Tuck the sharp end of the wire securely into the base of the stem or the center hole of the pumpkin so it is hidden and safe.
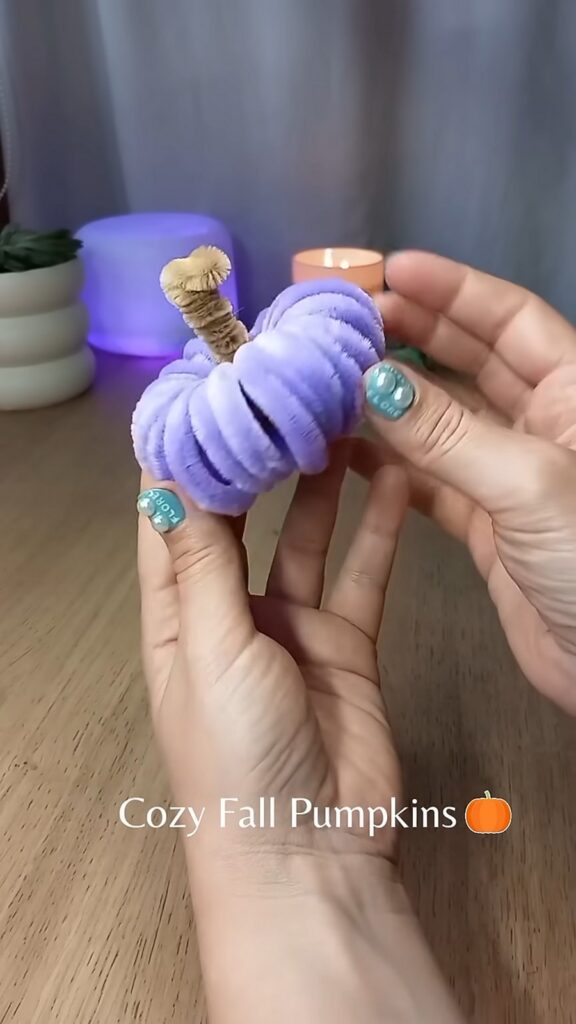
Step 6: Fluff and Adjust. Gently massage and adjust the loops of your plush coil. Space them out slightly to emphasize the ribbed texture of a natural pumpkin.
Are you a beginner?
Better learn how to make this quick pipe cleaner pumpkin plush with the following tutorial:
Pro-Tips for Beginners
- Mind Your Tension: When wrapping the jumbo pipe cleaner around your cylinder, wrap it snugly but not overly tight. If you pull the wire too taut, it will be very difficult to slide the coil off the tool later.
- Hide the Sharp Edges: Pipe cleaners have sharp wire cores. Whenever you make a cut, use your fingernail or a pair of pliers to bend the tiny wire tip inward, burying it into the plush fuzz. This prevents the finished pumpkin from scratching surfaces or hands.
- Play with Proportions: You can change the size and shape of your pumpkin by experimenting with different wrapping tools. A thicker dowel will create a shorter, squatter pumpkin, while a thinner marker will create a taller, tighter pumpkin.
- Seamless Joins: When pulling your coil into a circle in Step 4, make sure the two cut ends of the jumbo pipe cleaner are facing inward toward the center of the pumpkin before you twist the stem closed. This hides the seams and gives your plushie a flawless finish.
About "KitschyFlore"

About "Talha"
Hey, I’m Talha, the Crafter on Craftstive.com. I love to share guides on folding cute origami models and paper crafts, and I am always ready to inspire your next craft project with my weekly craft discussions.