
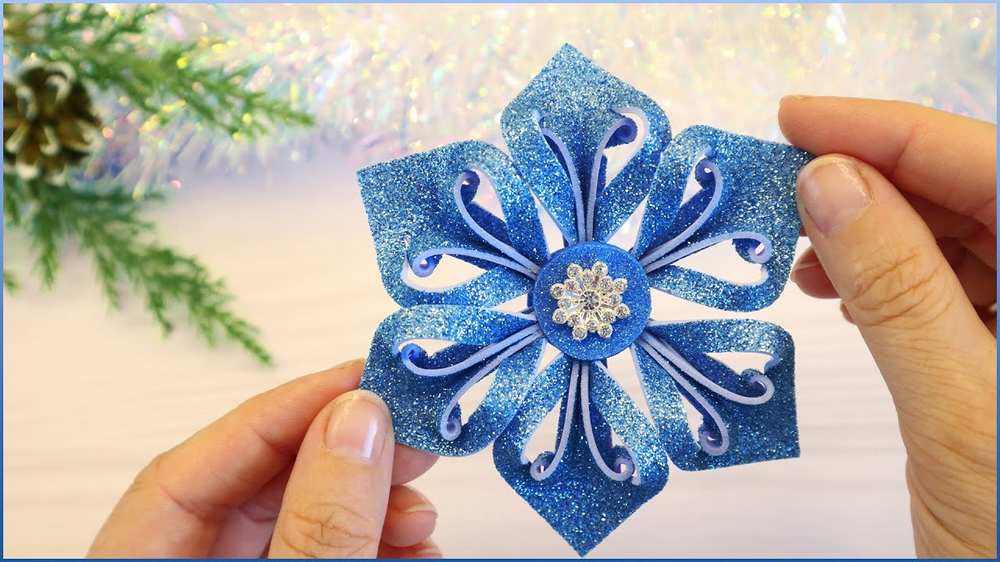
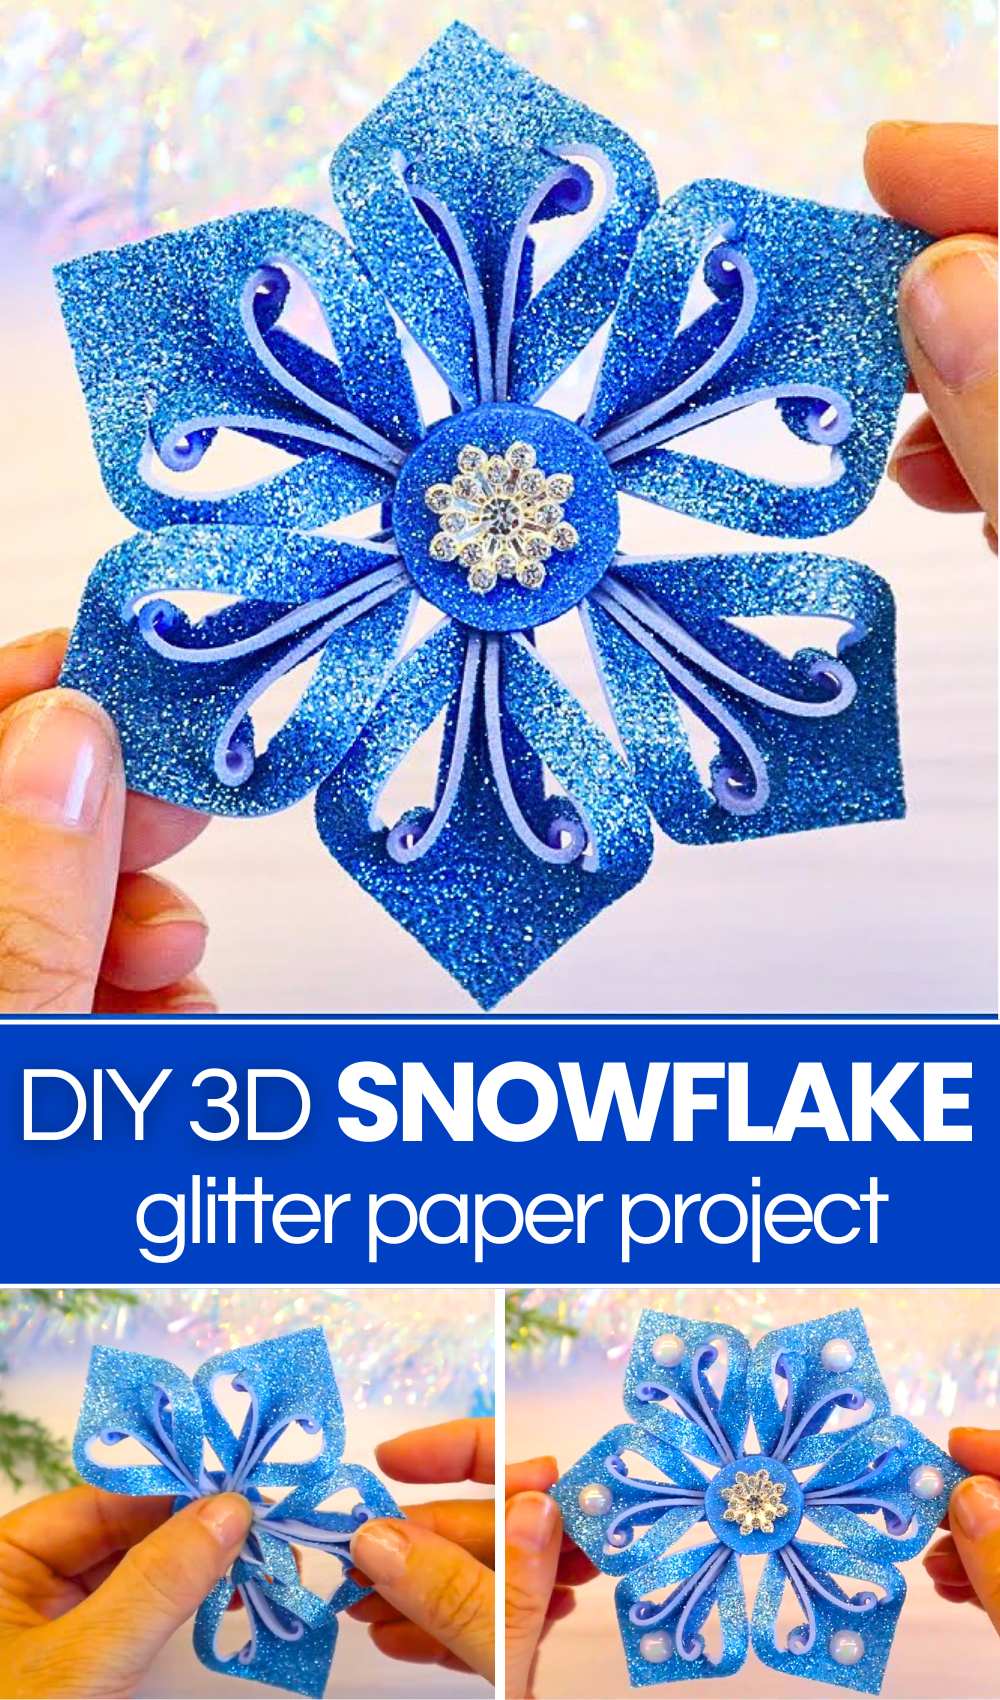
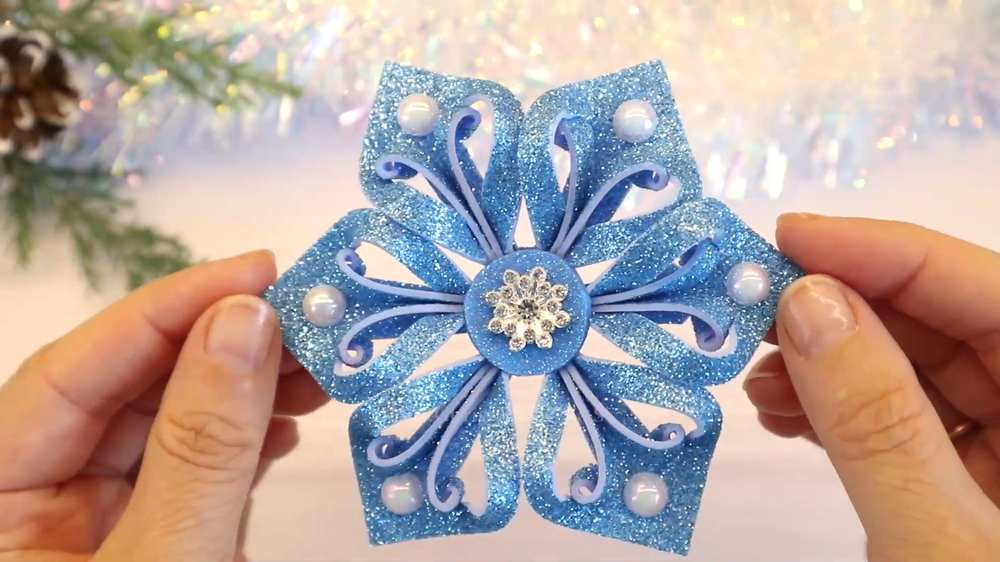
Today, let’s DIY a UNIQUE and SUPER elegant snowflake using just square pieces! Introducing a six-pointed 3D blue snowflake ornament from light blue glitter EVA foam. Three 7×7 cm foam squares are cut diagonally into six triangles, folded, and slit with parallel cuts. Perfect as a Christmas tree hanging ornament, holiday wreath accent, gift package topper, winter window display, or seasonal garland charm.
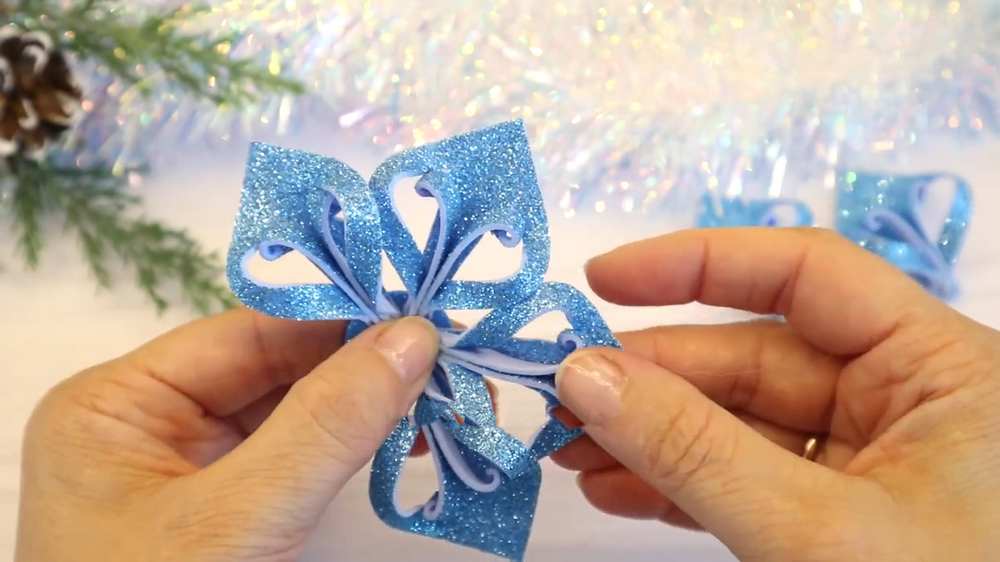
The cut strips are looped inward into elegant scroll patterns and pinched at the base to form dimensional petals.
The six petals are assembled radially onto a 2 cm by circular foam disc, covered with a matching center cap, and adorned with an ornate rhinestone flower and eighteen white half-pearls.
Difficulty Level
-
Level: Easy / Advanced Beginner
-
Why: The project uses simple, accessible tools and standard cutting techniques. Precision is required when making parallel scissor cuts along the
1 cm byguidelines and when looping the thin foam strips with hot glue to keep the scrolls smooth and uniform, but it involves no complicated folding or dangerous steps.
Materials Used
-
Light blue glitter EVA foam sheets (three
7×7 cmsquares plus two2 cm bycircular discs). -
Scissors
-
Ruler and toothpick / embossing stylus
-
Hot glue gun and glue sticks
-
White half-pearl beads (18 pcs: 3 per petal)
-
Silver rhinestone floral centerpiece/cabochon
Folds & Techniques Used
-
Diagonal Split Cut: Cutting a square corner-to-corner to create right-angled triangles.
-
Symmetry Axis Half-Fold: Folding the triangle in half along its vertical centerline.
-
Parallel Lattice Slitting: Slitting parallel bands toward the apex while leaving connecting bridges intact.
-
Scroll Loop Folds: Curving the cut strips inward toward the stem to form open, hollow teardrop scrolls.
-
Base Pinch Fold: Folding and pinching the lower diamond base together with hot glue to build a dimensional, tapered stem.
-
Radial Hub Assembly: Distributing and bonding six petal stems evenly around a circular foam base.
Learn to Make the Foaming Sheet Snowflake Plush
Better learn the whole method of making this no-bead snowflake using foaming sheets in this tutorial:
Quick Frame-by-Frame Guide
-
Cut the Triangles (00:03–00:13): Cut three
7×7 cmlight blue glitter foam squares diagonally in half to produce six right triangles.
-
Mark & Fold (00:14–00:29): Measure and mark
1 cm byintervals along the edge using a ruler and toothpick, then fold the triangle in half along its centerline.
-
Cut the Slits (00:30–00:54): Cut two parallel slits from the folded crease toward the apex, leaving the top corner connected. Snip out the small bottom center triangle.
-
Scroll the Petal Strips (00:55–01:26): Unfold flat. Apply hot glue and fold the innermost pair of strips inward to touch the center; repeat with the next pair of strips to create graceful curved loops.
-
Pinch the Stem (01:27–02:03): Apply glue along the bottom tip and pinch the sides firmly together into a tapered 3D stem. Repeat steps 2–5 to create six identical petals.
-
Mount to Base Disc (02:04–02:38): Cut a
2 cm byglitter foam disc and hot-glue the stems of all six petals radially around it in a symmetrical star layout.
-
Cover Center & Add Jewel (02:39–02:53): Glue a second
2 cm byfoam circle over the front center to hide the petal joins, then mount the rhinestone flower centerpiece directly on top.
-
Add Pearl Accents (02:54–03:19): Hot-glue three white half-pearls onto each petal (one on each side loop and one on the outer rim) to complete the snowflake ornament.
About "DIYChristmasIDEAS"
She shared only Christmas crafts with always the creative ideas!