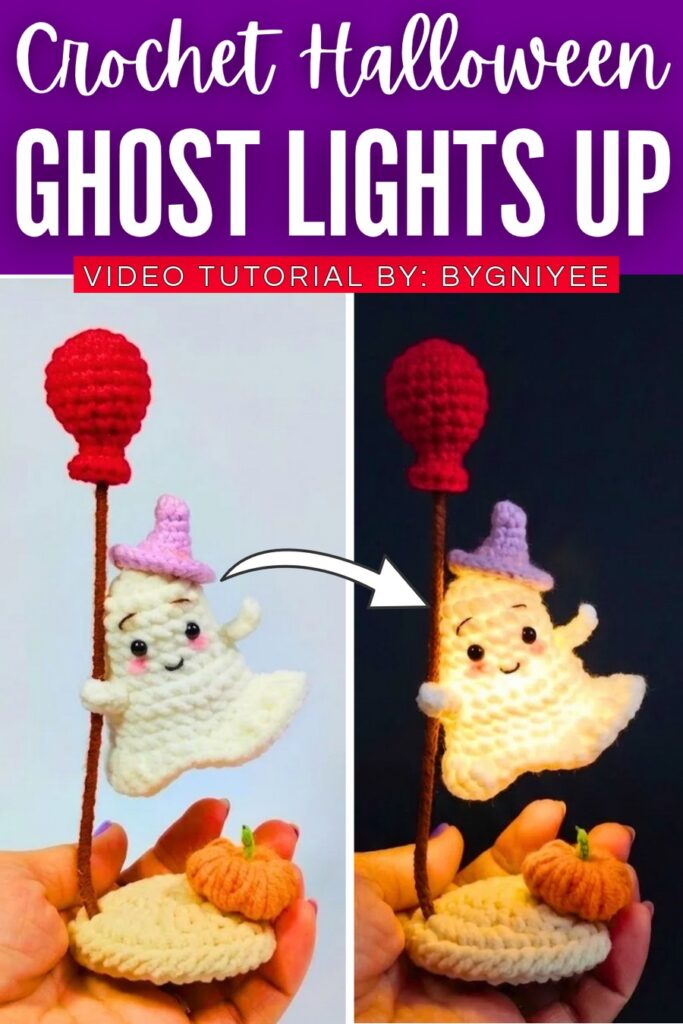
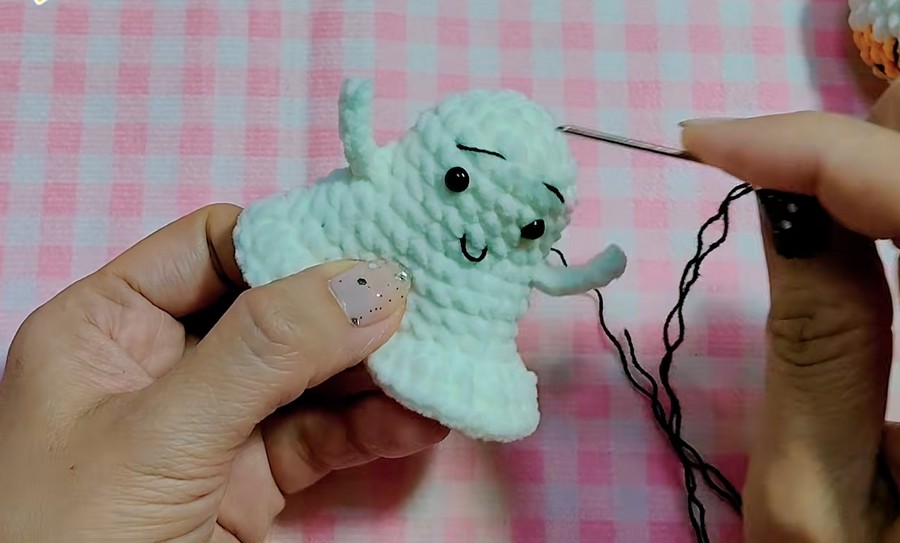
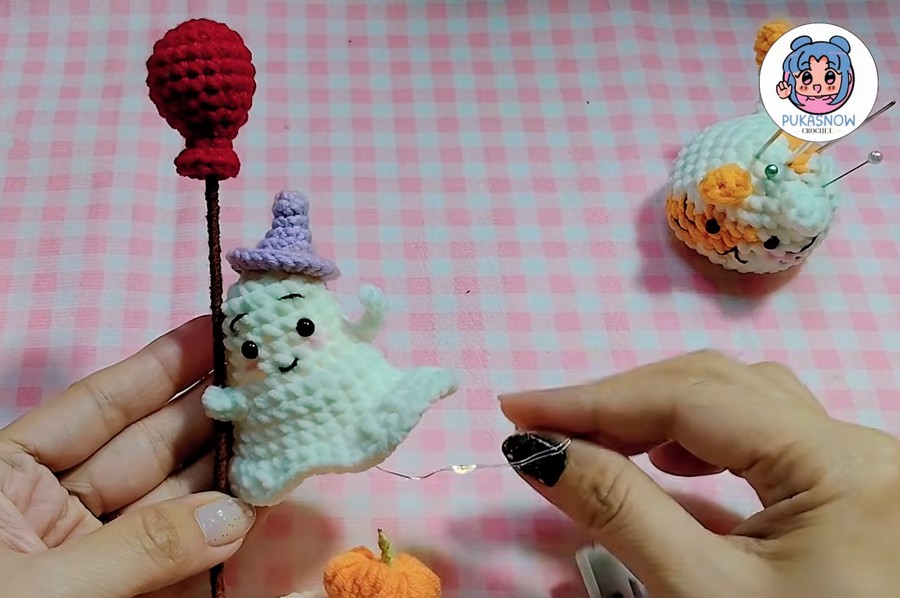
This Halloween tutorial guides you through crocheting a glowing, miniature ghost lamp setup mounted on a decorative frame. The project features a white ghost body with simple facial details, tailored to fit over an LED fairy light or tea light bulb. By combining standard amigurumi shaping with structural assembly, you create a functional piece of spooky ambient decor. It works as a desk ornament or a nightlight, offering a charming combination of traditional yarn work and modern lighting elements.
Crochet Ghost Lights Up Amigurumi Decor
Difficulty Level & Rationale
Difficulty Level: Easy / Advanced Beginner
-
Why: The ghost body uses basic amigurumi shapes made with fundamental stitches worked in continuous rounds. However, it requires a step beyond absolute beginner status due to assembly details, such as working into specific loops to form edging, inserting light wiring, and shaping the support setup.
Pattern Abbreviations
-
MR: Magic Ring (or Magic Circle)
-
Ch: Chain
-
Sl st: Slip Stitch
-
Sc: Single Crochet
-
Hdc: Half Double Crochet
-
Dc: Double Crochet
-
Inc: Increase (2 single crochets in the same stitch)
-
Dec: Invisible Decrease (single crochet 2 stitches together)
-
BLO: Back Loop Only
-
FLO: Front Loop Only
-
St(s): Stitch(es)
Materials Needed
-
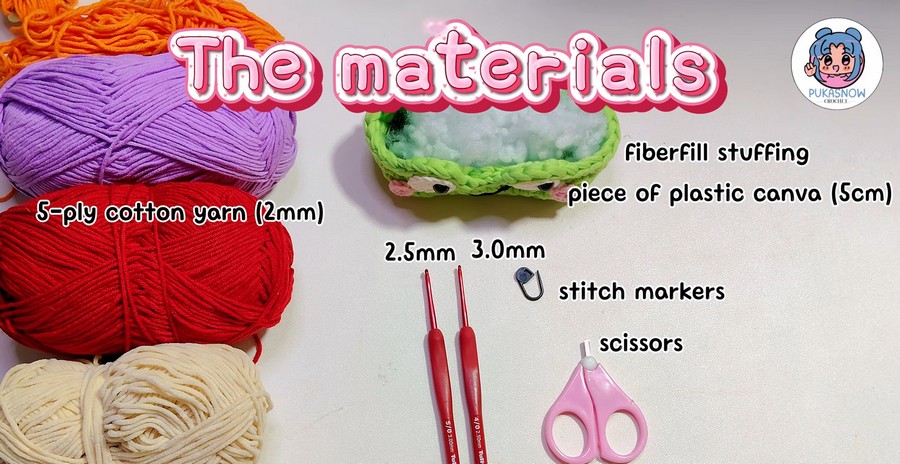
Yarn: Fine or sport weight cotton/acrylic yarn (White for the ghost, plus accent colors for accessories/base)
-
Crochet Hook: 2.0 mm to 2.5 mm hook (or size suitable for yarn thickness)
-
Lighting: Small LED fairy light, mini LED tea light, or bulb attachment
-
Structure: Craft wire, frame, or sturdy base for mounting
-
Notions: Safety eyes (or black embroidery thread), fiberfill stuffing, tapestry needle, scissors, stitch markers, and craft glue (optional for wire attachment)
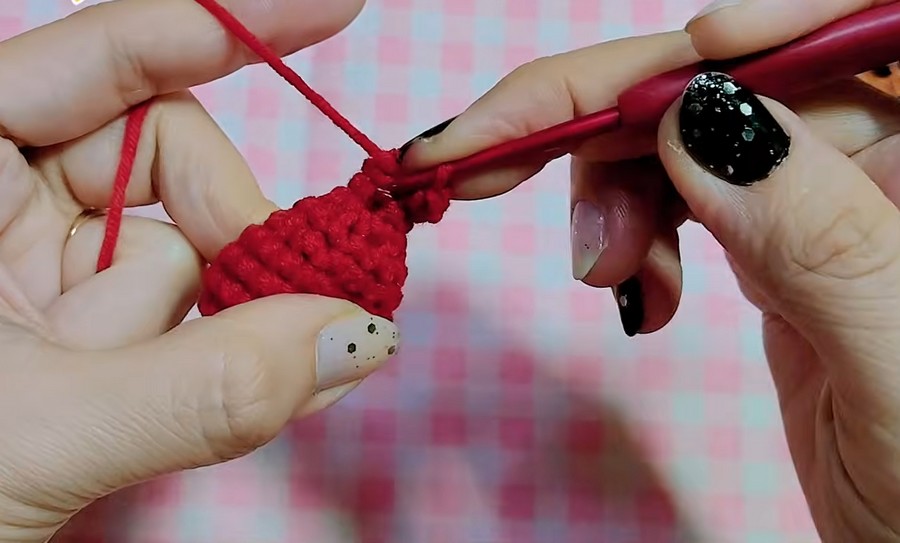
Special & Difficult Stitches Detailed
1. Invisible Decrease (dec)
To avoid gaps in small stuffed items where light could peek through:
-
Insert hook into the front loop only of the first stitch.
-
Without yarn over, insert hook into the front loop only of the next stitch (2 loops on hook, plus working loop).
-
Yarn over and pull through the first two loops on hook.
-
Yarn over and pull through the remaining two loops to complete the stitch.
2. Working in Front Loops / Back Loops Only (FLO / BLO)
Used to create the wavy skirt at the bottom of the ghost body:
-
BLO: Insert hook under only the back loop (furthest from you) to create an inner ridge inside the ghost.
-
FLO: Insert hook under only the front loop (closest to you) when adding decorative ruffles around the bottom border.