Pattern Type: Video Pattern Only
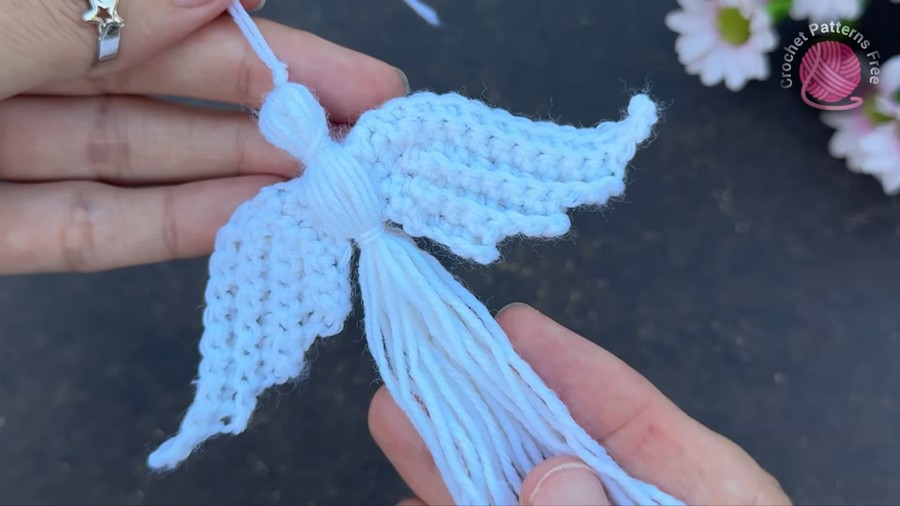
Grace your home with a touch of heavenly serenity through this delicate handmade angel ornament! Featuring feathered, ribbed wings and a flowing, tassel-style gown, this celestial keepsake brings pure elegance and gentle nostalgia wherever it hangs.
How to Crochet The Dou Of Fairy Angels
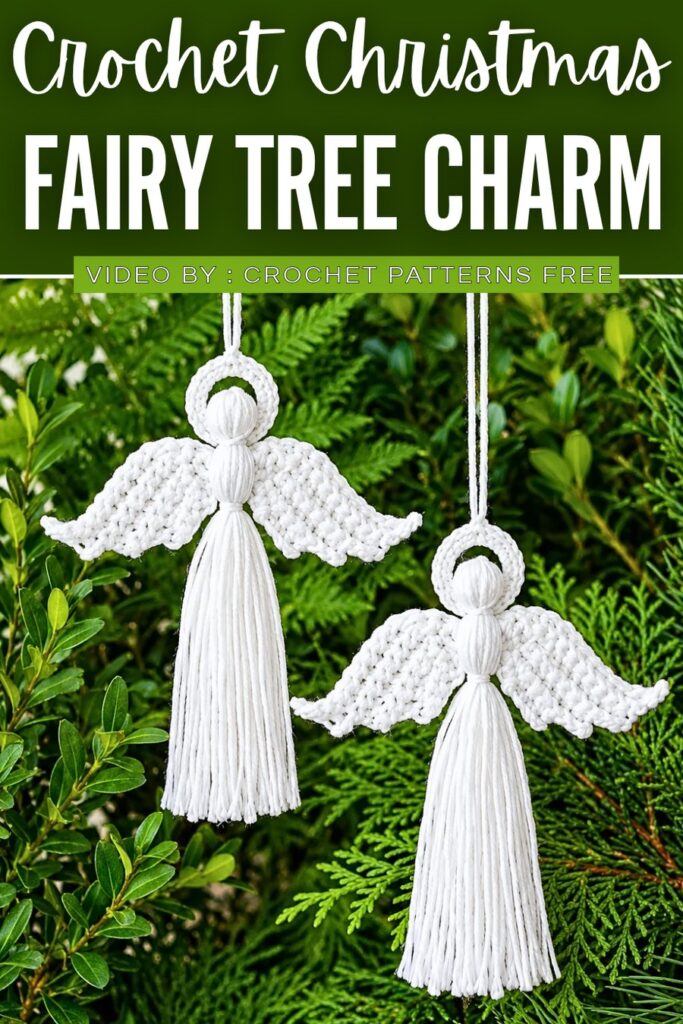
Rendered in clean, crisp white yarn, the angel makes an enchanting addition to Christmas trees, holiday garlands, nursery displays, or thoughtful keepsake gifts for baptisms and celebrations. Its lightweight silhouette and flowing yarn skirt catch every gentle breeze, creating an ethereal charm that brings peaceful warmth, handcrafted beauty, and festive grace to any living space.
Difficulty Level
-
Level: Advanced Beginner
-
Why: The stitches themselves are simple (chains, single crochets, and slip stitches), but shaping the winged wings requires careful row counting, working strictly into the back loops only (BLO) to create textured feather ridges, and using chain extensions to create tiered, stepped wing tips. Combining the crocheted wings with the wrapped tassel body also requires neat hand-tying and trimming.
Materials
-
Yarn: 3-ply yarn in White
-
Crochet Hook: 2.5 mm
-
Notions:
-
Scissors
-
Ruler or measuring tape (for measuring ~6-inch tassel strands)
-
Yarn/tapestry needle (for securing ends)
-
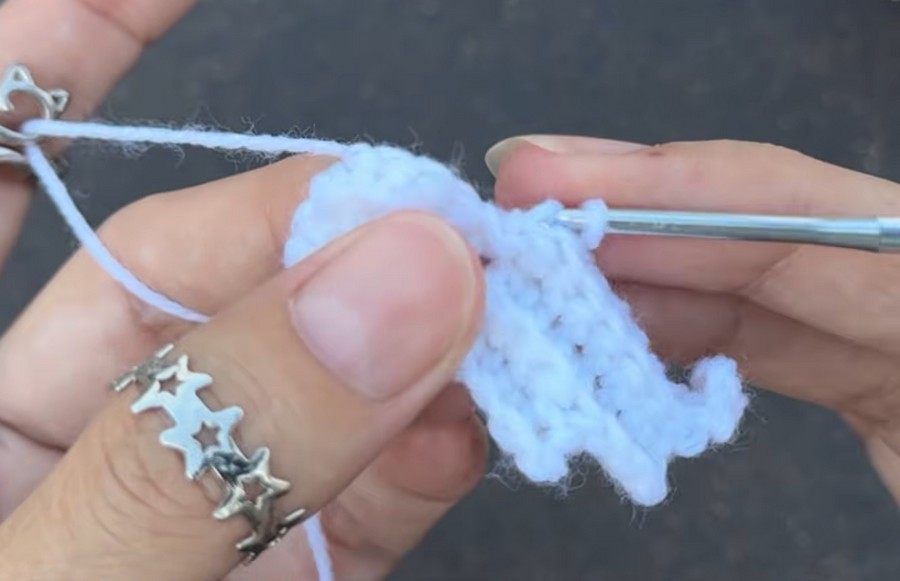
Pattern Abbreviations (US Terms)
-
ch: Chain
-
sl st: Slip stitch
-
sc: Single crochet
-
inc: Increase (working multiple stitches into the same stitch)
-
BLO: Back loop only
-
sk: Skip
-
st(s): Stitch(es)
Difficult / Complex Stitch Instructions
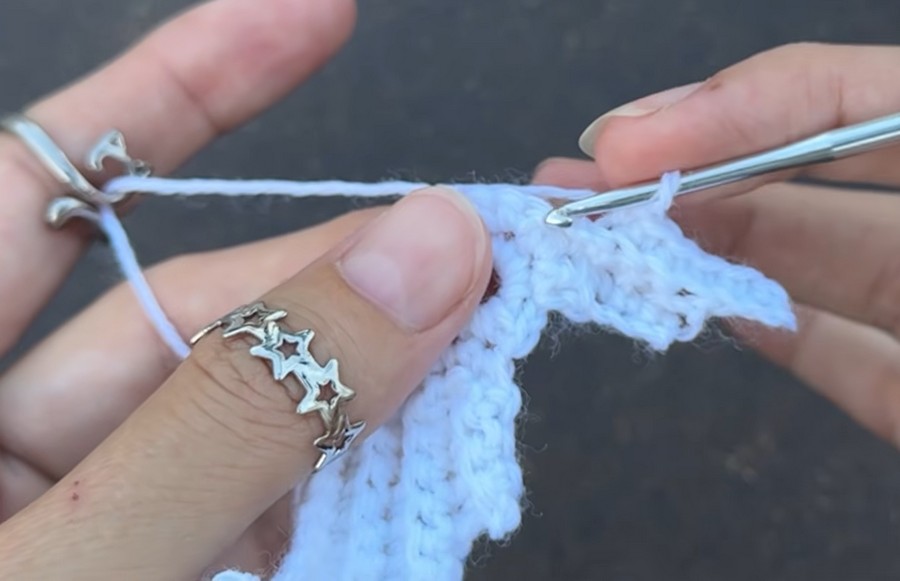
Single Crochet in Back Loops Only (BLO sc)
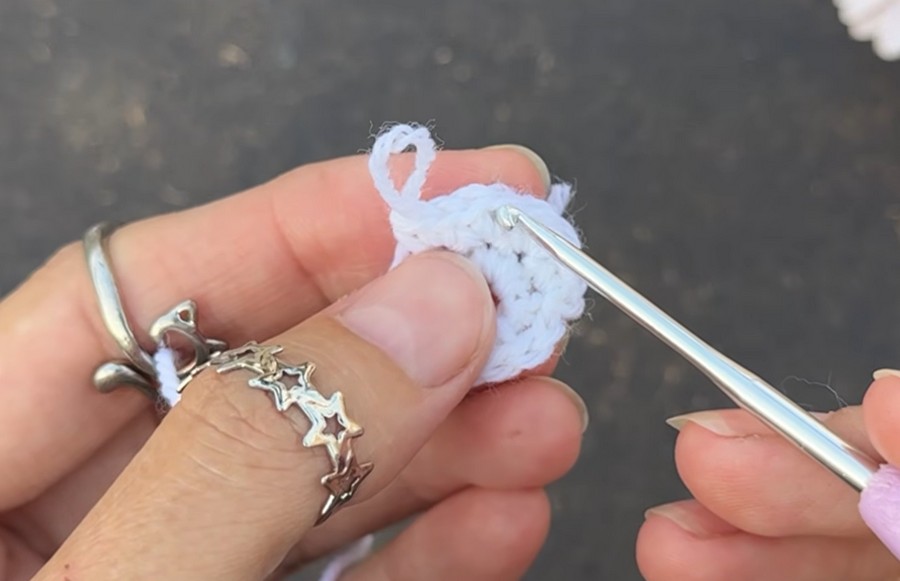
Working in the back loop creates the distinctive raised, ribbed texture that gives the wings their feathered look:
-
Look down at the top of the stitch you are about to work into; you will see two parallel loops forming a “V” shape (the front loop closest to you, and the back loop furthest from you).
-
Insert your hook downward only through the center of the “V” and under the back loop, leaving the front loop untouched.
-
Yarn over and pull up a loop (2 loops on hook).
-
Yarn over and pull through both loops to complete the stitch.
Stepped Wing Edge (Chain Extension)
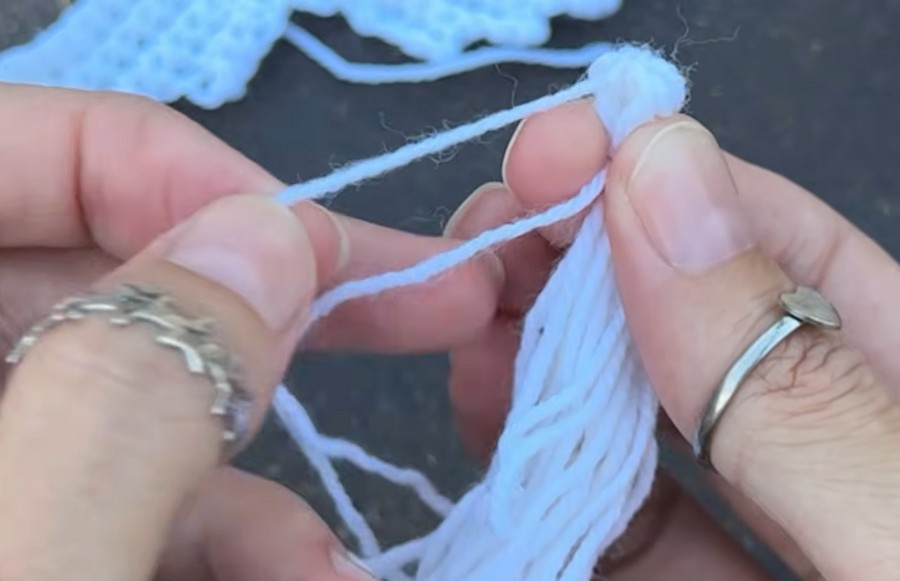
To create the pointed, tiered feathers of each wing:
-
At the outer tip of the wing, chain extra stitches (e.g., ch 3 or ch 4) into open air.
-
Turn your work, skip the first chain closest to the hook, and work single crochets into each remaining chain.
-
Continue working single crochets directly across the back loops of the previous row. This leaves behind a stepped, wing-like point with every tier.
Video Guide: