Pattern Type: Video Pattern Only
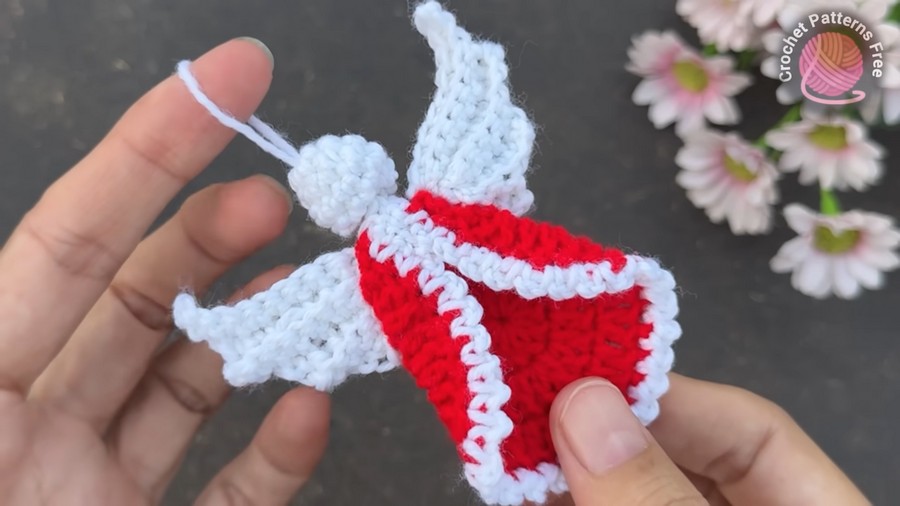
Invite heavenly grace into your home with this enchanting crochet angel ornament! Dressed in a vibrant festive red gown trimmed with snowy ruffled lace, this guardian angel features sweeping feathered wings and a sweet spherical head crowned with a ready-to-hang loop. Its timeless silhouette and striking two-tone contrast capture the nostalgic spirit of traditional holiday decor.
How to Crochet the Cutest Fairy Angel Ornament
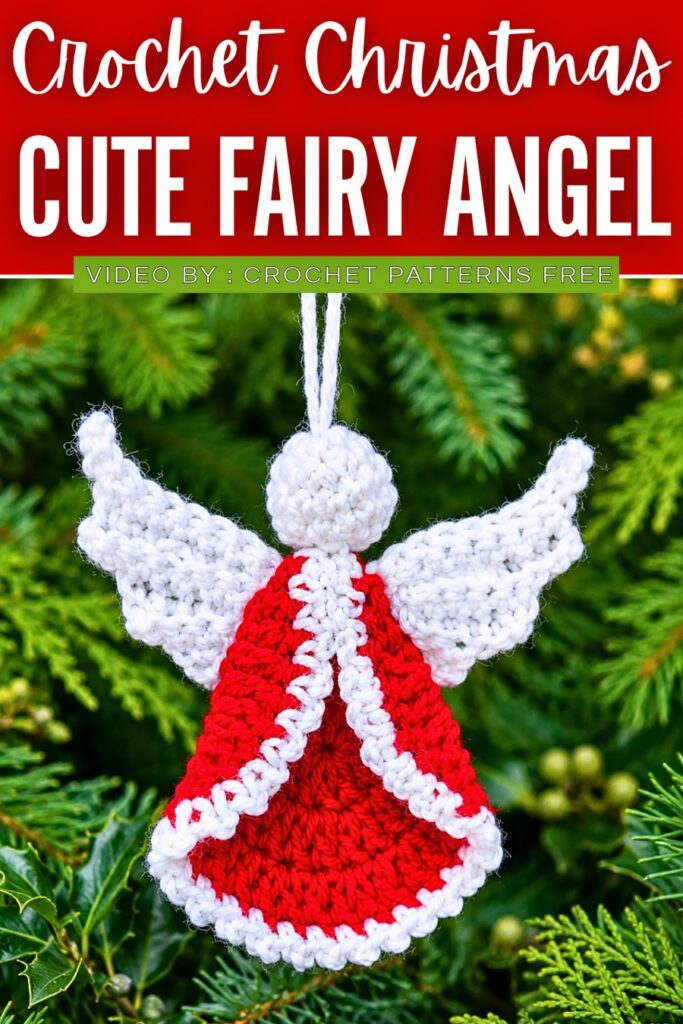
Whether gently swaying from the branches of your Christmas tree, adorning a tabletop wreath, or adding a heartfelt touch atop a wrapped present, this celestial keepsake radiates peace, joy, and handmade elegance throughout the holiday season.
Difficulty Level: Intermediate
-
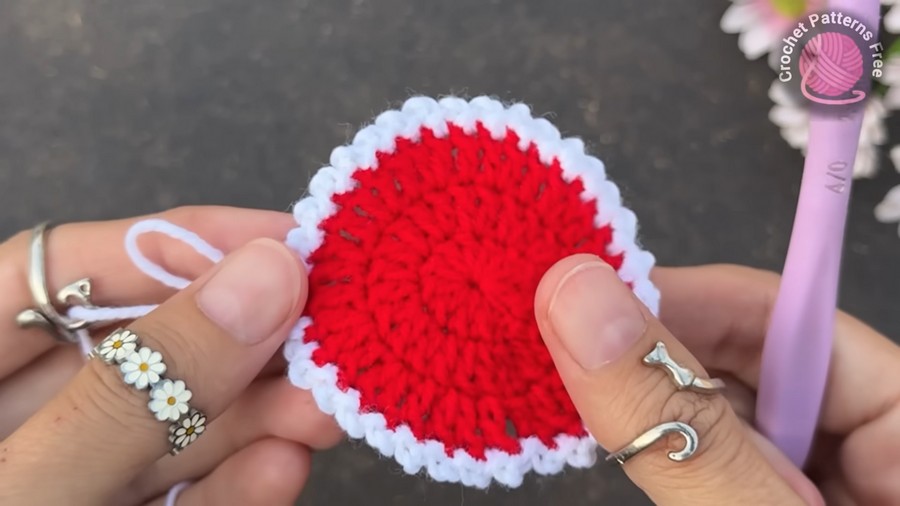
Why: This project earns an intermediate rating because it requires creating and assembling three entirely different types of crochet components. Crafters must work flat circular rounds with double crochet increases for the gown, sculpt a miniature 3D amigurumi sphere with tight decreases and stuffing for the head, and use back-loop-only (BLO) stepped rows to create the tiered, ribbed wing feathers. Finally, precise folding and gluing are required to bring the pieces together seamlessly.
Materials
-
Yarn: 3-ply yarn in Red and White
-
Crochet Hook: 2.5 mm
-
Stuffing: Small amount of polyester fiberfill (or yarn scraps) for the head
-
Tools: Tapestry/yarn needle, sharp scissors, and craft glue (or a hot glue gun)
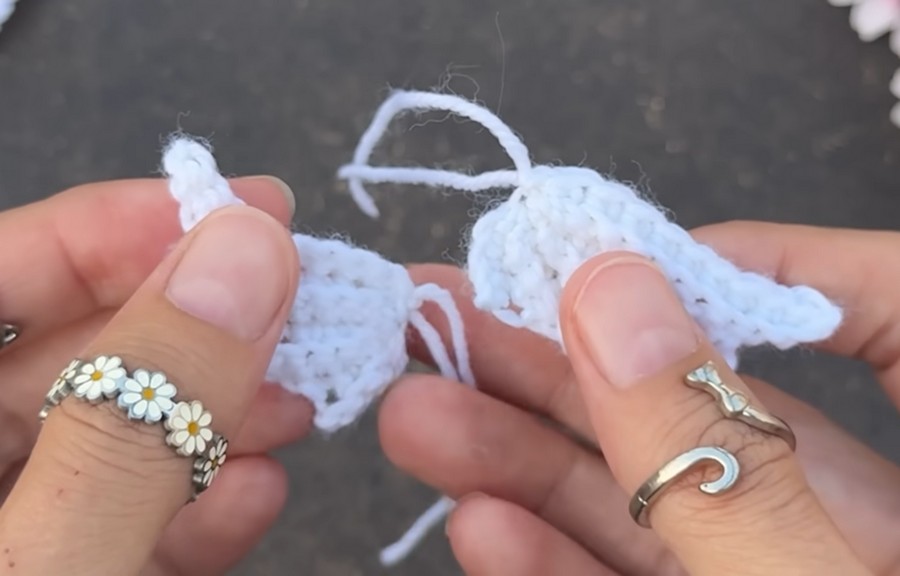
Pattern Abbreviations
-
MR – Magic ring
-
ch – Chain
-
sc – Single crochet
-
dc – Double crochet
-
inc – Increase (work 2 stitches into the same stitch)
-
dec – Decrease (single crochet 2 stitches together)
-
sl st – Slip stitch
-
blo – Back loops only
-
sk – Skip
-
st(s) – Stitch(es)
-
rep – Repeat
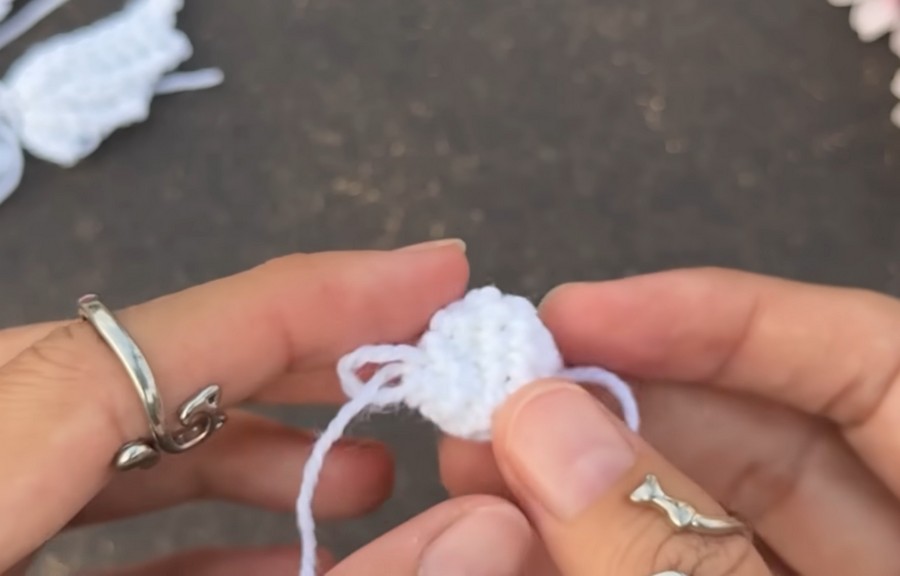
Difficult Stitch Tutorial: Single Crochet in Back Loops Only (sc in BLO)
Working in the back loop creates the distinct ridges that give the angel’s wings their layered, feather-like texture:
-
Locate the loops: Look down at the top edge of your stitch. You will see a small “V” formed by two parallel strands. The strand closest to you is the front loop, and the strand farthest from you is the back loop.
-
Insert hook: Insert your hook from front to back through only the back strand (leaving the front loop unworked).
-
Yarn over and pull up: Catch the working yarn and draw it through the back loop (you will have 2 loops on your hook).
-
Complete the stitch: Yarn over once more and pull cleanly through both loops on the hook. The unworked front loop remains visible, creating a neat, raised horizontal ridge on the fabric.
Video Guide: