


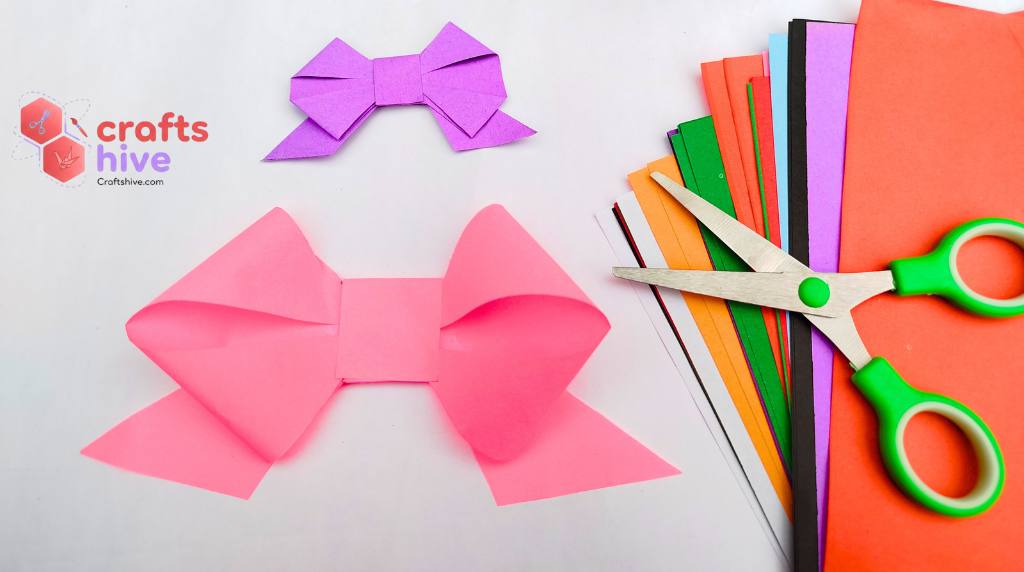
The couquette bow can be crafted with paper in 9 simple steps. Let me show you how in this paper bow tutorial with step-by-step instructions.
You can craft this for holiday gift boxes, paper animal crafts, and bouquet wraps. I will soon share the paper heart and bow craft idea as well. Let’s continue to the tutorial.
Couquette Paper Bow: Instructions
Model Difficulty: Easy (needs origami, cutting, and gluing)
Model Type: Traditional/General
Final bow size: 13cm x 8.5cm using a 20cm by 20 cm square sheet of paper
Preparation
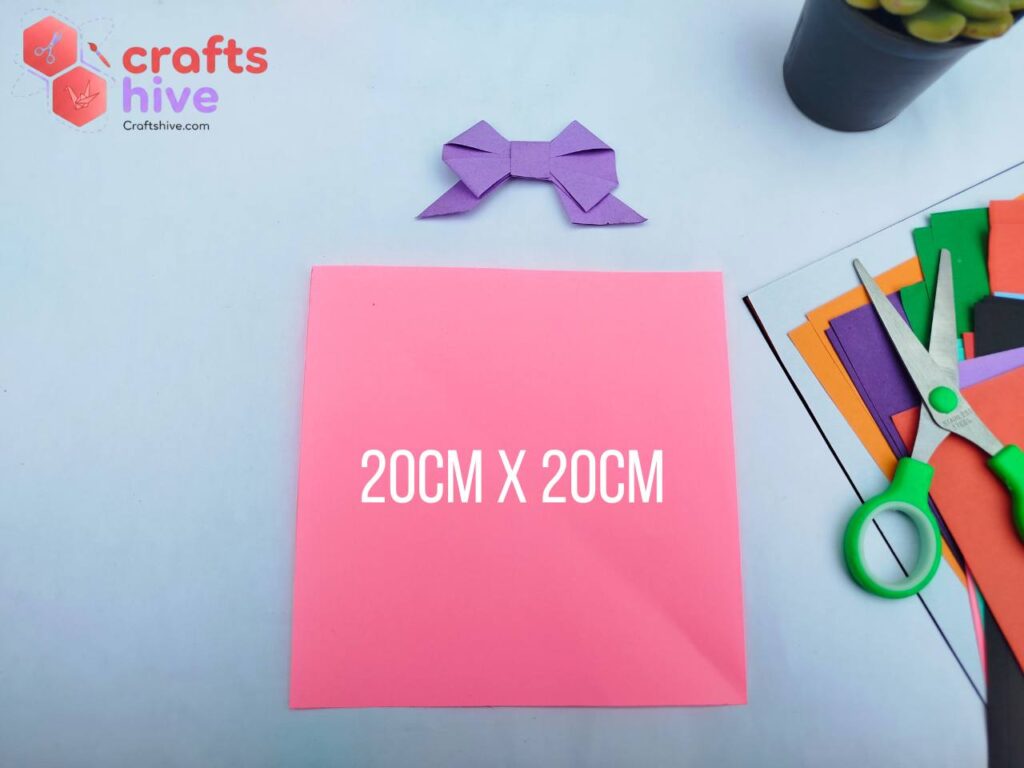
I will be using a pink square sheet of Tant Paper for making a large bow. For the smaller one, I used about 5cm by 5cm square sheet. Red, purple, and pink, and polka dot sheets are also great to start with.
Step #1: Make the Diagonal Creases
We shall begin with the normal orientation or direction of square sheet.
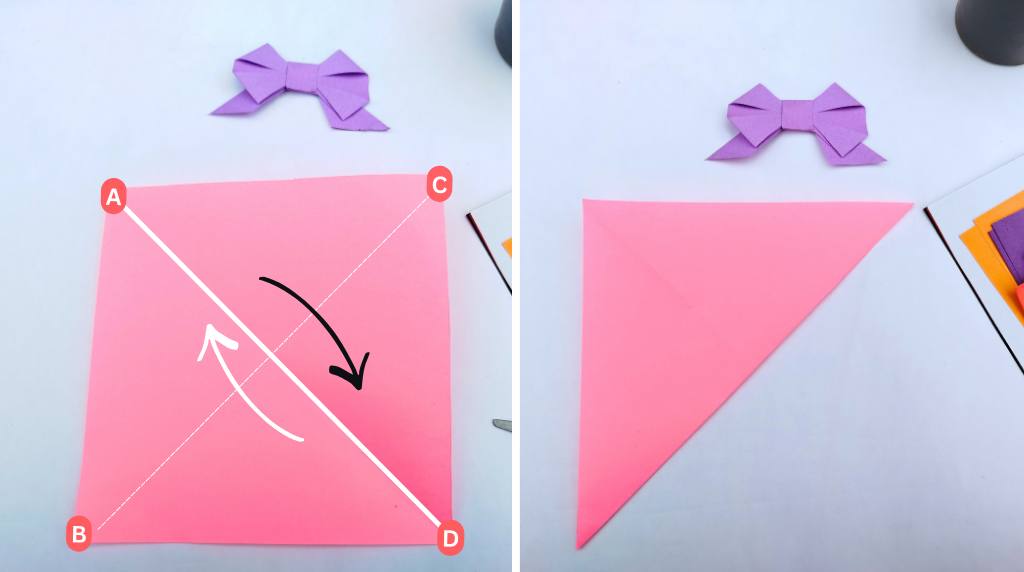
Fold the bottom right corner of the sheet onto the top left corner, and align the corresponding sides. Then press the paper well, crease it, and unfold.
Label Instruction: Fold the corner D onto the corner A and align the side CD with the side AC. Similarly, align the side BD with the side AB.
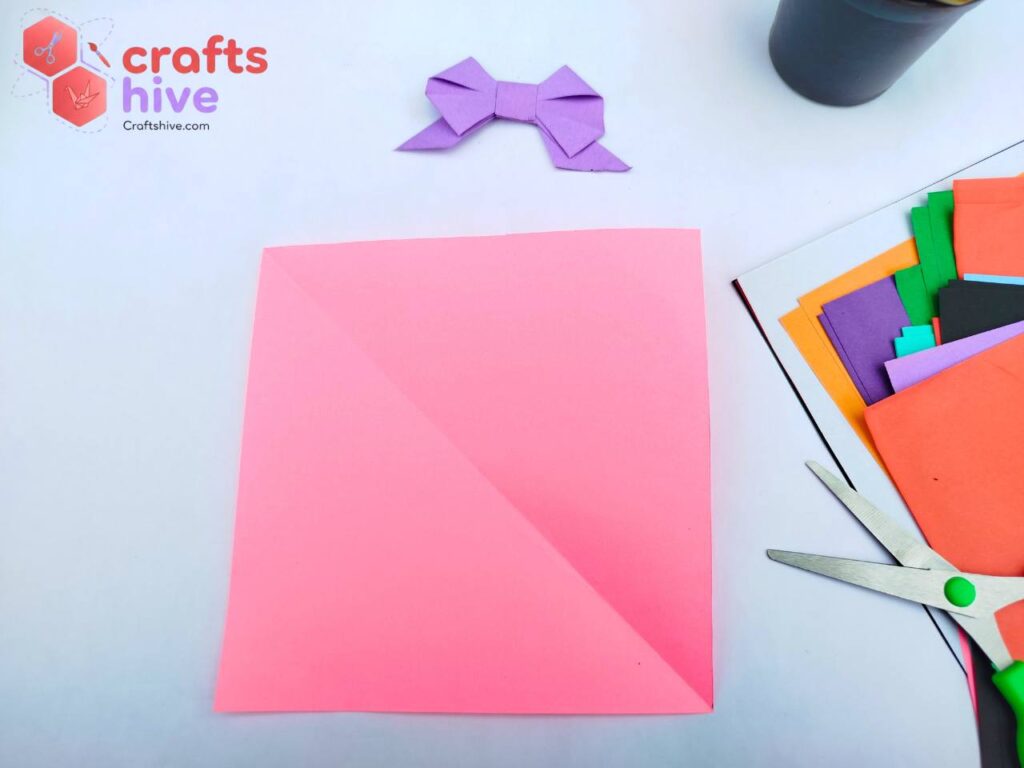
You will notice the first diagonal crease.
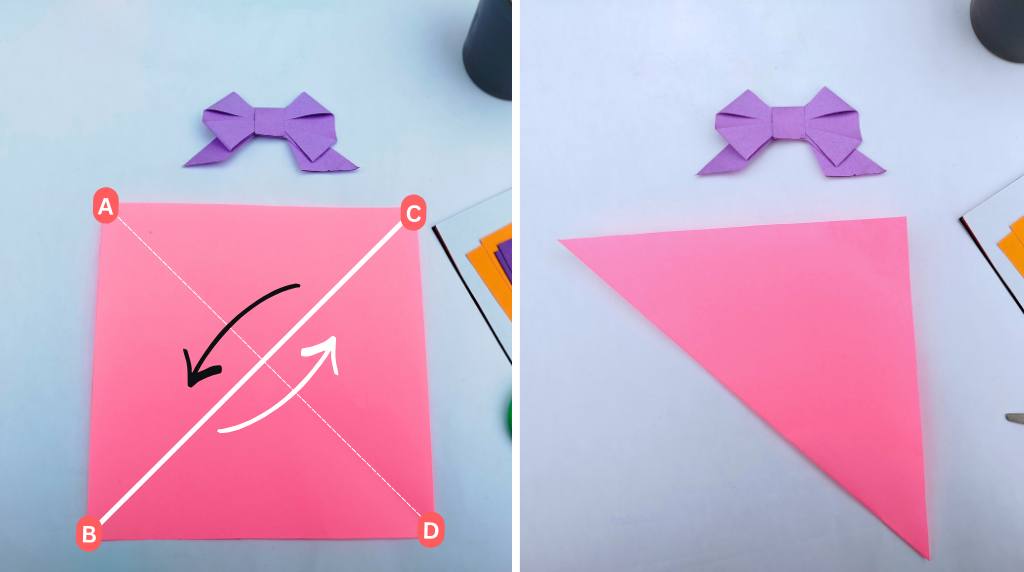
Now, fold the bottom left corner of the sheet onto the top right corner, and align the corresponding sides. After you press the paper and crease it, unfold it.
Label Instruction: Fold the corner B onto the corner C and align the side B with the side CD. Similarly, align the side AB with the side AC.
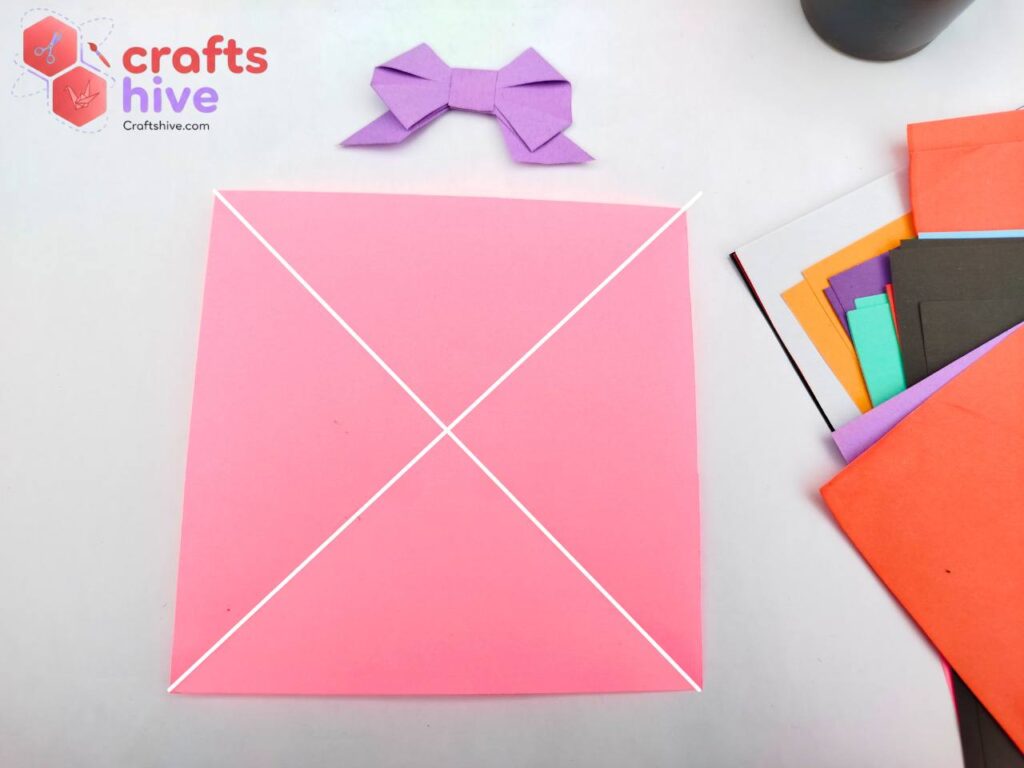
Now, we have the crossing diagonal creases with the diagonal half folds.
Step #2: Mark Equal Lengths from Corners Along Diagonals
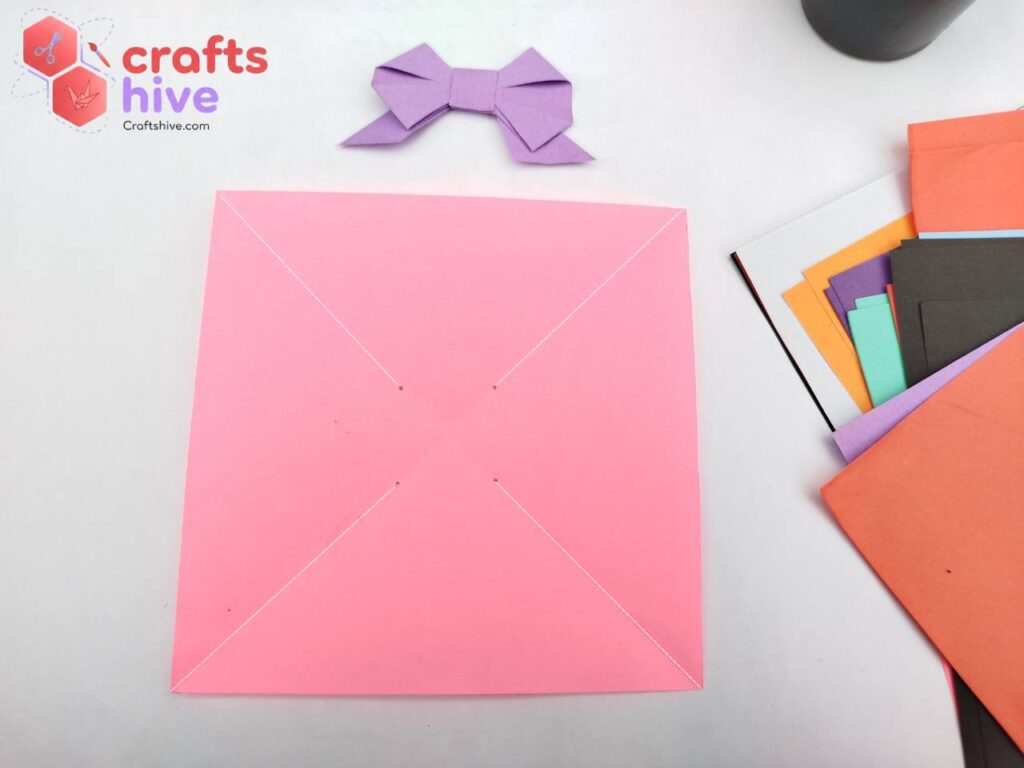
Starting from each corner along the diagonal, draw 4 straight lines towards the centre with a length of 4/5th of the half diagonal. Mark the end of the line with a dot. Make sure all your lines are of equal length. Mine were about 12cm each.
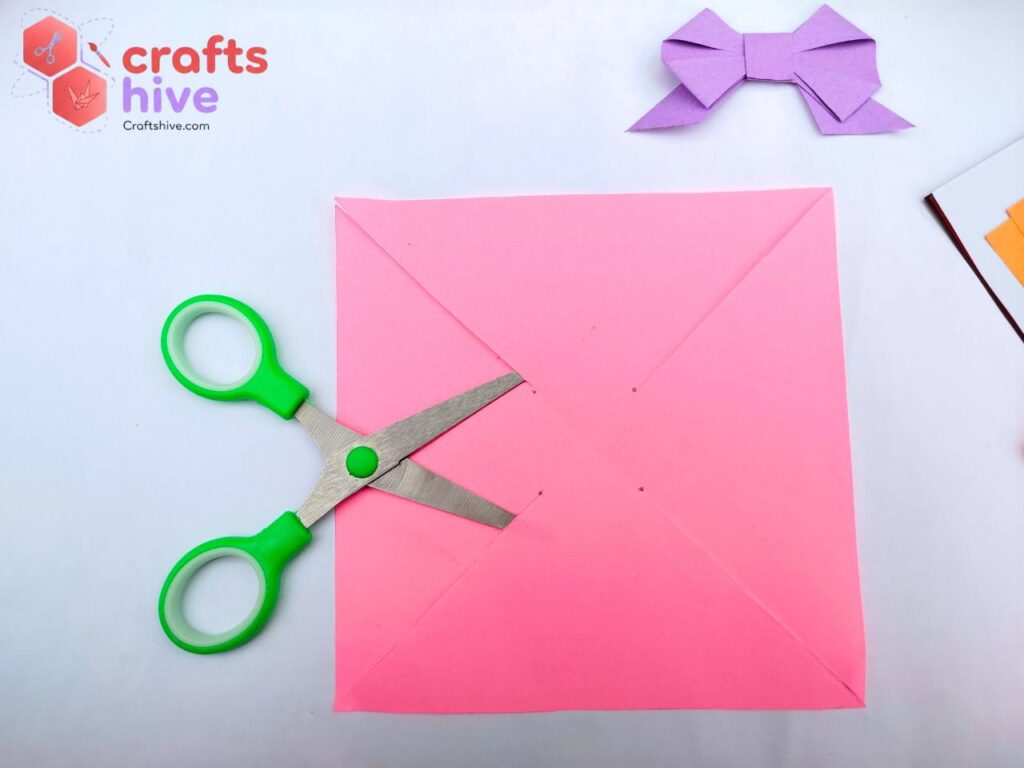
Step #3: Make Diagonal Cuts

Make straight cuts up to the marked point from each centre along the diagonal.
Step #4: Draw Parallel Lines and V
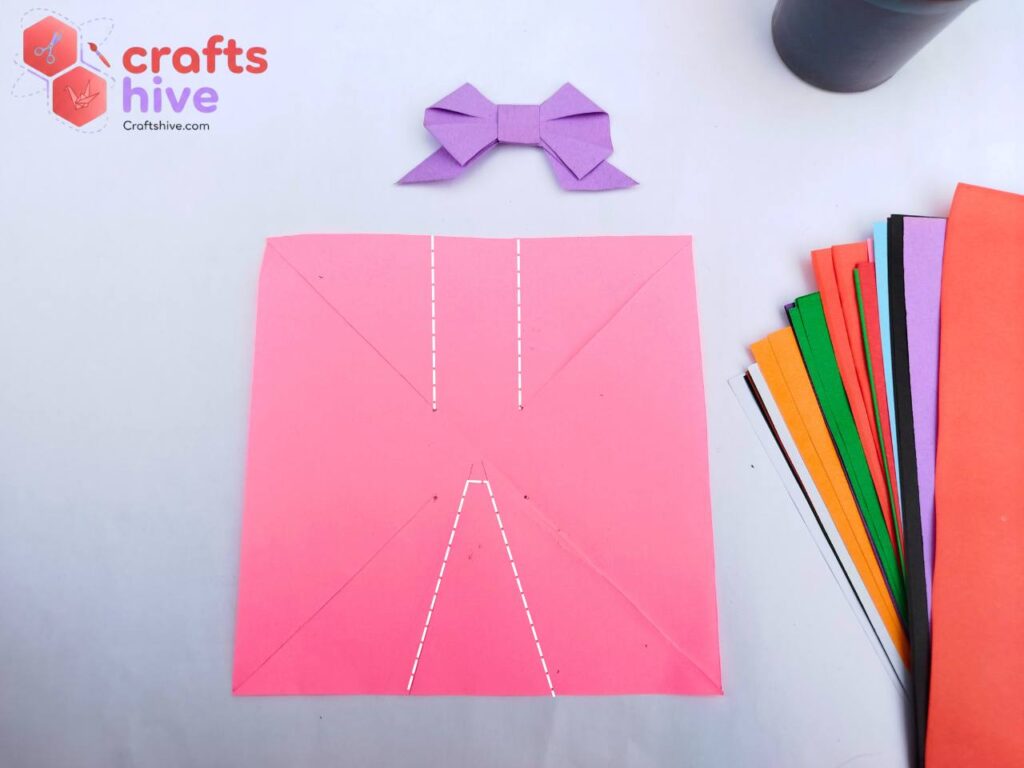
Now, on the top and bottom sides, we need to cut the excess for the ribbon tails and the centre part of the bow. For this:
- On the top side, draw two straight parallel lines passing through the two dots just like above.
- On the bottom side, draw an inverted V in the middle with the bottom length of the inverted V being 1/3 of the side length of the square sheet.
Step #5: Take Triangle and Rectangle Cutouts
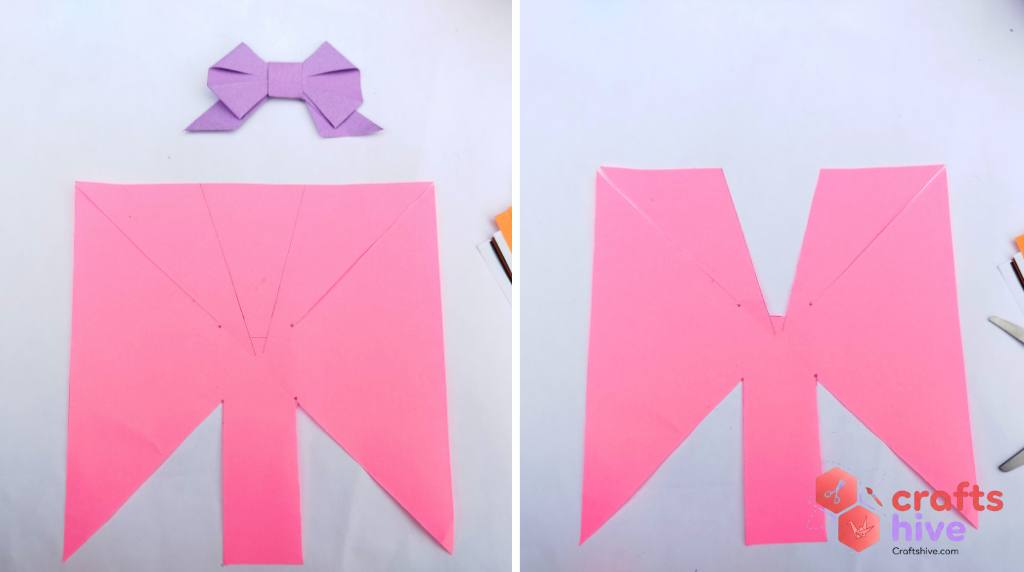
Leaving a rectangular strip on the main paper, take cutouts from the top side. Then cut the V out of the main paper. You will be left with only the flat paper for the tails, ribbon, and the knot.
Step #6: Apply Glue to the Centre
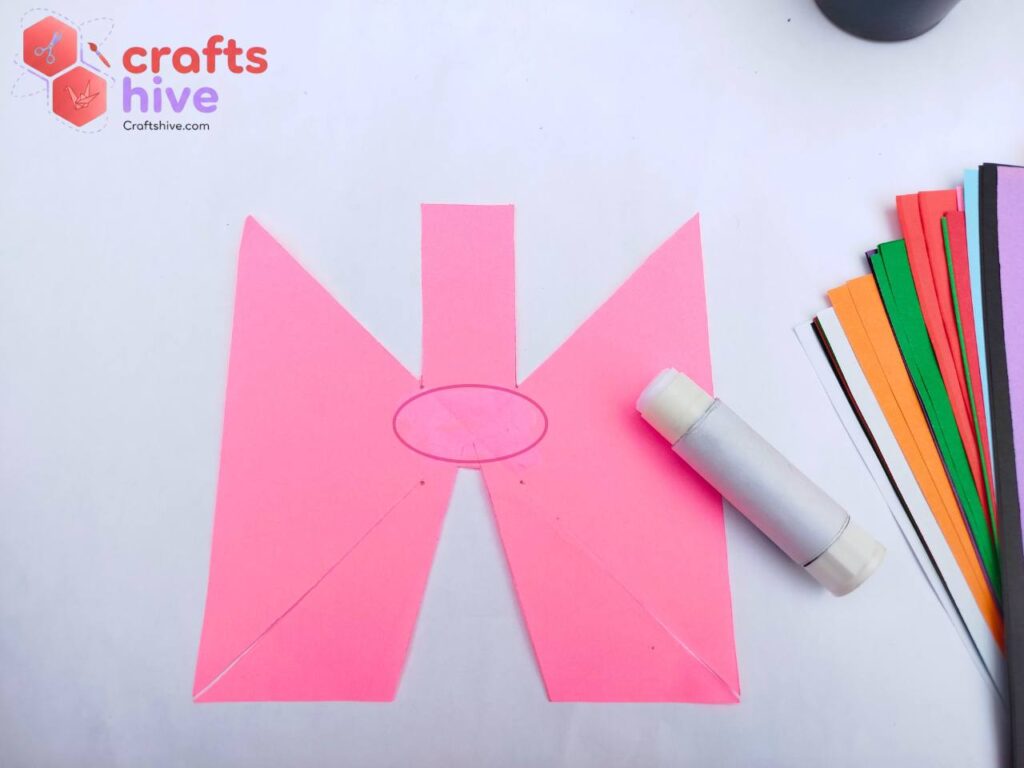
Apply some paper glue in the middle part of the sheet. This will be the area between the 4 dots.
Tip: You can also use the hot glue.
Step #7: Fold the Corners
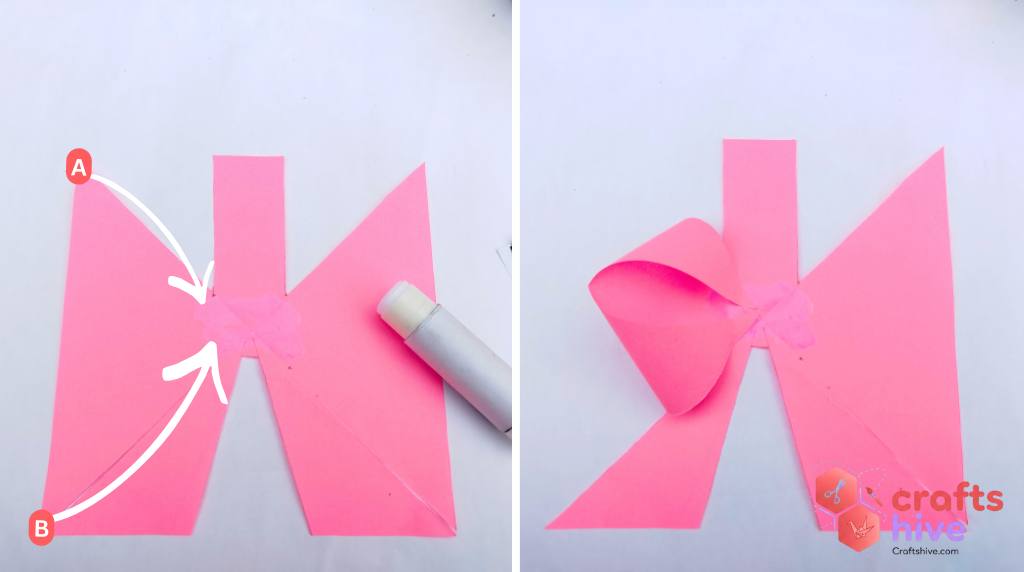
Fold the top left corner of the sheet onto the centre where you applied glue, and let a small part of the paper be stuck here. Similarly, hold the bottom left corner and place it onto the glued part.
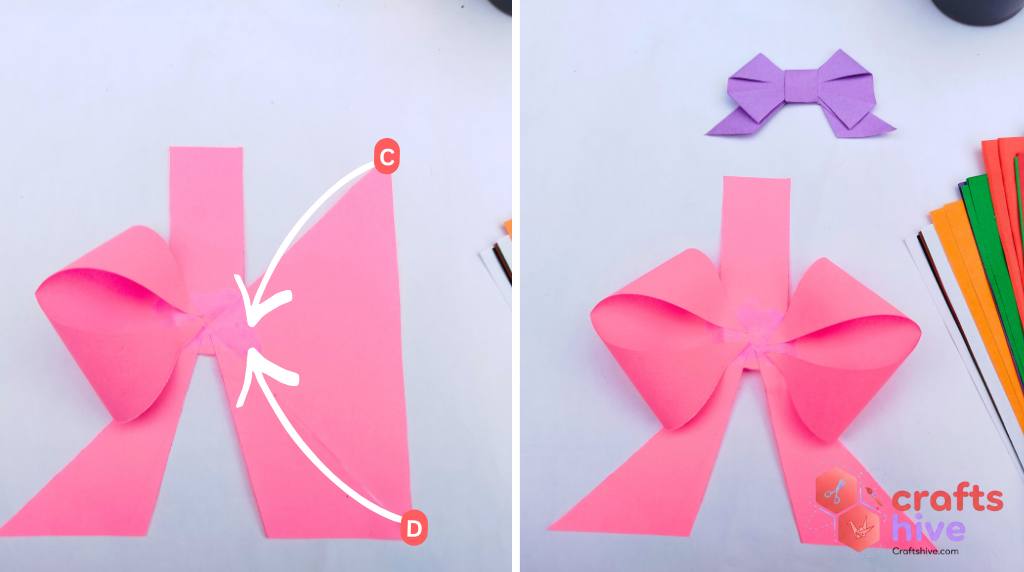
Repeat the above steps for the right side of the sheet.
Step #8: Settle the Tails Back Side
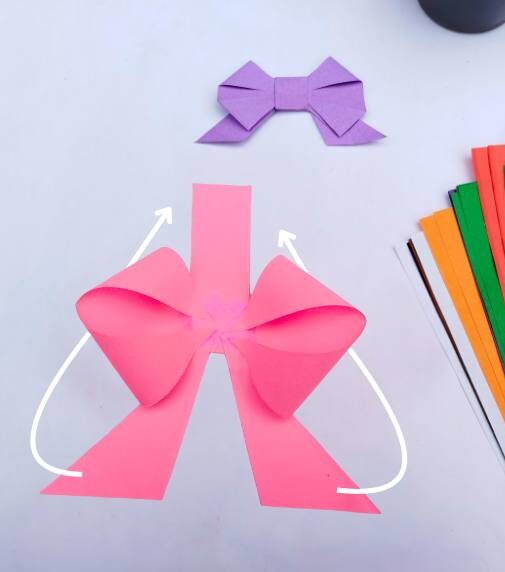
For this style of paper bow, we want a knotted ribbon look. So, Valley Fold both the ribbon tails to the back.
Step #9: Glue the Knot
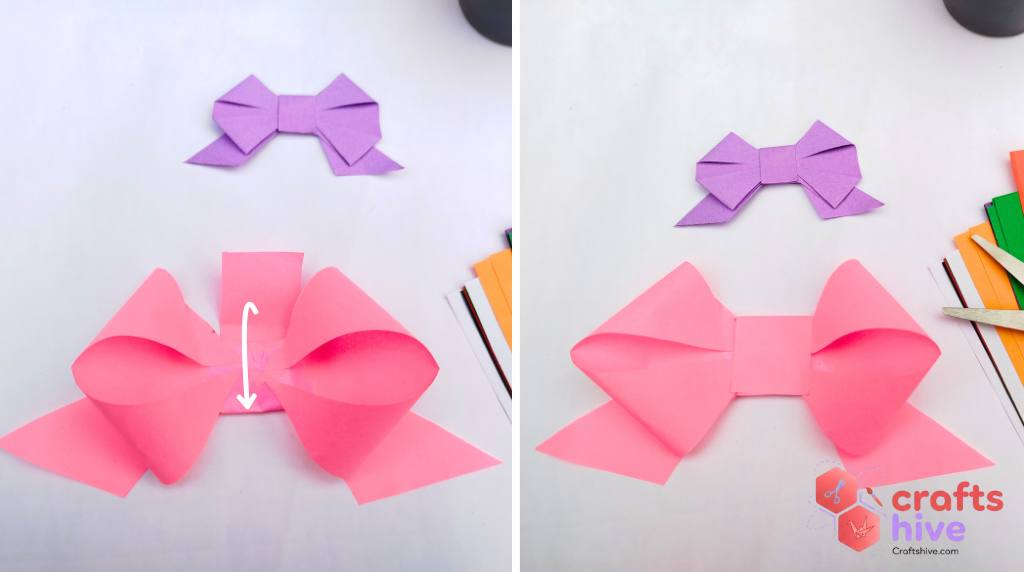
Now, wrap the rectangle strip around the centre part. It will be glued automatically when you press. That’s it, making of paper bow is finished.
Did you like the Tutorial? Tell Us in the Comments.
You can also share your finished origami bow to us.
About "Origamist@Craftshive"
Our origamist is expert in both the traditional origami and designing some REALLY creative crafts.
 How to Fold Origami Jumping Frog in 10 Steps
By Origamist@Craftshive
How to Fold Origami Jumping Frog in 10 Steps
By Origamist@Craftshive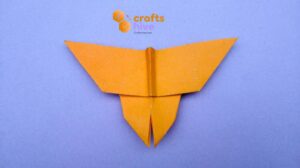 How to Fold Easy Origami Butterfly in 12 Steps
By Origamist@Craftshive
How to Fold Easy Origami Butterfly in 12 Steps
By Origamist@Craftshive How to Fold Origami Ninja Star in 7 Steps
By Origamist@Craftshive
How to Fold Origami Ninja Star in 7 Steps
By Origamist@Craftshive How to Fold Easy Origami Penguin for Winter
By Origamist@Craftshive
How to Fold Easy Origami Penguin for Winter
By Origamist@Craftshive How to Fold Origami Sailing Boat in 8 Steps
By Origamist@Craftshive
How to Fold Origami Sailing Boat in 8 Steps
By Origamist@Craftshive How to Fold Origami Traditional Heart for Valentine’s Day
By Origamist@Craftshive
How to Fold Origami Traditional Heart for Valentine’s Day
By Origamist@Craftshive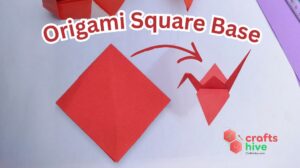 How to Make Origami Square Base in 4 Steps
By Origamist@Craftshive
How to Make Origami Square Base in 4 Steps
By Origamist@Craftshive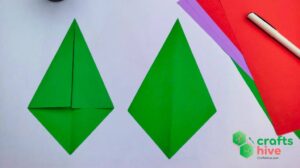 How to Make Origami Kite Base in 4 Steps
By Origamist@Craftshive
How to Make Origami Kite Base in 4 Steps
By Origamist@Craftshive How to Make An Easy Origami Swan in 13 Steps
By Origamist@Craftshive
How to Make An Easy Origami Swan in 13 Steps
By Origamist@Craftshive