
Subscribe to Juanjuan Crochet! The video tutorial & instructions are below!
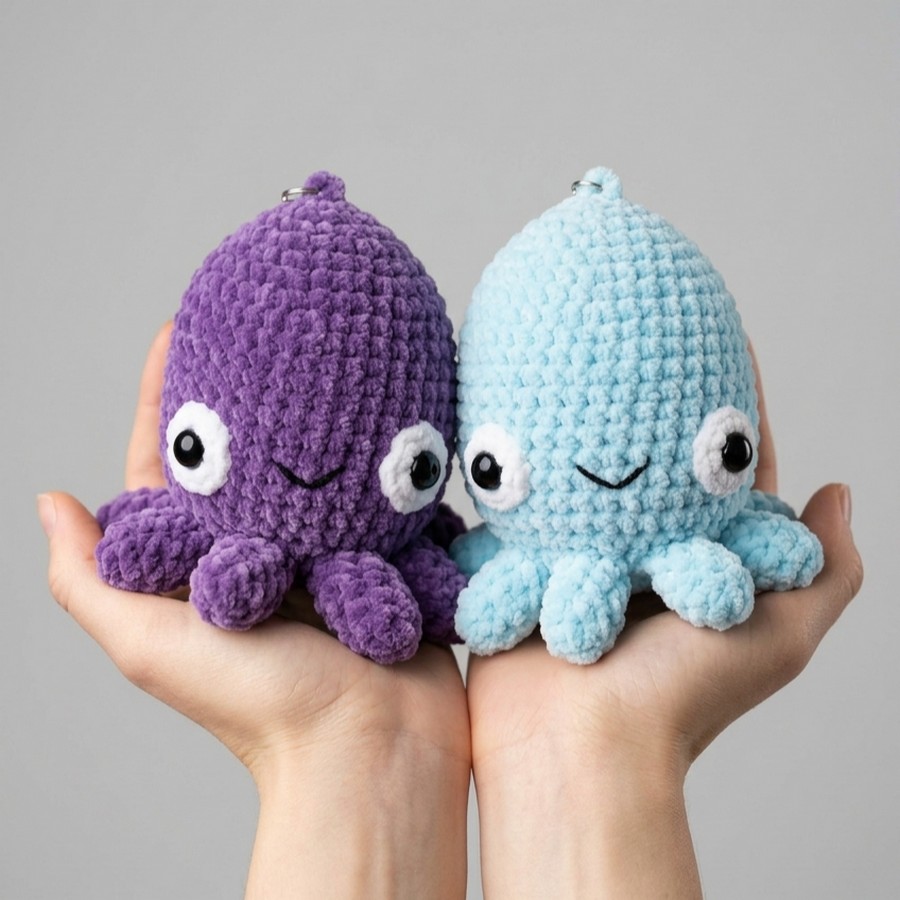
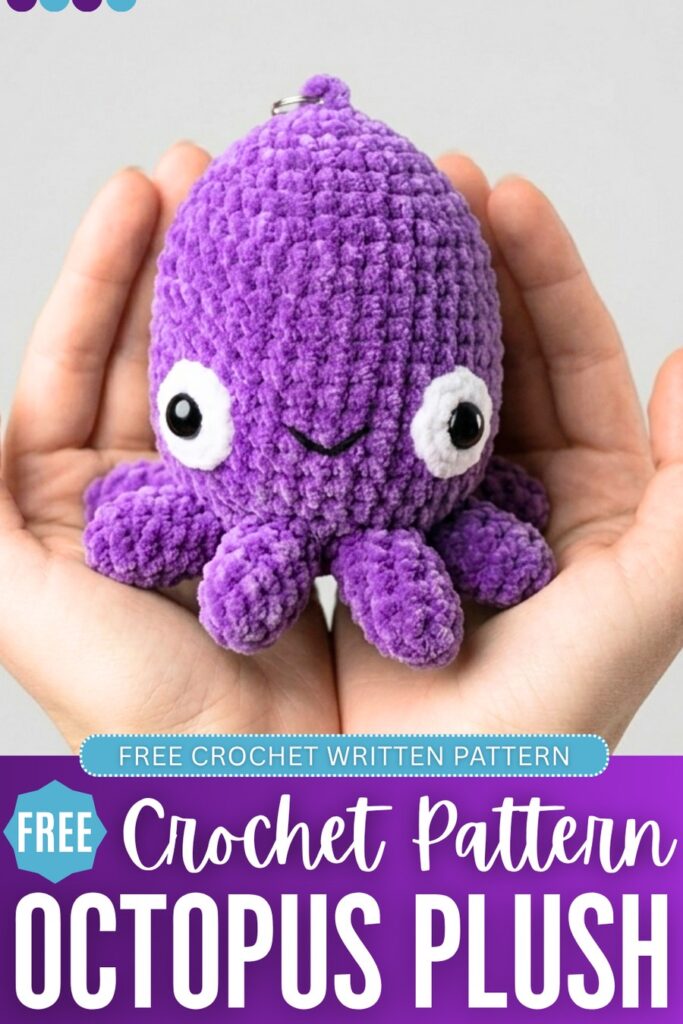
Summer is already here! So, make the kids this crochet googly-eyed kawaii octopus plushie in purple or blue! Unlike most of the octopus plushies, it has stuffed arms that have to be sewn in the end. It is inspired by the cuttlefish, but I feel it also looks like a crochet no-sew octopus plushie. That’s why I have named it that way, but the pointy head definitely makes the best baby cuttlefish plushie.
It also has a hanging loop, so you can use it as a pendant or keychain. It is a perfect gift for sisters or brothers when you crochet a pair. Girls will love it in particular. Now, continue reading this post for the full pattern written in US terms.
This pattern is perfectly accurate, like the one recommended, so you will love crocheting it!
Crochet Octopus & Cuttlefish Plushie: Row-by-Row Pattern
Materials
Here is the free pattern for crocheting the octopus plushie for beginners:
- Yarn: Chenille yarn in purple or blue & white.
- Hook: 5.0mm or 5.5mm (depending on your tension).
- Other: Safety eyes, fiberfill stuffing, black embroidery thread, and a yarn needle.
Video Tutorial?
Abbreivations
- MR: Magic Ring
- sc: Single Crochet
- inc: Increase (2 sc in the same stitch)
- st(s): Stitch(es)
- sl st: Slip Stitch
- ch: Chain
Body Pattern
The body is worked in a continuous spiral. Use a stitch marker to keep track of the beginning of each row.
R1: 6 sc in MR (6 sts)
R2: 6 inc (12 sts)
R3: (1 sc, inc) x 6 (18 sts)
R4: 18 sc (18 sts)
R5: (2 sc, inc) x 6 (24 sts)
R6: (3 sc, inc) x 6 (30 sts)
R7: (4 sc, inc) x 6 (36 sts)
R8 – R22: 36 sc (36 sts per row)
Fasten off, leaving a long tail for sewing.
Bottom Base Pattern
This piece will be sewn to the bottom of the body after stuffing.
R1: 6 sc in MR (6 sts)
R2: 6 inc (12 sts)
R3: (1 sc, inc) x 6 (18 sts)
R4: (2 sc, inc) x 6 (24 sts)
R5: (3 sc, inc) x 6 (30 sts)
R6: (4 sc, inc) x 6 (36 sts)
Fasten off.
Legs (Make 8)
Small tubes that are stuffed and attached to the base.
R1: 4 sc in MR (4 sts)
R2: 4 inc (8 sts)
R3 – R4: 8 sc (8 sts)
Fasten off. For the first 7 legs, cut the yarn. For the 8th leg, leave a long tail for assembly.
Assembly
Eyes: Attach safety eyes or embroider eyes onto the body between R12 and R15 (approximate).
Stuffing: Fill the body firmly with fiberfill.
Bottom: Align the 36 stitches of the bottom base with the 36 stitches of the body and sew them together.
Legs: Stuff the legs lightly and sew all 8 legs evenly around the bottom edge of the cuttlefish.
Eye Base (Make 2)
Use white yarn. Unlike the body, these rows are joined with a slip stitch.
R1: 6 sc in MR. Join with sl st to the first sc. (Note: Leave a small hole in the center of the ring for the safety eye to pass through).
R2: 1 ch, 6 inc (12 sts). Join with sl st.
Fasten off, leaving a long tail for sewing.
Assembly & Face Details
Eyes:
Insert a black safety eye through the center hole of each white Eye Base.
Position the eyes on the body, leaving approximately 2 rows from the bottom base.
Space the two eyes about 7 stitches apart on the same row.
Sew the white eye bases onto the body for a flat, secure finish.
Mouth:
Using a needle and black yarn (or embroidery thread), find the center point between the eyes.
Embroider a small “V” shape across 2-3 stitches to create the mouth.
Hanging Loop:
Join yarn to the center-top of the head.
Ch 4 (or more depending on desired length).
Sl st into the stitch on the opposite side of the starting point to form a loop.
Fasten off and hide the yarn tails inside the body.
That’s how you will crochet this plushie!
About "Juanjuan Crochet"
She was an iconic crochet designer from China!