
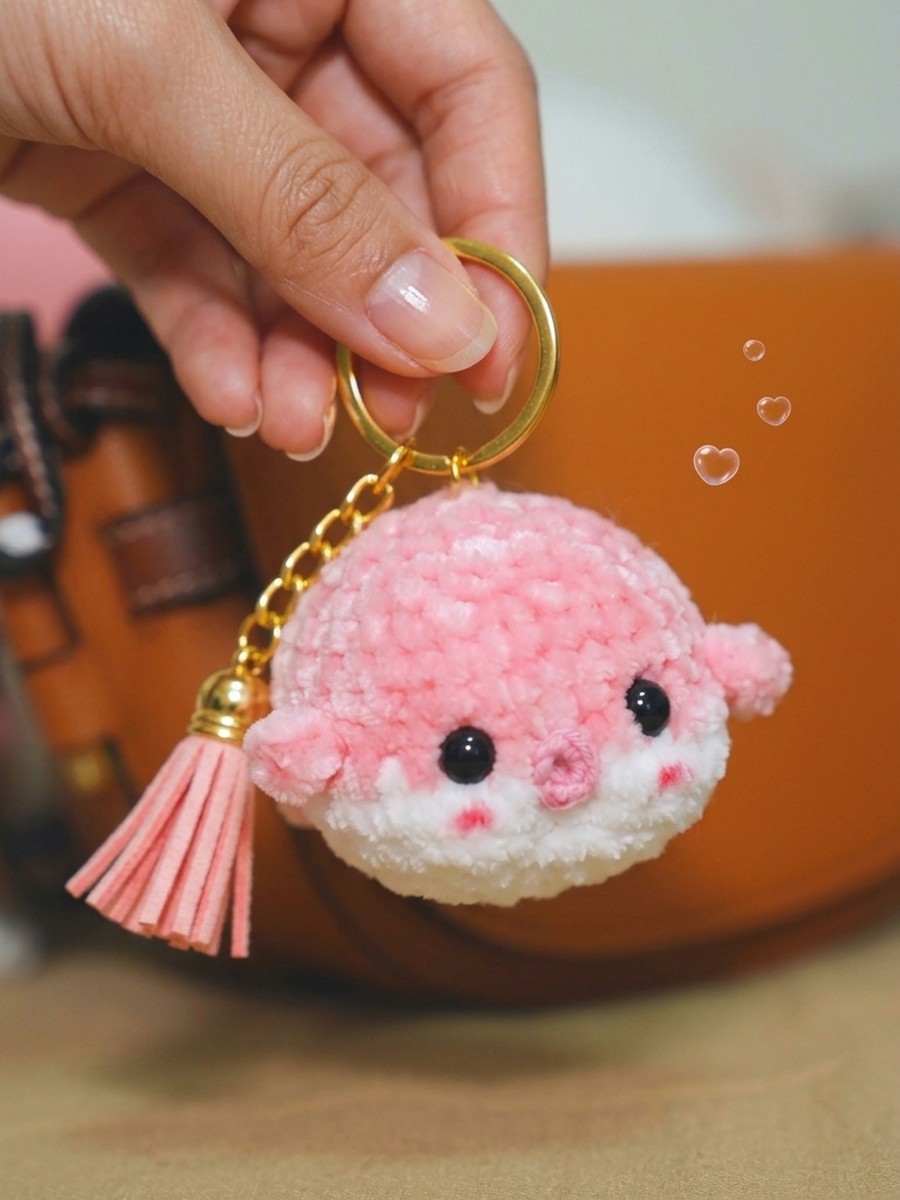
Looking for a 15-minute summer plushie as a LOVE present? Learn how to crochet this little and chubby kawaii pufferfish plush keychain using chenille yarn. This is easy to crochet as the fat whale plushie and looks even cuter with the blush cheeks, the kissing mouth, and pink body. While you can also crochet it with the green or orange plush yarn like usual pufferfish, it is designed as a Valentine’s Day and summer love present.
You can hang it from your beach tote bag like those I have talked about already. This pufferfish will make a perfect stress softie, so whenever you are in the mood, just press its plush body, and you will feel a lot more relieved that way. This is just so small and quick that I want you to start crocheting it now!
This pattern is perfectly accurate, like the one recommended, so you will love crocheting it!
https://craftshive.com/cuttlefish-plushie-pattern/Crochet Pufferfish Keychain: Row-by-Row Pattern
Here is the free pattern for crocheting this pufferfish plushie for beginners:
Materials Needed
- Yarn: Chenille yarn (Pink/Blue for the top, White for the belly)
- Crochet Hook: 3.5mm
- Eyes: 7mm safety eyes
- Other: Fiberfill stuffing, yarn needle, and a small amount of pink yarn for the mouth.
Abbreviations
- MR: Magic Ring
- ch: Chain stitch
- sc: Single crochet
- inc: Increase (2 sc in one stitch)
- dec: Decrease (sc 2 together)
- sl st: Slip stitch
- *[ ]n: Repeat instructions within brackets n times
Main Body Pattern
We shall use both the standard stitches and special “bump” stitches to give the pufferfish its texture.
R1: 6 sc in a magic ring [6].
R2: 6 inc [12].
R3: 6 (sc, inc) [18].
R4: 6 (sc, inc, sc) [24].
R5: 6 (3sc, inc) [30].
R6: 11 sc, 3 (3sc in one stitch), 2 sc, 3 (3sc in one stitch), 11 sc [33].
R7–8: 33 sc [33].
R9 (Change to White): 11 sc, Hand: (ch 3, back to 2nd ch, 2 dc), 3 (3dec), 2 sc, 3 (3dec), 1 sc, Hand: (ch 3, back to 2nd ch, 2 dc), 10 sc [30].
R10: 11 sc, 1 sc, 3 (sc, inc), 1 sc, 10 sc [33].
R11–12: 33 sc [33].
R13: 11 sc, 1 sc, 3 (sc, dec), 1 sc, 11 sc [33].
R14: 6 (3sc, dec) [24].
R15: 6 (2sc, dec) [18]. Insert 7mm safety eyes between the rounds where the color changes.
R16: 6 (sc, dec) [12]. Stuff firmly with fiberfill.
R17: 6 dec [6]. Fasten off and leave a long tail for sewing.
Additional Parts
The Mouth
Pattern: Chain 4 (4ch), then slip stitch into the first chain to form a small ring.
Assembly Note: Leave a tail for sewing. This ring creates the “O” shape seen in crochet pufferfish plushies.
The Tail
Pattern: Slip stitch (sl), 3 sc, flip the work, 3 inc, flip the work again, 6 sc.
Finishing: Leave a long end for sewing.
Detailed Assembly Guide
1. Cinching the Mouth
To get that perfect “surprised” pufferfish look:
- Take your crocheted mouth ring (the 4ch loop) and place it centered between the eyes on the white “belly” section.
- The “Cinch”: Thread the yarn tail through the center of the ring and sew it down onto the face.
- By pulling the yarn slightly tight as you stitch around the outer edge of the ring, you “cinch” the center to create a hollow, puckered appearance.
2. Attaching the Tail
- Sew the tail to the back of the body, directly opposite the mouth.
- Ensure the “6 sc” wide edge is flush against the body to keep it stable.
3. Final Details
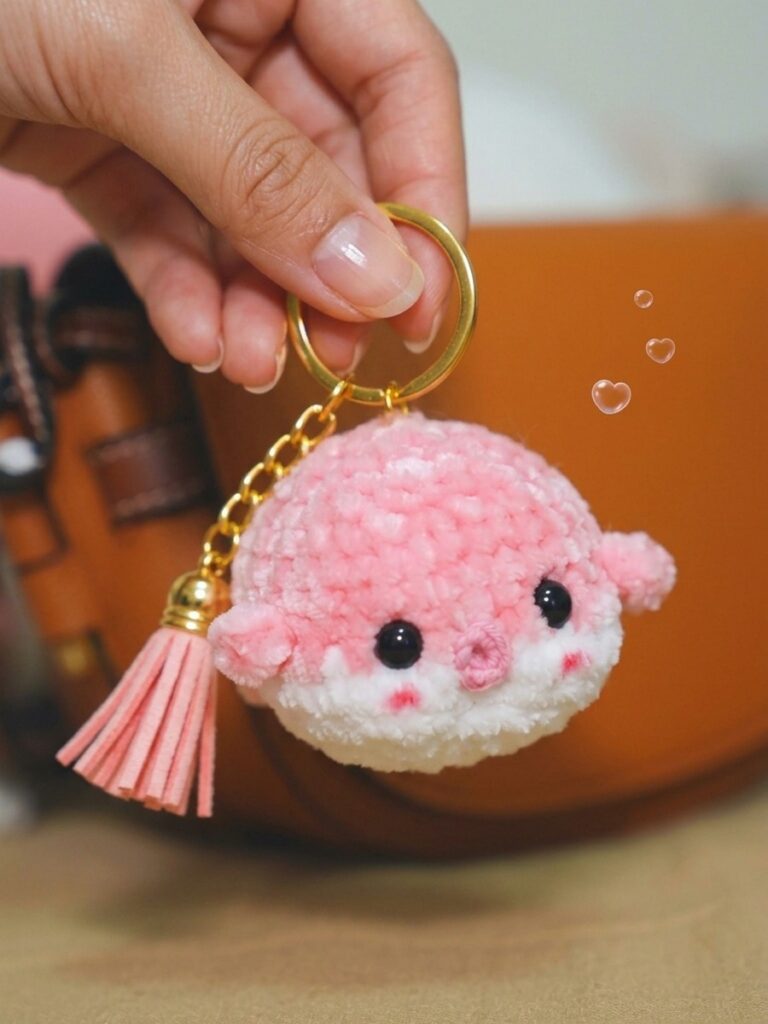
Ears/Side Fins: These are created during the body rounds (R6 and R9). Ensure they are pulled forward so they stick out prominently.
Blush: Use a small amount of pink yarn or a fabric marker to add two small “blush” marks just below and to the side of the eyes.
And that’s how you will crochet this cute pufferfish plushie!