
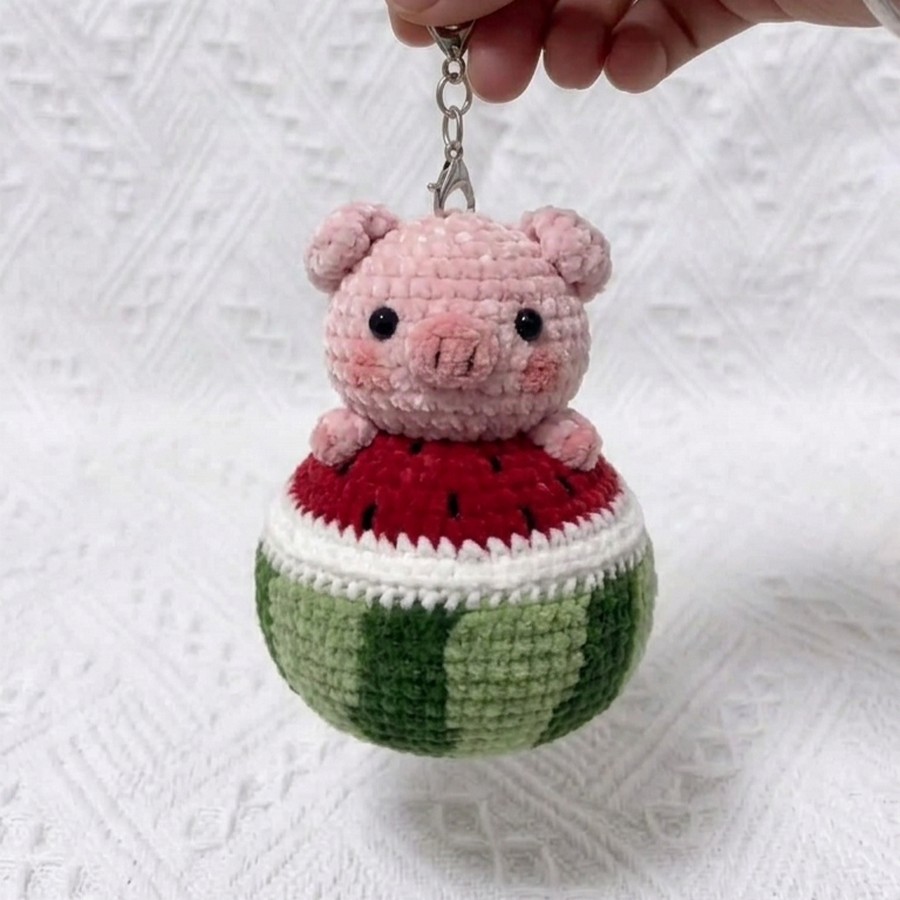
Learn how to crochet a two-in-one watermelon pig plushie using thin plush yarn with this pattern. Just see how it looks like a baby pig has stuck itself in a sliced watermelon. The watermelon is still round and full enough to be called a full watermelon. You can crochet this summer as a stress softie and plush keychain for your tote bag.
Or kids are here already to fall in love with this 45-minute crochet plushie. They can bring it to their little lemonade parties. Even just as a watermelon plushie, you can learn the colorwork pattern in detail through this tutorial. You will love crocheting it, especially as a beginner. Now, let me show you how to crochet it!
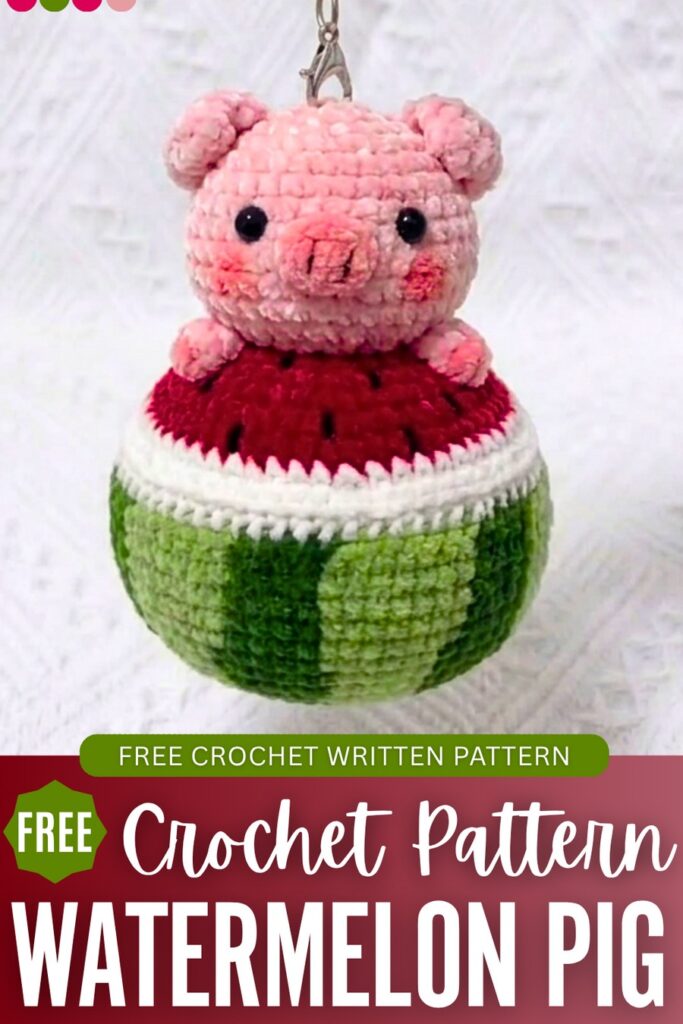
This pattern is perfectly accurate, like the one recommended, so you will love crocheting it!
Crochet Watermelon Pig Keychain: Row-by-Row Pattern
Here is the free pattern for crocheting this watermelon pig plushie for beginners:
Abbreviations
- MR: Magic Ring
- ch: Chain
- sc: Single Crochet
- inc: Increase (2 sc in one stitch)
- dec: Decrease (sc 2 together)
- w: 3 sc in the same stitch
- sl st: Slip Stitch
- [ … ] * n: Repeat instructions in brackets n times
Materials Needed
Here is the full pattern written in US instructions for this dinosaur watermelon for kids:
- Yarn: Thin Chenille yarn in green, red, white, and light green.
- Hook: 2mm crochet hook.
- Eyes: Safety beads.
- Others: Fiberfill stuffing, keyring, and embroidery thread in black.
1. Pig Head (Light Pink)
R1: 6 sc in MR (6)
R2: 6 inc (12)
R3: [1 sc, inc] * 6 (18)
R4: [1 sc, inc, 1 sc] * 6 (24)
R5: [3 sc, inc] * 6 (30)
R6: 30 sc (30)
R7: [4 sc, inc] * 6 (36)
R8: 36 sc (36)
R9: 10 sc, 5 inc, 6 sc, 5 inc, 10 sc (46)
R10-12: 46 sc (46)
R13: 10 sc, 5 dec, 6 sc, 5 dec, 10 sc (36)
R14: [4 sc, dec] * 6 (30)
R15: [3 sc, dec] * 6 (24)
2. Ears, Arms, & Nose (Light Pink)
Arms (Make 2):
R1-3: 6 sc in MR (6)
Ears (Make 2):
R1: 6 sc in MR (6)
R2: [1 sc, inc] * 3 (9)
R3: [1 sc, inc, 1 sc] * 3 (12)
R4: [1 sc, dec, 1 sc] * 3 (9)
Nose: Note: Use only 2 strands of the yarn for a smaller size.
- Ch 4, start in 2nd ch from hook: 2 sc, 1 w, 1 sc, 1 inc (8)
3. Watermelon Flesh (Red & White)
Start with Red:
R1: 6 sc in MR (6)
R2: 6 inc (12)
R3: [1 sc, inc] * 6 (18)
R4: [1 sc, inc, 1 sc] * 6 (24)
R5: [3 sc, inc] * 6 (30)
R6: [2 sc, inc, 2 sc] * 6 (36)
R7: [5 sc, inc] * 6 (42)
R8: [3 sc, inc, 3 sc] * 6 (48)
R9: [7 sc, inc] * 6 (54)
Switch to White:
R10: [4 sc, inc, 4 sc] * 6 (60)
R11: [9 sc, inc] * 6 (66). Fasten off with a long tail for sewing
4. Watermelon Rind (Light & Dark Green)
Start with Light Green:
- R1-7: Follow the same increase pattern as the Red Flesh (end with 42 sc).
Begin Color Work (Dark Green = D, Light Green = L):
R8: [3 sc D, 3 sc L, 1 inc L, 2 sc L] * 6 (54)
R9: [3 sc D, 4 sc L, 1 inc L, 4 sc L] * 6 (60)
R10: [2 sc D, 5 sc L, 2 sc D, 1 sc L] * 6
R11: [2 sc D, 5 sc L, 2 sc D, 2 sc L] * 6 (66)
R12: [2 sc D, 5 sc L, 6 sc D, 6 sc L, 3 sc D] * 3
R13: [2 sc D, 5 sc L, 5 sc D, 6 sc L, 3 sc D] * 3
R14-15: [2 sc D, 5 sc L, 7 sc D, 4 sc L, 7 sc D, 3 sc D]
R16-18: [2 sc D, 5 sc L, 7 sc D, 4 sc L, 6 sc D, 4 sc D]
1. Preparing the Pig Head and Face
- Embroider the Nose: Using dark pink thread, embroider two small vertical lines on the pink nose piece to create nostrils.
- Position the Nose: Sew the finished nose onto the light pink head between R9 and R10, ensuring it is centered between the cheek increase areas.
- Attach the Eyes: Insert black safety eyes on either side of the nose, typically around R8 or R9 of the head.
- Sew the Ears: Position the ears on top of the head between R3 and R7 and sew them securely.
- Stuff the Head: Fill the head firmly with fiberfill before closing the final rounds or sewing it to the body.
- Add Blush: Apply a small amount of pink blush or embroider pink horizontal lines just below the eyes for the cheeks.
2. Assembling the Watermelon Base
- Embroider Seeds: Use black yarn to embroider small “v” shapes or straight lines onto the red portion of the watermelon flesh piece to represent seeds.
- Join Flesh to Rind: Place the completed watermelon flesh (red/white) piece over the opening of the stuffed watermelon rind (green).
- Sewing the Rim: Use the long tail from the white R11 of the flesh piece to whipstitch it to the top edge (R18) of the green rind.
- Stuffing the Base: Ensure the watermelon rind is fully stuffed before completely sealing the top flesh piece to maintain a round shape.
3. Final Joining and Details
- Attach Head to Watermelon: Position the pig’s head in the center of the red watermelon flesh and sew it down using the remaining yarn tail from the head.
- Attach the Arms: Sew the small arm nubs at the base of the head so they appear to be resting on top of the red watermelon flesh.
- Add the Hardware: Attach a metal keychain loop to the center top of the pig’s head between the ears.