
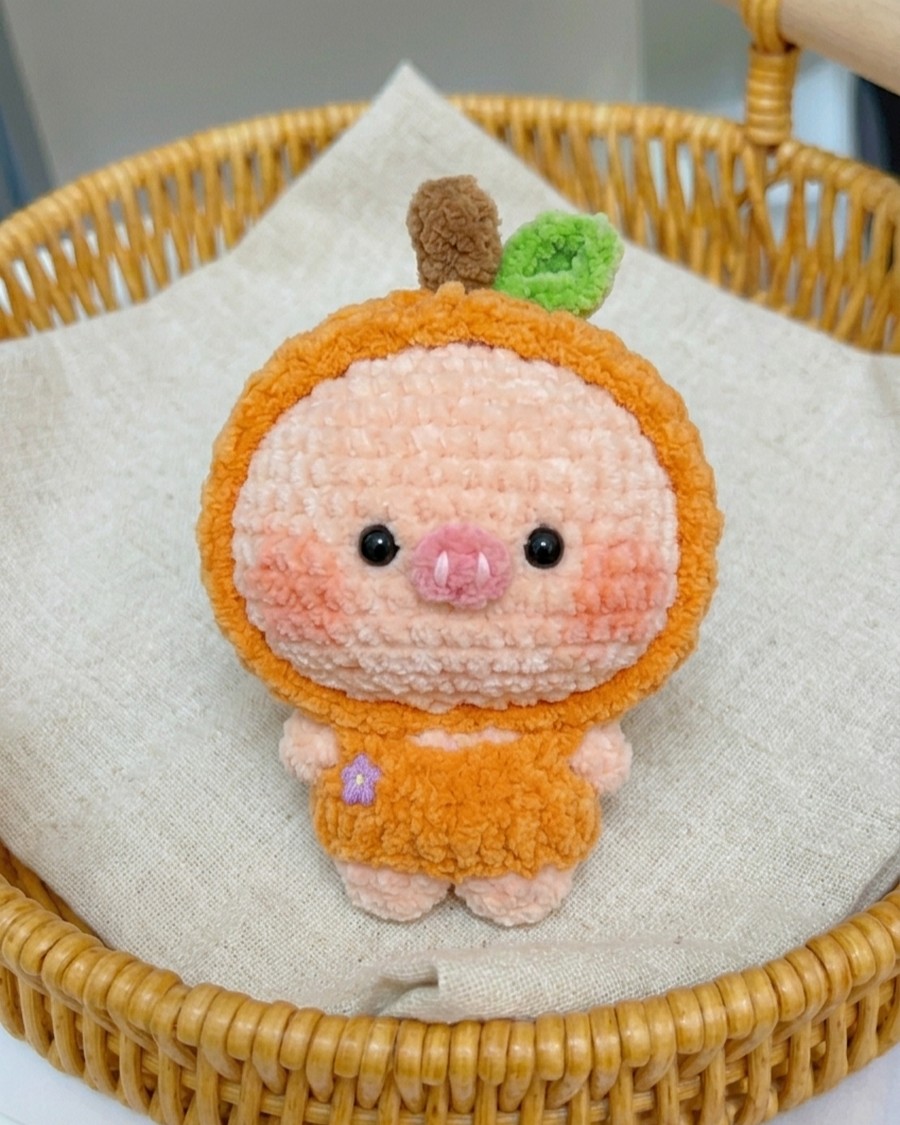
Today, I have a free pattern for a REALLY unique and interesting crochet summer plushie. It is named the “orange piggy” plush doll and is made as a little pig wearing an orange outfit. This is one of my favorite cosplay pig plushies! What? Yes, I have shared many of the pig plushie costume ideas on my other blog, and they are all lovely. Kids can take this plushie in a picnic basket to a park and make their special time with something as cuddly and cute as this plushie is.
It is designed as a baby pig plushie wearing overalls and an orange hat. Looks so cute with the blush all around their cheeks. The orange hat just has a brown stem and a leaf. So, you can also customize this plushie for other fruits, such as the watermelon, apple, or cherry. Now, let me provide you with a full pattern.
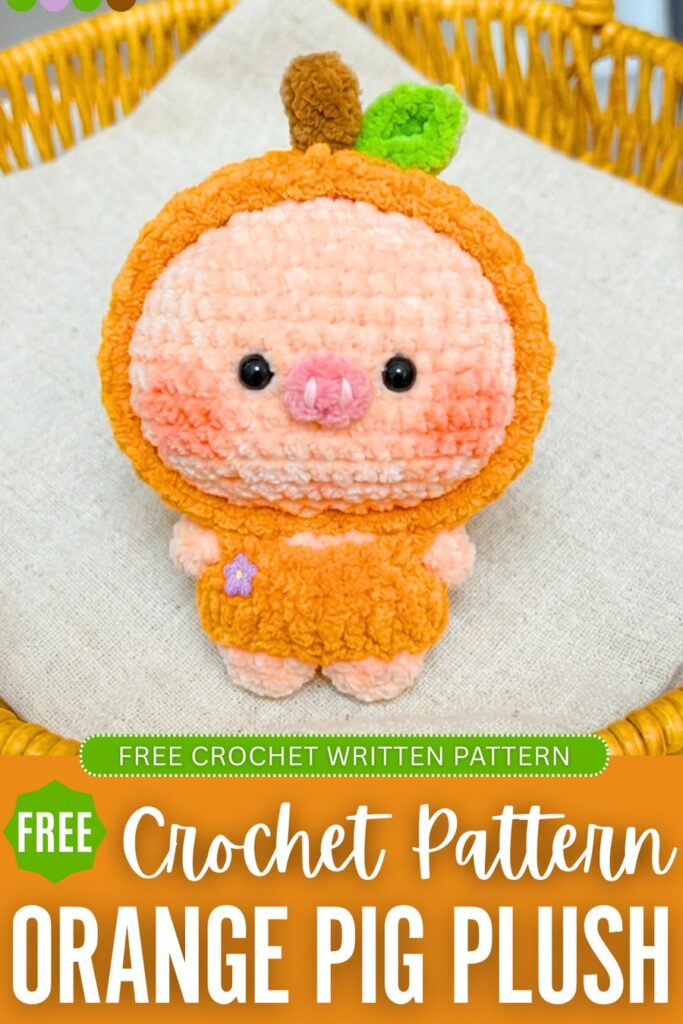
This pattern is perfectly accurate, like the one recommended, so you will love crocheting it!
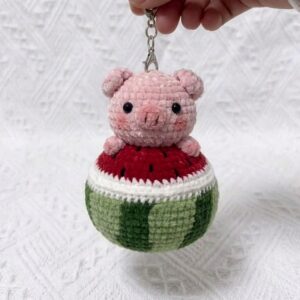
Crochet Orange Pig Keychain: Row-by-Row Pattern
Here is the free pattern for crocheting this orange pig plushie for beginners:
Materials
- Yarn: Thin plush yarn in Cream, Orange, Green, Brown, and Pink.
- Hook: 2.5 mm crochet hook.
- Eyes: 5 mm safety eyes.
- Other: Fiberfill stuffing, sewing needle, scissors, glue, and blush for the cheeks.
Abbreviations
- MR: Magic Ring
- ch: Chain
- sc: Single crochet
- inc: Increase (2 sc in one stitch)
- dec: Decrease (sc 2 together)
- hdc: Half double crochet
- dc: Double crochet
- sl st: Slip stitch
- st(s): Stitch(es)
Pattern
Head (Skin Color)
R1: MR, 6 sc (6)
R2: 6 inc (12)
R3: (1 sc, 1 inc) x6 (18)
R4: (1 sc, 1 inc, 1 sc) x6 (24)
R5: (3 sc, 1 inc) x6 (30)
R6: (2 sc, 1 inc, 2 sc) x6 (36)
R7: (5 sc, 1 inc) x6 (42)
R8: (3 sc, 1 inc, 3 sc) x6 (48)
R9–16: 48 sc (48)
R17: (3 sc, 1 dec, 3 sc) x6 (42)
R18: (5 sc, 1 dec) x6 (36)
R19: (2 sc, 1 dec, 2 sc) x6 (30)
R20: (3 sc, 1 dec) x6 (24)
R21: (1 sc, 1 dec, 1 sc) x6 (18)
Fasten off, leaving a long tail for sewing. Stuff the head firmly.
Legs & Body (Skin Color)
Leg 1:
R1: MR, 9 sc (9)
R2–3: 9 sc (9)
Fasten off.
Leg 2:
Repeat R1–3, but do not fasten off.
Body:
R4: Join to Leg 1. 9 sc on Leg 1, then 9 sc on Leg 2 (18)
R5–8: 18 sc (18)
Fasten off and stuff.
Arms (Skin Color – Make 2)
R1: MR, 6 sc (6)
R2–3: 6 sc (6)
Finishing: Fold the opening flat and sc 3 across both sides to close. Leave a tail for sewing.
Snout (Pink)
R1: Ch 4. Starting in the 2nd ch from hook: 1 sc, 1 sc, 3 sc in the last ch. Turn to work on the other side of the chain: 1 sc, 1 inc (8)
Fasten off. Use white yarn to embroider two small vertical lines for nostrils.
Orange Hat (Orange)
R1: MR, 6 sc (6)
R2: 6 inc (12)
R3: (1 sc, 1 inc) x6 (18)
R4: (1 sc, 1 inc, 1 sc) x6 (24)
R5: (3 sc, 1 inc) x6 (30)
R6: (2 sc, 1 inc, 2 sc) x6 (36)
R7: (5 sc, 1 inc) x6 (42)
R8: (3 sc, 1 inc, 3 sc) x6 (48)
R9–15: 48 sc (48)
R16: Ch 15, skip 15 sts, 33 sc (48)
R17: 48 sc (work 1 sc in each ch and st) (48)
R18: (3 sc, 1 dec, 3 sc) x6 (42)
Fasten off and weave in ends.
Stem (Brown)
R1: MR, 6 sc (6)
R2–4: 6 sc (6)
Fasten off, leave tail for sewing.
Leaf (Green)
R1: Ch 5. Starting in the 3rd ch from hook: 1 dc, 1 hdc. In the last ch: (1 sc, ch 1, 1 sc). Turn to work on the other side: 1 hdc, 1 dc, ch 3, sl st in the last st.
Fasten off, leave tail for sewing.
Dress/Skirt (Orange)
R1: Ch 19, join with a sl st to form a ring.
R2: Ch 3, 19 dc (19)
R3: Ch 8, skip 6 sts, 8 sc, ch 8, skip 5 sts, sl st to join.
Fasten off.
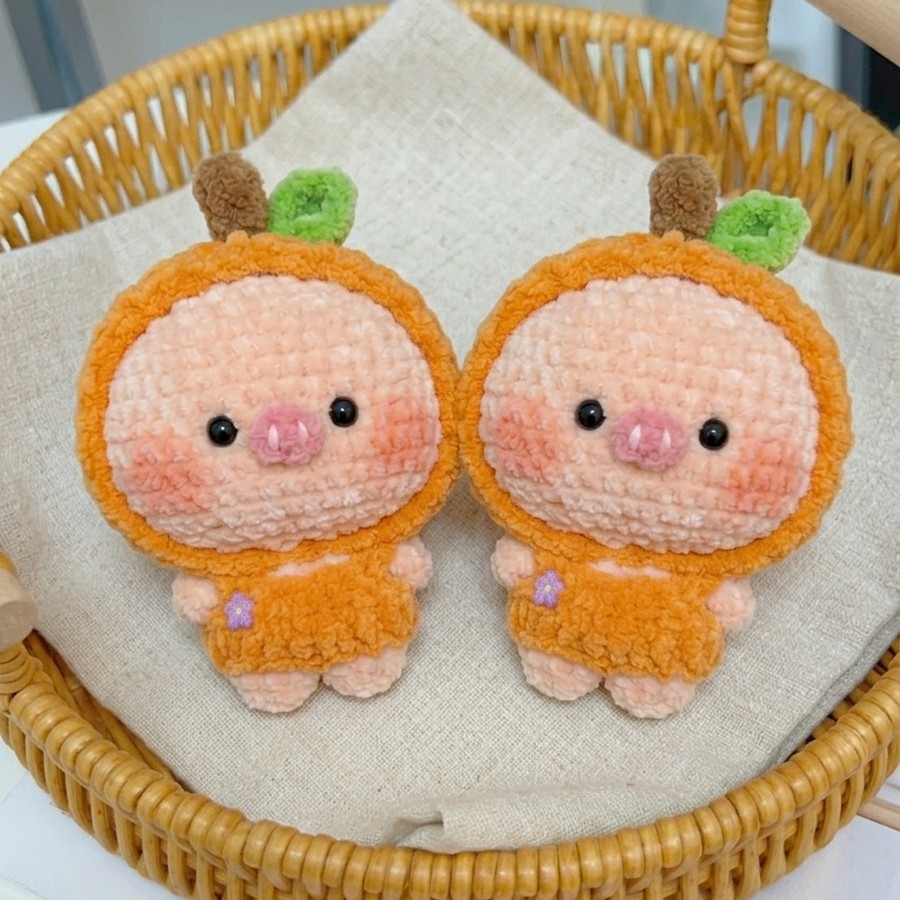
Assembly
Eyes: Place 5 mm safety eyes between R10 and R11 of the head, about 4 stitches apart.
Snout: Glue or sew the snout between the eyes.
Hat: Sew the stem and leaf to the top center of the orange hat.
Final Details: Sew the head to the body, attach the arms to the sides of the body, and put on the skirt and hat. Apply a little blush under the eyes for the cheeks.
Now, that’s how you will crochet this pifg plushie!