
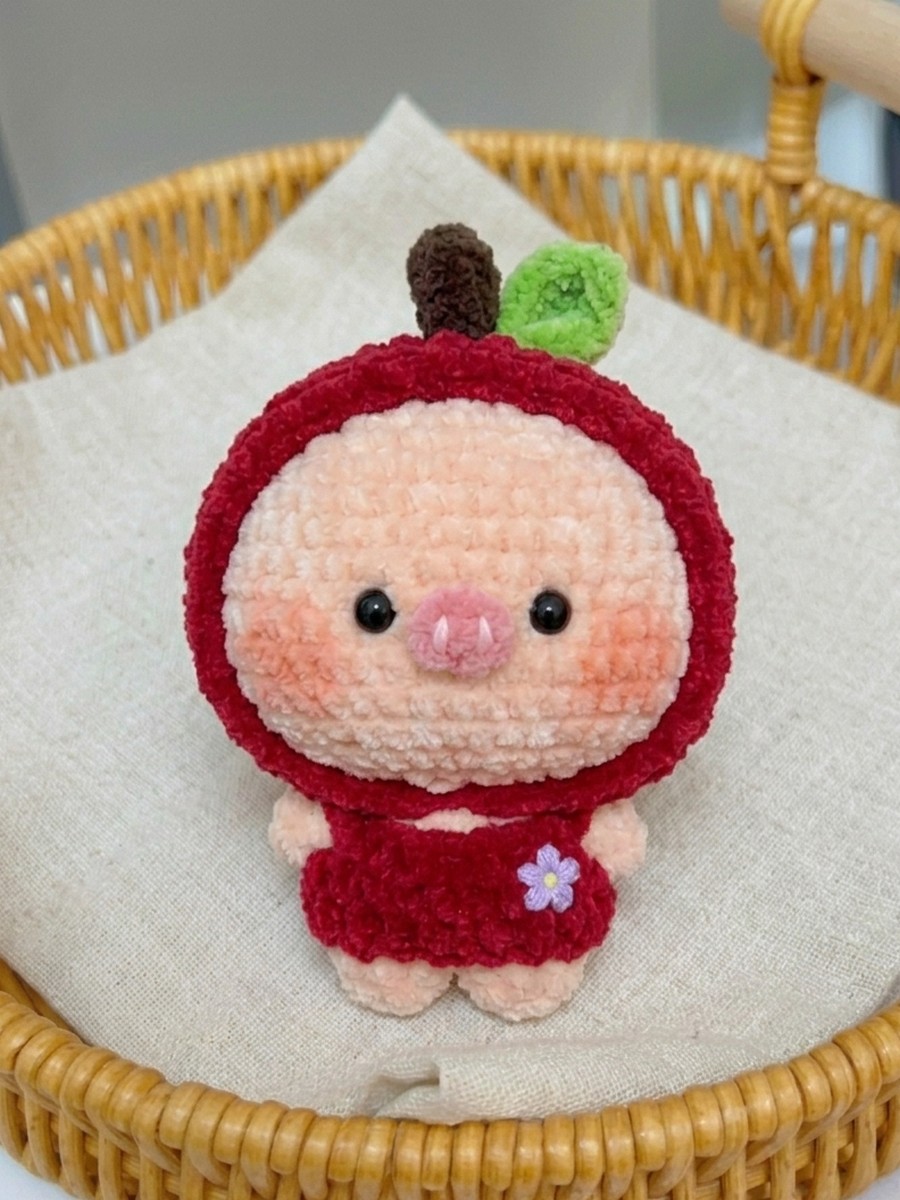
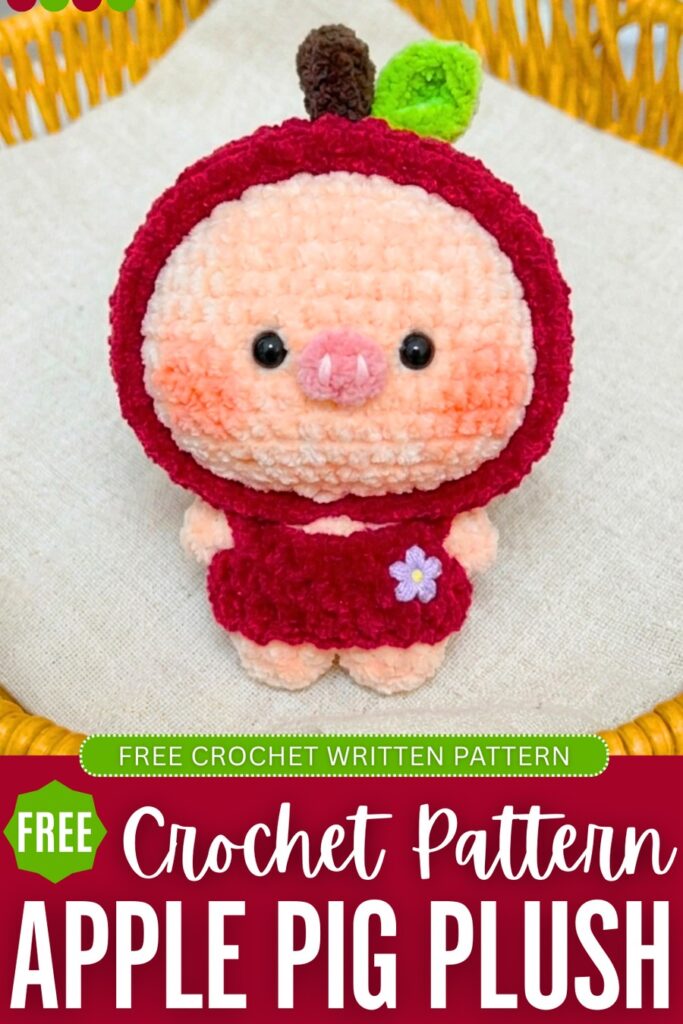
Let’s conclude the cosplay baby pig plush series with this last variant, named Apple Pig Plushie Doll Keychain. This crochet plushie is perfect for the New Year, Christmas, Thanksgiving, and of course, for the summer, too. The pattern is actually the same as the orange pig and the strawberry pig. You have to switch to red for the main body to crochet this plush. So, you can crochet a trio in no time, following just one pattern.
You can also further detail it by adding, for example, a mouth and eyes onto the belly of the pig’s onesie. This time, the flower charm is on the right side, but again, I have not provided a pattern for it, as it is a traditional crochet technique you can learn from anywhere. Below will be the US pattern to crochet this plush doll for girls in particular!
Did you see the following plushie pattern or miss it?
Crochet Apple Pig Keychain: Row-by-Row Pattern
Below is the free pattern for crocheting this apple pig plushie for beginners:
Materials
- Yarn: Thin or super bulky plush yarn in Cream or baby pink, Red, Green, Brown, and Pink.
- Hook: 2.5 to 5mm crochet hook.
- Eyes: 5 to 12 mm safety eyes.
- Other: Fiberfill stuffing, sewing needle, scissors, glue, and blush for the cheeks.
Abbreviations Used in the Pattern
Here are the abbreviations used in the pig plushie pattern:
- st(s): Stitch(es)
- sl st: Slip stitch
- ch: Chain
- MR: Magic Ring
- sc: Single crochet
- dec: Decrease (sc 2 together)
- inc: Increase (2 sc in one stitch)
- hdc: Half double crochet
- dc: Double crochet
Plushie Pattern
Head (Skin or Baby Pink Color)
R1: MR, 6 sc (6)
R2: 6 inc (12)
R3: (1 sc, 1 inc) x6 (18)
R4: (1 sc, 1 inc, 1 sc) x6 (24)
R5: (3 sc, 1 inc) x6 (30)
R6: (2 sc, 1 inc, 2 sc) x6 (36)
R7: (5 sc, 1 inc) x6 (42)
R8: (3 sc, 1 inc, 3 sc) x6 (48)
R9–16: 48 sc (48)
R17: (3 sc, 1 dec, 3 sc) x6 (42)
R18: (5 sc, 1 dec) x6 (36)
R19: (2 sc, 1 dec, 2 sc) x6 (30)
R20: (3 sc, 1 dec) x6 (24)
R21: (1 sc, 1 dec, 1 sc) x6 (18)
Fasten off, leaving a long tail for sewing. Stuff the head firmly.
Legs & Body (Skin or Baby Pink Color)
Leg 1:
R1: MR, 9 sc (9)
R2–3: 9 sc (9)
Fasten off.
Leg 2:
Repeat R1–3, but do not fasten off.
Body:
R4: Join to Leg 1. 9 sc on Leg 1, then 9 sc on Leg 2 (18)
R5–8: 18 sc (18)
Fasten off and stuff.
Arms (Skin Color Skin or Baby Pink Color – Make 2)
R1: MR, 6 sc (6)
R2–3: 6 sc (6)
Finishing: Fold the opening flat and sc 3 across both sides to close. Leave a tail for sewing.
Snout (Pink)
R1: Ch 4. Starting in the 2nd ch from hook: 1 sc, 1 sc, 3 sc in the last ch. Turn to work on the other side of the chain: 1 sc, 1 inc (8)
Fasten off. Use white yarn to embroider two small vertical lines for nostrils.
Pink Hat (Red)
R1: MR, 6 sc (6)
R2: 6 inc (12)
R3: (1 sc, 1 inc) x6 (18)
R4: (1 sc, 1 inc, 1 sc) x6 (24)
R5: (3 sc, 1 inc) x6 (30)
R6: (2 sc, 1 inc, 2 sc) x6 (36)
R7: (5 sc, 1 inc) x6 (42)
R8: (3 sc, 1 inc, 3 sc) x6 (48)
R9–15: 48 sc (48)
R16: Ch 15, skip 15 sts, 33 sc (48)
R17: 48 sc (work 1 sc in each ch and st) (48)
R18: (3 sc, 1 dec, 3 sc) x6 (42)
Fasten off and weave in ends.
Stem (Brown)
R1: MR, 6 sc (6)
R2–4: 6 sc (6)
Fasten off, leave tail for sewing.
Leaf (Green)
R1: Ch 5. Starting in the 3rd ch from hook: 1 dc, 1 hdc. In the last ch: (1 sc, ch 1, 1 sc). Turn to work on the other side: 1 hdc, 1 dc, ch 3, sl st in the last st.
Fasten off, leave tail for sewing.
Dress/Skirt (Red)
R1: Ch 19, join with a sl st to form a ring.
R2: Ch 3, 19 dc (19)
R3: Ch 8, skip 6 sts, 8 sc, ch 8, skip 5 sts, sl st to join.
Fasten off.
Assembly
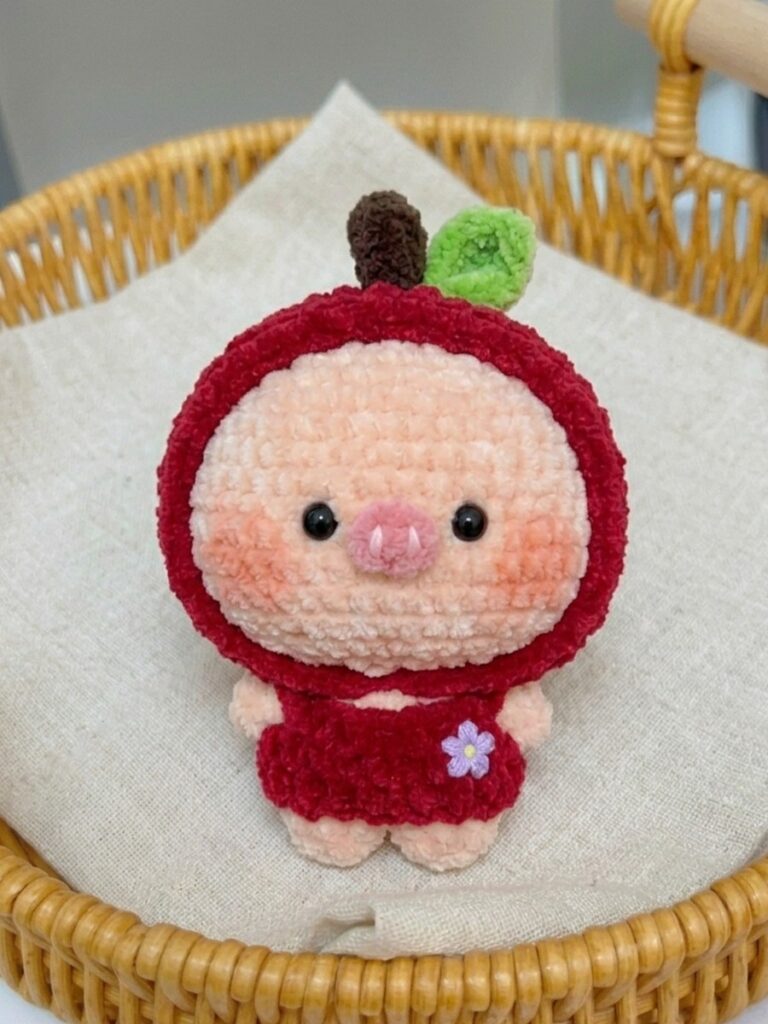
Eyes: You will have to place 5 or 12 mm safety eyes between R10 and R11 of the head, about 4 stitches apart.
Snout: Glue or sew the snout between the eyes.
Hat: Sew the stem and leaf to the top center of the orange hat.
Final Details: Sew the head to the body, attach the arms to the sides of the body, and put on the skirt and hat. Apply a little blush under the eyes for the cheeks.
Now, that’s how you will crochet this pig plushie!

About "Talha"
Hey, I’m Talha, the Crafter on Craftstive.com. I love to share guides on folding cute origami models and paper crafts, and I am always ready to inspire your next craft project with my weekly craft discussions.