
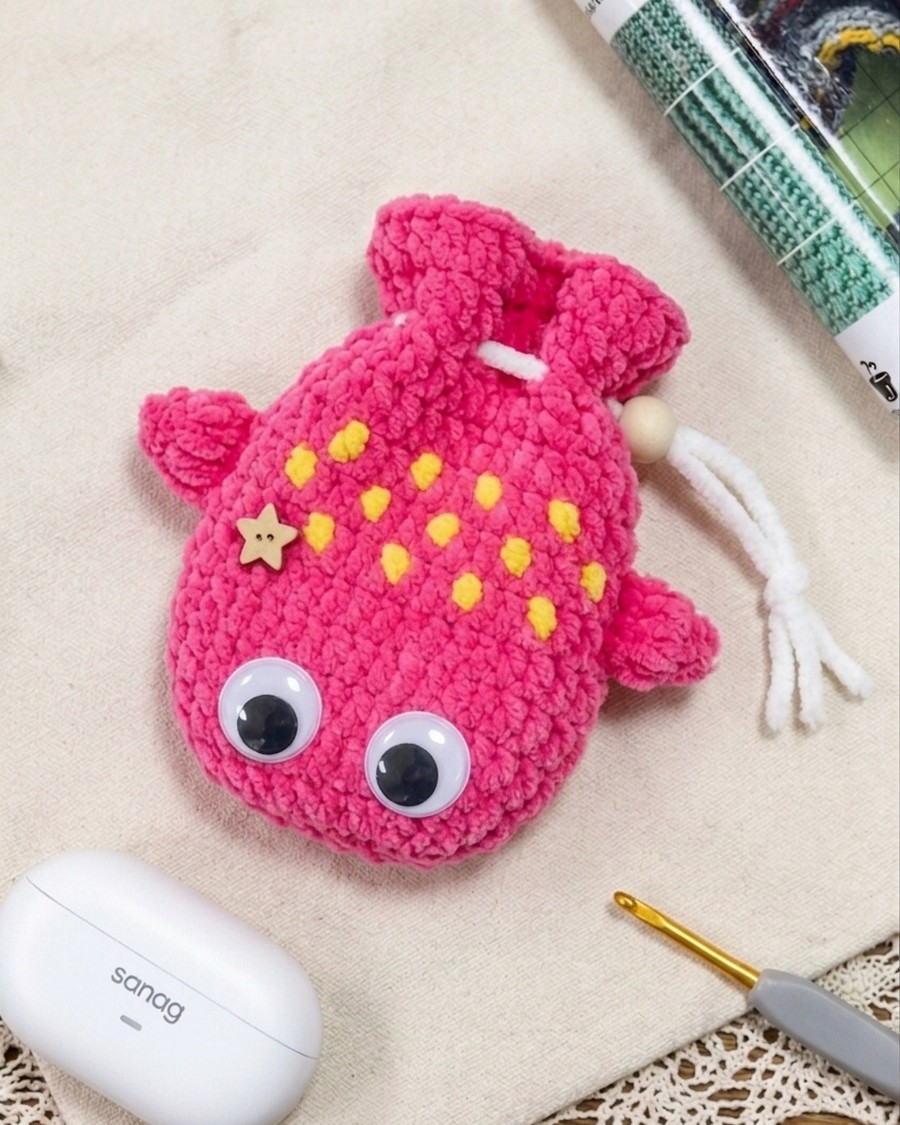
As I promised, here is the free pattern to crochet a strawberry version of the plush whale drawstring pouch for both spring and summer. This version features a hot pink body, which is quite similar to the dragonfruit and yellow body embroidery. The pattern technically is the same; just follow the color pattern to crochet this strawberry whale bag. Make one for kids in under 45 minutes without any sewing.
The string is also crocheted with the plush yarn and has a slideable bead over. Note that with the plush yarn, it might be a little bigger, so either use a thin plush yarn or crochet with the amigurumi yarn. In both ways, this crochet pouch looks simply awesome. And that’s the beauty of craft eyes, embroidery spots, and little fins!
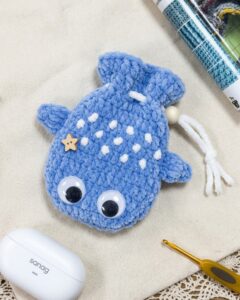
Did you see the previous pouch plush pattern, or did you miss it?
Crochet Strawberry Whale Pouch: Row-by-Row Pattern
Below is the free pattern for crocheting this strawberry whale plushie for beginners:
Abbreviations
- Ch: Chain
- Sl st: Slip stitch
- Inc: Increase
- Sc: Single crochet
- Dc: Double crochet
Supplies Needed
- Yarn: Amigurumi or chenille yarn (white and hot pink)
- 4mm crochet hook
- Eyes: 2-inch googly eyes
- Other: Fiberfill stuffing, yarn needle.
I. The Main Body
Round 1 (Foundation):
- Ch 10, then make 3 more chains (these 3 act as your first Dc).
- Work 1 Dc into the 4th chain from the hook.
- Work 7 more Dc across the chain (8 Dc total, including the one just made).
- In the very last chain (the 1st ch you made), work 3 Dc to turn the corner.
- Working along the opposite side of the chain, work 8 Dc.
- In the final space (the same space as the starting Ch-3), work 2 Dc.
- Sl st to the top of the Ch-3 to join.
- Total: 22 stitches.
Round 2:
- Ch 3 (counts as 1st Dc), work 1 Dc in the same stitch (Inc made).
- Work 8 Dc in the next 8 stitches.
- Work 2 Dc in each of the next 3 stitches (3 Increases).
- Work 8 Dc in the next 8 stitches.
- Work 2 Dc in each of the last 2 stitches (2 Increases).
- Sl st to the 3rd chain of the starting Ch-3.
- Total: 28 stitches.
Round 3:
- Ch 3, 2 Dc in the next stitch.
- Work 8 Dc in the next 8 stitches.
- Repeat [1 Dc, 1 Inc] three times total.
- Work 8 Dc in the next 8 stitches.
- Repeat [1 Dc, 1 Inc] two times total.
- Sl st to join.
- Total: 34 stitches.
Rounds 4 – 10:
- Ch 3, Dc in every stitch around. Sl st to join.
- Total: 34 stitches per round.
Round 11 (Drawstring Holes):
- Ch 1, 2 Sc.
- [Ch 2, Skip 2 stitches, 2 Sc] repeat 8 times total.
- End with Ch 2, Skip 2, then Sl st to the first Sc of the round.
Round 12 (Tail Base):
- Ch 3, 1 Dc in the next Sc.
- [2 Dc in the Ch-2 space, 2 Dc in the Sc stitches] repeat around.
- Sl st to join.
- Total: 34 stitches.
Round 13 (The Ruffle Tail):
- Ch 3, 2 Dc in the next stitch.
- Repeat [1 Dc, 1 Inc] 17 times total around the edge.
- Sl st to join, fasten off, and weave in the ends.
- Total: 51 stitches.
II. Side Fins (Make 2)
- Round 1: Magic Ring, Ch 3 (counts as 1st Dc), work 4 Dc into the ring. Sl st to join. (5 sts).
- Round 2: Ch 3, 1 Dc in same st. Work 2 Dc in every stitch around. Sl st to join. (10 sts).
- Fasten off, leaving a tail for sewing.
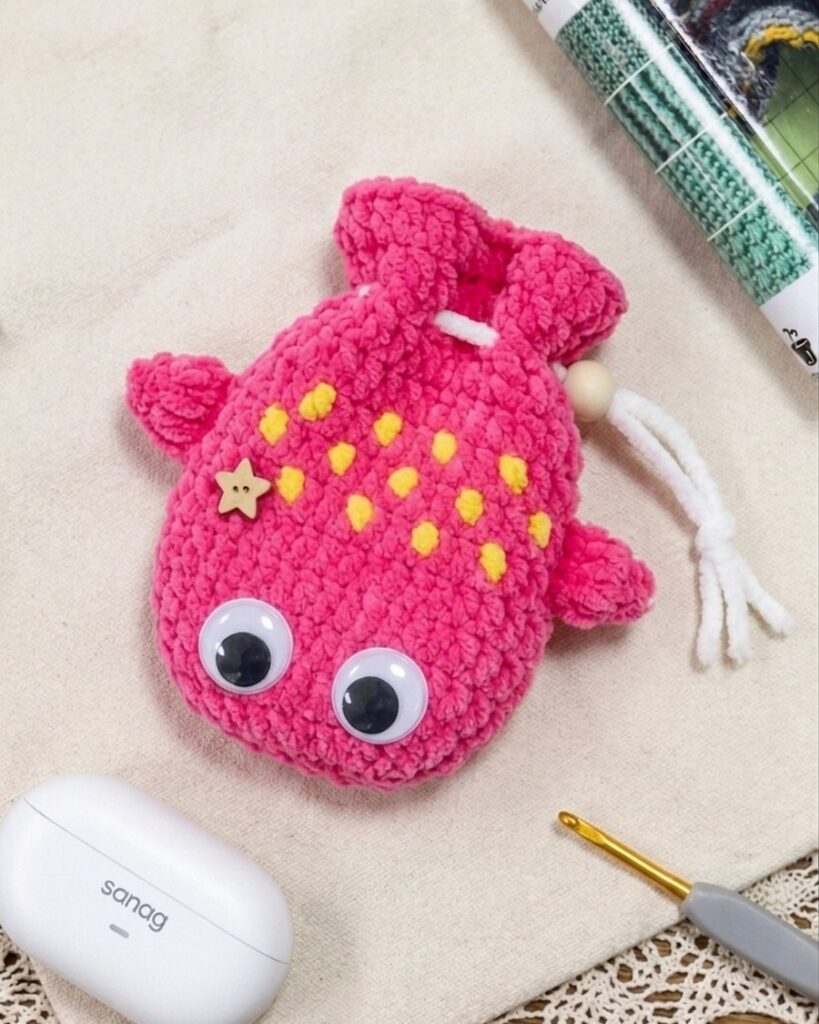
III. Assembly
- Fins: Sew to the sides between Rounds 6 and 7.
- Drawstring: Ch 70 (White). Thread through the Round 11 holes. Add a wooden bead to the ends.
- Details: Embroider white dots on Rounds 6, 7, and 8. Glue the eyes near the base.
And that’s how you will crochet the strawberry pouch!

About "Talha"
Hey, I’m Talha, the Crafter on Craftstive.com. I love to share guides on folding cute origami models and paper crafts, and I am always ready to inspire your next craft project with my weekly craft discussions.