
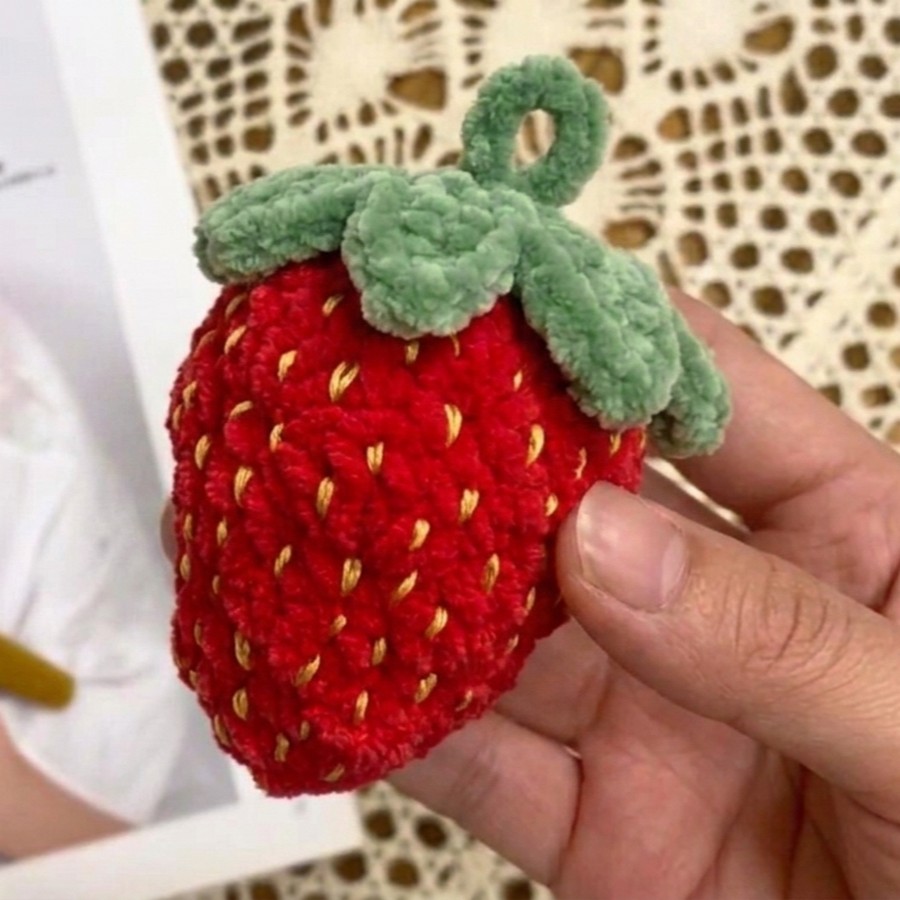
Many of you might have already learnt crocheting a strawberry amigurumi or plushie. But with this tutorial, you can learn how to crochet a strawberry plush with a beautiful texture of shell stitch. You can crochet a pink, red, seeded red, or chocolate-dipped version following the series of these tutorials.
With the amigurumi yarn, you will see more prominent shell stitches on this strawberry plush. The seeds are optional but recommended if you are gonna crochet it with the plush yarn. Otherwise, let others see the elegance of the shell stitch worked in the rounds.
There is also a hanging loop in case you want to use it as a bag charm. With the super bulky yarn, you can make it even bigger to medium size. Will make the best-looking bag charm for spring and summer. Now, let me provide you with a row-by-row pattern written in US terms.
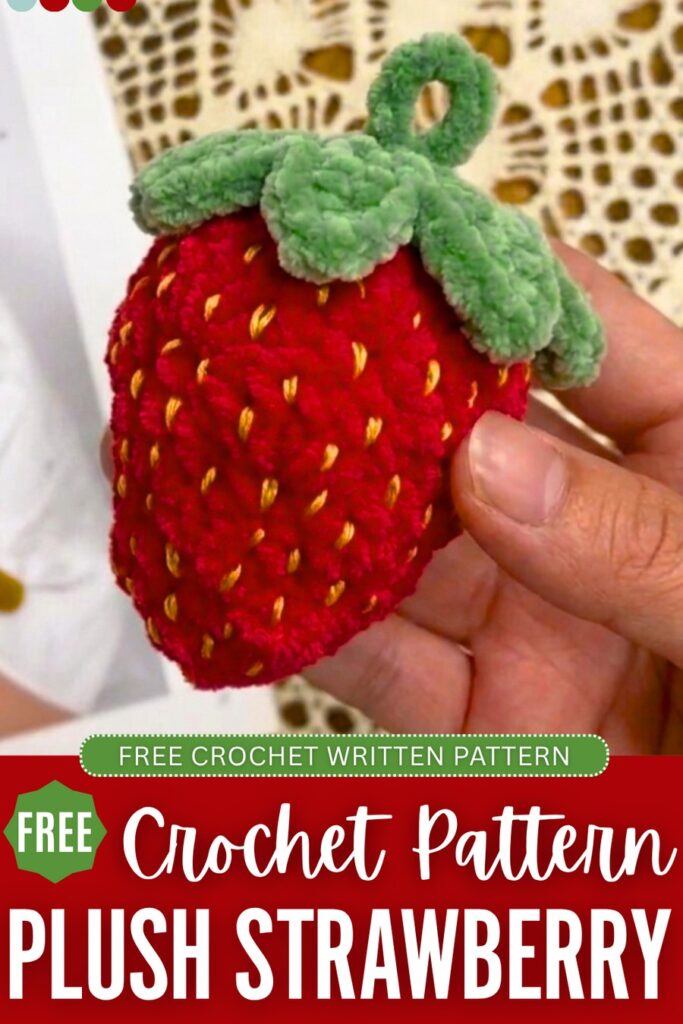
Wanna crochet as pleasing a plushie as this?
Crochet Shell Stitch Strawberry Plushie: Row-by-Row Pattern
Below is the complete FREE pattern for crocheting this shell stitch strawberry plush that you can use as a bag charm:
Pattern Abbreviations (US Terms)
- MR: Magic Ring
- Ch: Chain (Standing needle)
- St: Stitch
- Sl st: Slip stitch
- Sc: Single crochet (Short needle)
- Dc: Double crochet (Long needle)
- Inc: Increase (2 stitches in one stitch)
- Skip: Skip a stitch
Materials Needed
Here are all the supplies recommended to crochet this plush strawberry:
- Yarn: Chenille or Milk Cotton yarn (4-ply) in red, pink, and green.
- Hook Size: 2.5mm – 4mm
- Keyring
- Embroidery floss in yellow
- Others: Fiberfill stuffing, sewing needle, and glue.
I. Strawberry Body (Red/Pink Yarn)
Round 1: MR, Ch 1, 6 Sc in ring. Join with sl st to first sc. (6 sts)
Round 2: Ch 1, 1 Sc, 1 Inc repeat 3 times. Join with sl st. (9 sts)
Round 3: Ch 1, 2 Sc, 1 Inc repeat 3 times. Join with sl st. (12 sts)
Round 4 (Texture Setup): Ch 1, 1 Sc in the first st, 3 Dc in the next st, skip 1 st. Repeat from * to * 4 times total. Join with sl st to the first Sc. (4 shells)
Round 5 (Staggered Shells): Ch 3 (counts as 1st Dc), 1 Dc in the same stitch. Sc in the middle Dc of the 3-Dc shell below. 3 Dc in the Sc stitch from the previous round. Repeat around. End with 1 Dc in the starting stitch to complete the first shell. Join with sl st to top of Ch-3.
Round 6: Ch 1, Sc in same st. 4 Dc in the Sc stitch below. Sc in the middle of the shell below. Repeat around. Join with sl st.
Round 7: Ch 3 (counts as 1st Dc), 2 Dc in same st. Sc in the 2nd Dc of the 4-Dc shell below. 5 Dc in the Sc stitch below. Repeat around. End with 2 Dc in starting stitch. Join with sl st.
Round 8: Ch 1, Sc in same st. 5 Dc in the next Sc stitch. Sc in the 3rd Dc of the 5-Dc shell below. Repeat 4 times total. Join with sl st.
Round 9: Repeat Round 5 (Staggered shells).
Round 10 (Closing Round): Ch 1. Weave 1 Sc into every Dc stitch of the shells below, but Skip the Sc stitches between the shells. (3 Sc per shell x 4 shells = 12 Sc total). Join with sl st.
Round 11: Ch 1. 2 Sc, Skip 1 st (or decrease). Repeat around. (8 Sc total). Join with sl st.
Finishing: Cut yarn leaving a tail. Use a sewing needle to weave through the front loops of the 8 stitches and pull tight to close.
II. Strawberry Leaves (Green Yarn)
Round 1: MR, 8 Sc. Join with sl st. (8 sts)
Round 2: 2 Sc in each stitch around. Join with sl st. (16 sts)
Round 3: 1 Sc, 1 Inc repeat 8 times. Join with sl st. (24 sts)
Round 4 (Petal Details): In the first stitch/gap: [1 Sc, Ch 2, 1 Dc, Ch 2 and sl st into the top of the Dc (Picot), Ch 2, 1 Sc]. Skip one stitch, repeat the petal in the next stitch. Repeat around 8 times total to create the leaf points. Fasten off.
III. Final Assembly
Stem: Ch 7, fold it over to create a loop, and sew it through the center of the leaves.
Attach: Place the leaves on top of the strawberry. You can sew them on using the green yarn tail or use a glue stick (as mentioned in the transcript) for a quick finish.
Seeds (Optional): If you want more detail, use a small piece of yellow or white yarn to sew tiny vertical “V” shapes on the body for seeds.