
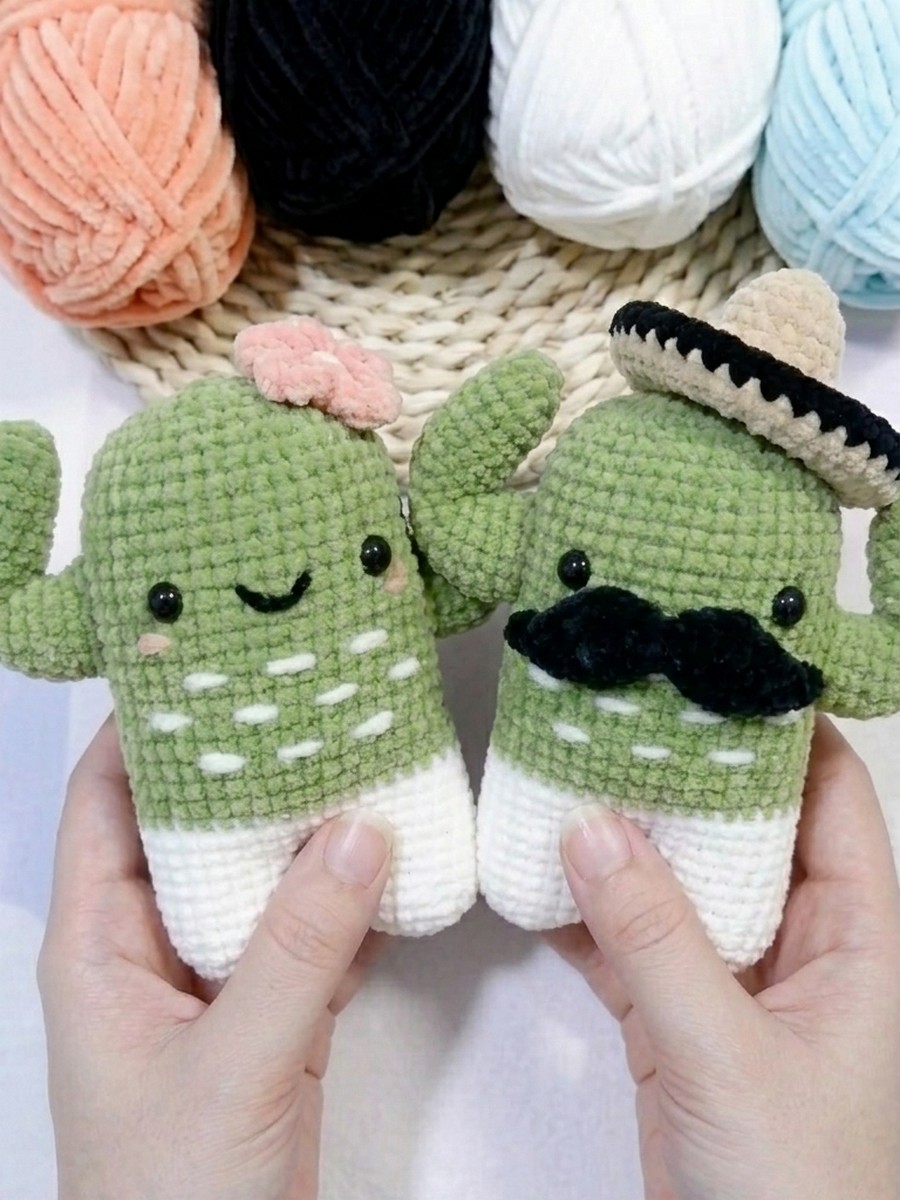
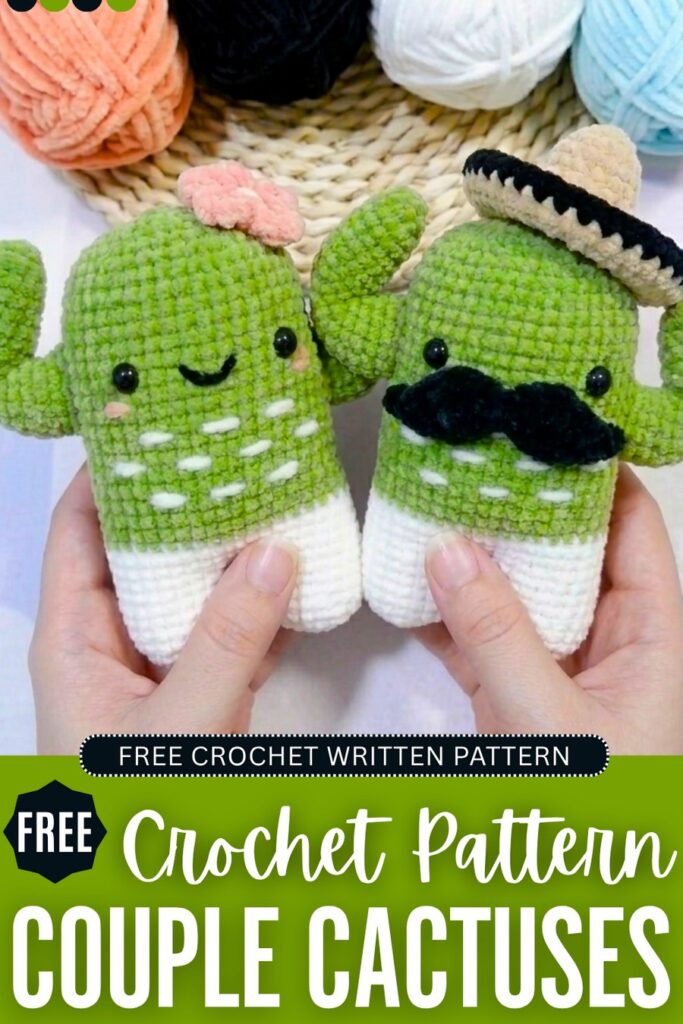
Welcome to another part of the “crochet 2-in-1 plushies set” series. Today, you will learn how to crochet a cute couple gift with this set of couple cactus plushies pattern, for summer. I will also share patterns for both separately in case you want to crochet one and not the other. Includes a mustache man cactus version wearing a bucket hat and a woman version wearing a Sakura hairclip.
You can crochet this plushie set for weddings, Valentine’s Day, New Year’s Day, and also for Anniversaries. Both share the same base pattern; just the difference I described requires more patterns. The base is a no-sew pattern worked from the bottom up. Now, continue reading for the complete US pattern.
[ez-toc]
Looking for another cactus couple set plushie:
Crochet Couple Cactus Keychain Pattern: Row-by-Row Instructions
This pattern makes a super cute pair of matching cactus keychains, perfect as a couple’s gift or a set of best friend accessories. You will start by making two simple legs with white yarn that join together to form pants, then switch to green yarn to build up the main body.
The left and right arms are cleverly divided to create little branches with a distinct upper and lower section. To complete the set, one cactus gets a classic top hat and a dapper mustache, while the other features a layered pink flower and sweet blushing cheeks.
Below is the complete FREE pattern for crocheting this set of a couple of cactus plushies that you can use as a bag charm:
For the Couple Keychain Cacti
- Yarn: BaBan yarn or thin plush yarn (a type of soft milk cotton) in Green, White, Black, Yellow (or light brown for the hat), and Pink/Blue for accents.
- Hook: 2.0 mm crochet hook.
- Eyes: 6 mm safety eyes.
- Stuffing: Polyester fiberfill.
- Tools: Yarn needle, scissors, and stitch markers.
- Optional: Keychain rings or lobster clasps to turn the figures into keychains.
Abbreviations Used
- MR: Magic Ring
- sc: Single Crochet
- inc: Increase (2 sc in one stitch)
- dec: Decrease
- ch: Chain
- hdc: Half Double Crochet
- dc: Double Crochet
- tr: Treble Crochet
- sl st: Slip Stitch
- BLO: Back Loops Only
- FLO: Front Loops Only
- st(s): Stitch(es)
Legs and Body
Make two bodies total since this is a couple’s set.
- Round 1: With white yarn, make a MR and work 6 sc into it. (6 sts)
- Round 2: Work 6 inc around. (12 sts)
- Round 3: [1 sc, 1 inc] x 6. (18 sts)
- Round 4 – 7: Work 18 sc around. (18 sts)
- Fasten off the first leg cleanly and hide the tail. Repeat Rounds 1–7 for the second leg, but do not cut the yarn at the end.
- Round 8 (Joining): Chain 3 from the second leg and join it to the first leg. Work 18 sc around the first leg, 3 sc along one side of the chain bridge, 18 sc around the second leg, and 3 sc along the other side of the chain bridge. (42 sts)
- Round 9 – 12: Work 42 sc around. (42 sts)
- Round 13: Change to green yarn. Work 42 sc around. (42 sts)
- Round 14 – 30: Continue working 42 sc around for each round. (42 sts)
- Round 31: [5 sc, 1 dec] x 6. (36 sts)
- Round 32: [4 sc, 1 dec] x 6. (30 sts)
- Round 33: [3 sc, 1 dec] x 6. (24 sts) Stuff the body firmly with fiberfill here.
- Round 34: [2 sc, 1 dec] x 6. (18 sts)
- Round 35: [1 sc, 1 dec] x 6. (12 sts) Add a bit more stuffing to fill out the top.
- Round 36: Work 6 dec around. (6 sts) Fasten off, weave the tail through the front loops to close the top, and pull tight.
Left Arm (Make 2)
- Round 1: With green yarn, make a MR and work 6 sc. (6 sts)
- Round 2: Work 6 inc around. (12 sts)
- Round 3: [1 sc, 1 inc] x 6. (18 sts)
- Round 4: [2 sc, 1 inc] x 6. (24 sts)
- Division: Flatten the piece and divide it evenly into two halves of 12 stitches each.
- Top Section (Rounds 1 – 4): Work 12 sc around the first set of 12 stitches. (12 sts)
- Top Section (Round 5): Work 6 dec. (6 sts) Fasten off and leave a tail.
- Bottom Section (Round 1): Attach green yarn to the remaining 12 stitches and work 12 sc. (12 sts)
- Bottom Section (Round 2): Work 12 sc, then add 1 inc at the very end. (14 sts)
- Bottom Section (Round 3): Work 14 sc around. (14 sts) Fasten off, leave a long tail for sewing, and close up the middle gap.
Right Arm (Make 2)
- Follow the exact same instructions as the Left Arm, but increase the Top Section length by working 6 rounds of 12 sc instead of 4 rounds before closing with the 6 decreases.
Top Hat
- Round 1: With yellow or light brown yarn, make a MR and work 6 sc. (6 sts)
- Round 2: [1 sc, 1 inc] x 3. (9 sts)
- Round 3: [2 sc, 1 inc] x 3. (12 sts)
- Round 4: [3 sc, 1 inc] x 3. (15 sts)
- Round 5: [4 sc, 1 inc] x 3. (18 sts)
- Round 6: [5 sc, 1 inc] x 3. (21 sts)
- Round 7: [6 sc, 1 inc] x 3. (24 sts)
- Round 8: [3 sc, 1 inc] x 6. (30 sts)
- Round 9: [4 sc, 1 inc] x 6. (36 sts)
- Round 10: [5 sc, 1 inc] x 6. (42 sts)
- Round 11: Work 42 sc around. (42 sts)
- Round 12: Change to black yarn and work 42 sc around to create the hat brim. (42 sts) Fasten off.
Layered Flower
- Round 1: Make a MR and work 6 sc. (6 sts)
- Round 2: Working in BLO, work 6 inc. (12 sts)
- Round 3: Working in BLO, [1 sc, 1 inc] x 6. (18 sts)
- Round 4: Working in BLO, [2 sc, 1 inc] x 6. (24 sts) Fasten off the base.
- Petals: Attach petal colored yarn to the remaining FLO loops of Round 2. Work the following pattern around the loops to build up layers of petals: 1 hdc in the first st, 3 dc in the next st, 1 hdc in the third st, and 1 sl st in the fourth st. Repeat this sequence all the way through the front loops of Round 2 and Round 3.
Mustache
- Step 1: Using black yarn, chain 19.
- Step 2: Skip the first chain. Work 1 sl st into the second chain, followed by another 1 sl st in the next chain.
- Step 3: Work 1 sc, 1 hdc, 1 dc, 1 tr, and another 1 tr in the next consecutive chains.
- Step 4: Work 1 dc, then work 2 sl sts across the next two chains to form the center dip.
- Step 5: Work 1 dc, 2 tr in the next two chains, 1 dc, 1 hdc, 1 sc, and finish with 2 sl sts in the final two chains. Fasten off.
Assembly and Details
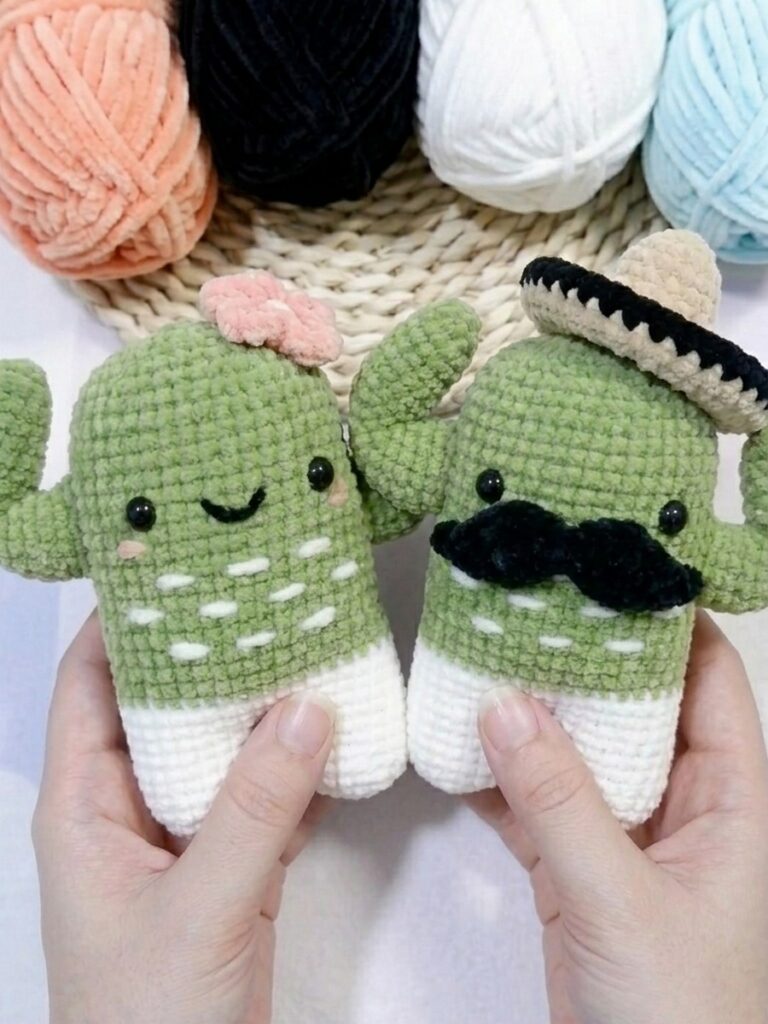
- Step 1: Sew the left arm to the body around Round 17, then attach the right arm around Round 19.
- Step 2: Use light blue or light green yarn to embroider small decorative horizontal accent lines or little spikes across the bodies, spacing them roughly two rows apart.
- Step 3: Insert 6mm safety eyes between Rows 23 and 24, leaving a space of about 7 stitches between them.
- Step 4: For the boy cactus, sew the mustache directly below the eyes and place the top hat on his head.
- Step 5: For the girl cactus, embroider a small happy smile and use pink yarn or blush for her cheeks, then secure the layered flower to the side of her head. Add a keychain ring to the top of each piece to finish.