
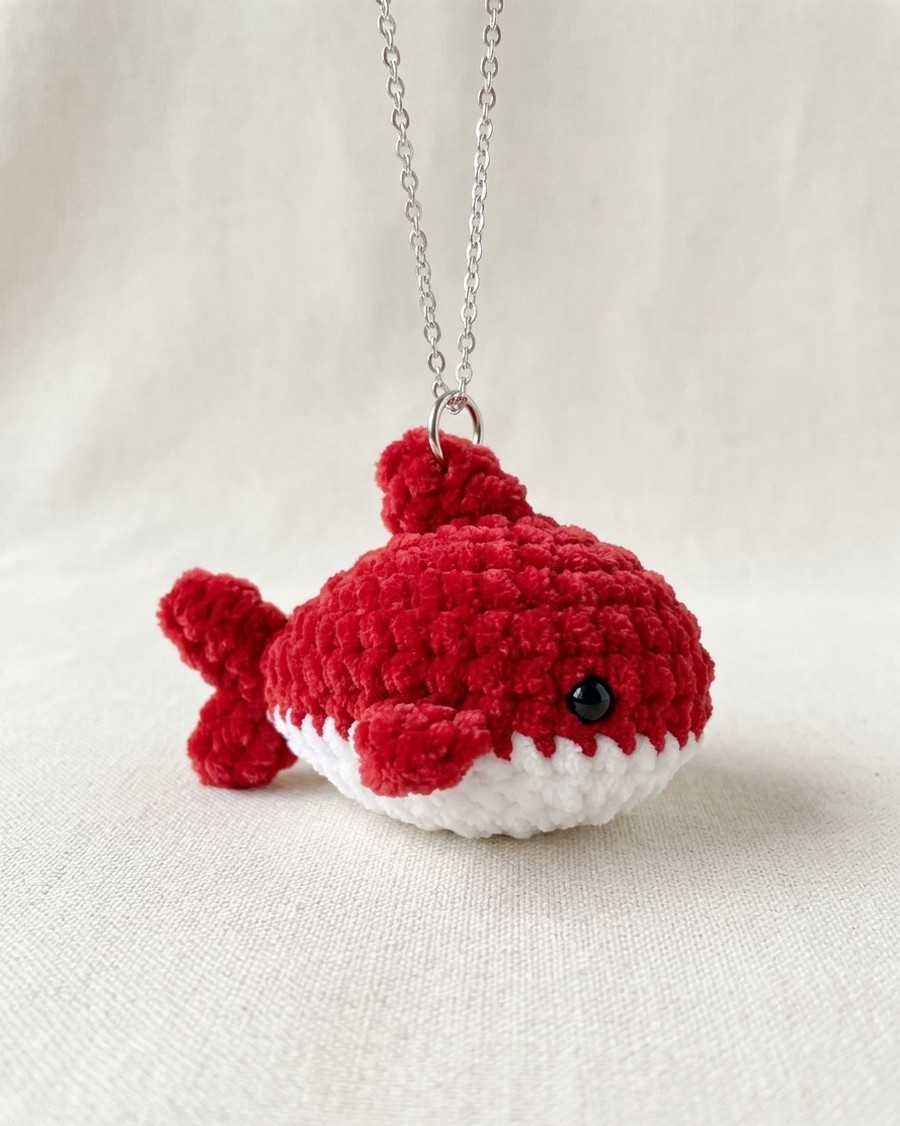
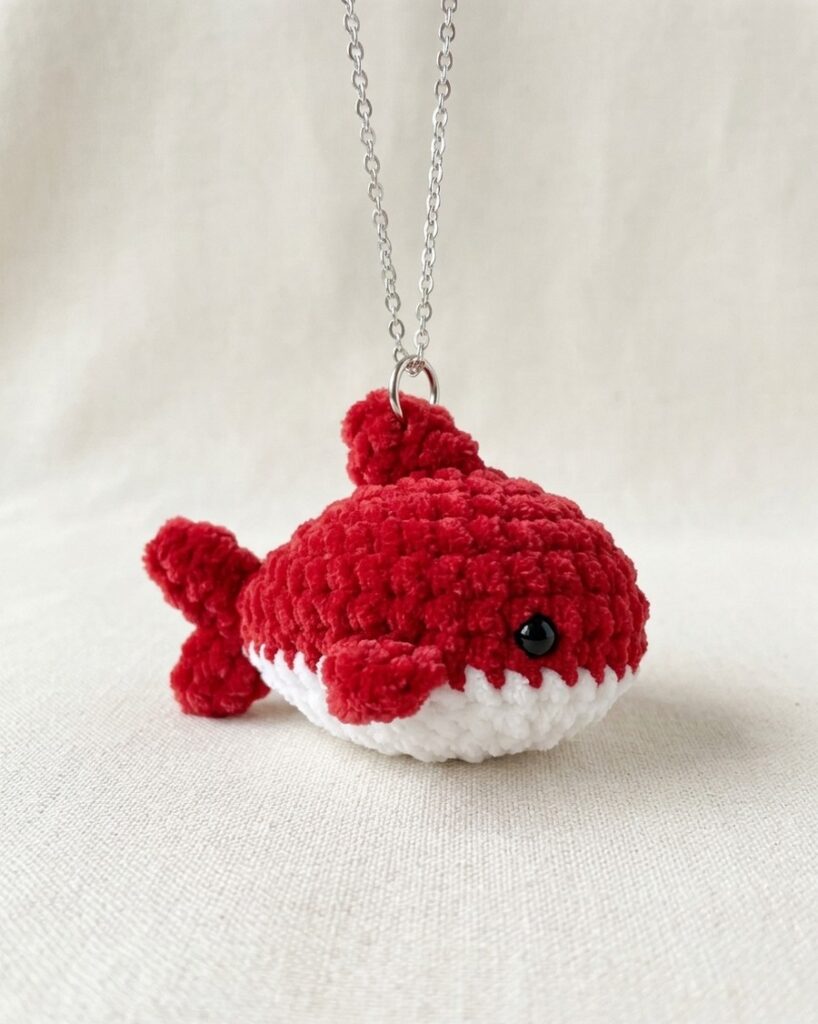
Learn how to crochet a cute, little shark plushie in red for Chinese NEW year or customizing to a strawberry whale plush. With the amigurumi yarn, it will end up pretty small as the pattern is quick, spanning only 13 rounds (in case you want it as a keychain). But with the super bulky yarn, you have a huggable, little softie, similar to the one from double dutch, but a little smaller. You can hang it from your crochet beach tote bag, mobile phone, or use it as a desk buddy.
You can also embroider the mouth with the funny teeth, as in the popular pattern. However, it looks cute in both ways. You can easily crochet one within 30 minutes. Now, continue reading this post for the complete tutorial.
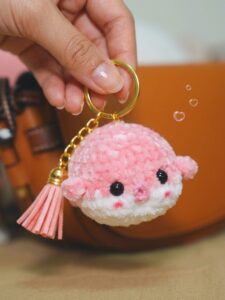
Fish plushie softie tutorial shared already:
Crochet Mini Shark Plushie: Row-by-Row Pattern
Here is the free pattern for crocheting this miniature shark plushie in red for the body and white for the belly:
Materials
- Main color yarn (Red plush yarn)
- White yarn
- 5mm Crochet hook
- Stitch marker
- Safety eyes
- Fiberfill stuffing
- Yarn needle
- Thin black embroidery thread
Abbreviations
- MR: Magic Ring
- ch: Chain
- sc (x): Single Crochet
- inc (v): Increase (2 single crochets in one stitch)
- dec (a): Decrease (invisible single crochet decrease)
- hdc: Half Double Crochet
- dc: Double Crochet
- sl st: Slip Stitch
- st(s): Stitch(es)
Body Pattern
R1: In Main Color, 6 sc in MR. (6)
R2: 6 inc. (12)
R3: (1 sc, 1 inc) * 6. (18)
R4: (2 sc, 1 inc) * 6. (24)
R5: 6 sc, 2 inc, 10 sc, 2 inc, 4 sc. (28)
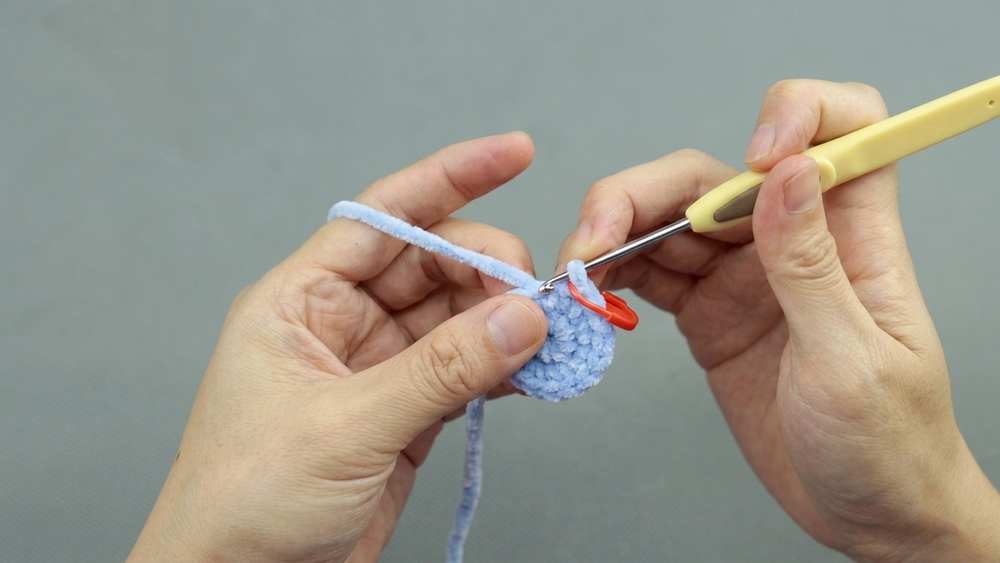
R6: 6 sc, (1 sc, 1 inc, 1 inc, 1 sc), 10 sc, (1 sc, 1 inc, 1 inc, 1 sc), 4 sc. (32)
R7: 32 sc around. (32)
R8: 6 sc, 1 sc, 2 dec, 1 sc, 10 sc, 1 sc, 2 dec, 1 sc, 4 sc. (28)
Note: Change to White yarn on the final pull-through of the last stitch in R8.
R9: In White, 28 sc around. (28)
R10: 6 sc, 2 dec, 10 sc, 2 dec, 4 sc. (24)
R11: (2 sc, 1 dec) * 6. (18)
R12: (1 sc, 1 dec) * 6. (12)
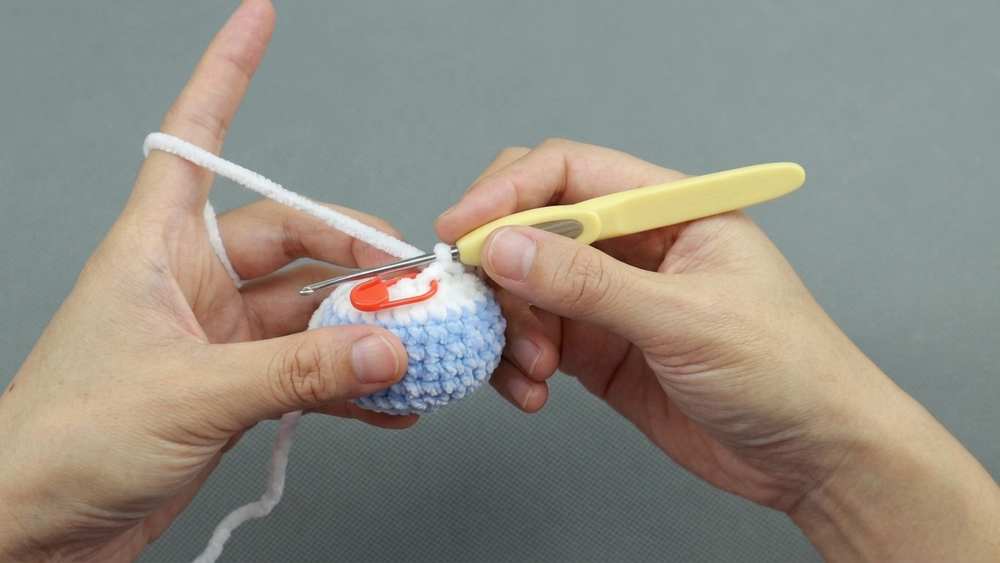
Note: Pause here to securely place safety eyes along the color transition line and stuff the body firmly with fiberfill.
R13: 6 dec. (6)
Fasten off, weave the tail through the front loops of the remaining 6 stitches, and pull tightly to close.
Fin and Details Assembly
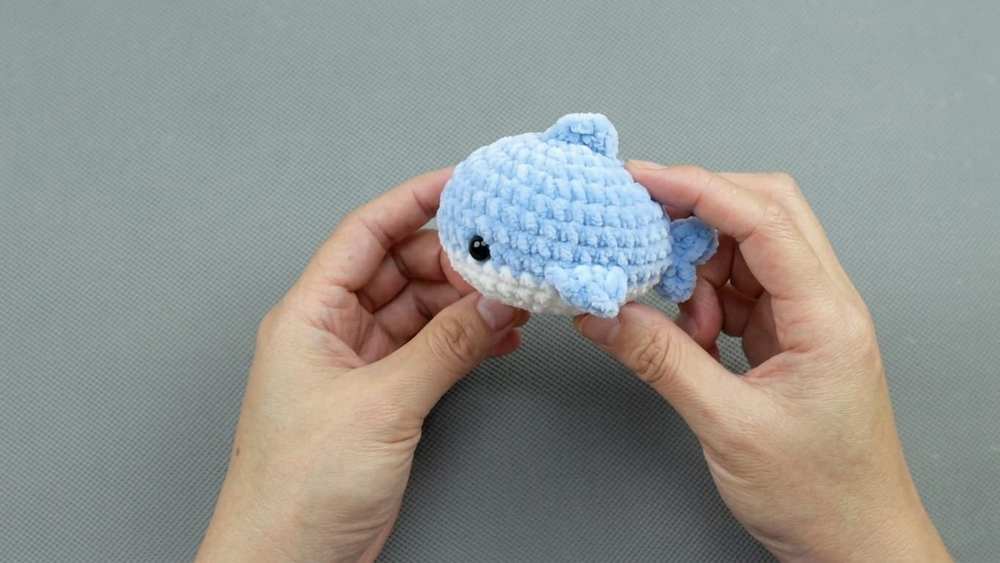
Side Fins (Make 2): Attach the main color yarn to the body 5 stitches away from the eye. Ch 3, work 1 dc into that same starting stitch, then move to the next stitch forward and work 1 hdc and 1 sc. Fasten off and leave a tail for securing. Repeat symmetrically on the other side.
Dorsal Fin: Attach the main color yarn to the top center line of the back. Ch 3, sl st into the second chain from your hook, work 1 dc back into the starting body stitch, then work 1 hdc and 1 sc into the next stitch forward. Fasten off.
Tail Fin: Attach the yarn to the absolute center point at the back of the body between the side fins. Ch 3, sl st into the second chain from your hook, and work 1 hdc into the starting stitch. In the next stitch up, work 1 sc and 1 hdc, ch 1, sl st into that hdc, ch 2, and sl st back into the base stitch before fastening off.
Finishing Touches: Use a yarn needle to tuck all loose ends inside the body. Take your thin black thread and stitch a tiny straight line right between the eyes to give your shark its mouth.
Pattern In UK Terms
To convert your shark pattern into UK terminology, you replace the standard US single crochet (x) with the UK double crochet (dc). All other stitch abbreviations remain the same, as they refer to specific techniques rather than the crochet shorthand.
Here is the pattern adapted for UK terms:
Abbreviations (UK)
-
MR: Magic Ring
-
ch: Chain
-
dc: Double Crochet (replaces US ‘x’)
-
v: Increase (2 dc in one stitch)
-
a: Decrease (invisible decrease)
-
T: Half Treble Crochet (replaces US ‘T’)
-
F: Treble Crochet (replaces US ‘F’)
-
sl st: Slip Stitch
-
st(s): Stitch(es)
Body Pattern (UK)
-
R1: In Main Color, 6 dc in MR (6)
-
R2: 6 v (12)
-
R3: (1 dc, 1 v) * 6 (18)
-
R4: (2 dc, 1 v) * 6 (24)
-
R5: 6 dc, 2 v, 10 dc, 2 v, 4 dc (28)
-
R6: 6 dc, (1 dc, 2 v, 1 dc), 10 dc, (1 dc, 2 v, 1 dc), 4 dc (32)
-
R7: 32 dc (32)
-
R8: 6 dc, 1 dc, 2 a, 1 dc, 10 dc, 1 dc, 2 a, 1 dc, 4 dc (28)
-
R9: In White, 28 dc (28)
-
R10: 6 dc, 2 a, 10 dc, 2 a, 4 dc (24)
-
R11: (2 dc, 1 a) * 6 (18)
-
R12: (1 dc, 1 a) * 6 (12)
-
R13: 6 a (6)
Fins & Assembly (UK)
-
Side Fins (Make 2): Attach Main Color yarn 5 sts away from eye.
-
ch 3, 1 Treble Crochet (F) into the base st.
-
In the next st forward: 1 Half Treble (T), 1 dc.
-
-
Dorsal Fin (Top): Attach the main color yarn to the top center of the back.
-
ch 3, sl st in 2nd ch from hook.
-
1 Treble Crochet (F) back into the starting st.
-
In the next st forward: 1 Half Treble (T), 1 dc.
-
-
Tail Fin: Attach yarn to the center back of the body.
-
ch 3, sl st in 2nd ch from hook, 1 Half Treble (T) into starting st.
-
In the next st up: 1 dc, 1 Half Treble (T), ch 1, sl st into that T, ch 2, sl st back into base st.
-

About "Talha"
Hey, I’m Talha, the Crafter on Craftstive.com. I love to share guides on folding cute origami models and paper crafts, and I am always ready to inspire your next craft project with my weekly craft discussions.