
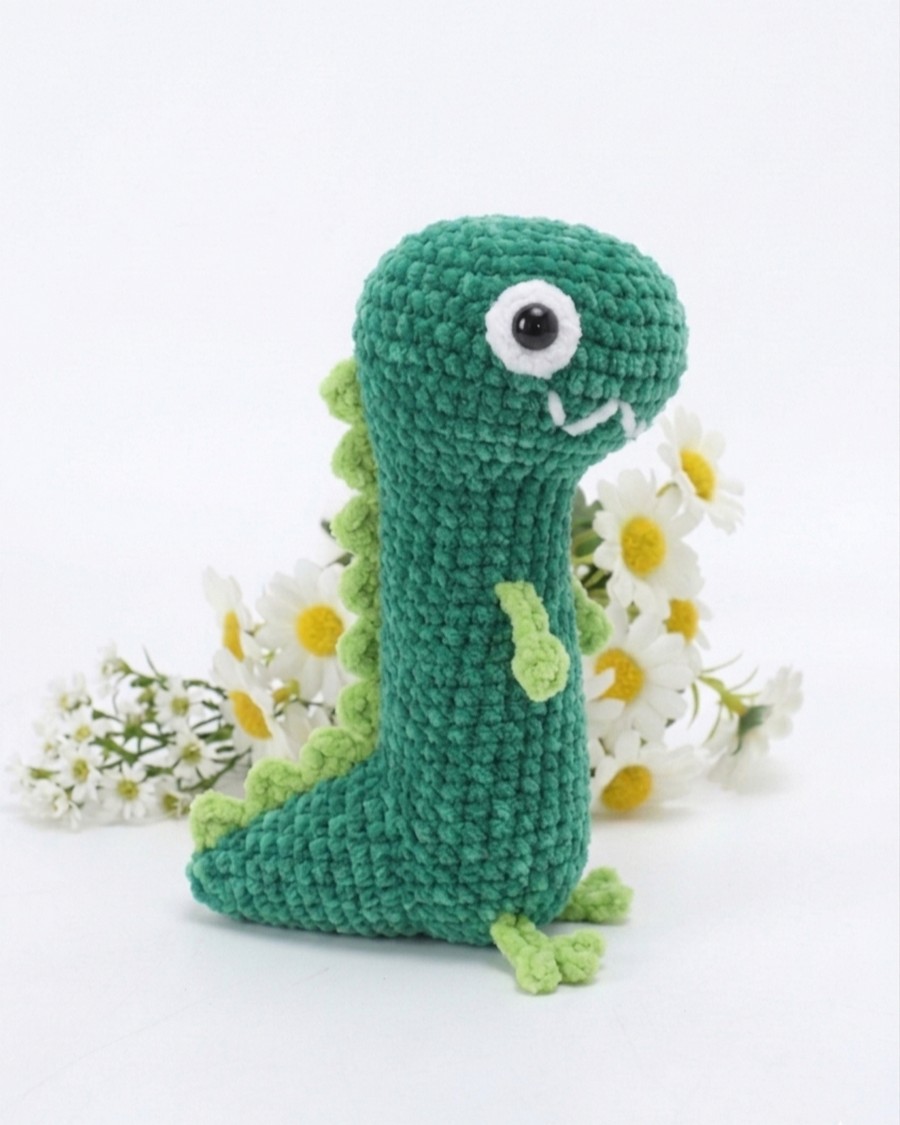
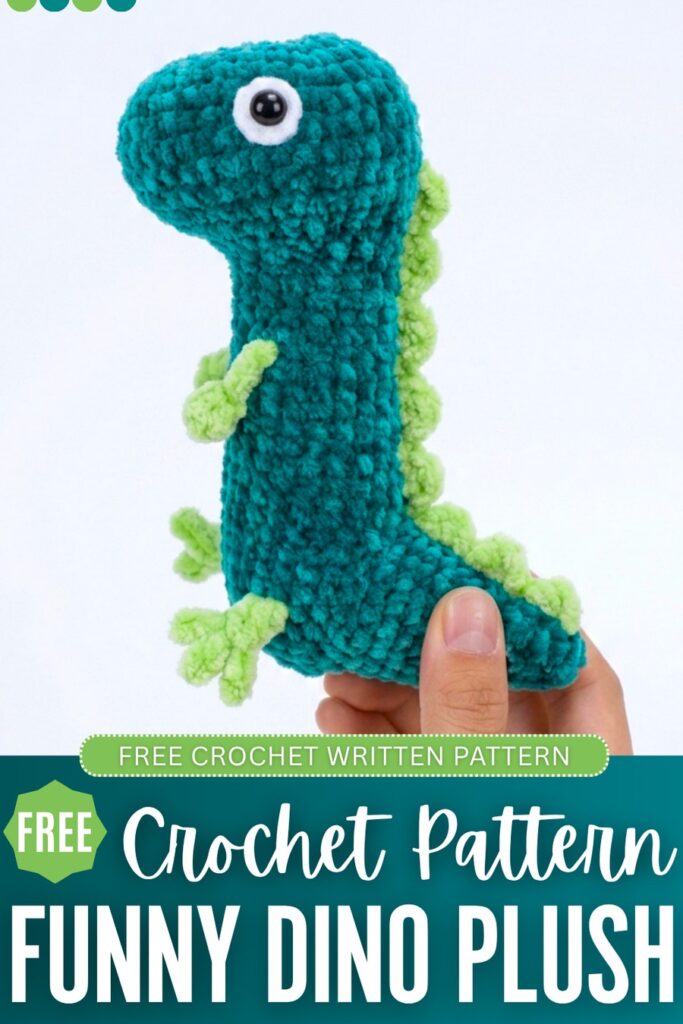
The following FREE pattern will let you crochet an AUTHENTIC Mr. Dinosaur plushie from Peppa the Pig. I have named it Funny Dinosaur plushie as it looks to me much like a lizard, and it has those googly crochet eyes, wacky legs and arms, and body shape. You can also crochet it as my customized version, called the strawberry Mr. Dinosaur plushie that has a dragonfruit finish.
Both versions can sit on your crochet table with the support of their tails. We shall crochet it in two colors for the body and spikes, and small features. Just like Peppa does, kids can use this plushie as a sleep snuggler, as their very own dream has come to life.
Even with the regular 4ply cotton yarn, you can end up with a pretty big plushie. So, crochet it for sure and continue reading for the US pattern in this post. Note that I have also shared a bunch of dinosaur plushie ideas, such as the dinosaur keychains; be sure to check them, too.
[ez-toc]
Dinosaur plushies? I have a bunch of patterns to share, like this:
Crochet Mr. Dinosaur Plushie: Row-by-Row Pattern
Recreate George’s favorite companion, Mr. Dinosaur, from the beloved children’s show. The main piece is worked without sewing from the top of the head down through the body, using a foundation chain.
After stuffing the body, you will crochet a tail starting from a magic ring and attach it near the base to give the dinosaur. Below is the full free pattern to crochet this dinosaur plushie!
Abbreviations
- ch = chain
- sc = single crochet
- inc = increase (2 sc in same st)
- dec = decrease (sc2tog)
- sl st = slip stitch
- st(s) = stitch(es)
- MR = magic ring
- rep = repeat
- FO = fasten off
Materials
Yarn: Milk cotton or plush yarn in main green (for the head, body, and tail) and a contrasting color parrot (for the back ridges, arms, and legs)
Crochet Hook: 2.0 mm to 2.5 mm hook
Stuffing: Fiberfill (PP cotton) stuffing
Notions: Yarn needle, scissors, and a stitch marker
Facial Details: Black embroidery thread (or black yarn) for stitching the eyes and smile
Mr. Dinosaur Amigurumi Pattern
This pattern is worked from the head down to the body. The tail is made separately and sewn on at the end.
Head & Body
Foundation: Ch 11.
R1: Starting in 2nd ch from hook: 9 sc, 3 sc in last ch, turn and work on opposite side of chain: 8 sc, inc. Join with sl st. (22 sts)
R2: Ch 1, inc, 7 sc, 5 inc, 7 sc, 2 inc. Join with sl st. (30 sts)
R3: Ch 1, rep (4 sc, inc) 6 times. Join with sl st. (36 sts)
R4: Ch 1, 36 sc around. Join with sl st. (36 sts)
R5–R7: Continue increasing evenly to shape the head until reaching 48 sts at the end of R7.
R8: Ch 1, 17 sc, (dec, 3 sc) x2, dec, 19 sc. Join with sl st. (45 sts)
R9: Ch 1, dec, 43 sc. Join with sl st. (44 sts)
R10: 16 sc, [1 dec, 2 sc] repeat 2 times, 1 dec, 18 sc. (41 sts)
R11: 1 dec, 8 sc, [1 dec, 2 sc] repeat 4 times, 1 dec, 13 sc. (35 sts)
R12: 8 sc, [1 dec, 1 sc] repeat 5 times, 1 dec, 8 sc, 1 dec. (28 sts)
R13: [5 sc, 1 dec] repeat 4 times. (24 sts)
R14–R37: Work 24 sc evenly around for each of these 24 rows. (24 sts per round)
R38: [2 sc, 1 dec] repeat 6 times. (18 sts)
R39: [1 sc, 1 dec] repeat 6 times. (12 sts)
R40: Ch 1, 6 dec. Join with sl st.
FO is leaving a long tail. Weave yarn through front loops and pull tight to close.
Mr. Dinosaur Tail
Use main color.
R1: 6 sc in MR. (6 sts)
R2: Rep (sc, inc) 3 times. (9 sts)
R3: 9 sc. (9 sts)
R4: sc, inc, rep (2 sc, inc) 2 times, sc. (12 sts)
R5: 12 sc. (12 sts)
R6: Rep (3 sc, inc) 3 times. (15 sts)
R7: 15 sc. (15 sts)
R8: 2 sc, inc, rep (4 sc, inc) 2 times, 2 sc. (18 sts)
R9: 18 sc. (18 sts)
R10: Rep (inc, 5 sc) 3 times. (21 sts)
R11: 21 sc. (21 sts)
R12: 3 sc, inc, rep (6 sc, inc) 2 times, 3 sc. (24 sts)
R13: 24 sc. (24 sts)
R14: Rep (inc, 7 sc) 3 times. (27 sts)
Finishing
- Stuff the tail firmly with fiberfill.
- FO leaving a long tail for sewing.
- Sew the tail onto the back of the body approximately 4 rounds up from the base.
- Weave in all loose ends.
Now, you will work in rounds to create a pair of short arms, two legs, and the ridges that run down his spine.
Crochet the Arms (Make 2): Use the main green yarn and work in a continuous spiral.
R1: 6 sc in MR (6).
R2: (1 sc, 1 inc) * 3 (9).
R3–R8: 9 sc around for 6 rounds (9).
Fasten off and leave a long yarn tail. Stuff the lower half of the arms lightly with fiberfill, leaving the top flat for easier attachment.
Crochet the Legs (Make 2): Use the main green yarn to create the feet and legs.
R1: 6 sc in MR (6).
R2: 6 inc (12).
R3: (1 sc, 1 inc) * 6 (18).
R4–R9: 18 sc around for 6 rounds (18).
Fasten off, leave a long sewing tail, and pack the legs firmly with fiberfill so the dinosaur can sit upright.
Crochet the Back Ridges (Make 4 or 5): Use your contrasting color yarn to create small triangular spikes.
R1: 4 sc in MR (4).
R2: (1 sc, 1 inc) * 2 (6).
R3: (1 sc, 1 inc) * 3 (9).
Fasten off and leave a tail for assembly. Do not stuff these pieces; simply press them flat with your fingers.
Assembly and Features: Sew the flattened tops of the arms symmetrically onto both sides of the upper torso, positioning them a few rounds below the neck transition.
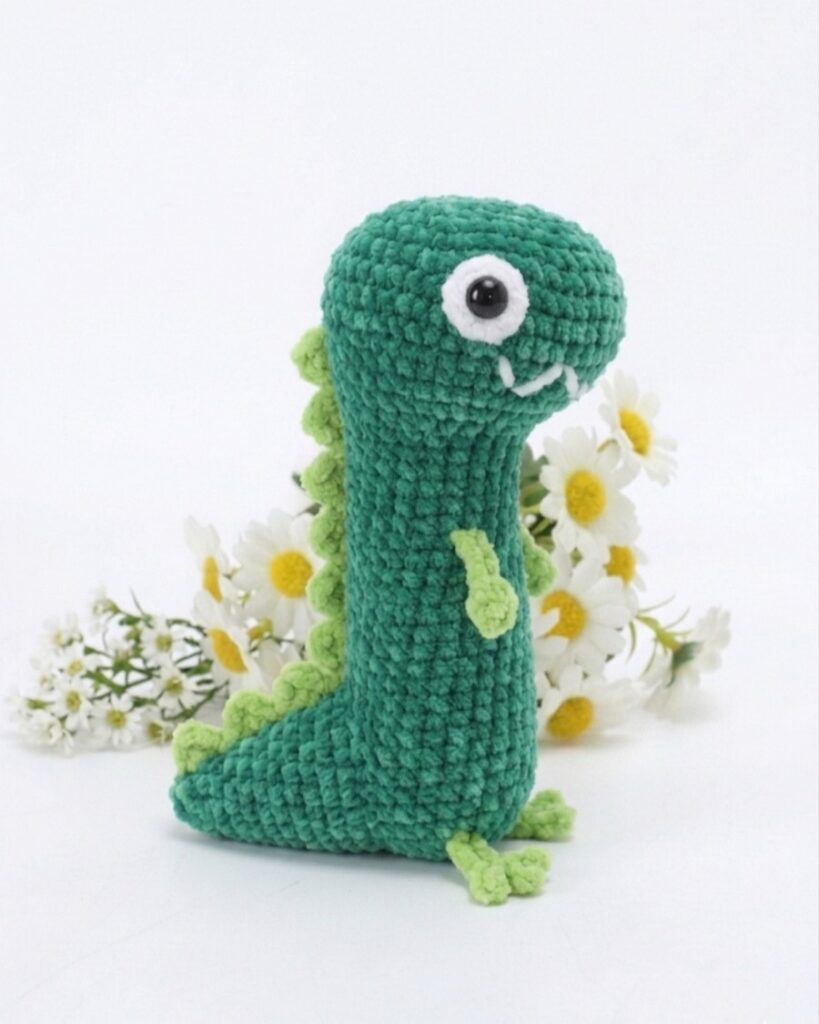
Attach the two legs to the lower base of the body, spacing them forward enough to balance the weight of the tail. Line up the back ridges in a straight column down the center spine, starting from the back of the head and tracking all the way down to the tail tip, then stitch them securely.
Complete the toy by using a yarn needle and black embroidery thread to stitch two small circular eyes on the sides of the head and a wide straight smile across the snout.
And that’s how you will crochet this oh-so cute dino plushie!

About "Talha"
Hey, I’m Talha, the Crafter on Craftstive.com. I love to share guides on folding cute origami models and paper crafts, and I am always ready to inspire your next craft project with my weekly craft discussions.