
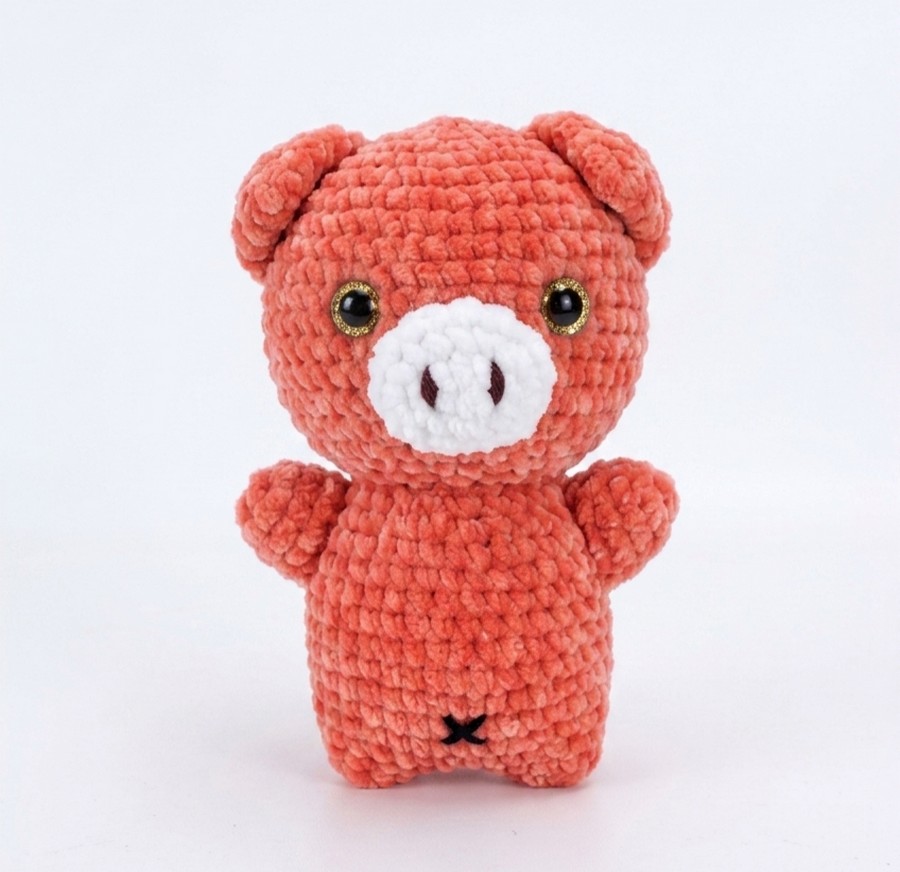
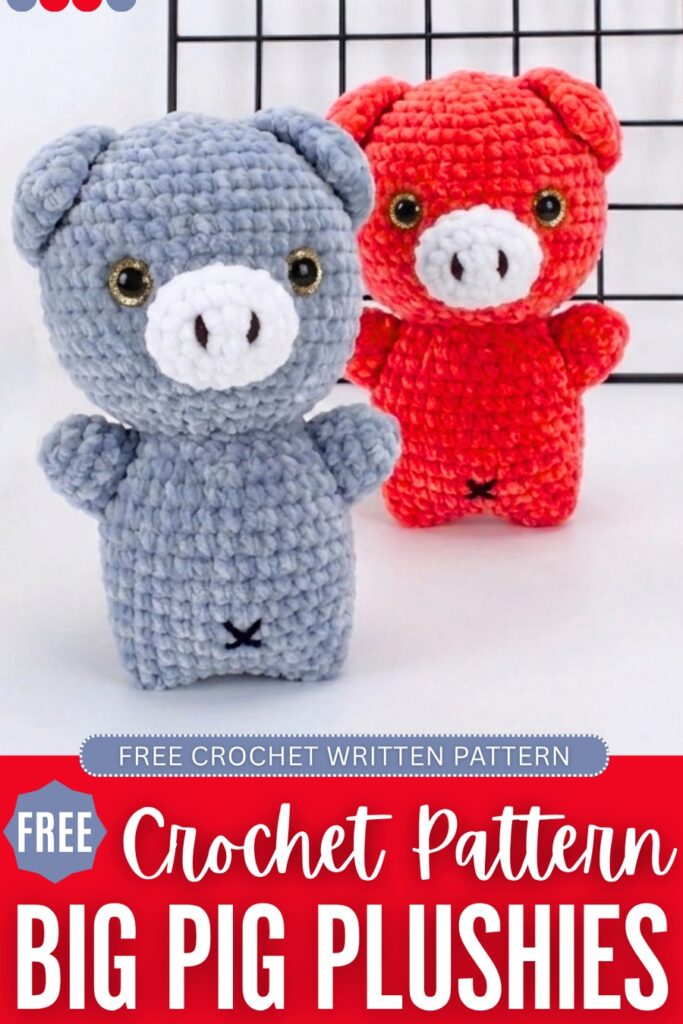
Learn how to crochet a low-sew, chubby, and big baby pig plushie that is ready to hug with the following FREE pattern. While this pattern was originally presented in three parts, I have merged them here so you can easily follow along. This time, the glitter safety eyes are used as they look cuter to me. Even with the amigurumi yarn, you will end up with a pretty, huggable, and big crochet pig plushie. Since it is crocheted as a doll, kids will love to snuggle with it while sleeping.
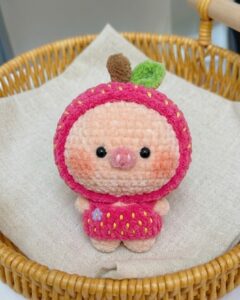
After this pattern, I will also show you how to crochet a strawberry version of this pig plushie. This will also feature a two-leaf sprout and embroidery seeds all around. With the hug-ready arms, this is ultimately the best crochet pig plushie. Now, continue reading for the complete pattern to crochet this plushie.
[ez-toc]
The crochet pig plushie below is as cute as this plush:
Crochet Hugging Pig Plushie: Row-by-Row Pattern
Let’s crochet a Cheering Pig amigurumi (the body closure, snout, head, hands, and ears and other patrs) with this pattern. Assembly is in the end:
Materials
- Yarn: 4-ply milk cotton yarn or thin plush yarn in Main Color (e.g., Pink or Blue)
- Hook Size: 2.0 mm crochet hook
- Glitter safety eyes
- Black yarn
- Other Tools: Stitch marker, fiberfill stuffing, yarn needle, scissors
Abbreviations
- MR: Magic Ring
- ch: Chain
- sc (x): Single Crochet
- inc (v): Increase (2 single crochets in the same stitch)
- dec (a): Decrease (Invisible decrease: insert hook into front loops only of the next two stitches and crochet them together)
- st(s): Stitch(es)
- ( … ) * n: Repeat instructions inside the parentheses n times
Note: This pattern is worked in a continuous spiral layout. Do not join rounds with a slip stitch unless noted; use your stitch marker to keep track of the first stitch of each round.
Crochet Pig Body Pattern
- R1: 6 sc in MR [6 sts]
- R2: 6 inc [12 sts]
- R3: (1 sc, 1 inc) * 6 [18 sts]
- R4: (2 sc, 1 inc) * 6 [24 sts]
- R5: (3 sc, 1 inc) * 6 [30 sts]
- R6: 2 sc, 1 inc, (4 sc, 1 inc) * 5, 2 sc [36 sts]
- R7: (5 sc, 1 inc) * 6 [42 sts]
- R8: (6 sc, 1 inc) * 6 [48 sts]
- R9–R15: 48 sc around (7 rounds total) [48 sts]
- R16: 5 sc, 1 dec, (10 sc, 1 dec) * 3, 5 sc [44 sts]
- R17: 44 sc around [44 sts]
- R18: (9 sc, 1 dec) * 4 [40 sts]
- R19: 40 sc around [40 sts]
- R20: 4 sc, 1 dec, (8 sc, 1 dec) * 3, 4 sc [36 sts]
- R21: 36 sc around [36 sts]
- R22: (7 sc, 1 dec) * 4 [32 sts]
- R23–R24: 32 sc around (2 rounds total) [32 sts]
Body Closure
- Stuffing: Pack the body firmly with fiberfill stuffing.
- R25: Flatten the open edge of the body. Insert your hook through both opposing stitches across the opening and work 16 sc down the line to sew it completely closed [16 sts].
- Fasten off and weave in the loose yarn tail inside the body.
2. Snout / Nose
Unlike the body, the snout is worked in joined oval rounds rather than a continuous spiral.
- Foundation: ch 6.
- R1: Starting in the 2nd ch from the hook, work 4 sc. In the last chain stitch, work 3 sc in the same stitch. Turn to work along the opposite underside of the chain: 3 sc, then 1 inc in the very first chain stitch. Join with a sl st to the first sc. [12 sts]
- R2: ch 1, 1 inc, 4 sc, 2 inc, 4 sc, 1 inc. Join with a sl st. [16 sts]
- R3: ch 1, 1 sc, 1 inc, 4 sc, 1 inc, 2 sc, 1 inc, 4 sc, 1 inc, 1 sc. Join with a sl st. [20 sts]
- R4: ch 1, 2 sc, 1 inc, 4 sc, 1 inc, 4 sc, 1 inc, 4 sc, 1 inc, 2 sc. Join with a sl st. [24 sts]
- Fasten off, leaving a long tail for sewing. Use a needle to create a seamless invisible bind-off.
3. Head
Worked in a continuous spiral with the main color yarn.
- R1: 6 sc in MR [6 sts]
- R2: 6 inc [12 sts]
- R3: (1 sc, 1 inc) * 6 [18 sts]
- R4: (2 sc, 1 inc) * 6 [24 sts]
- R5: (3 sc, 1 inc) * 6 [30 sts]
- R6: 2 sc, 1 inc, (4 sc, 1 inc) * 5, 2 sc [36 sts]
- R7: (5 sc, 1 inc) * 6 [42 sts]
- R8: 3 sc, 1 inc, (6 sc, 1 inc) * 5, 3 sc [48 sts]
- R9: (7 sc, 1 inc) * 6 [54 sts]
- R10: 4 sc, 1 inc, (8 sc, 1 inc) * 5, 4 sc [60 sts]
- R11–R22: 60 sc around (12 rounds total) [60 sts]
- R23: 4 sc, 1 dec, (8 sc, 1 dec) * 5, 4 sc [54 sts]
- R24: (7 sc, 1 dec) * 6 [48 sts]
- R25: 3 sc, 1 dec, (6 sc, 1 dec) * 5, 3 sc [42 sts]
- R26: (5 sc, 1 dec) * 6 [36 sts]
- R27: 2 sc, 1 dec, (4 sc, 1 dec) * 5, 2 sc [30 sts]
- Stuff tightly with fiberfill and leave a long yarn tail for sewing.
4. Hands / Arms (Make 2)
Worked in a continuous spiral with the main color yarn.
- R1: 4 sc in MR [4 sts]
- R2: 4 inc [8 sts]
- R3: (1 sc, 1 inc) * 4 [12 sts]
- R4–R5: 12 sc around (2 rounds total) [12 sts]
- R6: (3 sc, 1 inc) * 3 [15 sts]
- R7: 15 sc around [15 sts]
- Fasten off and leave a tail for assembly.
5. Ears (Make 2)
Worked in a continuous spiral with the main color yarn.
- R1: 6 sc in MR [6 sts]
- R2: 6 inc [12 sts]
- R3: (1 sc, 1 inc) * 6 [18 sts]
- R4: (5 sc, 1 inc) * 3 [21 sts]
- R5–R7: 21 sc around (3 rounds total) [21 sts]
- Closure: Flatten the opening of the ear and crochet the two opposing sides together with 10 sc to seal it shut [10 sts]. Fasten off and leave a long tail for sewing onto the head.
Assembly
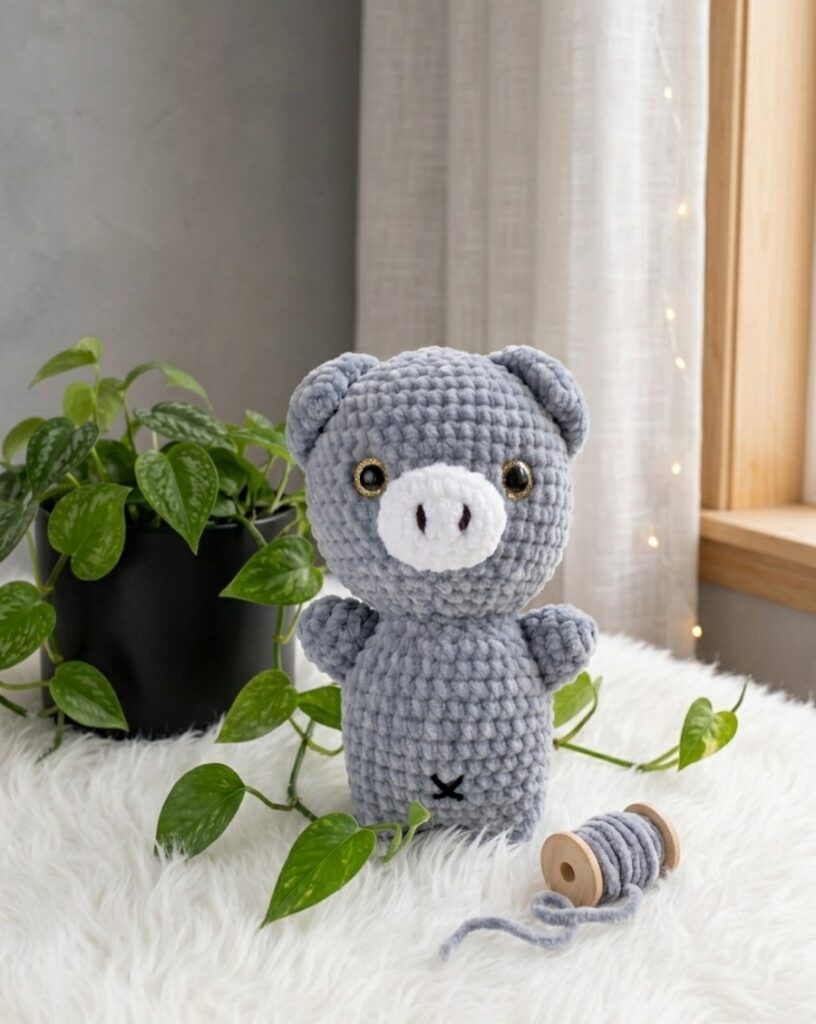
- Attach the Head to the Body: Use the long yarn tail left over from the head. Position and sew the bottom of the head securely to around Round 5 of the body piece.
- Attach the Hands: Lightly stuff the hands with fiberfill. Sew them onto the sides of the body between Rounds 6 and 11.
- Attach the Ears: Position the ears on the sides of the head between Rounds 8 and 16. Sew them so they lie down flat, creating a cute floppy-eared look.
- Attach the Snout (Nose): Center the oval snout onto the front of the face between Rounds 16 and 22 of the head, and sew it flat.
- Add the Eyes: Place and secure two small plastic safety eyes (or sew small beads/details) onto the head immediately to the left and right sides of the attached snout.
- Embroider the Nostrils: Thread a needle with black yarn or embroidery thread. Stitch two small vertical parallel lines on the center of the snout to make the nostrils, hiding your yarn tails inside the head.
- Embroider the Belly Button: Use black thread on the lower center of the body to stitch a small “X” shape to finish your pig’s cute belly button. Snip off any remaining extra yarn tails.