
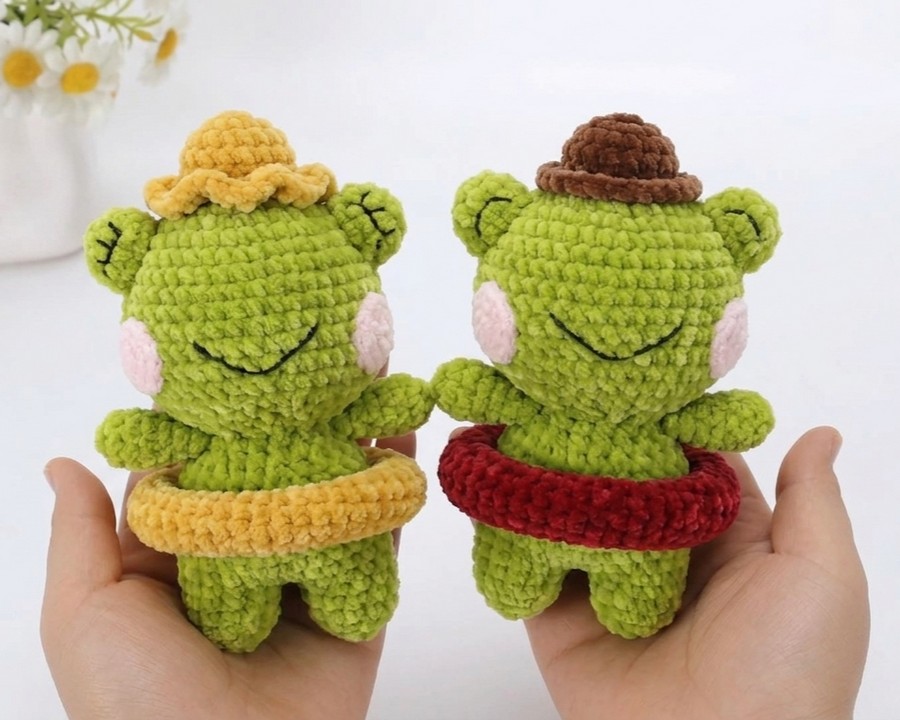
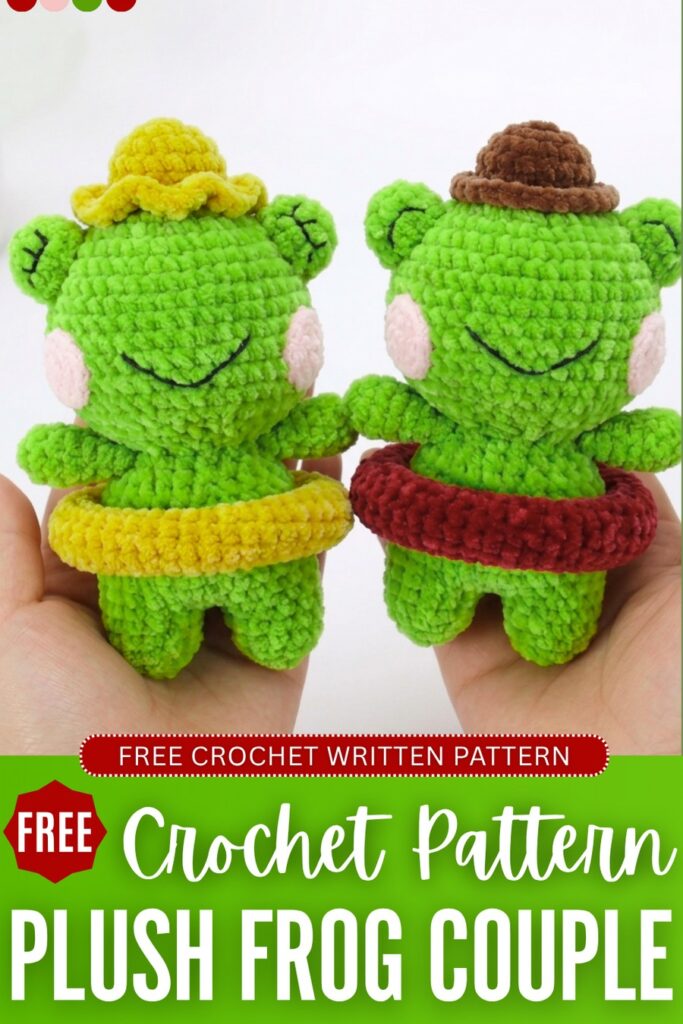
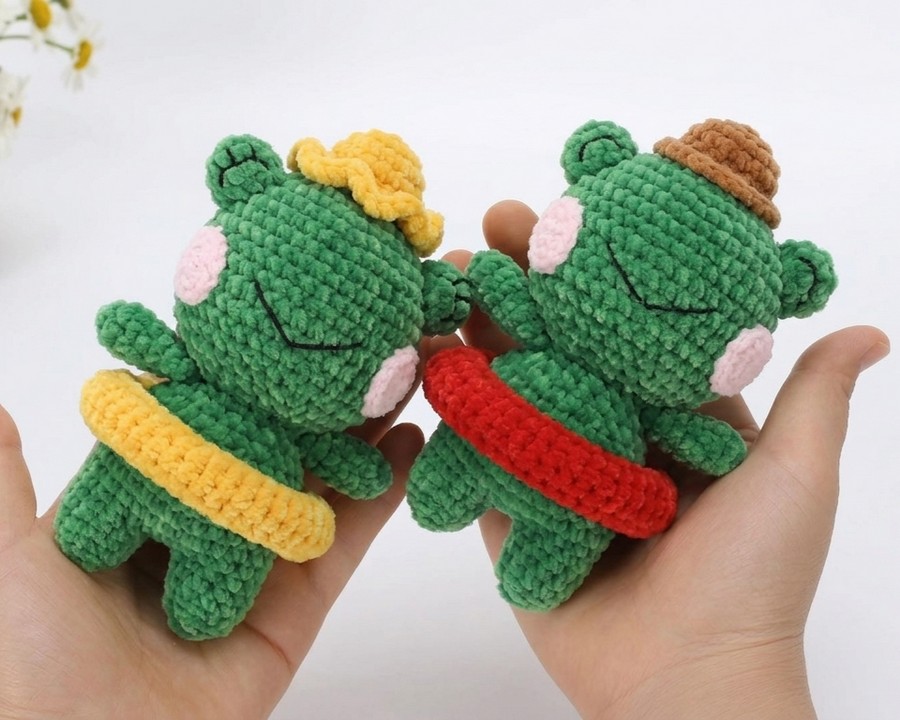
Continuing the crochet “couple present” plushie series, today, you can crochet this set of kawaii frogs in a swim ring plushies. The base frog doll pattern, including the swim ring, is the same as the cactus couple plushie. The only difference is that the wife, Froggie, wears a ruffled bucket hat while the dainty man frog wears a gentleman’s hat. The hats are so small and look so funny and cute at the same time.
Another difference I forgot is the eye embroidery. The girl version has long eyelashes and happy eyes, while the body version has only a U-shape, just like in the sleeping capybara plush. Make it a Valentine’s Day, wedding, or just because present. Even with the amigurumi yarn, you will end up with a big plush doll. Now, let me show you a full pattern for crocheting both in one!
Crochet frog plushies? Why not check the following plushie pattern?
Crochet Couple Frog Plushie Present: Round-by-Round Pattern
Here is the complete crochet pattern for both the Swim Ring Frogs, with only the hat patterns differing. The assembly in detail is also at the end of this pattern:
Crochet Abbreviations Used (US Terms)
- MR: Magic Ring
- ch: Chain stitch
- sc: Single crochet
- dc: Double crochet
- inc: Increase (2 sc in the same stitch)
- dec: Decrease (sc 2 stitches together)
- BLO: Back Loops Only
- FLO: Front Loops Only
- sl st: Slip stitch
- *N: Repeat the instructions inside the parentheses N times
Supplies
- Yarn (4-ply milk cotton yarn or thin plush yarn):
- Green: For the frog’s head, body, arms, and outer eyes.
- Pink: For the blush/cheeks.
- Yellow: For the female frog’s ruffled hat (and optional swim ring).
- Brown (or color of choice): For the male frog’s gentleman hat.
- Swim Ring Colors: Any contrast colors you like (the video uses shades like vibrant orange, yellow, or blue).
- Black: A thin strand of black yarn or embroidery floss for the mouth and eyes.
- Crochet Hook: A 2.0 mm to 2.5 mm hook
- Fiberfill / PP Cotton
- Stitch Markers:
- Tapestry Needle:
- Pins / Positioning Needles
- Scissors: For cutting the yarn tails.
- Embroidery thread
1. Head (Universal for both Male & Female Frogs)
Use green yarn. The head is worked in continuous spiral rounds (do not join with a slip stitch unless noted).
- R1: MR, 6 sc (6)
- R2: 6 inc (12)
- R3: (1 sc, inc) * 6 (18)
- R4: 1 sc, inc, (2 sc, inc) * 5, 1 sc (24)
- R5: (3 sc, inc) * 6 (30)
- R6: 2 sc, inc, (4 sc, inc) * 5, 2 sc (36)
- R7: (5 sc, inc) * 6 (42)
- R8–R15: 42 sc (42) (8 rows total)
- R16: (5 sc, dec) * 6 (36)
- R17: (4 sc, dec) * 6 (30)
- R18: (3 sc, dec) * 6 (24)
- R19: (2 sc, dec) * 6 (18)
- Fasten off, leaving a long thread to clean up the edge or connect later. Fill tightly with fiberfill.
2. Legs & Body
Legs (Make 2 – Use Green Yarn)
- R1: MR, 6 sc (6)
- R2: 6 inc (12)
- R3: BLO, 12 sc (12)
- R4–R5: 12 sc (12) (2 rows total)
- For Leg 1: Fasten off and hide the yarn tail inside.
- For Leg 2: Do not cut the yarn. Sl st into the first stitch of R5, then ch 2 to connect the legs.
Body (Continuing from Leg 2)
- R6: Join to any stitch on Leg 1 with 1 sc (counts as the first stitch of R6). Work 11 more sc around Leg 1, work 2 sc along one side of the ch-2, work 12 sc around Leg 2, and work 2 sc along the opposite side of the ch-2 (28)
- R7: 13 sc, inc, 13 sc, inc (30)
- R8: 7 sc, inc, 14 sc, inc, 7 sc (32)
- R9–R12: 32 sc (32) (4 rows total)
- R13: 3 sc, dec, (6 sc, dec) * 3, 3 sc (28)
- R14: (5 sc, dec) * 4 (24)
- R15: 2 sc, dec, (4 sc, dec) * 3, 2 sc (20)
- R16: 4 sc, dec, 10 sc, dec, 2 sc (18)
- Fasten off, leaving a long tail for sewing. Stuff the legs and body firmly with fiberfill.
3. Arms (Make 2 – Use Green Yarn)
Do not stuff the arms.
- R1: MR, 6 sc (6)
- R2: (2 sc, inc) * 2 (8)
- R3–R7: 8 sc (8) (5 rows total)
- R8: (2 sc, dec) * 2 (6)
- Fasten off, leaving a long tail for assembly.
4. Eyes (Make 2 – Use Green Yarn)
- R1: MR, 6 sc (6)
- R2: 6 inc (12)
- R3–R4: 12 sc (12) (2 rows total)
- Fasten off, leaving a long tail for sewing. Lightly stuff during assembly.
5. Blush / Cheeks (Make 2 – Use Pink Yarn)
- R1: MR, 6 sc (6)
- R2: 6 inc (12)
- Fasten off, leaving a long tail for sewing.
6. Swim Ring
Use any color of your choice (e.g., yellow or red/orange).
- R1: MR, 6 sc (6)
- R2: (2 sc, inc) * 2 (8)
- R3–R46: 8 sc (8) (44 rows total)
- Fasten off. Sew the head (R1) and tail (R46) together tightly to form a secure ring shape.
7. Hats
Option A: Female Frog’s Ruffled Hat (Yellow Yarn)
- R1: MR, 6 sc (6)
- R2: 6 inc (12)
- R3: (1 sc, inc) * 6 (18)
- R4–R5: 18 sc (18) (2 rows total)
- R6 (Brim): Sl st into the first stitch’s FLO. Ch 2 (counts as first dc), work 2 dc in that same loop. Work 3 dc into every remaining front loop around (54 dc total)
- Fasten off and weave in the ends.
Option B: Male Frog’s Gentleman Hat (Brown/Choice Yarn)
- R1: MR, 8 sc (8)
- R2: 8 inc (16)
- R3: (1 sc, inc) * 8 (24)
- R4: BLO, 24 sc (24)
- R5: 24 sc (24)
- R6 (Brim): FLO, (2 sc, inc) * 8 (32)
- Fasten off, leaving a long tail for sewing.
Detailed Step-by-Step Assembly Instructions
Connecting Head and Body: Both the neck opening of the body and the base opening of the head have exactly 18 stitches. Line them up stitch-by-stitch and use a tapestry needle to sew them securely together. Ensure you add any final stuffing to the neck area before closing it up completely.
Attaching the Arms: Flatten the open ends of the arms without adding any stuffing. Sew them symmetrically to the left and right sides of the upper body (around rows 15–16), aligning them directly above the legs.
Positioning and Sewing the Eyes: Place the green eye pieces on top of the head around rows 5–6. Sew them around their circular bases. Right before finishing the stitches on each eye, push a small amount of fiberfill inside to give them a 3D pop, then sew them completely closed.
Embroidering Facial Features: * Mouth: Use a thin black strand of yarn or embroidery floss. Locate the center line of the face. The mouth spans 7 stitches wide. Program the curve so that the outer corners sit around row 12 and the center dips down to row 14 to create a sweet, happy smile. Secure the middle point with a tiny hidden stitch.
Male Eyes: On the front of the green eye spheres, embroider a downward-curving sleeping closed-eye arc spanning 2–3 stitches. Wrap the thread around the stitch loops slightly to give it a clean definition.
Female Eyes: Embroider the same sleeping arc, but add 3 tiny delicate eyelashes extending upwards from the top curve.
Adding Blush: Sew the pink cheek circles right next to the left and right edges of the smile, keeping them perfectly symmetrical.
- Putting on the Swim Ring: Slip the sewn swim ring tube over the frog’s legs and slide it up securely around its waist.
- Securing the Hat: Place the hat right on the top center of the head between the eyes. Secure it by stitching along the inside rim loops onto the head so it doesn’t fall off.