
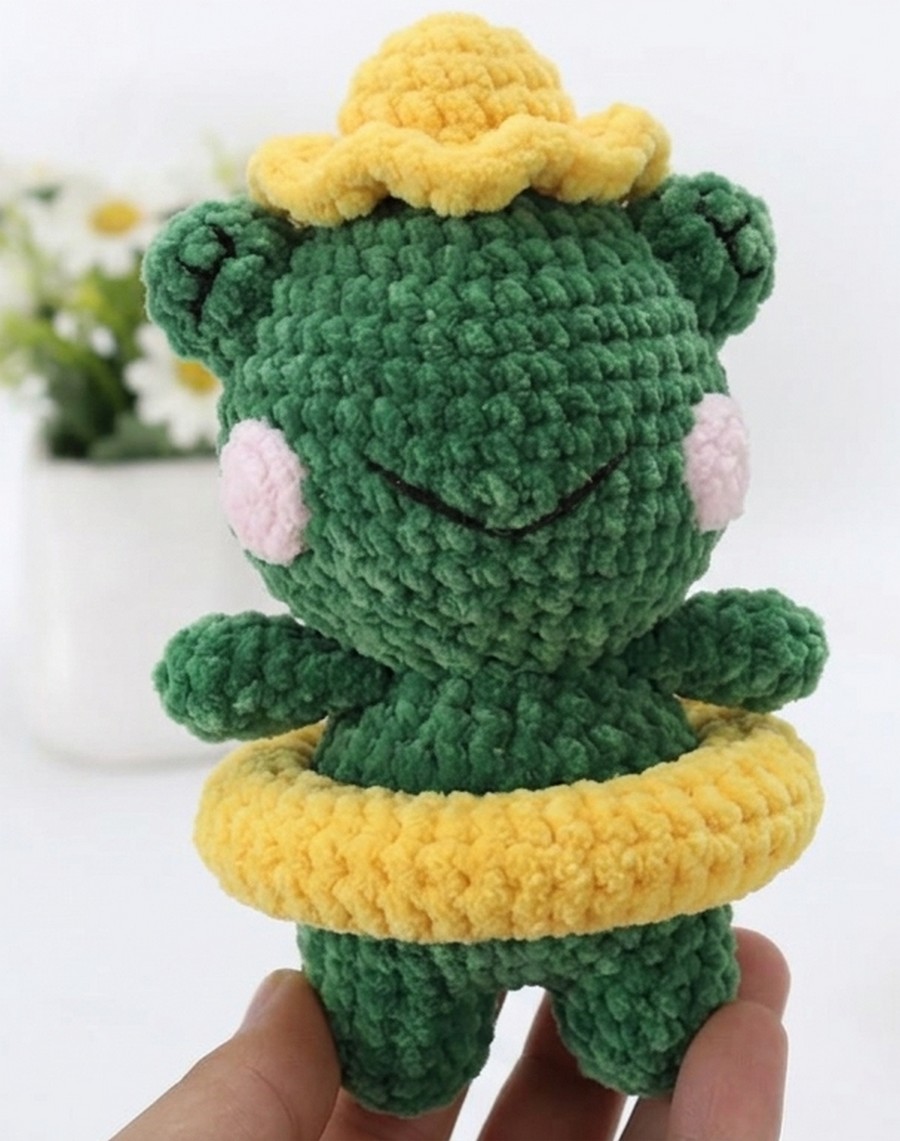
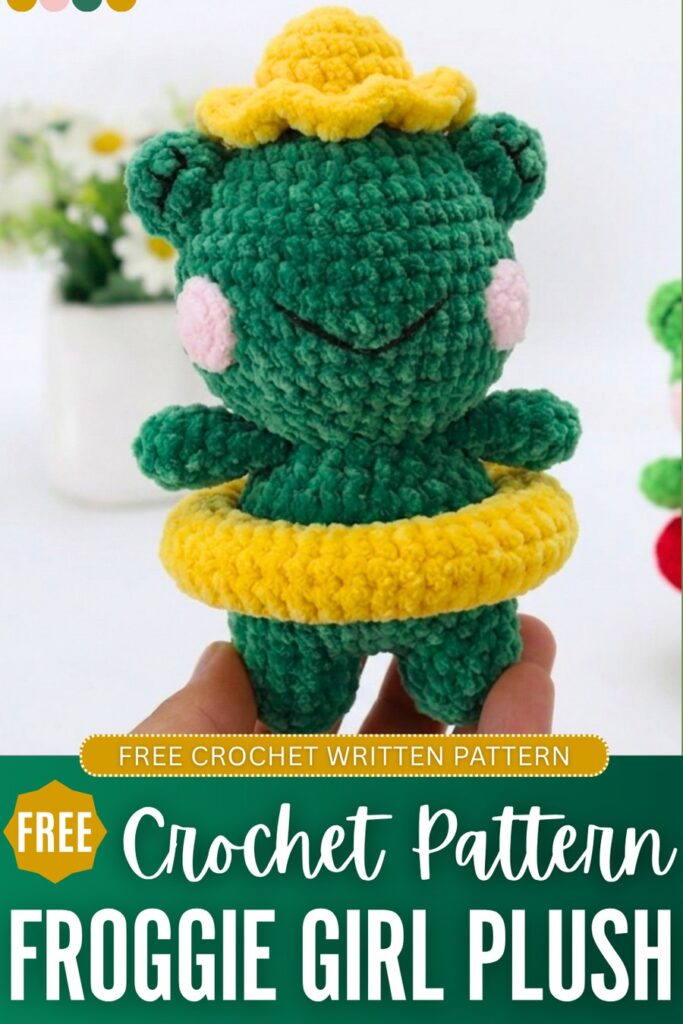
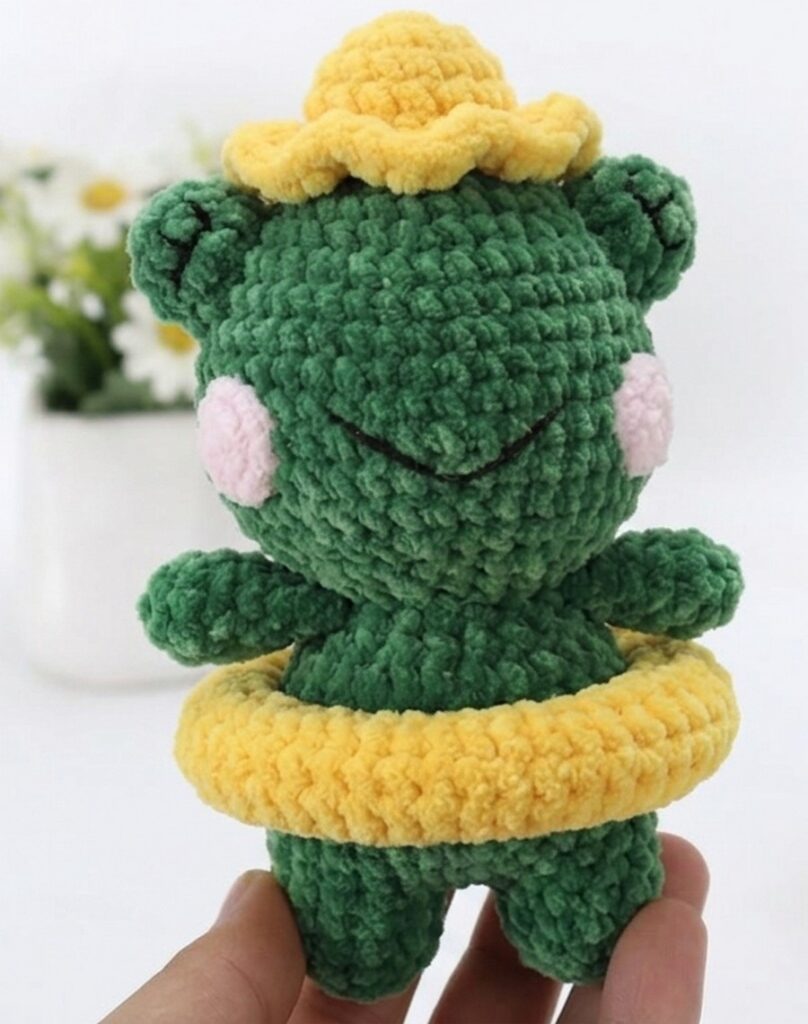
I am finishing the 2-in-1 crochet couple frog plush series with this crochet frog girl in a swim ring pattern. While I have already shared a full pattern for crocheting both in one, to avoid confusion, here is the 2nd swim ring frog plushie pattern. Our girl froggie has long eyelashes for the “happy” eyes, aka sleeping eyes, and a ruffled bucket hat as a unique feature. Well, the shade of green is also different than the boy version, but you are already free to choose any.
The body, blush, and the swim ring pattern are the same as the boy’s version. In fact, these are the easiest parts of this plushie. The body is also low-sew, worked from the bottom up. You can crochet it in less than 2 hours. With the super bulky chenille yarn, you will actually end up with an even bigger plush. Anyway, let me provide the pattern now.
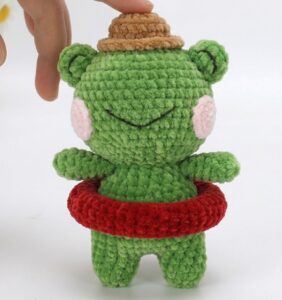
Wanna also learn the froggie boy plushie? Here is the free pattern:
Crochet Girl Version of Swim Ring Frog Plushie Present: Round-by-Round Pattern
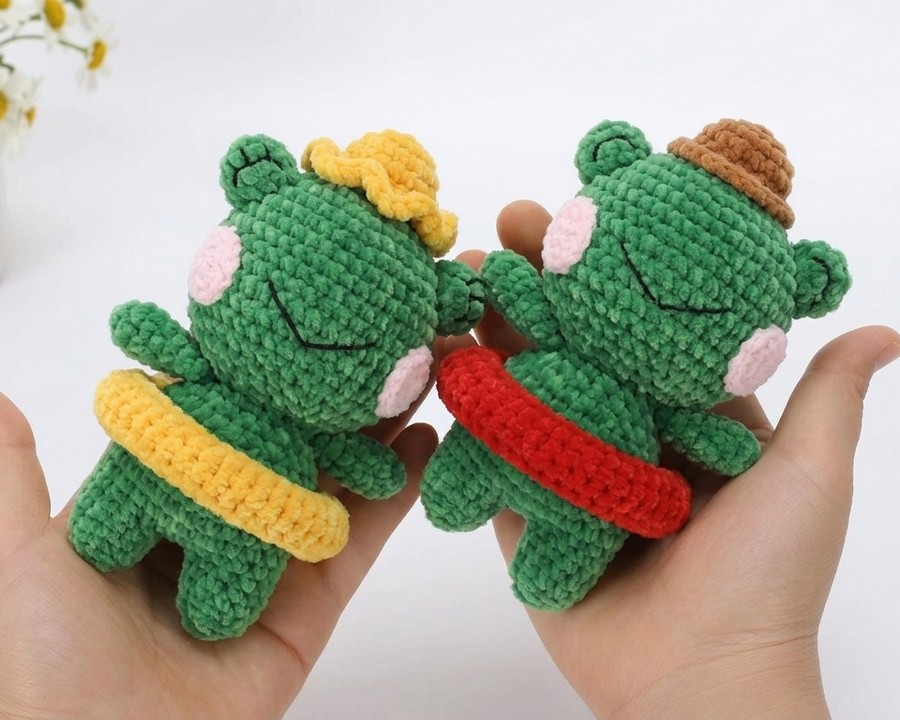
Here is the full pattern for crocheting the girl swim ring frog plush. If you want to follow both at the same time, be sure to check the swim ring frog plushie pattern above. Let’s start the girl version for now:
Crochet Abbreviations (US Terms)
- MR: Magic Ring
- ch: Chain stitch
- sc: Single crochet
- dc: Double crochet
- inc: Increase (2 sc in the same stitch)
- dec: Decrease (sc 2 stitches together)
- BLO: Back Loops Only
- FLO: Front Loops Only
- sl st: Slip stitch
- *N: Repeat instructions inside the parentheses N times
Supplies
- Thin or super bulky chenille yarn
- Green
- Pink
- Yellow
- Brown (or color of choice)
- Swim Ring Colors
- Black: A thin strand of black yarn or embroidery floss for the mouth and eyes.
- Crochet Hook: A 2.0 mm to 2.5 mm hook or 5mm if you want to use the super bulky yarn.
- Fiberfill / PP Cotton
- Scissors: For cutting the yarn tails.
1. Head
- Notes: Worked in continuous spiral rounds; use green yarn.
- R1: MR, 6 sc (6)
- R2: 6 inc (12)
- R3: (1 sc, inc) * 6 (18)
- R4: 1 sc, inc, (2 sc, inc) * 5, 1 sc (24)
- R5: (3 sc, inc) * 6 (30)
- R6: 2 sc, inc, (4 sc, inc) * 5, 2 sc (36)
- R7: (5 sc, inc) * 6 (42)
- R8–R15: 42 sc (42) (8 rows total)
- R16: (5 sc, dec) * 6 (36)
- R17: (4 sc, dec) * 6 (30)
- R18: (3 sc, dec) * 6 (24)
- R19: (2 sc, dec) * 6 (18)
- Fasten off, leaving a long yarn tail. Stuff firmly with fiberfill.
2. Legs & Body
- Notes: Worked in green yarn.
Legs (Make 2)
- R1: MR, 6 sc (6)
- R2: 6 inc (12)
- R3: BLO, 12 sc (12)
- R4–R5: 12 sc (12) (2 rows total)
- Leg 1: Fasten off and hide the tail inside.
- Leg 2: Do not cut the yarn. Sl st into the first stitch of R5, then ch 2.
Body (Connected to Leg 2)
- R6: Join to any stitch on Leg 1 with 1 sc (counts as first stitch of R6). Work 11 sc around Leg 1, 2 sc along one side of the ch-2, 12 sc around Leg 2, and 2 sc along the opposite side of the ch-2 (28)
- R7: 13 sc, inc, 13 sc, inc (30)
- R8: 7 sc, inc, 14 sc, inc, 7 sc (32)
- R9–R12: 32 sc (32) (4 rows total)
- R13: 3 sc, dec, (6 sc, dec) * 3, 3 sc (28)
- R14: (5 sc, dec) * 4 (24)
- R15: 2 sc, dec, (4 sc, dec) * 3, 2 sc (20)
- R16: 4 sc, dec, 10 sc, dec, 2 sc (18)
- Fasten off, leaving a long tail for sewing. Stuff the legs and body firmly with fiberfill.
3. Arms (Make 2)
- Notes: Worked in green yarn; do not stuff.
- R1: MR, 6 sc (6)
- R2: (2 sc, inc) * 2 (8)
- R3–R7: 8 sc (8) (5 rows total)
- R8: (2 sc, dec) * 2 (6)
- Fasten off, leaving a tail for sewing.
4. Eyes (Make 2)
- Notes: Worked in green yarn.
- R1: MR, 6 sc (6)
- R2: 6 inc (12)
- R3–R4: 12 sc (12) (2 rows total)
- Fasten off, leaving a long tail for sewing.
5. Blush / Cheeks (Make 2)
- Notes: Worked in pink yarn.
- R1: MR, 6 sc (6)
- R2: 6 inc (12)
- Fasten off, leaving a long tail for sewing.
6. Female Yellow Swim Ring
- Notes: Worked in yellow yarn to perfectly match the female hat.
- R1: MR, 6 sc (6)
- R2: (2 sc, inc) * 2 (8)
- R3–R46: 8 sc (8) (44 rows total)
- Fasten off, sew R1 and R46 securely together to form a tube-ring shape.
7. Female Ruffled Hat
- Notes: Worked in yellow yarn.
- R1: MR, 6 sc (6)
- R2: 6 inc (12)
- R3: (1 sc, inc) * 6 (18)
- R4–R5: 18 sc (18) (2 rows total)
- R6 (Ruffled Brim): Sl st into the first stitch’s FLO. Ch 2 (counts as first dc), work 2 dc in that same loop. Work 3 dc into every remaining front loop around (54 dc total).
- Fasten off, leaving a long tail for assembly.
8. Detailed Assembly Instructions
- Neck Attachment: Match the 18 stitches of the body neck to the 18 stitches of the head base. Sew them together tightly loop-by-loop with a tapestry needle, ensuring the head faces directly forward.
- Arm Placement: Flatten the open ends of the unstuffed arms. Sew them symmetrically onto the left and right sides of the body at rows 15–16, aligning them vertically with the legs.
- Eye Placement: Place the green eye pieces on top of the head around rows 5–6, aligned over the arms. Sew around the base, adding a small pinch of fiberfill stuffing inside just before closing the final stitches to make them fully rounded.
- Embroidering Female Eyes: Use a thin strand of split black yarn or embroidery thread. Sew a clean, downward-curving semi-circular sleeping arc across 2 to 3 stitches on the front of each eye piece. At the top of each arc, embroider 3 tiny, delicate upward eyelashes to complete the female look.
- Mouth Embroidery: Center the mouth between the eyes. Locate row 12 for the outer corners of the smile and row 14 for the center point. Sew a wide smile spanning 7 stitches across, catching the bottom of the curve with a small hidden anchoring stitch to keep it curved down.
- Blush Attachment: Sew the pink cheek circles symmetrically onto the face, placing them right next to the left and right outer corners of the smile.
- Swim Ring and Hat: Slide the connected yellow swim ring up over the frog’s legs until it rests securely around its waist. Place the yellow ruffled hat flat on top of the head, centered between the eyes, and stitch around the unworked back loops from row 5 to secure it to the head.

About "Talha"
Hey, I’m Talha, the Crafter on Craftstive.com. I love to share guides on folding cute origami models and paper crafts, and I am always ready to inspire your next craft project with my weekly craft discussions.