
Subscribe to Juanjuan Crochet! The video tutorial & instructions are below!
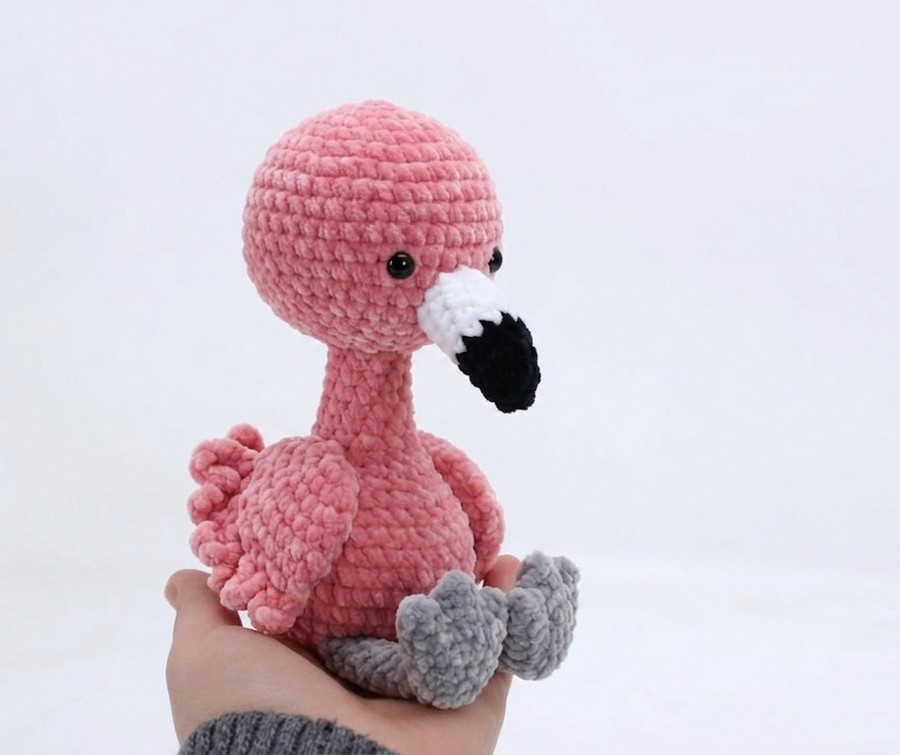
Kickstart the summer crochet with this crochet baby flamingo plushie that can sit on without support and become your desk buddy. Or kids can bring this bird plush to the beach and snuggle them all day long.
This cute big flamingo summer plushie will be an irresistible summer present. For the wings, we shall work a pattern of half double crochet in BLO, which makes them so life-like and elegant. You can crochet either the green or the traditional pink version.
Soon, I will also provide you with a strawberry flamingo version similar to the strawberry turtle plush I shared yesterday. You can also crochet brown legs.
Anyway, the customization and the yarn you choose are up to you. Continue reading for the complete crochet pattern to make this flamingo plush.

[ez-toc]
Crochet Flamingo Plush: Round-by-Round Pattern
Learn how to crochet this flamingo plush round-by-round with this free pattern for beginners:
Materials Needed
- Yarn: Bulky chenille yarn or 4-ply Milk Cotton Yarn if you want to crochet it as an amigurumi. (Pink for the body, black and white for the beak/eyes, and yellow or orange for the legs).
- Crochet Hook: 5-5.5mm with bulky yarn and 2.0 mm for amigurumi yarn.
- Safety Eyes: Black plastic safety beads.
- Stuffing: Polyester fiberfill (PP cotton)
- Tools: Stitch markers, yarn needle, and scissors
Crochet Abbreviations
- MR: Magic Ring / Magic Circle
- ch: Chain stitch
- x: Single crochet
- v: Increase (2 single crochets in the same stitch)
- a: Invisible decrease
- hdc: Half double crochet
- sl st: Slip stitch
Abbreviations (US Terms)
-
MR: Magic Ring
-
ch: Chain
-
sc (x): Single Crochet
-
inc (v): Increase (2 sc in one stitch)
-
dec (a): Decrease (sc 2 stitches together)
-
hdc: Half Double Crochet
-
sl st: Slip Stitch
-
( ) * n: Repeat instructions within parentheses n times
-
[ ]: Total stitch count at the end of the round
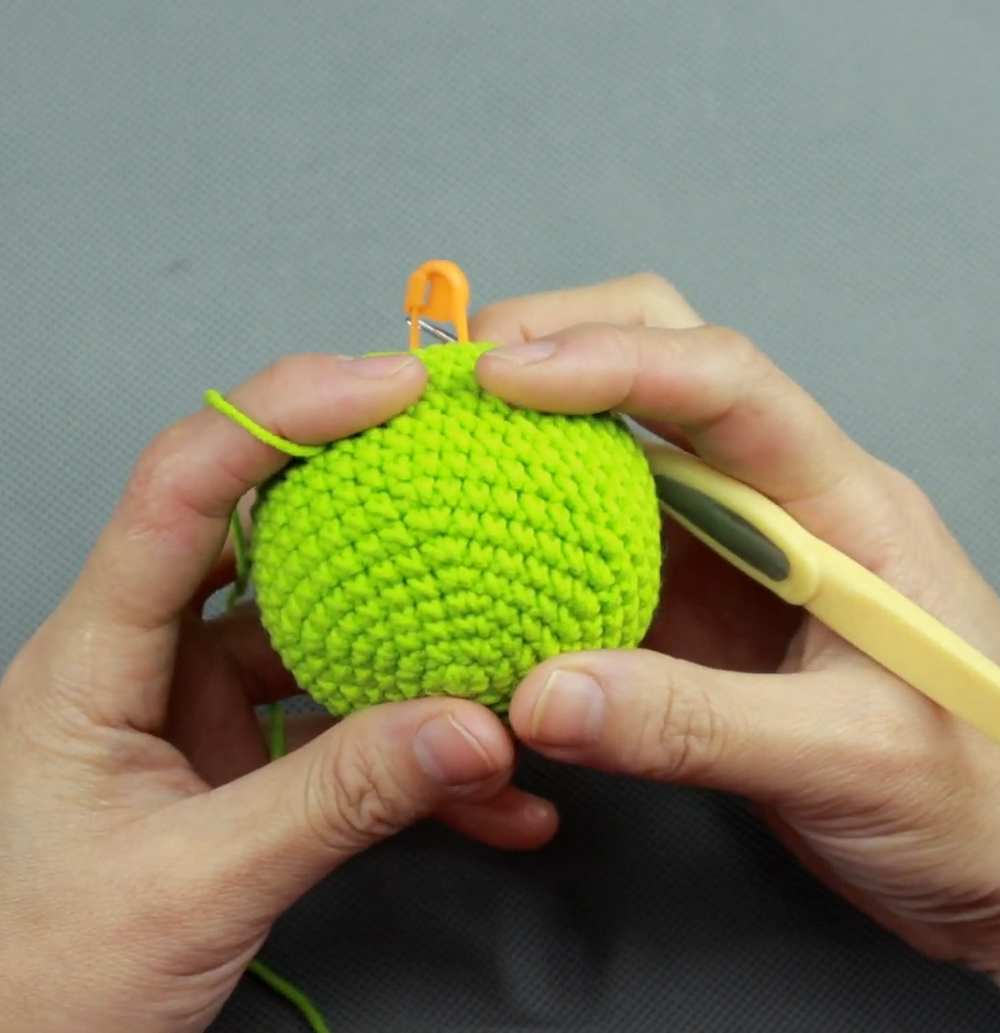
1. Head (Main Color)
-
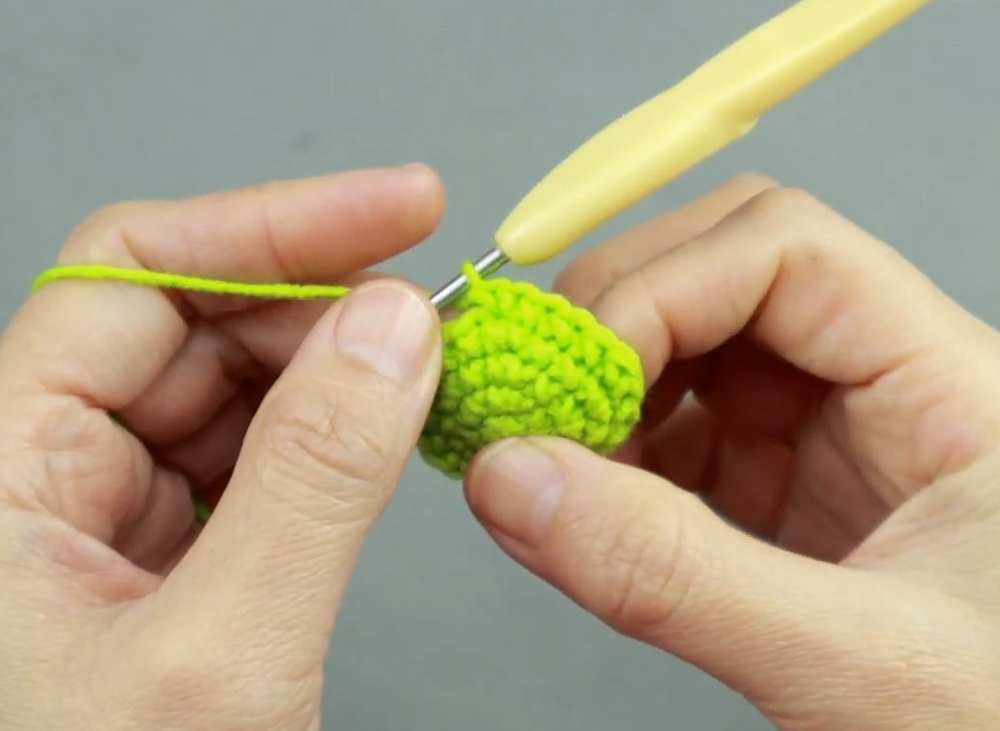
R1: MR, 5 sc [5]
-
R2: 5 inc [10]
-
R3: (1 sc, inc) * 5 [15]
-
R4: (2 sc, inc) * 5 [20]
-
R5: (3 sc, inc) * 5 [25]
-
R6: (4 sc, inc) * 5 [30]
-
R7: (5 sc, inc) * 5 [35]
-
R8: (6 sc, inc) * 5 [40]
-
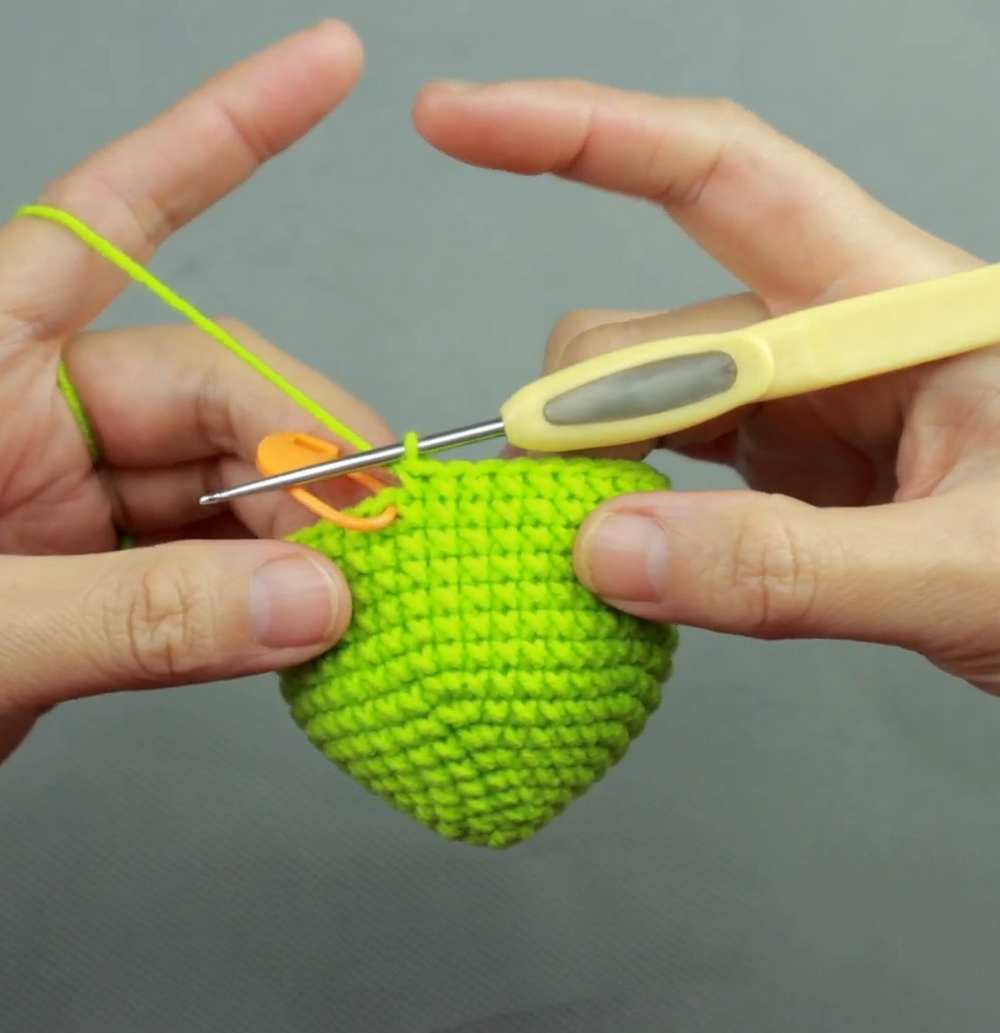
R9–R15: 40 sc [40]
-
R16: (6 sc, dec) * 5 [35]
-
R17: (5 sc, dec) * 5 [30]
-
R18: (4 sc, dec) * 5 [25]
-
R19: (3 sc, dec) * 5 [20] (Stuff head firmly)
-
R20: (2 sc, dec) * 5 [15]
-
R21: (1 sc, dec) * 5 [10]
-
Fasten off and weave in ends.
2. Body & Neck (Main Color)
-
R1: MR, 6 sc [6]
-
R2: 6 inc [12]
-
R3: (1 sc, inc) * 6 [18]
-
R4: (2 sc, inc) * 6 [24]
-
R5: (3 sc, inc) * 6 [30]
-
R6: (4 sc, inc) * 6 [36]
-
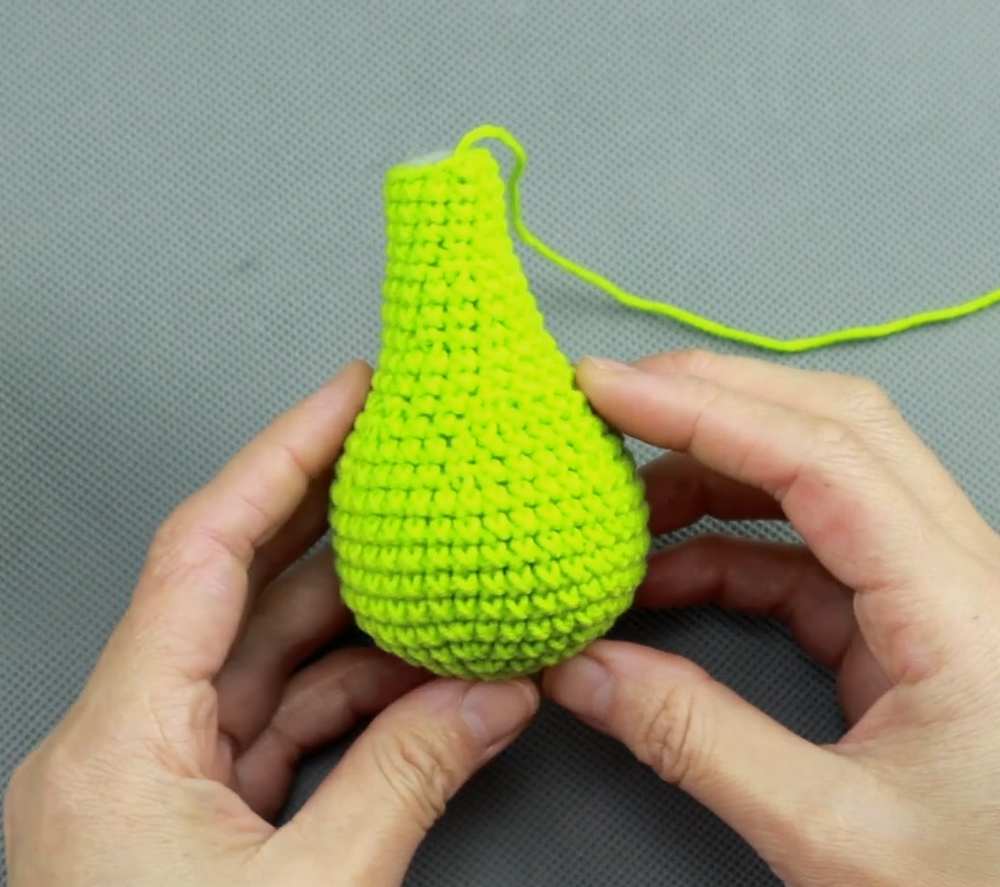
R7–R11: 36 sc [36]
-
R12: (4 sc, dec) * 6 [30]
-
R13: 30 sc [30]
-
R14: (3 sc, dec) * 6 [24]
-
R15: (2 sc, dec) * 6 [18]
-
R16–R17: 18 sc [18]
-
R18: (4 sc, dec) * 3 [15]
-
R19–R20: 15 sc [15]
-
R21: (3 sc, dec) * 3 [12]
-
R22–R26: 12 sc [12] (This forms the neck)
-
Fasten off, leave a long tail for sewing to the head.
3. Beak (Black and White)
-
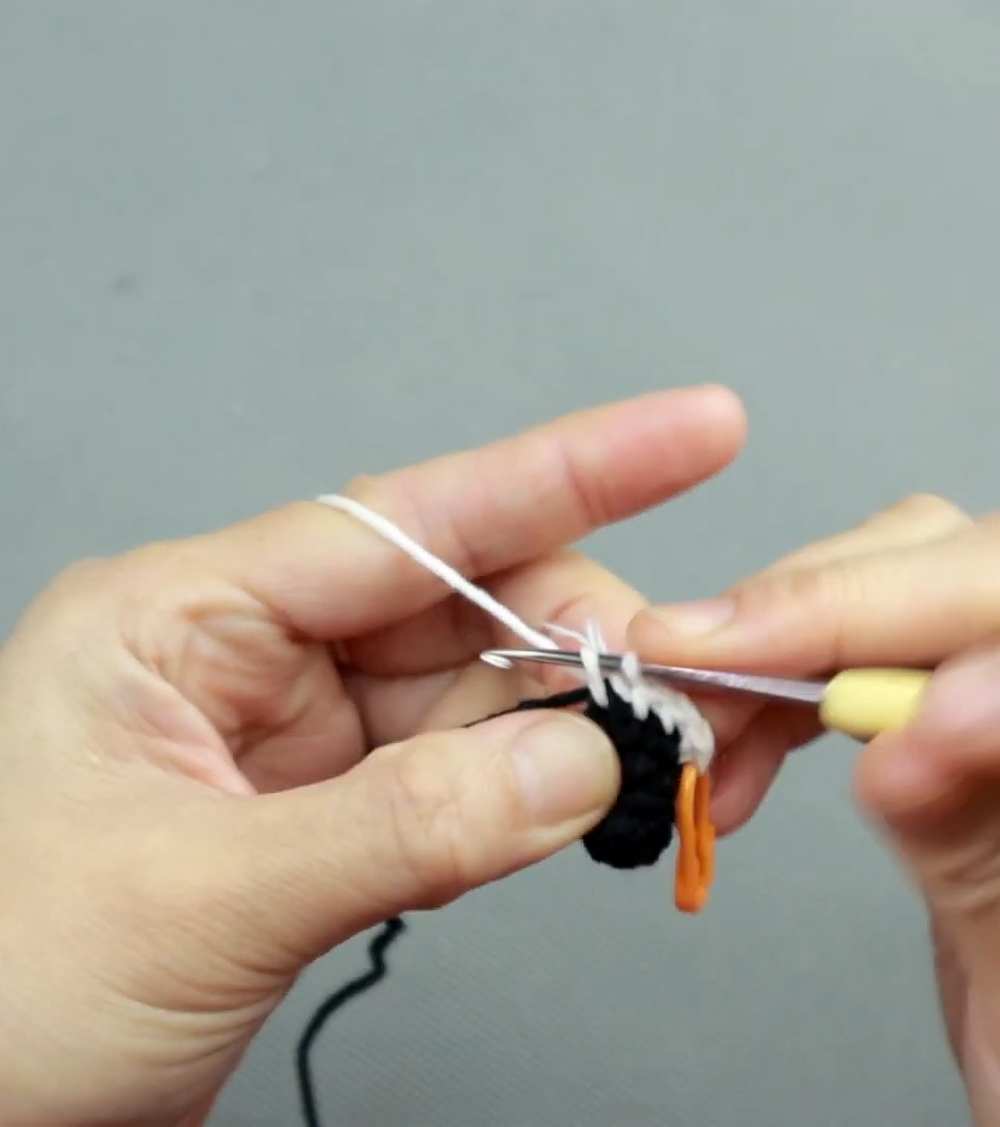
R1: With Black, MR, 5 sc [5]
-
R2: 1 inc, 4 sc [6]
-
R3: 1 inc, 5 sc [7]
-
R4: 1 inc, 6 sc [8]
-
R5: 1 inc, 7 sc [9]
-
R6: Switch to White, 1 inc, 8 sc [10]
- R7–R10: 10 sc [10]
-
Fasten off, leave a tail for sewing. Lightly stuff.
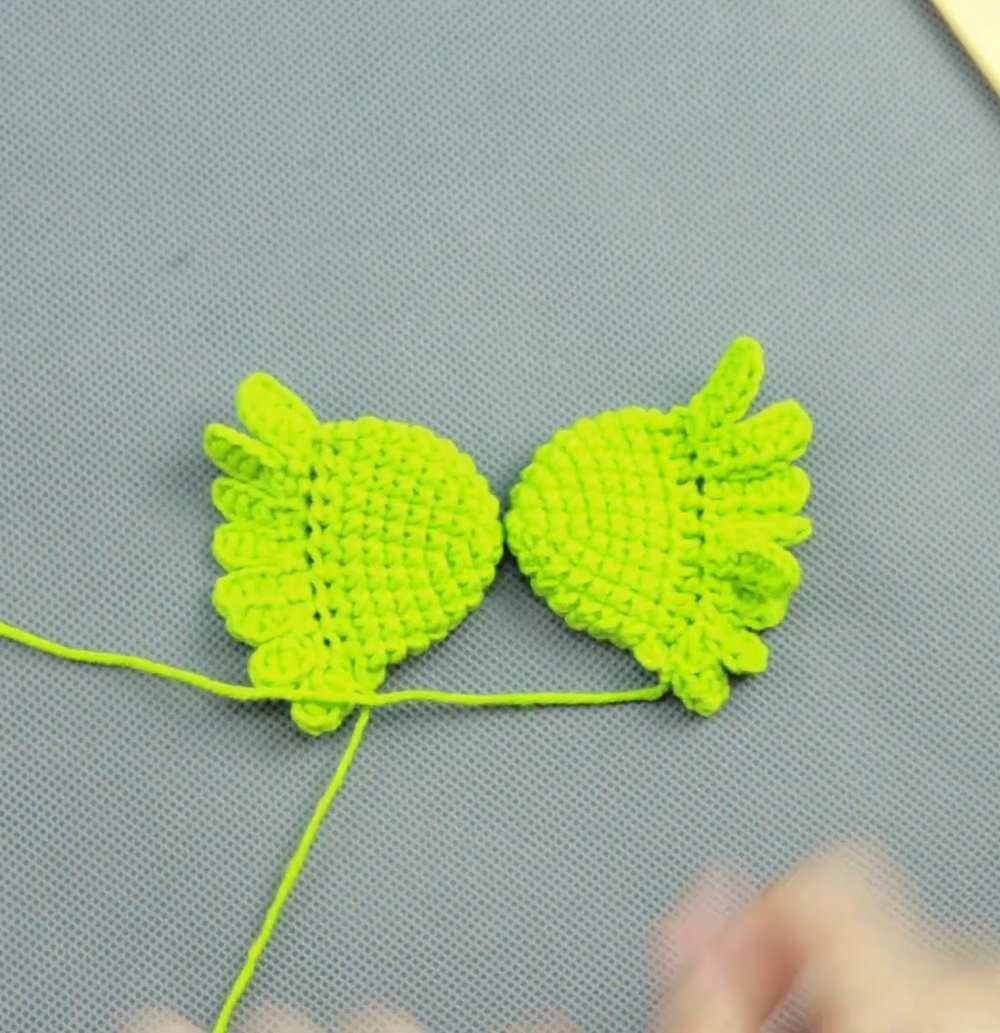
4. Wings (Make 2 – Main Color)
-
Base: Crocheted exactly like Rounds 1–8 of the Head (MR 5, inc to 10, then increases up to 20 stitches).
-
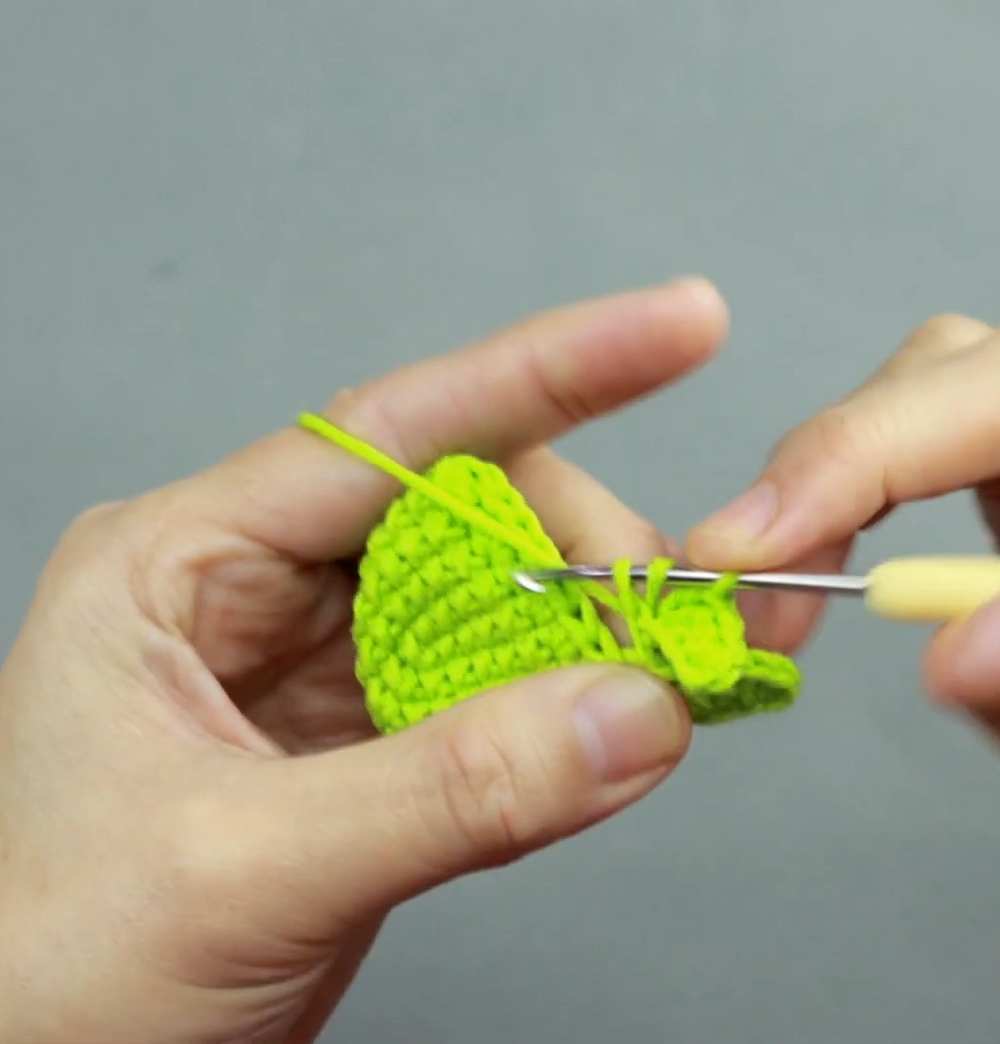
Joining: Fold the circle in half. ch 1. Work 9 hdc through both layers to close the wing.
-
Feathers: (Worked along the hdc join line)
-
Feather 1 & 2: ch 6, start in 2nd ch from hook, 5 hdc back down the chain. sl st into the next stitch on the wing edge.
-
-
Feather 3, 4, & 5: ch 5, start in 2nd ch from hook, 4 hdc back down. sl st into the next stitch.
-
Feather 6, 7, & 8: ch 4, start in 2nd ch from hook, 3 hdc back down. sl st into the next stitch.
-
-
Fasten off, leave tail for sewing.
5. Legs & Feet (Make 2 – Grey)
Legs:
-
R1: MR, 6 sc [6]
-
R2–R10: 6 sc [6]
-
Fasten off, leave tail.
Feet: -
Crocheted like Rounds 1–7 of the Head (MR 5, inc to 10, increases up to 20 stitches).
-
Fold flat and join through both layers with 10 sc.
-
Sew the leg cylinder to the center of the foot.
Assembly Instructions
-
Head to Body: Sew the top of the neck to the bottom center of the head.
-
Beak: Sew the beak to the center of the head at approximately Round 14.
-
Eyes: Insert 6mm safety eyes (or sew beads) one row above the beak, separated by 6–7 stitches.
-
Wings: Sew wings to the sides of the body. Position them so the “longer” feathers point toward the back.
-
Legs: Sew the legs to the bottom of the body (around Round 2 of the body). Bend the feet slightly so the flamingo looks like it is sitting.

Detailed Assembly Instructions
Connect Legs and Feet: Take one webbed foot and place the bottom open round of a leg piece between rows 1 and 2 of the foot’s flattened surface. Use a yarn needle to stitch the rim of the leg firmly down onto the foot. Repeat for the second leg and foot set.
Attach Head to Body: Take the completed head and line up the neck opening directly with the upper section of the main body piece. Sew evenly around the perimeter loop-by-loop to connect them securely.
More
Attach the Beak: Add a small amount of PP cotton padding inside the hollow cavity of the beak. Pin it centrally onto the front face section of the head, positioning it right around Row 14. Sew around its circular white border onto the face.
Position the Eyes: Push the safety eye backing pins securely into the head on the row directly above the beak. Ensure that they stay entirely balanced and symmetric, leaving a clean horizontal gap of 6 to 7 empty stitches right between the two eyes.
Sew on the Wings: Align the two wing pieces flatly against the left and right sides of the bird body. Position them so that the longer feather tips are pointing upwards (or adjust according to your aesthetic preference). Securely stitch the top folded edges onto the body.
Sew on the Legs: Lay the flamingo on its back. Place the two assembled legs side-by-side horizontally across the lower rear side of the body base around Row 2.
Flatten the top of the legs against the body and run several tight stitches through both the front and back sides to lock them down smoothly. This stable orientation will allow your finished baby flamingo plushie to rest beautifully on a shelf!
Part 1:
Part 2:
About "Juanjuan Crochet"
She was an iconic crochet designer from China!