
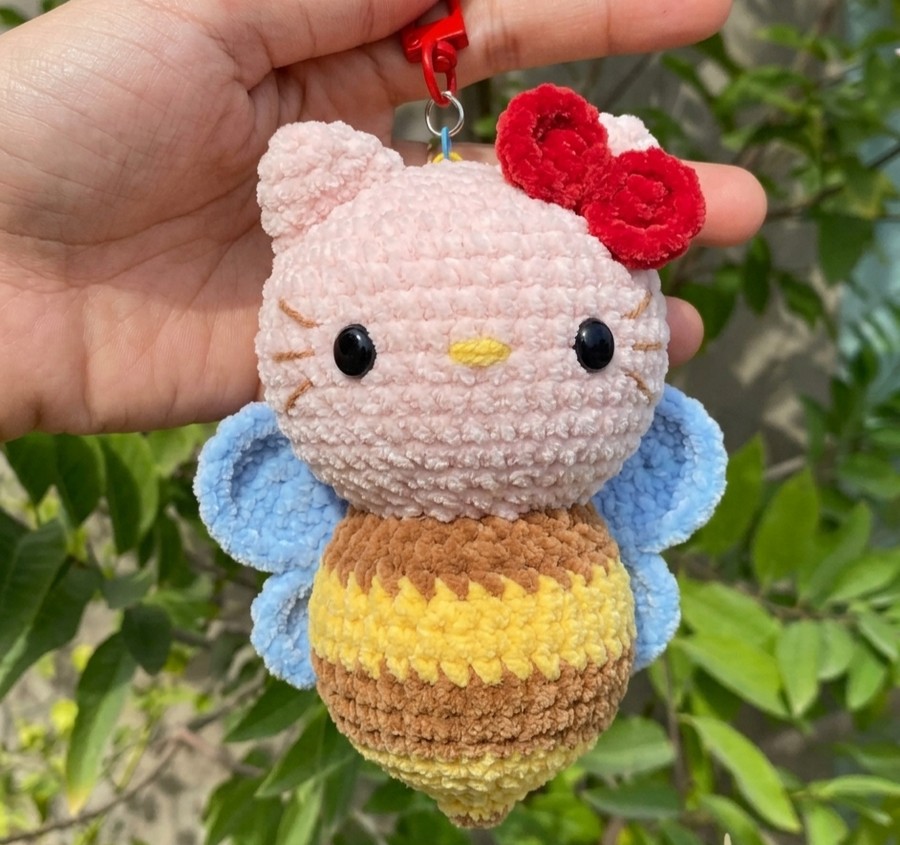
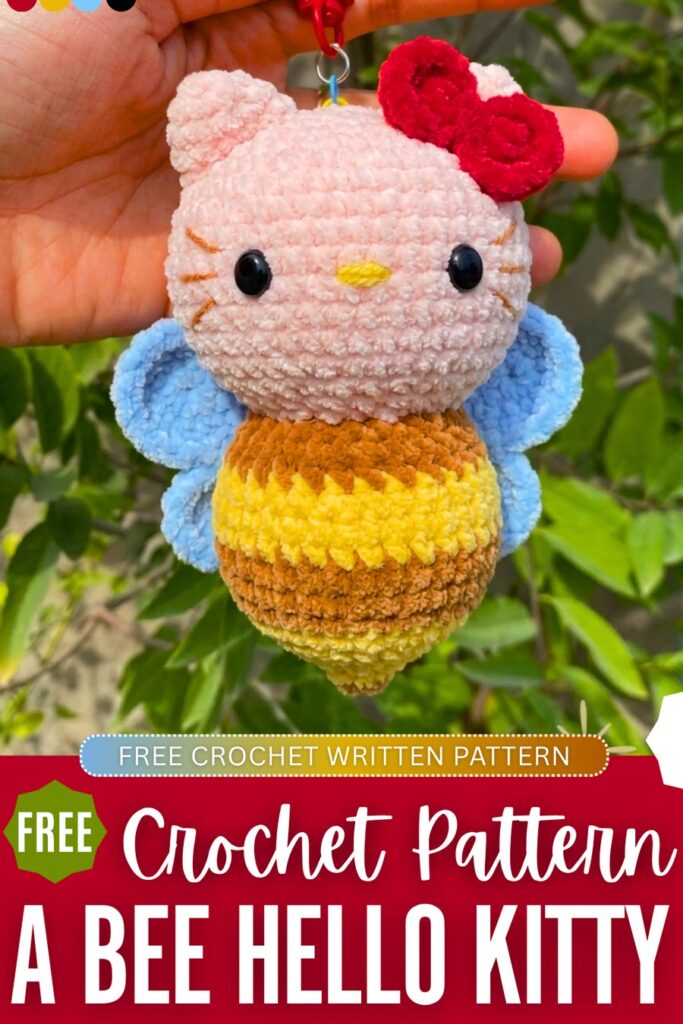
I am back with another crochet cosplay plushie after finishing the “cosplay pig doll” series. Introducing the crochet Hello Kitty bee doll plushie that is equally unique and cute. We have the iconic Hello Kitty face with a removable bow tie, butterfly wings, and a bee body. With the way it is designed, it does not look awkward at all. Instead, you can call it one of the cutest kawaii character hybrid plushies.
It is crocheted in parts for the body, head, ears, and more, so you definitely should be good at seamless sewing. To keep this plushie looking charming, we will use brown and yellow stripes instead of black and yellow. There is also a small stinger that looks so funny. You can crochet this plushie as a birthday and Love present.
[ez-toc]
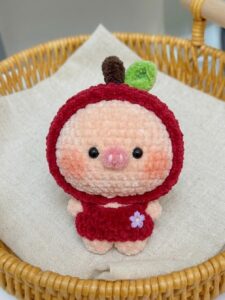
Cosplay plushies? Here is one of my favorites:
Crochet Bee Hello Kitty Plushie: Round-by-Round
Here is the complete crochet pattern to make this Hello Kitty Cosplay Bee Keychain. Assembly is in the end:
Materials
- Yarn: Thin plush yarn in White/Light Pink (Head & Ears), Yellow and Brown (Bee Body), Blue (Wings), and Red (Bow Tie).
- Crochet Hook: 2.0 mm to 2.5 mm
- Eyes: 6mm by 8 mm oval black safety eyes or flat-back beads
- Embroidery Thread: Yellow (for the nose) and Brown (for the whiskers)
- Stuffing: Polyester fiberfill
- Other: Keychain clasp, tapestry needle, scissors, glue, and a stitch marker.
Abbreviations (US Terms)
- MR: Magic Ring
- ch: Chain
- sc: Single crochet
- inc: Increase (2 sc in one stitch)
- dec: Decrease (2 sc together)
- hdc: Half double crochet
- dc: Double crochet
- tr: Treble crochet
- sl st: Slip stitch
- skip 1ch: Skip one chain stitch
- ( … )*x: Repeat the instructions inside the parentheses x times
1. Head
Using White or Light Pink yarn. Worked in continuous rounds.
- R1: 6ch, skip 1ch, 4sc, 3sc in 1st st, 3sc, inc
- R2: ( sc, inc )*6
- R3: ( sc, inc, sc )*6
- R4: ( 3sc, inc )*6
- R5: ( 4sc, inc )*6
- R6: ( 5sc, inc )*6
- R7: ( 6sc, inc )*6
- R8–R16: 48sc (9 rounds total)
- R17: ( 4sc, dec )*8
- R18: ( 3sc, dec )*8
- R19: ( 2sc, dec )*8Fasten off, leaving a long tail for sewing to the body. Stuff the head firmly.
2. Body
Using Yellow and Brown yarn to create the bee stripes. Change colors where indicated.
- R1: (Yellow) MR, 6sc
- R2: (Yellow) 6sc
- R3: (Yellow) 6inc
- R4: (Yellow) ( sc, inc )*6
- R5: (Brown) ( sc, inc, sc )*6
- R6: (Brown) ( 3sc, inc )*6
- R7: (Yellow) ( 2sc, inc, 2sc )*6
- R8–R9: (Yellow) 36sc (2 rounds)
- R10–R12: (Brown) 36sc (3 rounds)
- R13: (Yellow) ( 4sc, dec )*6
- R14: (Yellow) 30sc
- R15: (Yellow) ( 3sc, dec )*6Fasten off and stuff firmly.
3. Ears — Make 2
Using White or Light Pink yarn.
- R1: MR, 6sc
- R2: ( sc, inc )*3
- R3: ( 2sc, inc )*3
- R4: ( 3sc, inc )*3
- R5: ( 4sc, inc )*3Fasten off, leaving a tail for sewing. Do not stuff.
4. Big Wings — Make 2
Using Blue yarn. Worked in rows.
- R1: 10ch, skip 1ch, 6sc, hdc, 2dc in 1st st, 3dc in 1st st, 2dc in 1st st, hdc, 6sc.
- R2: 1ch, turn, 6sc, hdc, ( 2dc in 1st st )*7, hdc, 6sc.Fasten off, leaving a tail for assembly.
5. Small Wings — Make 2
Using Blue yarn. Worked in rows.
- R1: 8ch, skip 1ch, 5sc, hdc, 3dc in 1st st, hdc, 5sc.
- R2: 1ch, turn, 5sc, 2hdc in 1st st, ( 2dc in 1st st )*3, 2hdc in 1st st, 5sc.Fasten off, leaving a tail for assembly.
6. Bow Tie
Using Red yarn. Worked entirely into a Magic Ring.
- Round 1: Into a MR, work:
( 4ch, 5tr, 4ch, sl st ) * 2Pull the magic ring tightly closed. Wrap the starting and ending yarn tails around the center of the bow a few times to create the center knot, then secure at the back.
Assembly & Details
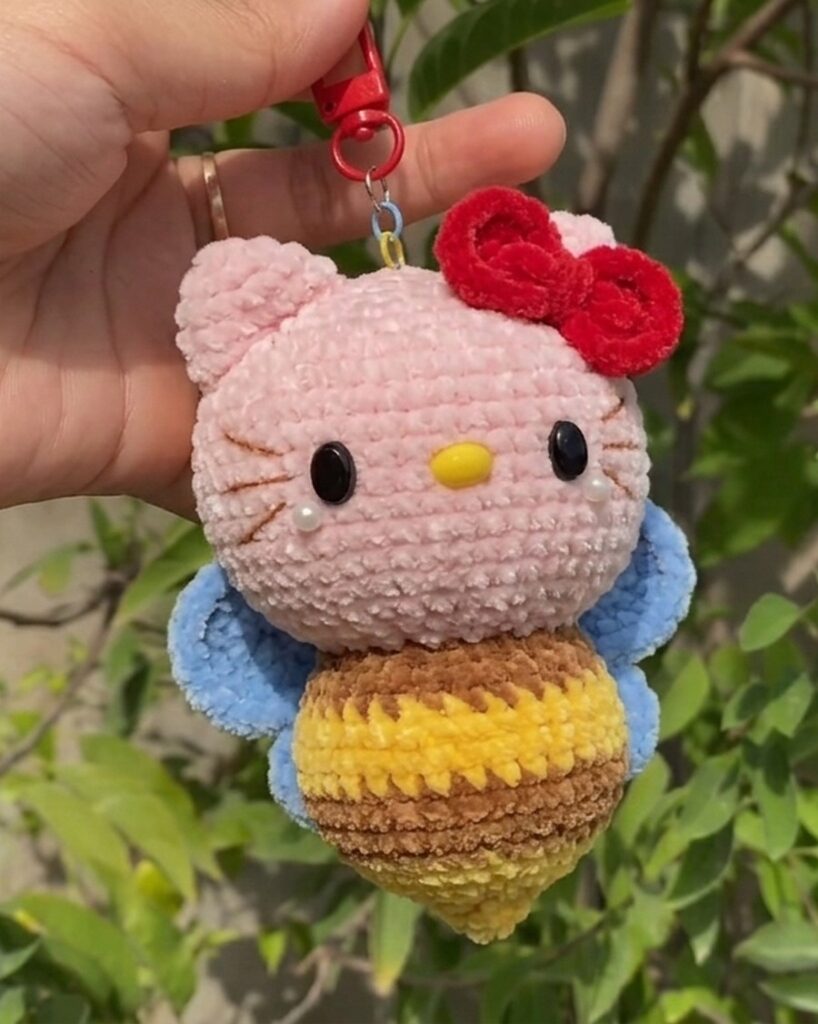
- Connect Head & Body: Sew the open edge of the head cleanly to the open edge of the body. Ensure the color change stripes on the body are facing backwards/aligned neatly.
- Face Details:
- Eyes: Place the 8mm eyes between R10 – 13 of the head, leaving about 6 stitches between them.
- Nose: Using yellow thread, embroider a small horizontal oval nose directly between the eyes.
- Whiskers: Using brown thread, embroider 3 small horizontal lines on each cheek just outside the eyes.
- Ears: Flatten the ears and sew them to either top side of the head (roughly across rounds R4–R8).
- Bow Tie: Glue or sew the red bow tie right in front of the left ear (as pictured).
- Wings:
- Pair one Big Wing with one Small Wing. Sew or glue them together at the base so the big wing sits slightly above the small wing.
- Sew the wing pairs securely onto the upper back of the yellow/brown body.
- Finishing Touch: Attach a metal keychain loop/clasp directly to the top center of Hello Kitty’s head.

About "Talha"
Hey, I’m Talha, the Crafter on Craftstive.com. I love to share guides on folding cute origami models and paper crafts, and I am always ready to inspire your next craft project with my weekly craft discussions.