
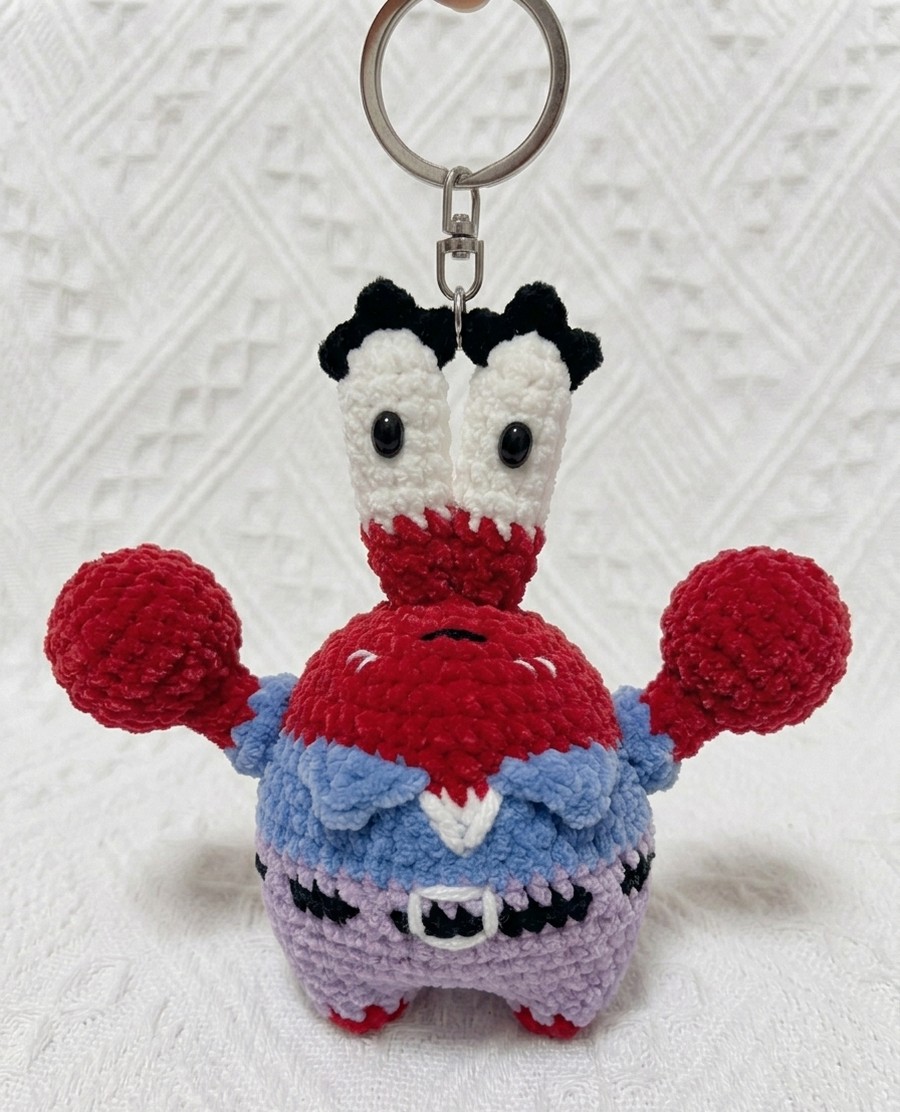
Head for the first beach visit of this summer, crocheting this oh-so-cute Mr. Krabs plush doll for kids. I will provide you with the complete crochet pattern for this low-sew Mr. Krabs plushie, which you can use as a keychain if you crochet it with amigurumi yarn. If you are looking for an easy crab plushie that does not require color changes, you can also check the ocean crab plushie pattern.
For now, we will be crocheting a detailed Mr. Krab doll that can become a pal of your little one. It is authentic in all details, such as the eyes, the costume, and the body shape. We shall use the joined legs base for the body and work it from the bottom up. Now, continue reading this post till end for the US pattern.
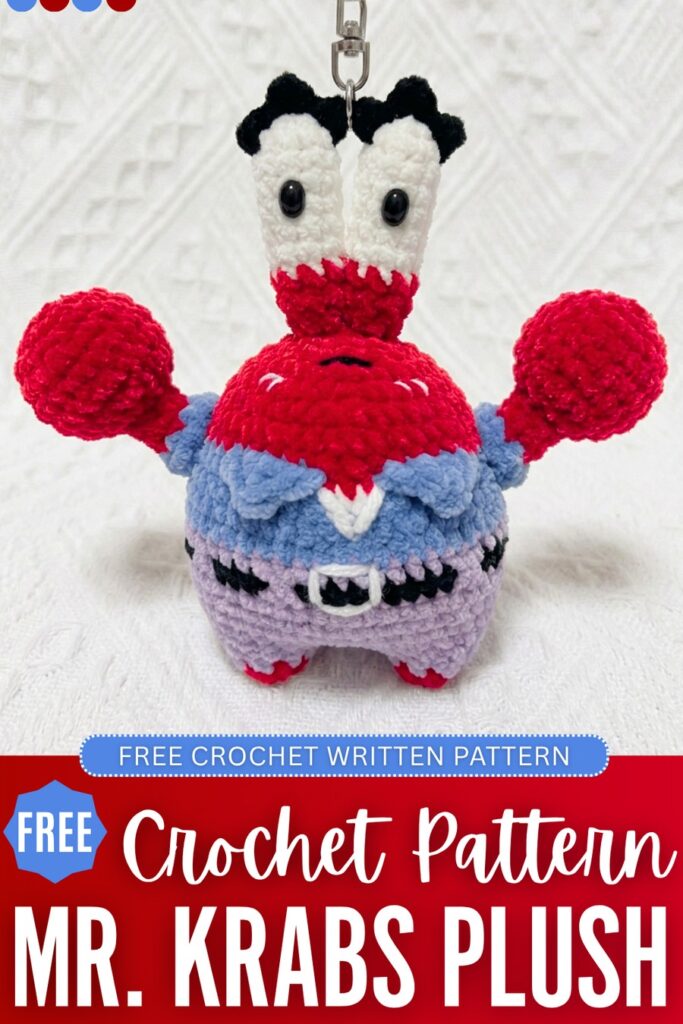
Wanna crochet the easy crab version?
Mr. Krabs Crochet Keychain Pattern
Below is the complete FREE pattern for crocheting this Krab plushie that you can use as a bag charm:
Materials
- Yarn: Chenille yarn in red, purple, black, blue, and white.
- Hook Size: 4.5mm crochet hook
- Oval safety eyes
- Keyring
- Others: Fiberfill stuffing, sewing needle, and glue.
Abbreviations
- MR = magic ring
- ch = chain
- sl st = slip stitch
- sc = single crochet
- inc = increase (2 sc in one stitch)
- dec = invisible decrease
- BLO = back loop only
- FLO = front loop only
Feet, Body & Head
(Worked as one piece)
Feet (Make 2)
Leg 1
R1: 6 sc in MR (6)
R2: inc around (12)
Fasten off first leg.
Leg 2
Repeat R1–R2.
Do NOT fasten off.
Ch 4 and join to first leg.
Body
R3
Sc around first leg (12),
4 sc across chain,
sc around second leg (12),
4 sc on opposite side of chain.
(32)
R4
Sc around (32)
R5
(3 sc, inc) ×8 (40)
R6
(2 sc, inc, 2 sc) ×8 (48)
R7
Sc around (48)
Pants Detail / Belt Round
R8
Work color changes as desired using:
- purple sections for pants
- black sections for belt/shoes
(You can simplify and just crochet all 48 sc in purple if preferred.)
R9
Sc around (48)
Stuff firmly.
Arms (Make 2)
Using red yarn:
R1
6 sc in MR (6)
R2
inc around (12)
R3
(sc, inc) ×6 (18)
R4–R6
Sc around (18)
R7
(sc, dec) ×6 (12)
R8
dec around (6)
R9–R11
Sc around (6)
Change to blue.
R12
In BLO, inc around (12)
R13
In FLO, sc around (12)
One additional round sc around in blue.
Fasten off leaving tail for sewing.
Collar Frill
Attach blue yarn around neck area.
Work picot edging:
- sc, ch 3, sl st into first ch, sc Repeat around.
Eyestalks (Make 2)
Using white yarn:
R1
6 sc in MR (6)
R2
(sc, inc) ×3 (9)
R3–R7
Sc around (9)
Change to red.
R8–R9
Sc around (9)
R10
(sc, dec) ×3 (6)
Stuff lightly.
Fasten off with a long tail.
Eyes (Make 2)
Using black yarn:
R1
6 sc in MR (6)
R2
inc around (12)
Fasten off.
Attach safety eyes or sew onto eyestalks
Eyelashes
Using black yarn:
- Ch 3, sl st back down chain.
- Ch 4, sl st back, sc.
- Ch 3, sl st back down chain.
Sew to the tops of the eyes.
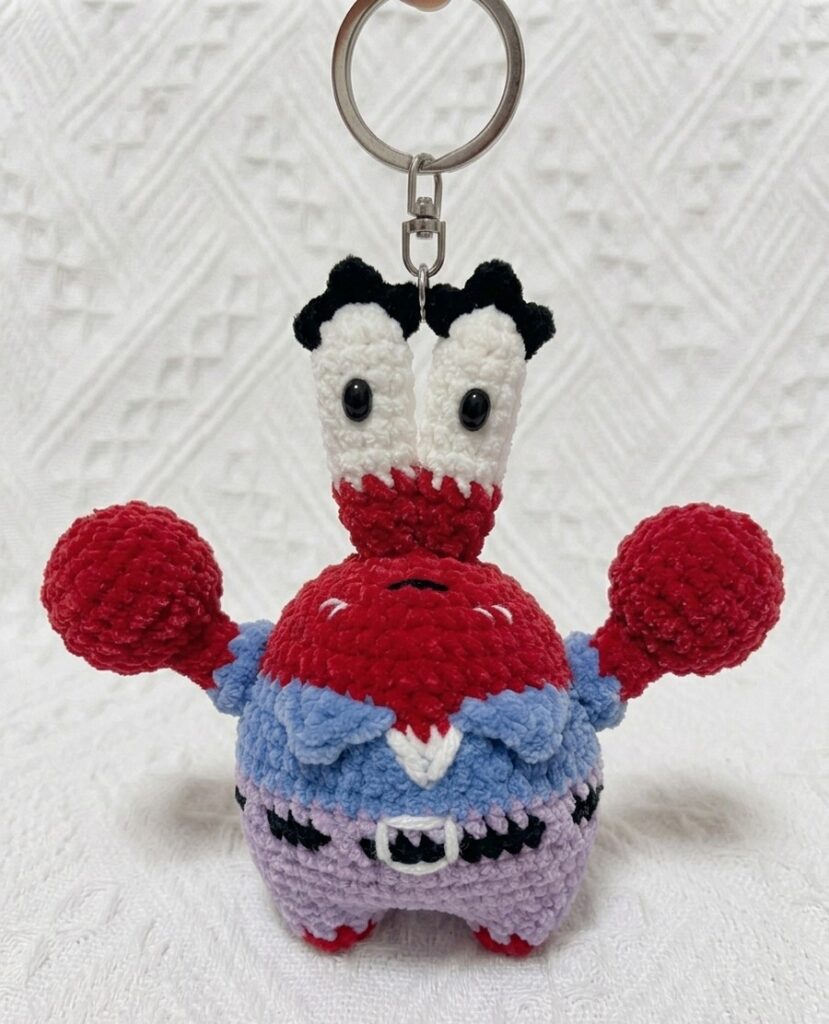
Assmebly
Here is the assembly for this Mr. Krab:
1. Shape and Stuff the Body
Finish the body/head and stuff, especially the lower body and head area. Flatten the bottom slightly so the character can sit evenly. The purple section should face forward as the pants/front area.
2. Attach the Arms
Position the arms on each side of the body:
Sew them between Rounds 7–9 of the body.
The blue frill cuffs should sit right against the body.
Angle the arms slightly forward so the claws naturally face inward, like in the photo.
Tip:
Lightly stuff only the red claw area.
Keep the thin arm sections flexible.
3. Add the Collar Frill
Using blue yarn:
Attach yarn around the neckline where the red body meets the head area.
Work the picot edging all the way around:
sc, ch 3, sl st into first ch, sc
The frill should ruffle outward slightly.
This creates the blue collar shown in the image.
4. Attach the Eyestalks
Stuff the eyestalks lightly.
Sew them close together on top of the head.
Position them slightly angled outward, not perfectly straight up.
Placement:
Attach approximately 3–4 stitches apart.
The red sections should sit near the base of the stalks.
For extra stability:
Run the yarn tail through the head several times before fastening off.
5. Attach the Eyes
Sew or glue the black eyes to the tops/fronts of the eyestalks.
Place them centered and slightly facing inward toward each other.
6. Add Eyelashes
Sew the eyelashes above each eye:
The longer center lash should point upward.
The side lashes angle outward.
This gives the expressive cartoon look seen in the photo.
7. Optional Face Details
Using black embroidery yarn:
Stitch a small smiling mouth on the front of the face.
Add tiny eyebrow lines if desired.
8. Attach the Keychain
Sew a small loop at the top center of the head between the eyestalks.
Attach a jump ring and keychain hardware.

About "Talha"
Hey, I’m Talha, the Crafter on Craftstive.com. I love to share guides on folding cute origami models and paper crafts, and I am always ready to inspire your next craft project with my weekly craft discussions.