
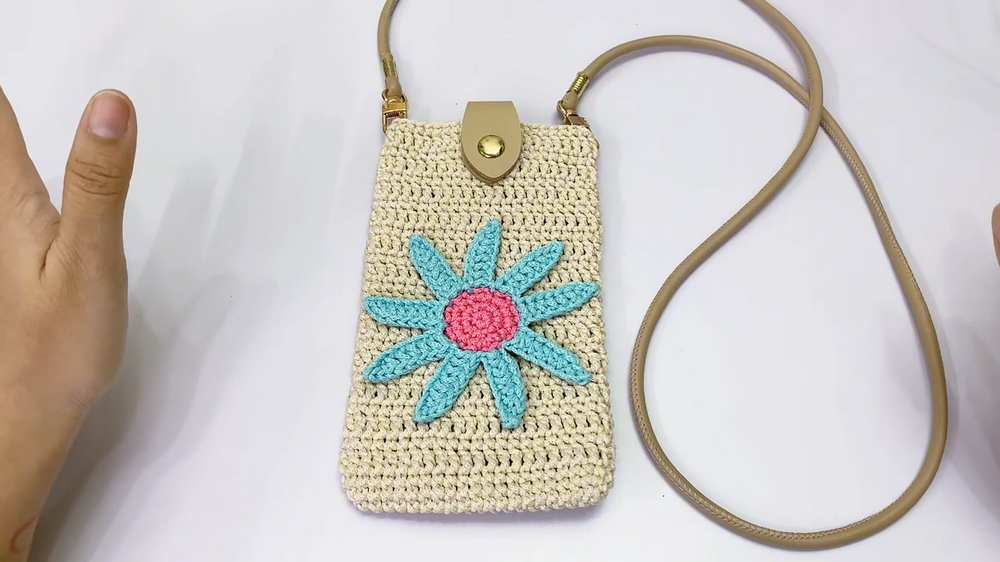
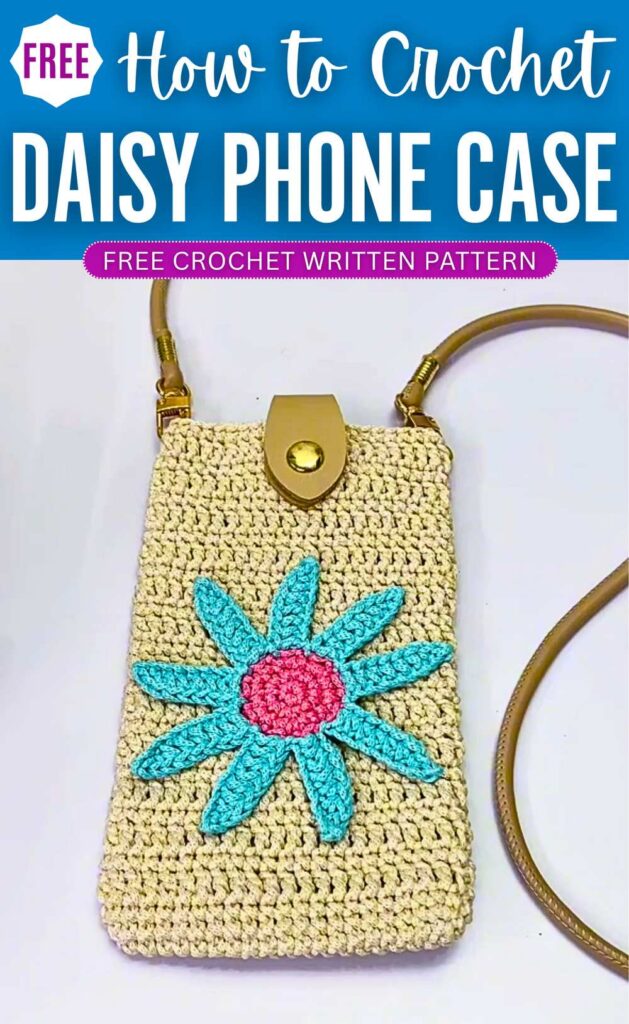
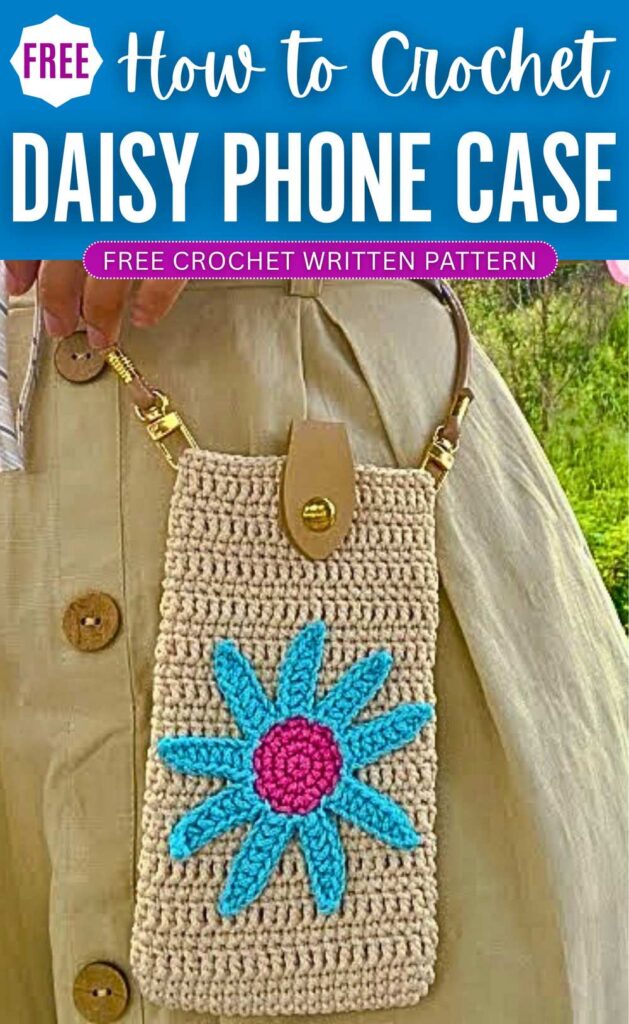
Here is another crochet flower-decorated smartphone pouch pattern! Today, let’s crochet this elegant daisy-decorated boho phone pouch with a FREE written pattern for absolute beginners. This is a bottom-up crochet travel bag that is easy for beginners. This is the 3rd crochet smartphone pouch pattern I have shared so far.
The leather crossbody handle and a leather fold-on strap can also be replaced with a crocheted I-cord handle and a single crochet strap, respectively.
This crochet phone pouch looks SO trendy and stylish, especially due to the color choice for the flower (blue and purple). We shall use the oval base to work the bag and use double crochet to make the sides. It is easy, so continue reading for the full pattern.
[ez-toc]
Crochet Daisy Flower Smartphone Pouch Pattern: Written Instructions
This beautiful, beginner-friendly crochet phone case is a simple and quick project that results in a stylish and practical accessory.
Measuring approximately 10 cm in width and 18 cm in length, it is designed to perfectly fit a standard smartphone, though the starting chain and rows can easily be increased or decreased to custom-fit your specific device.
The bag features a sturdy, alternating texture created by rounds of single and double crochet, which gives it great structure.
To add a charming touch, a nine-petal crochet flower is attached to the front. Finished with a leather snap closure and a long crossbody strap, this phone case makes for a wonderful personal accessory or a thoughtful handmade gift.
Materials
- Yarn: Woven/macrame yarn or sturdy cotton yarn (approximately 2mm) in three colors: Color A for the bag body, Color B for the flower center, and Color C for the flower petals.
- Crochet Hook: 2.5 mm
- Stitch markers
- Scissors
- Yarn needle (tapestry needle)
- Hot glue gun and glue sticks
- Leather bag closure with snap button
- Long leather bag strap (1.2 meters) with lobster clasps
- Sewing needle and regular thread (matching the leather closure)
Abbreviations (US Terms)
- Ch: Chain
- Sc: Single crochet
- Hdc: Half double crochet
- Dc: Double crochet
- Inc: Increase (2 single crochet stitches in the same stitch)
- Sl st: Slip stitch
- St/Sts: Stitch / Stitches
- MR: Magic Ring
- Fdc: False double crochet (Chainless starting double crochet – instructions provided in pattern, though you can substitute with a Ch 3)
Crochet Pattern
Part 1: The Bag Base & Body Use Color A and your 2.5 mm hook.
Round 1: Ch 21. Skip the first ch from your hook. Place 1 sc in the 2nd ch, and put a stitch marker in this first stitch. Work 1 sc in each of the next 18 chains. In the very last chain, work an inc (2 sc in the same chain).
Now, turn your work to crochet down the opposite side of the foundation chain. Work 1 sc in each of the next 18 chains.
Finally, work 1 sc in the last chain space (this is the same chain where you placed your very first sc, which creates an increase on this end as well). Join with a sl st to the first marked sc. (Total: 40 sts)
Round 2: Ch 1. Work an inc in the first stitch (place your marker in the first sc of this inc). Work 1 sc in each of the next 18 sts.
Work an inc in each of the next 2 sts. Work 1 sc in each of the next 18 sts. Work an inc in the final st. Join with a sl st to the first sc. (Total: 44 sts)
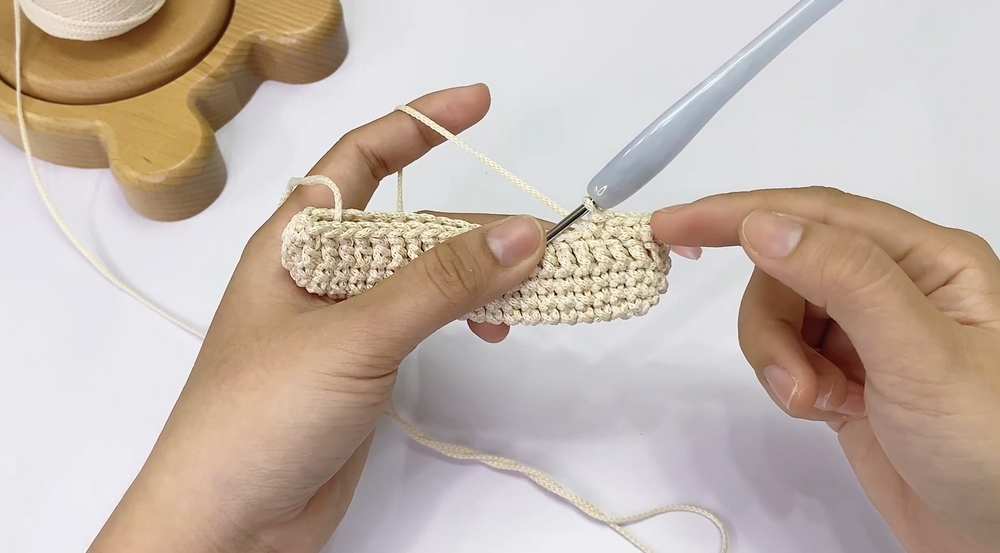
Round 3: Ch 1. Work 1 sc in the first stitch (mark it). Work 1 sc in every stitch around. Join with a sl st to the first sc. (Total: 44 sts)
Round 4: In this round, we will work double crochets. To keep the seam looking neat, we will start with a False Double Crochet (Fdc).
To make an Fdc: Ch 1, insert your hook into the first stitch, pull up a loop, yarn over and pull through both loops (making a standard sc).
Now, look at the body of the sc you just made. Insert your hook into the left vertical strand of that sc, pull up a loop, yarn over, and pull through both loops on your hook.
This counts as your first Dc of the round. (Note: If you prefer, you can simply Ch 3 to count as your first Dc). After your first stitch, work 1 dc in each stitch around. Join with a sl st to the top of the first Fdc/Dc. (Total: 44 sts)
Round 5: Ch 1. Work 1 sc in the first stitch and in every stitch around. Join with a sl st to the first sc. (Total: 44 sts)
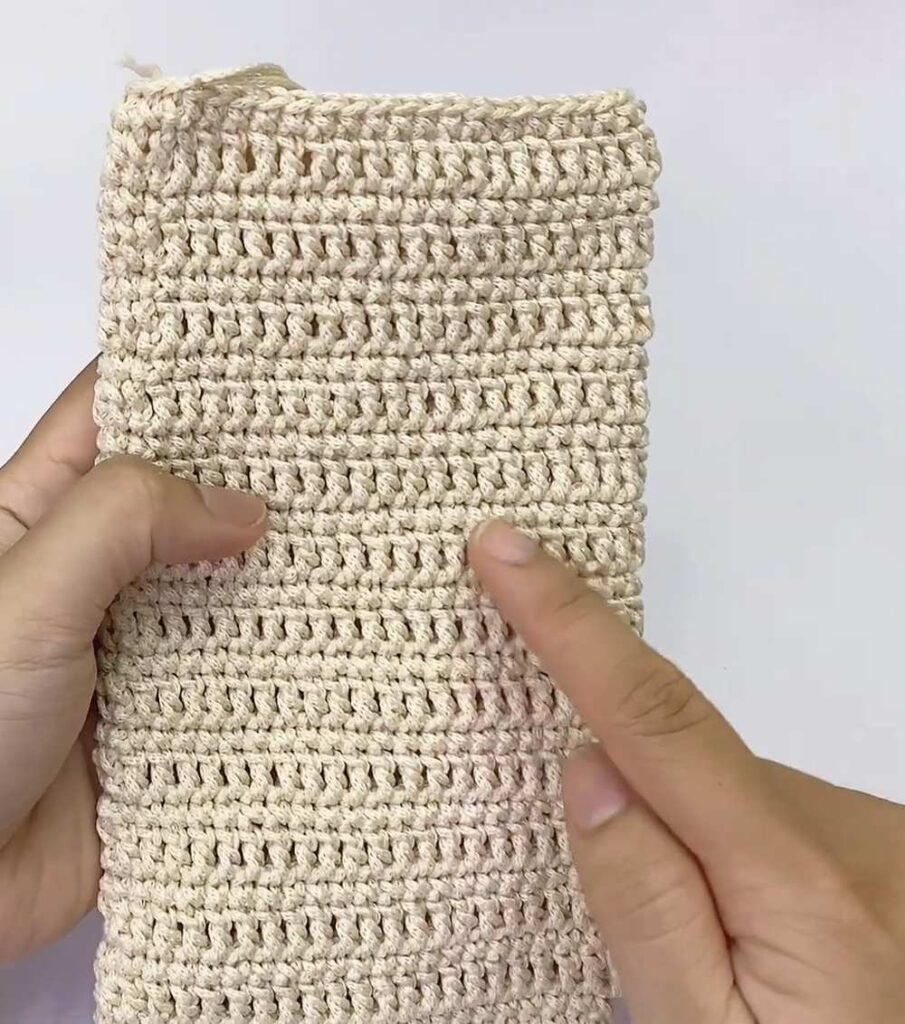
Rounds 6 to 27: You will now alternate working one round of Double Crochet (like Round 4) and one round of Single Crochet (like Round 5).
You will crochet a total of 12 Double Crochet rounds in the body of the bag. The final round at the top of your bag should be a Single Crochet round. Once you complete the 12th Single Crochet round (Round 27), sl st to join, fasten off, and leave a short tail. Weave all loose ends into the inside of the bag using your yarn needle.
Part 2: The Decorative Flower
Center of the Flower (Color B): Round 1: Make a Magic Ring. Ch 1, and work 6 sc into the ring. Pull the ring tightly closed. Join with a sl st to the first sc. (Total: 6 sts) Round 2: Ch 1. Work an inc in every stitch around. Join with a sl st to the first sc.
(Total: 12 sts) Round 3: Ch 1. Work (1 sc in the first st, 1 inc in the next st) and repeat this pattern 6 times around. (Total: 18 sts).
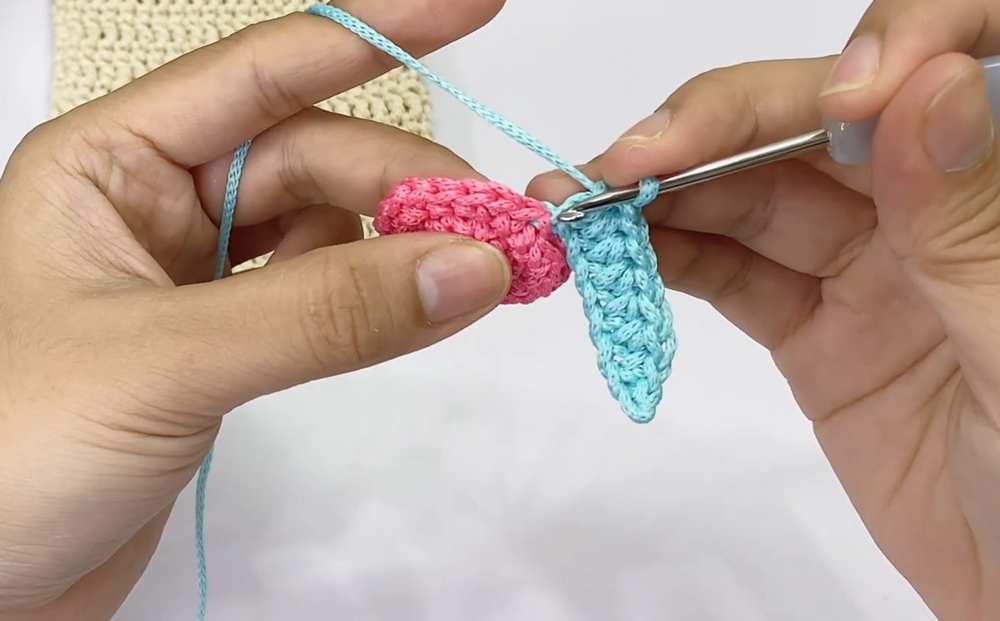
When slip stitching to the first sc to close Round 3, drop Color B and pull through Color C (your petal color) to join. Cut Color B. Tie the two loose yarn tails together securely in the back with 2-3 knots so they do not unravel.
Flower Petals (Color C): You will now create 9 petals around the center base. Petal 1: Ch 9. Skip the first ch from the hook. Sl st into the 2nd ch. Work 1 sc in the 3rd ch. Work 1 hdc in each of the remaining 6 chains. To anchor the petal to the center, skip 1 stitch on the Round 3 base, and sl st into the next stitch.
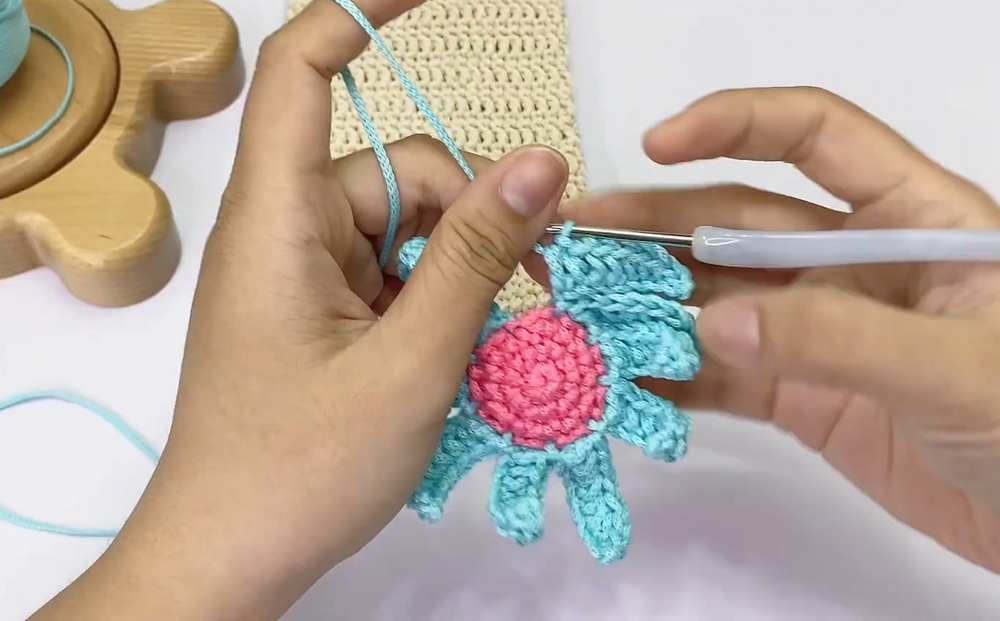
Petals 2 to 9: Ch 9. Skip the first ch from the hook. Sl st into the 2nd ch. Sc in the 3rd ch. Hdc in each of the remaining 6 chains. Skip 1 stitch on the flower base, sl st into the next stitch. Repeat until you have made 9 petals around the flower center. After securing the last petal, fasten off. Insert your hook from back to front through the starting stitch, grab the yarn tail, and pull it to the back of the flower. Tie off and trim the ends.
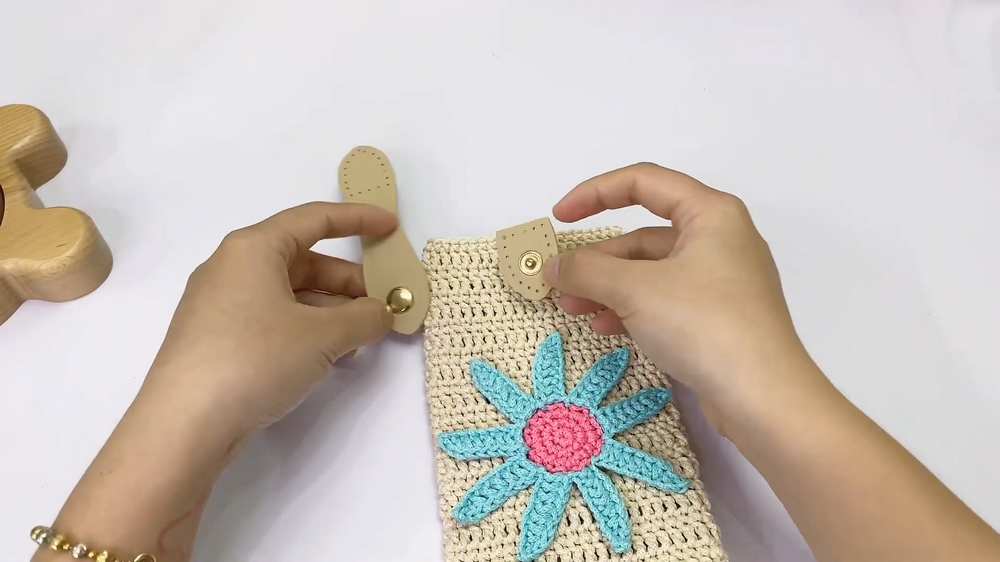
Part 3: Assembly and Finishing Touches
- Flower Placement: Heat up your hot glue gun. Apply glue generously to the back of the flower center and carefully press it onto the front center of your crochet phone bag. Hold it down firmly for a few seconds until the glue sets.
- Attaching the Leather Closure: Position the leather snap closure at the top center of your bag. Using your sewing needle and regular thread, carefully stitch the back half of the leather closure to the top back edge of the bag. Fold the flap over to the front so it snaps perfectly, and stitch the front button piece to the top front of the bag in the corresponding position.
- Adding the Strap: Take your 1.2-meter leather strap and clip the lobster clasps onto the top side edges of the bag (hooking them securely between the double crochet posts near the top rim).
Your beautiful crochet phone case is now complete and ready to use!
Learn with Video Tutorial