Subscribe to knot magic!
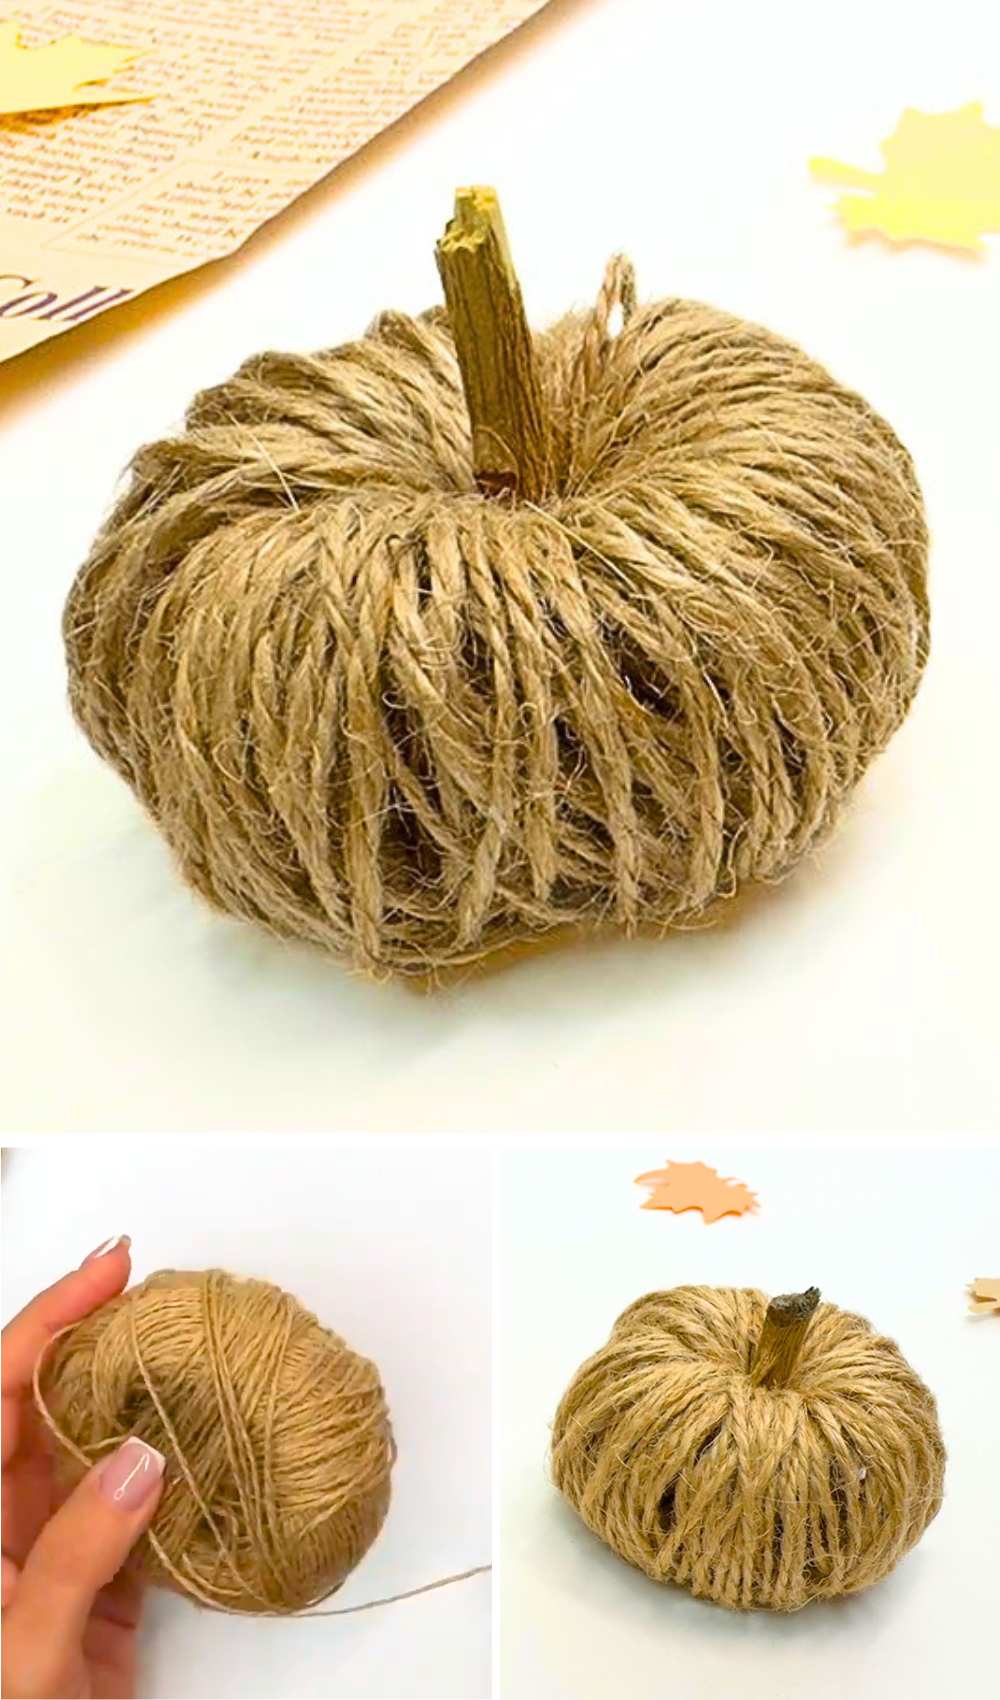
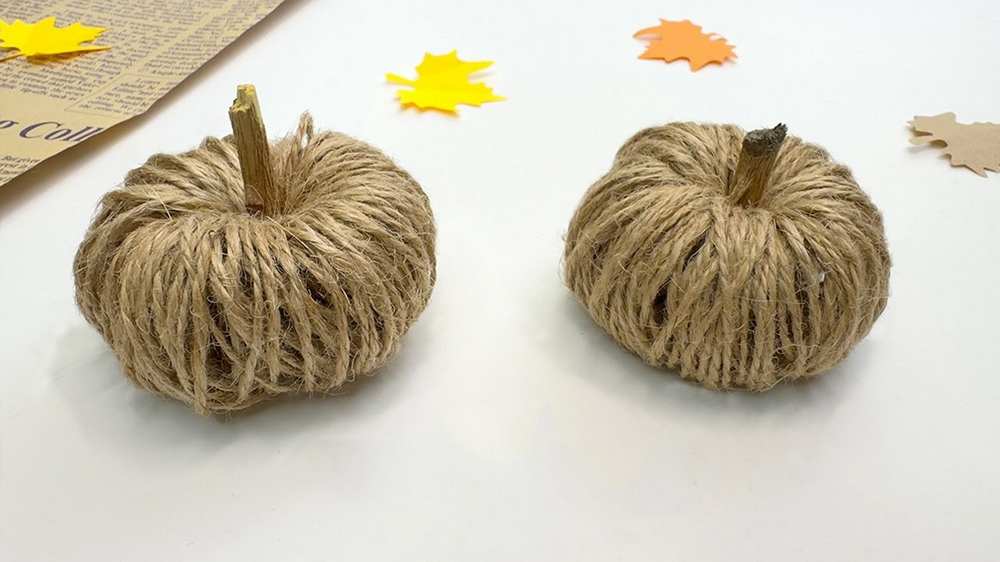
If this autumn you have chosen the rustic décor theme for your home, learn how to DIY this unique twine-cord no-knit pumpkin plushie decoration that you can finish in less than 10 minutes. This is perfect for farmhouse fall decoration with its dry wood stalk and the rough texture of the twine cord. You can also use the combed yarn if you don’t have the thin twine yarn. This is a no-stuffing fall pumpkin that you can also make in the classic orange, as the same method works for both materials.
DIY Cottage Decoration Fall Pumpkin
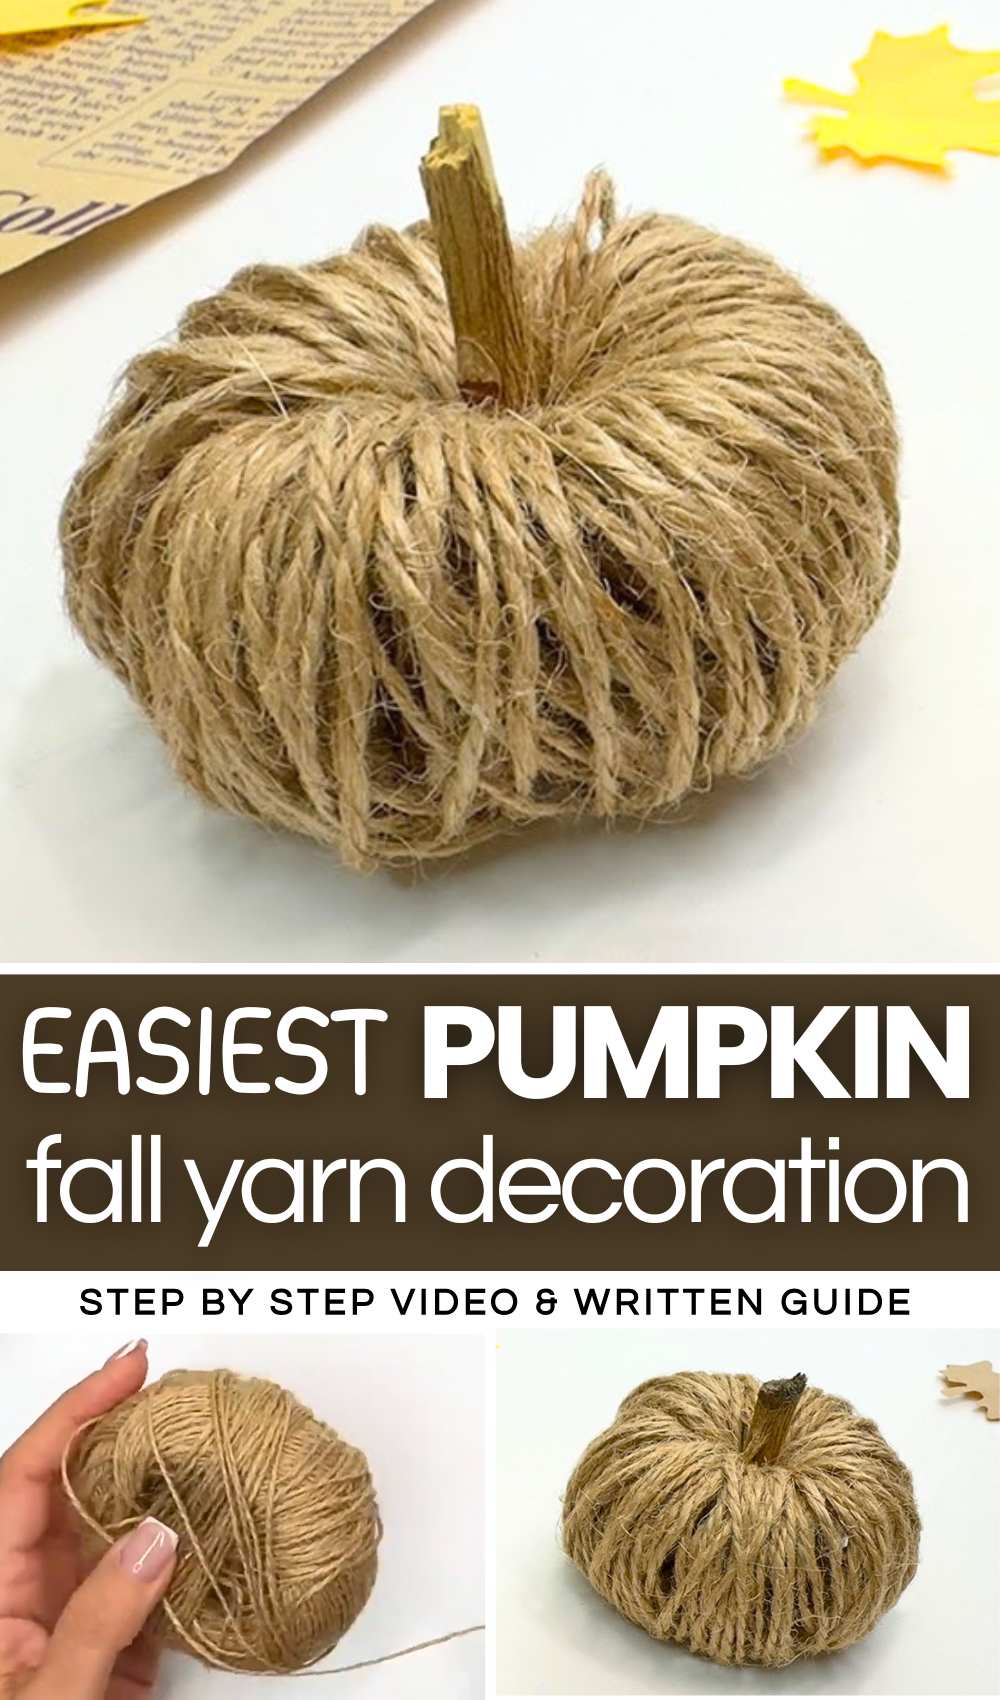
You can also bust your leftover jute twine with this DIY pumpkin. Soon, I will also bring the orange cotton yarn pumpkin plushie variation. This fall craft is quick, affordable, and perfect for rustic autumn decor.
You can also make your pumpkin using the dull pistachio yarn, as it has been quite popular this year. Or turn your fall pumpkin into a keychain or a fall tote bag charm, or add it to a fall or Halloween garland. Now, continue reading to learn more about this crochet pumpkin plush and making it in detail as well. You can also sell them at craft fairs.
Tutorial to DIY an Easy Halloween Jute Rope Pumpkin Craft
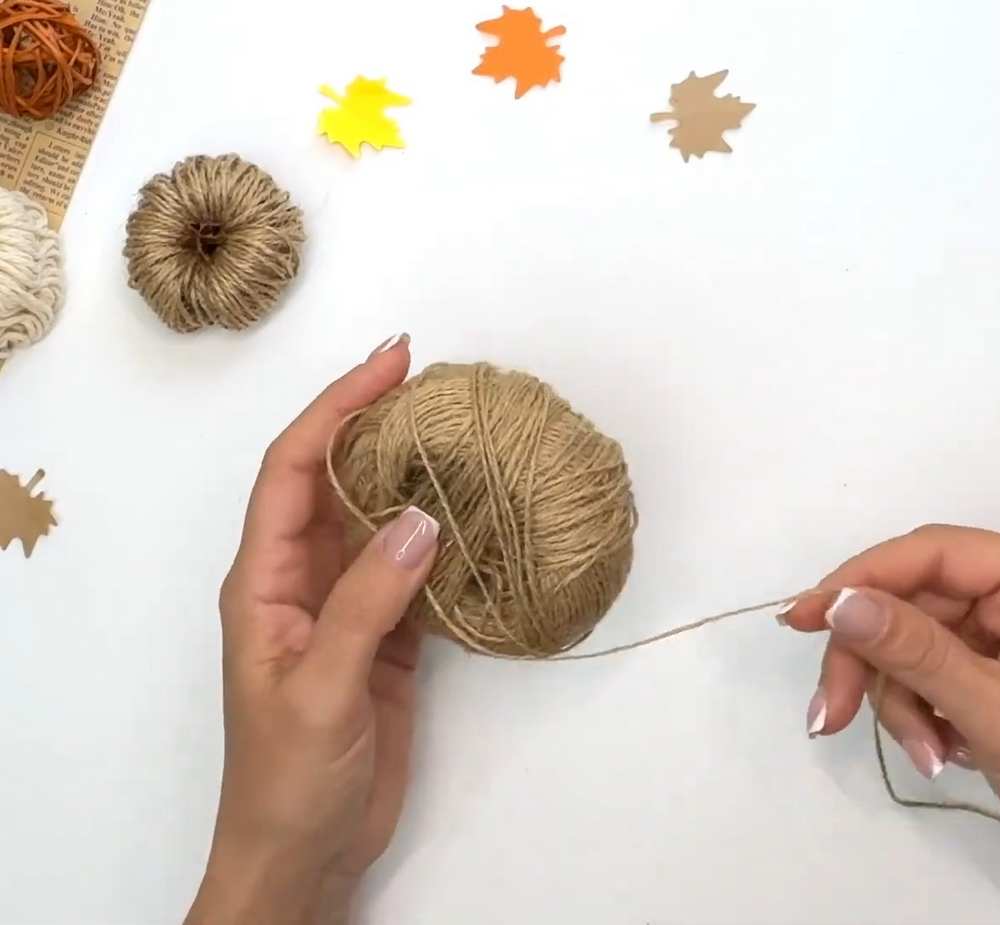
This project is about making a cute little pumpkin out of twine. It is a simple craft that anyone can do at home. You only need a few things like a ruler, twine, scissors, and tape. First, you put a piece of twine on a ruler and tape the ends down.
Then, you wrap more twine around the ruler many times. After that, you tie the first piece of twine very tight. This makes the twine bunch up. You slide it off and shape it like a pumpkin. Finally, you add a stem to make it look real.
Detailed Guide for Making a DIY Twine Cord Pumpkin
Materials Needed:
-
A spool of twine (jute cord)
-
A plastic ruler (around 15-20 cm)
-
Masking tape
-
Scissors
-
A small twig or piece of thick twine for the stem
Video Tutorial?
Step-by-Step Instructions:
1. Prepare the Base Cord
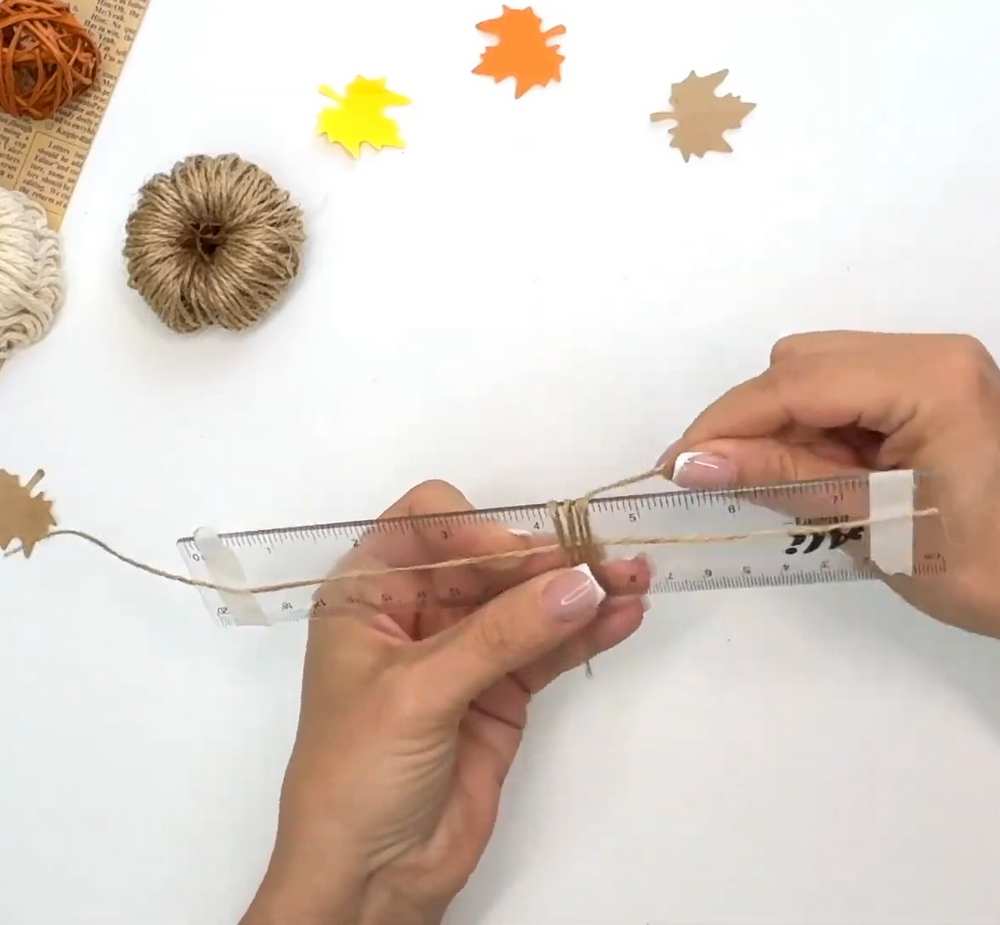
Cut a piece of twine about 30 cm long. Lay it across the length of your ruler. This will be the “anchor” that holds your pumpkin together.
2. Tape the Base Cord
Use small pieces of tape to secure the ends of this twine piece to the back of the ruler. Make sure the twine is flat and centered along the ruler’s length.
3. Start Wrapping the Twine
Take the twine directly from the spool. Hold the end against the ruler and start wrapping it around the width of the ruler. You must wrap over the base cord you just taped down.
4. Wrap Multiple Times
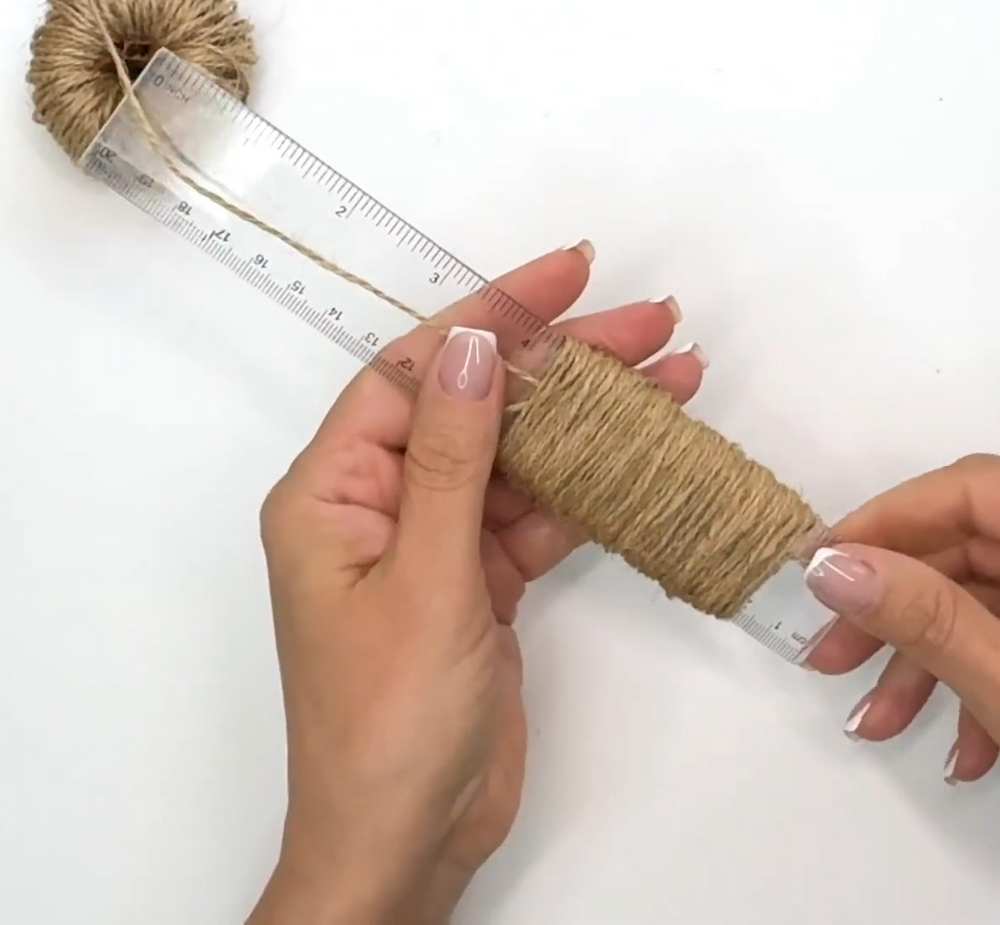
Continue wrapping the twine around the ruler many times. To make a full, thick pumpkin, you should wrap it at least 50 to 80 times. The more you wrap, the denser your pumpkin will look.
5. Tie the Center Knot
Carefully peel off the tape from the ends of the base cord. Bring the two ends of the base cord together in the middle of your wrapped bundle. Tie a very tight knot. This pulls all the wrapped loops together into a tight bunch.
6. Slide Off the Ruler
Carefully slide the entire bundle of twine off the ruler. It will look like a thick, fuzzy cylinder.
7. Form the Round Shape
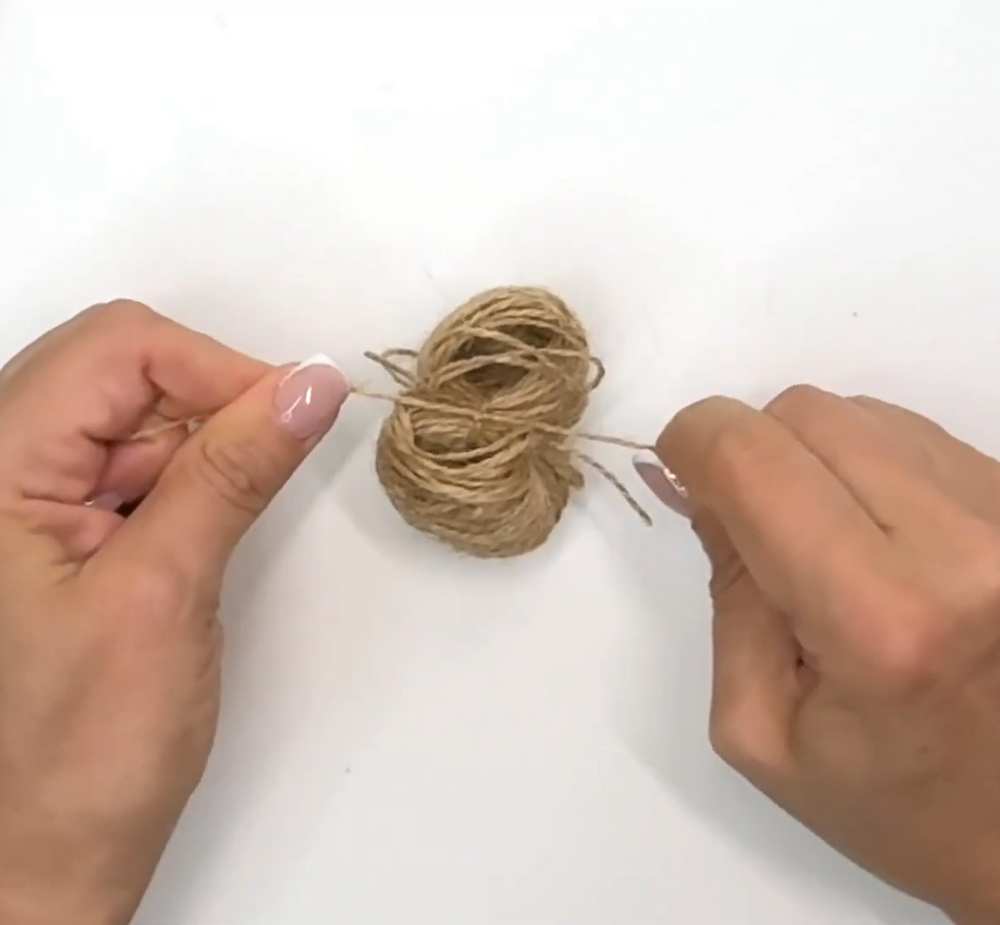
Take the two ends of the base cord again. Bring them around to the opposite side of the bundle and tie another very tight double knot. This will pull the bundle into a circular “donut” or ball shape.
8. Shape the Pumpkin
Use your fingers to spread the loops of twine evenly around the circle. Pull and adjust the loops until the shape is round and looks like the natural ribs of a pumpkin.
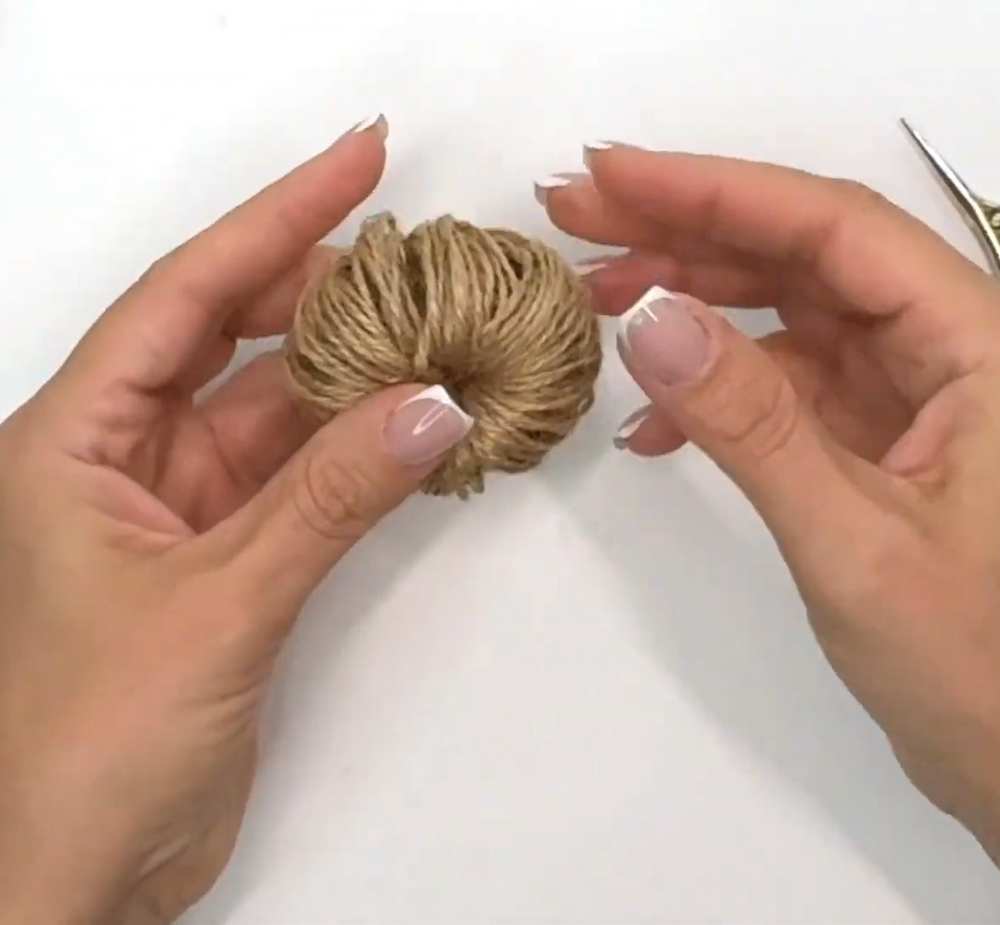
9. Add the Stem
Trim any long, leftover ends of the base cord with your scissors. Take a small piece of a twig or a short piece of thick twine and push it into the center hole of your twine ball. This serves as the pumpkin’s stem.
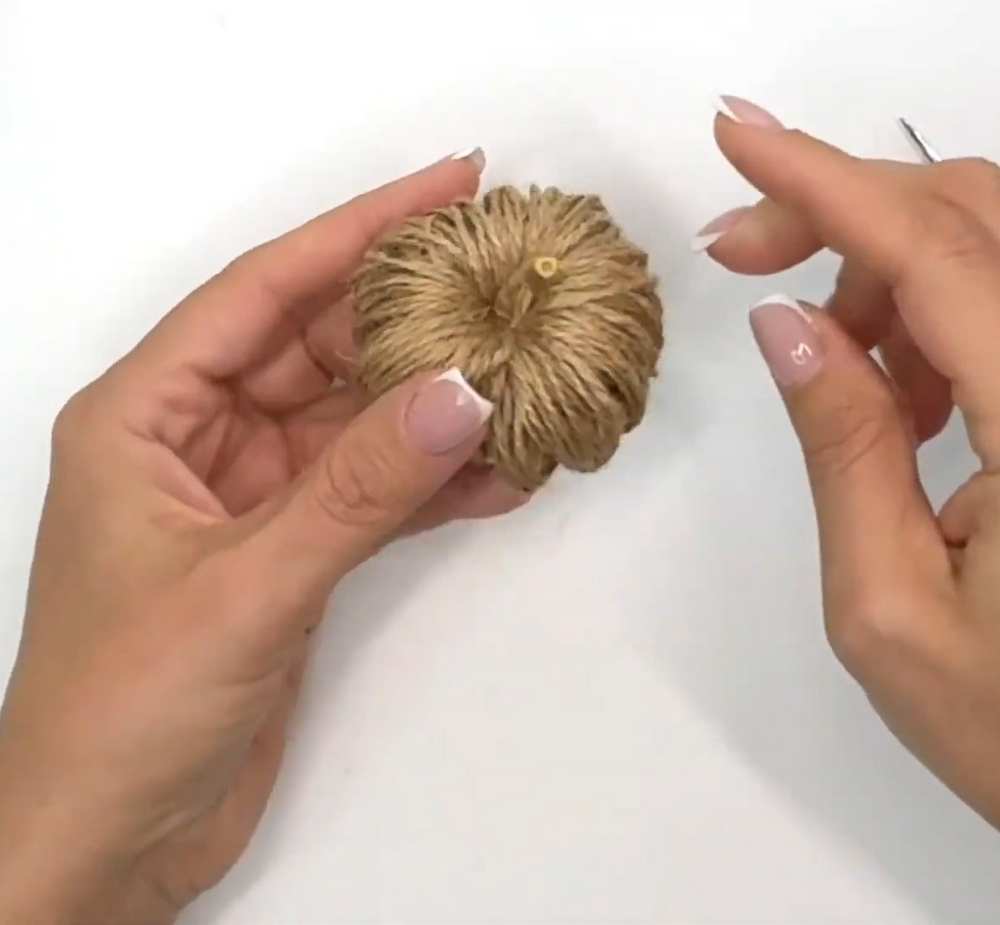
Your handmade twine pumpkin is now complete! These are perfect for fall decorations or table settings.