
Subscribe to Her Million Crafts!
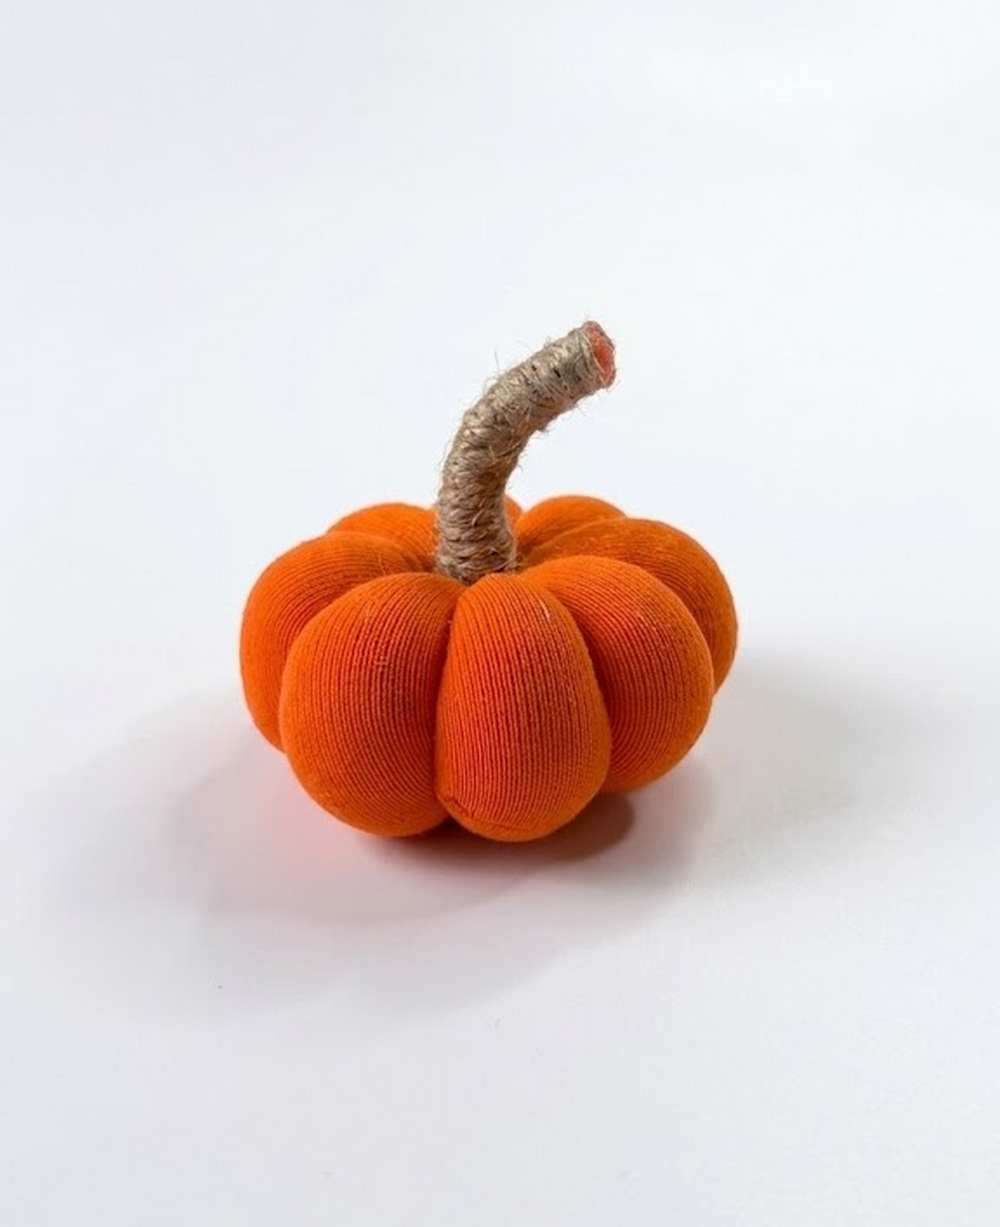
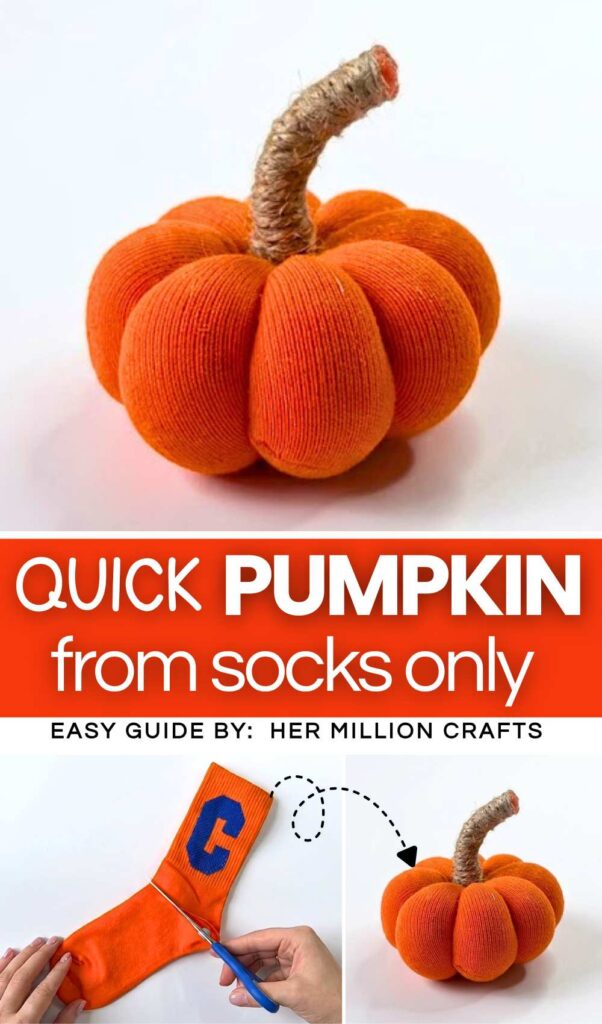
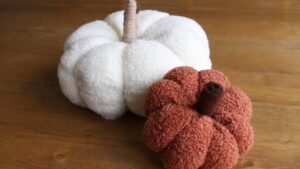
In the last couple of tutorials, you learned how to sew a stuffed pumpkin out of any scrap or new square fabric! Today, you will learn an easy method to upcycle an old sock into a fall-themed pumpkin plushie decoration. This is a quick, cut-and-sew method to make a fabric pumpkin amigurumi. If you have an orange adult sock, it is well and good; otherwise, you can also make a cottage decor pumpkin by making it with a white sock. By making a circle first, you can also make this pumpkin plushie in any size.
This DIY pumpkin plushie also has a longer-than-usual, curled farmhouse stalk made by crumpling sock scraps and wrapping them with twine. So, making this complete pumpkin plushie will only require 1 sock.
You can use this DIY sock pumpkin as a pincushion and also customize it into a kawaii character pumpkin by attaching half beads and sewing the smile. Crafting this pumpkin plushie won’t take more than 30 minutes to finish. You can also reduce the number of ridges on this pumpkin plushie. Anyway, continue reading to learn more about this craft pumpkin project and learn the full method.

Tutorial to Make a Fall Pumpkin Plushie
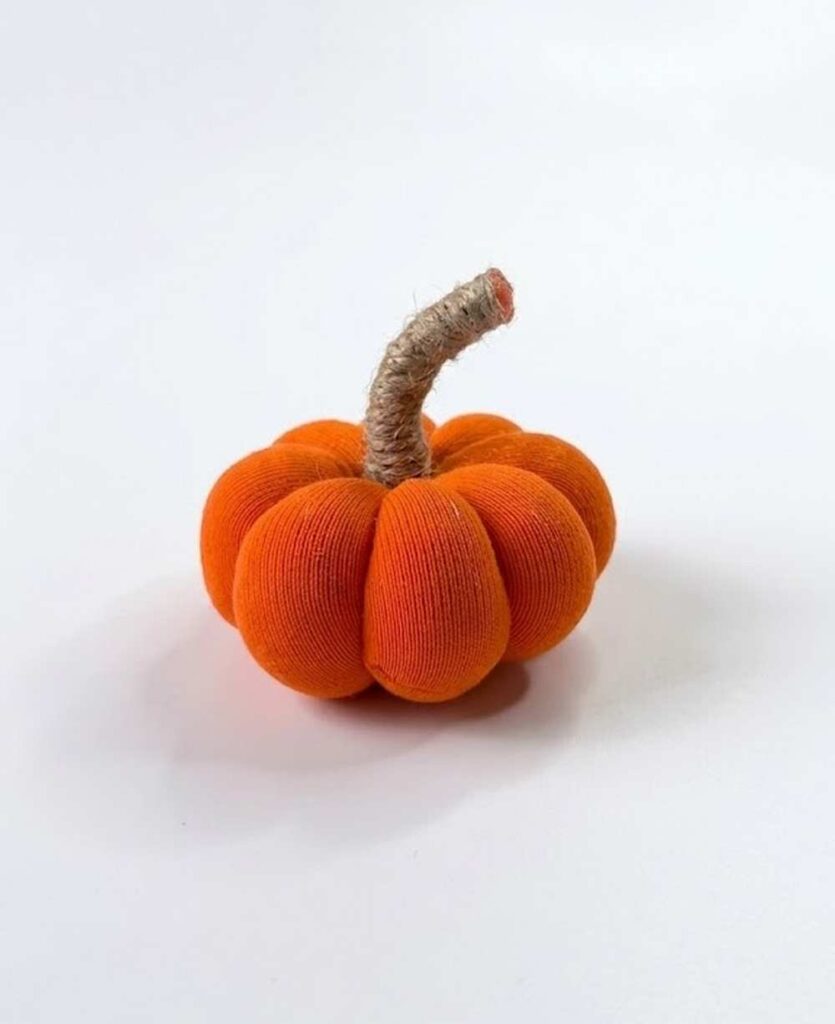
Making a soft pumpkin toy from a sock is a very easy and fun craft. You only need a few simple things. First, you take an orange sock and cut it. You fill the sock with soft white stuffing until it is round like a ball. Then, you tie the top shut with a string.
Next, you use a needle and thread to make deep lines around the ball. This makes the ball look like a real pumpkin with bumps. Finally, you wrap a brown rope around the top fabric to make a stem. It is a cute decoration.
How to Make a DIY Sock Pumpkin Plushie
What You Need:
-
One orange sock
-
Soft white stuffing (cotton or polyester)
-
A needle and strong thread (orange or white)
-
Scissors
-
Brown jute rope or twine
Video Tutorial?
Step-by-Step Instructions
Step 1: Cut the Sock
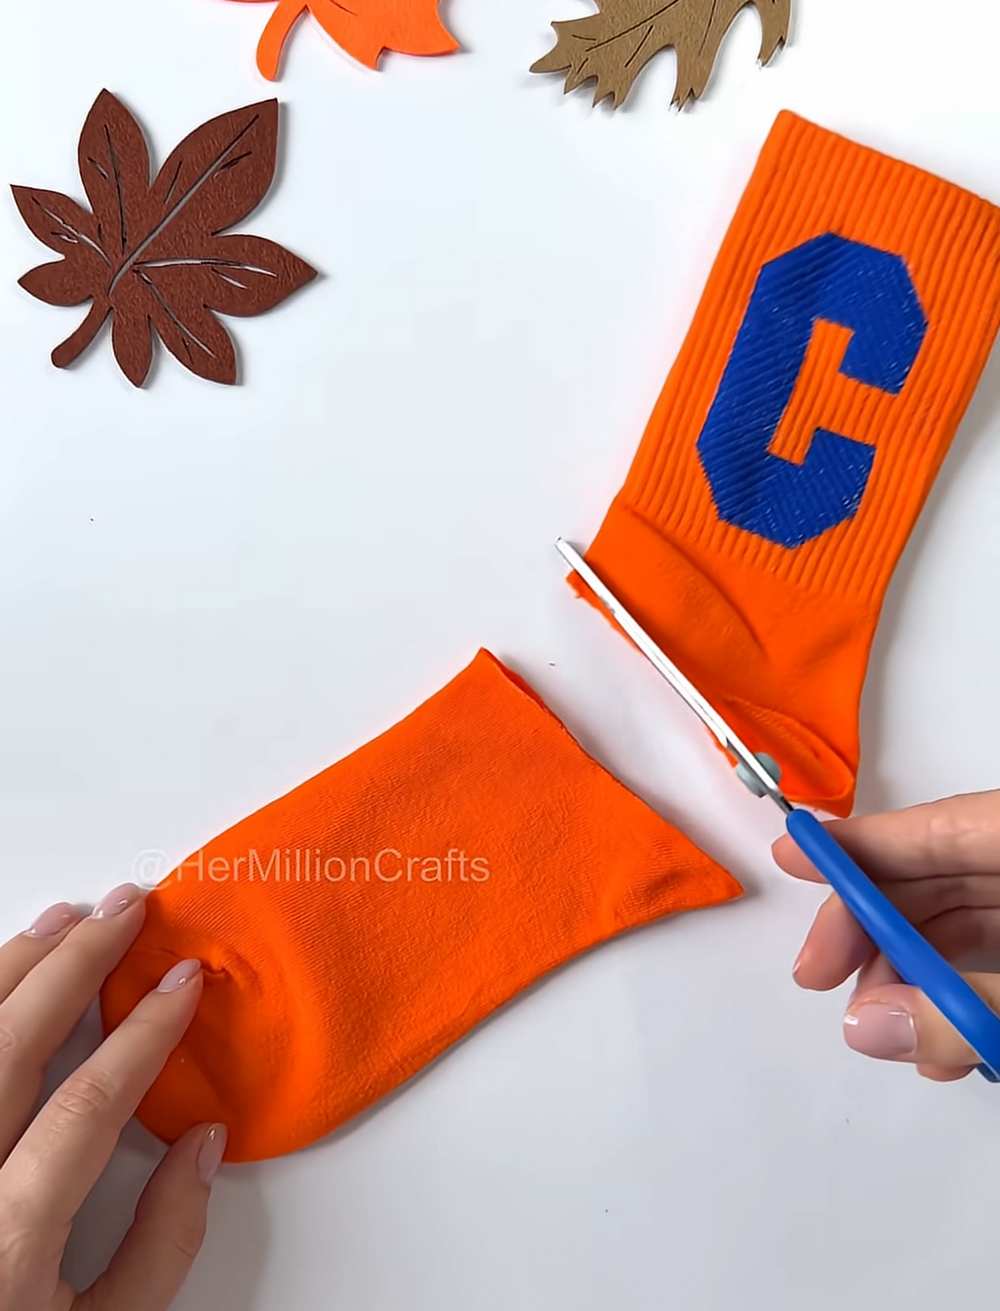
Take your orange sock and lay it flat. Use your scissors to cut the sock just above the heel. You will only use the bottom part (the toe end) to make the pumpkin.
Step 2: Stuff the Pumpkin
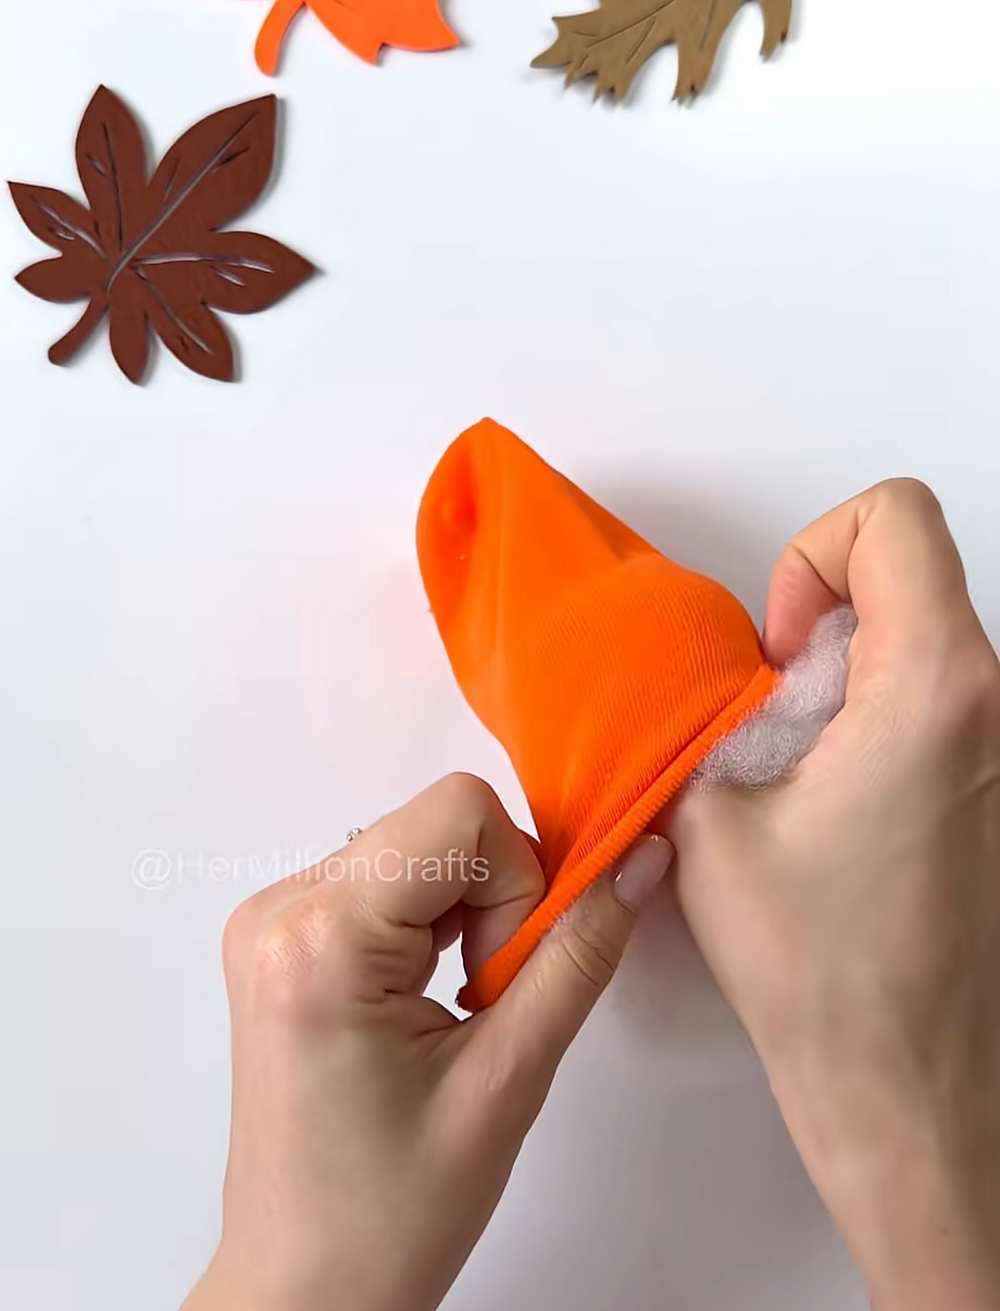
Take the white stuffing and push it into the cut piece of the sock. Keep adding stuffing until the sock looks like a firm, round ball.
Step 3: Tie it Closed
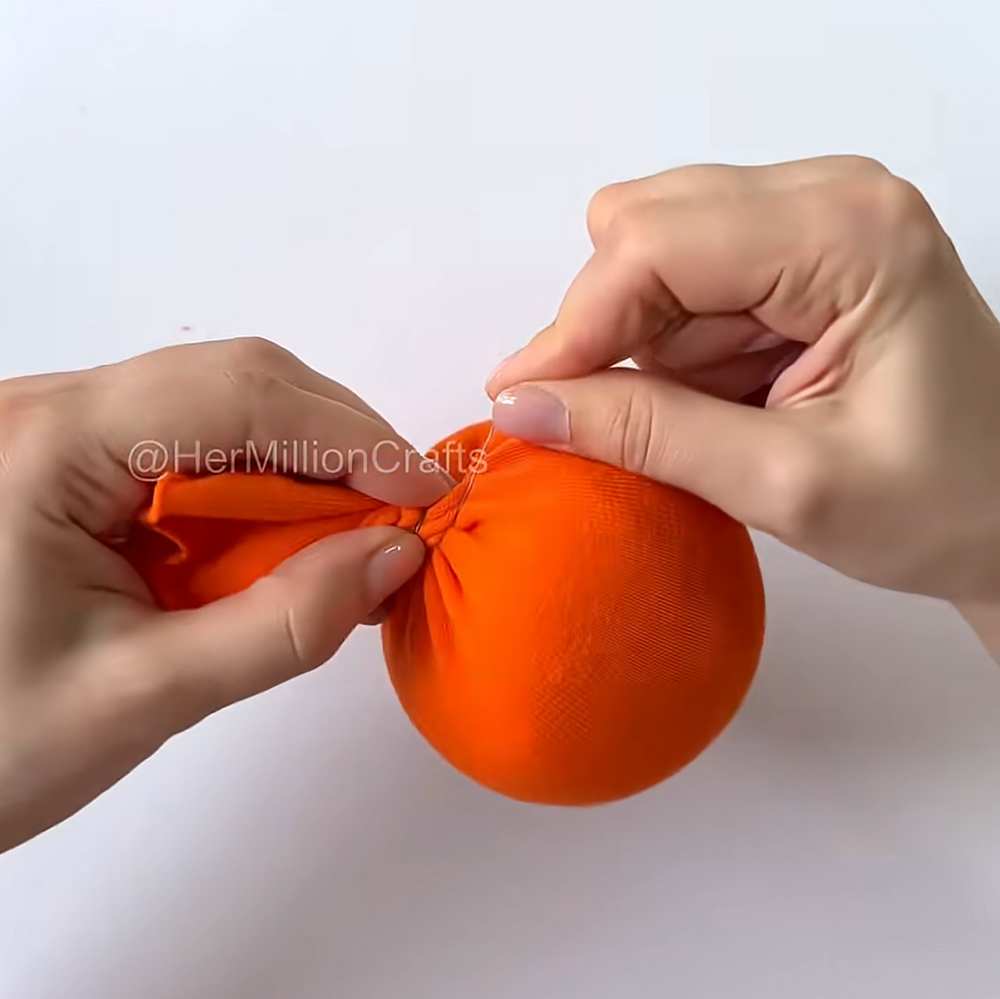
Gather the open end of the sock together. Use a piece of thread to tie it very tightly so the stuffing cannot come out. Leave the extra fabric at the top; do not cut it off yet!
Step 4: Make the Pumpkin Ridges
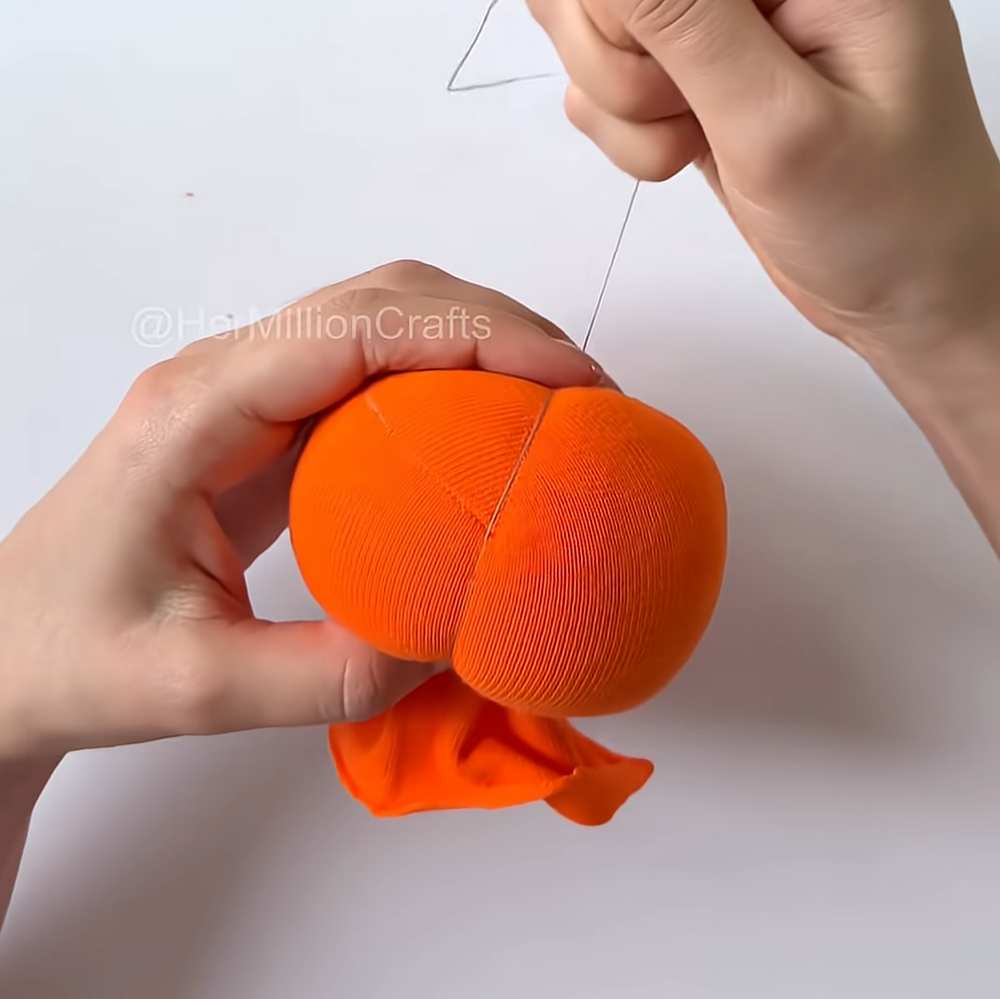
Thread your needle with a long piece of string. Poke the needle through the bottom center of the ball and push it all the way through to the top center. Pull the thread over the outside of the ball and go back through the bottom center again.
Step 5: Pull Tight
As you pull the thread, it will squeeze the ball and make a dent. Repeat this step 6 to 8 times, moving the thread around the ball like slices of a pie. This creates the bumpy shape of a pumpkin. Tie the thread securely when you are done.
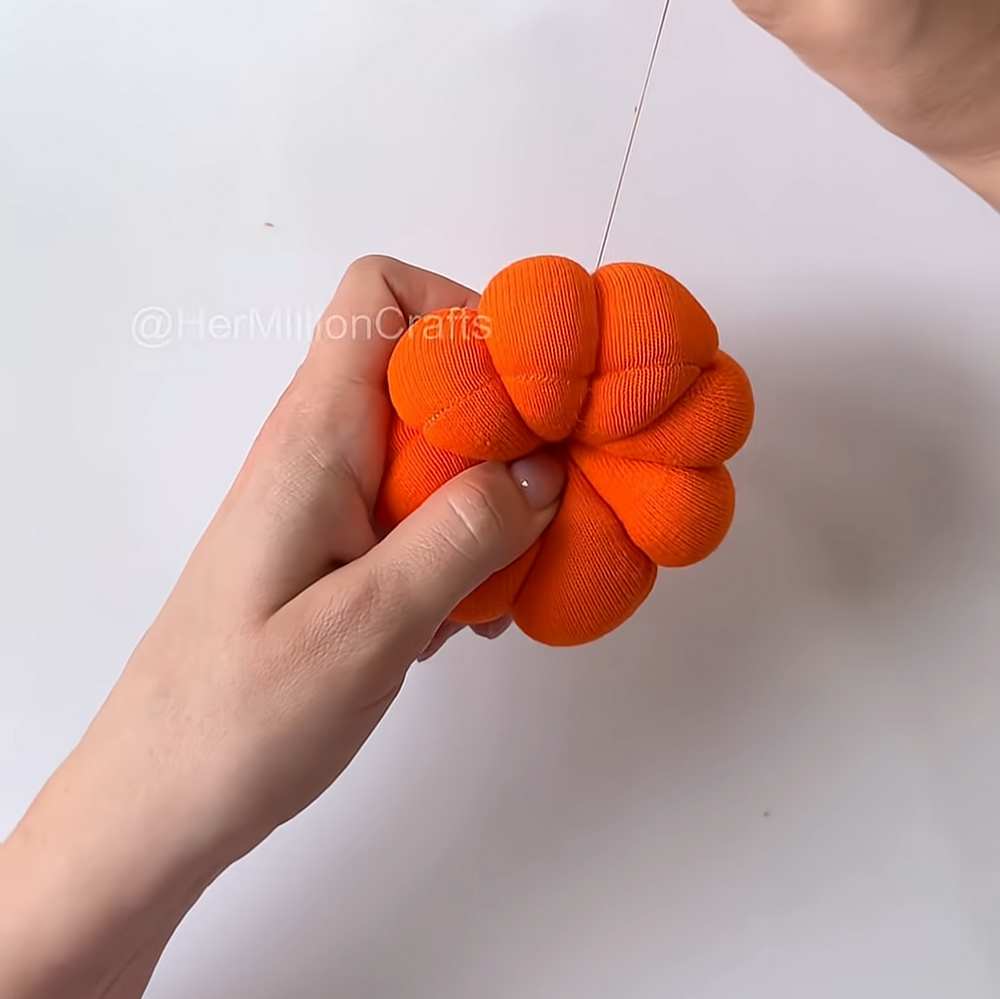
Step 6: Create the Stem
Look at the extra fabric at the top where you tied the sock. Take your brown jute rope and start wrapping it tightly around that extra fabric. Start from the bottom near the pumpkin and wrap upwards.
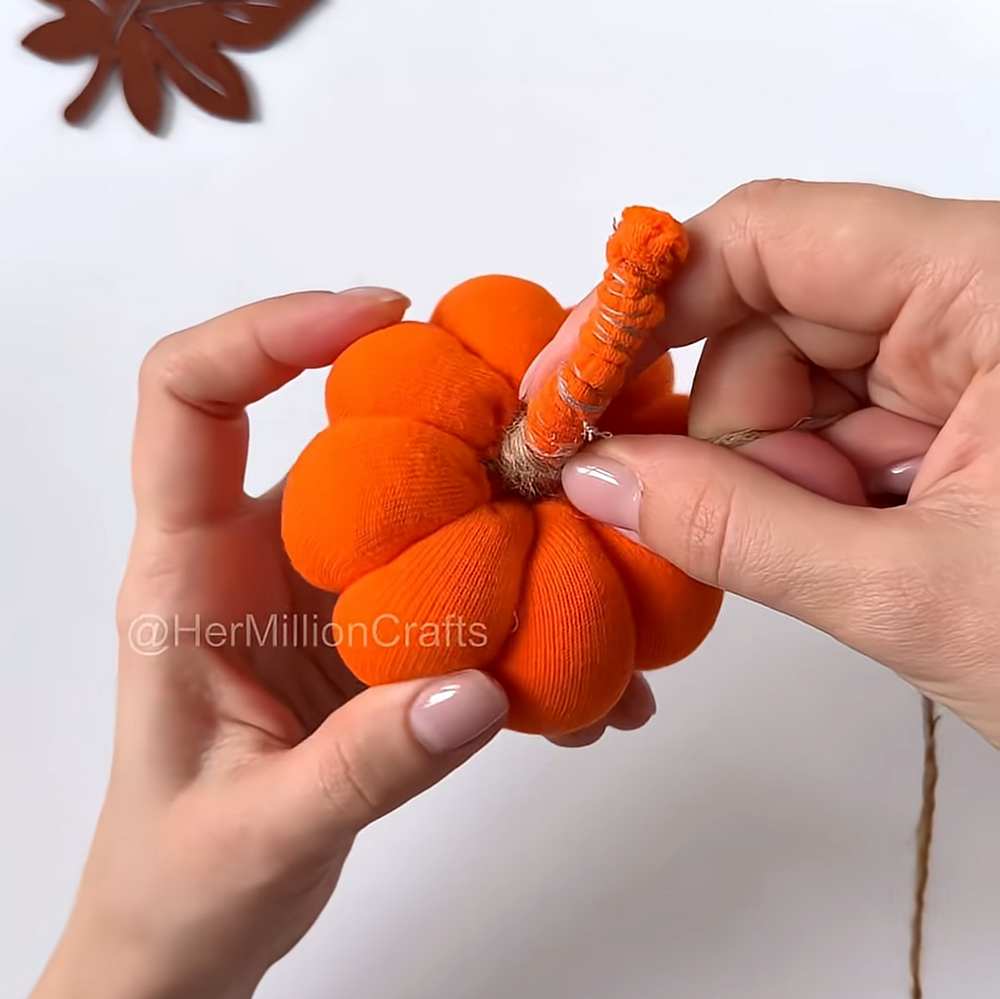
Step 7: Finish the Stem
Once the fabric is covered with rope, tie the end of the rope or use a little glue to keep it in place. You can bend the stem a little bit to make it look natural.
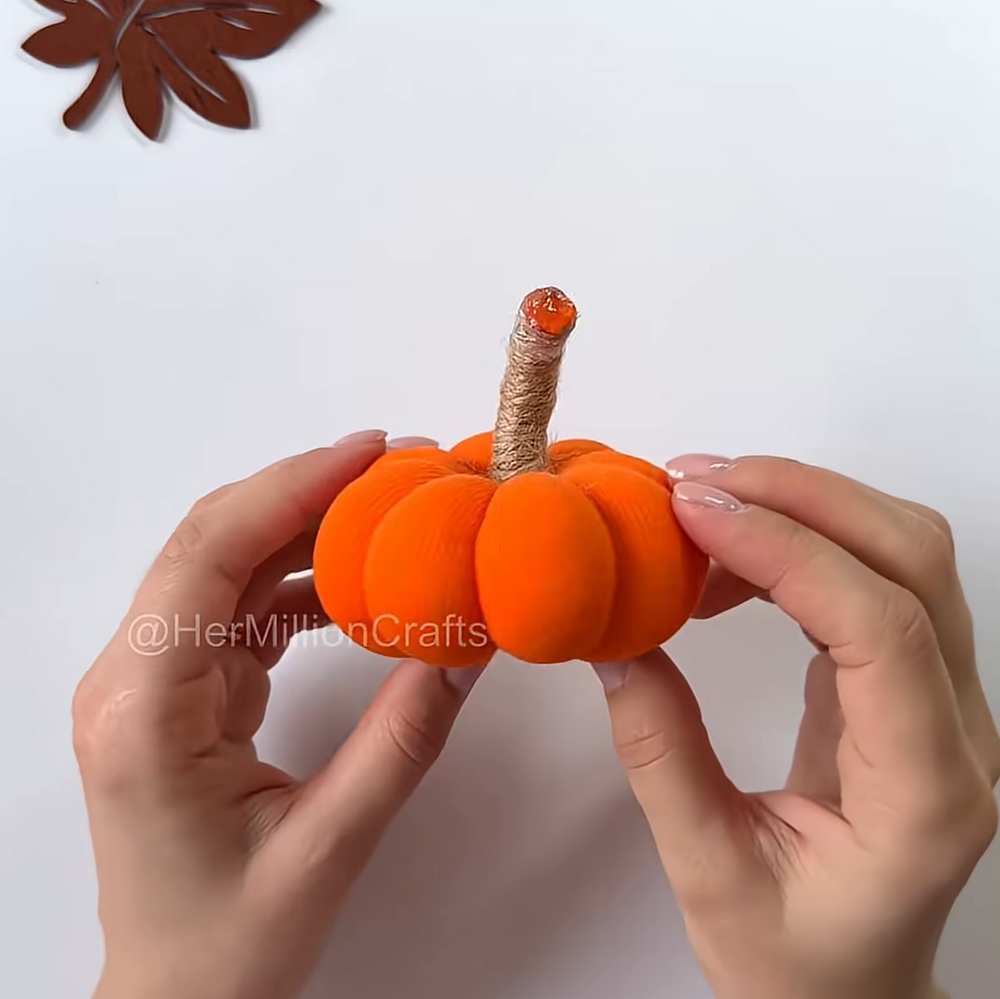
Your sock pumpkin is finished! You can now use it to decorate your room.