
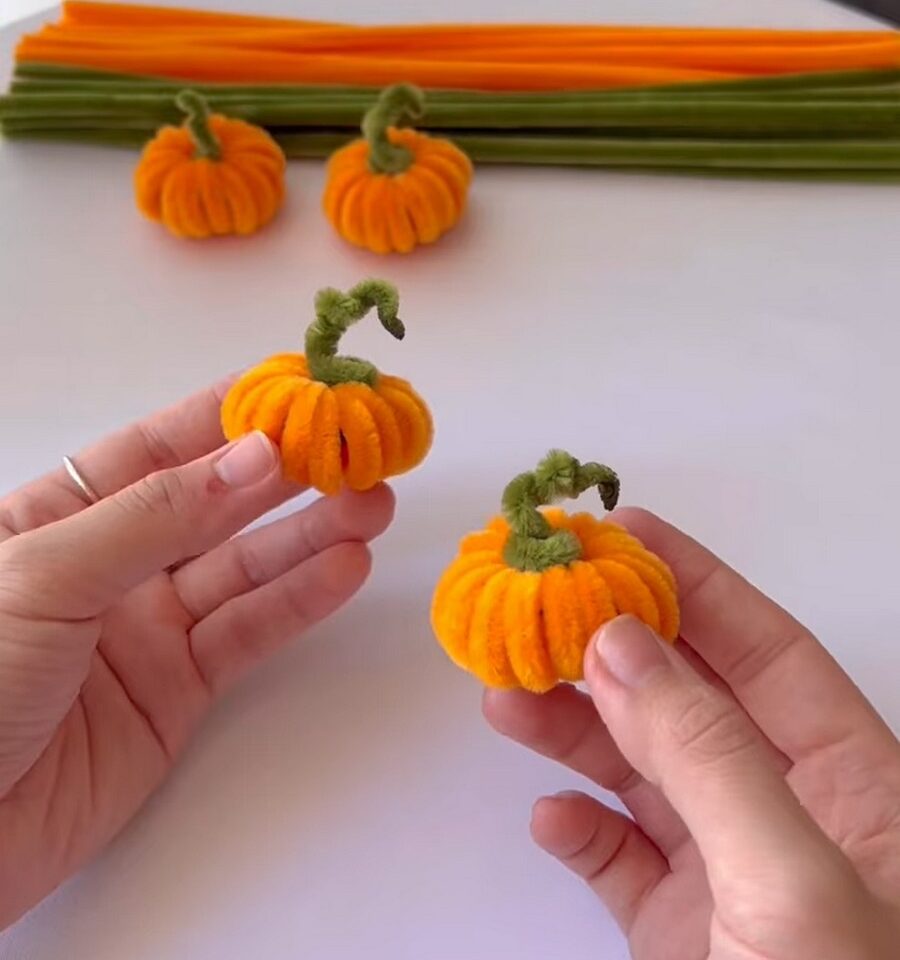
Learn how to DIY a life-like miniature pumpkin plushie out of pipe cleaners with this no-knit plush tutorial. It is a 4-minute pumpkin plush and only requires 4 pipe cleaners. You can craft many pumpkin plushies and add them to your fall garland or fall craft fair inventory. You can craft this pumpkin plush from a pipe cleaner spiral for Halloween, fall & Thanksgiving.
Making this pumpkin requires the same method as the quirky chenille stem pumpkin I shared a guide for last week. Making these Halloween pumpkins actually requires one long pipe cleaner.
Miniature & Fluffiest Pumpkin
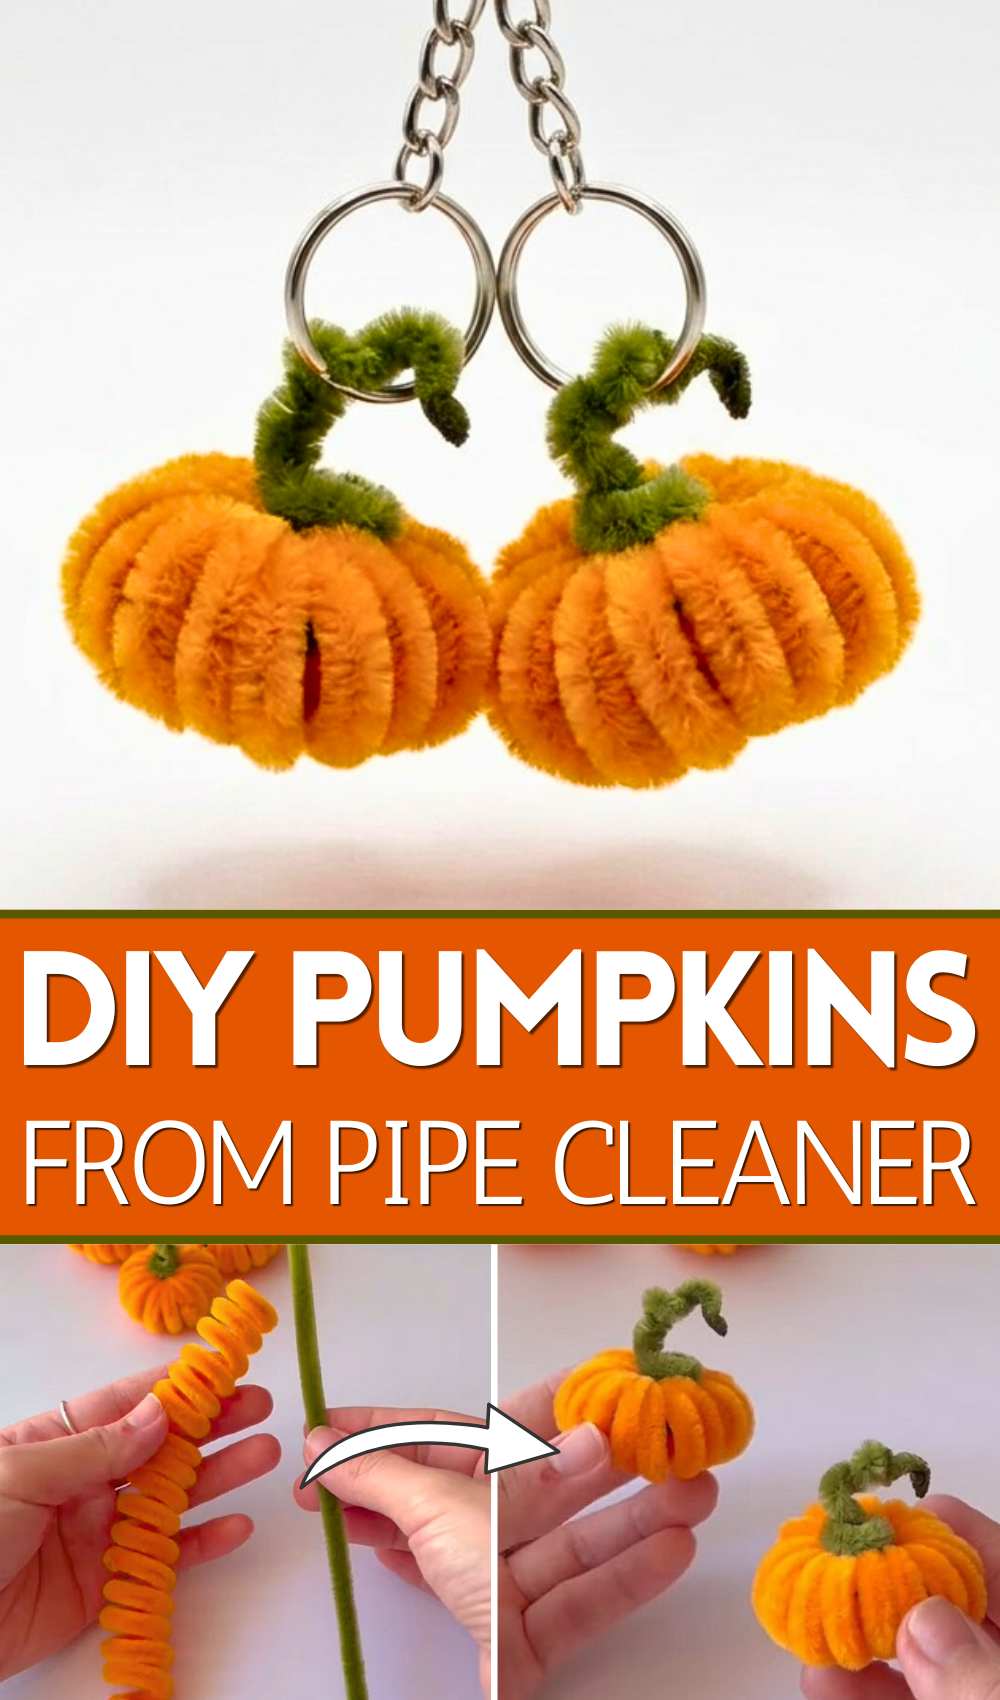
But we shall use a clever method and join the 21cm pipe cleaners to make the pipe cleaner pumpkin without sewing. You can also craft this pumpkin for holding Halloween treats and candies. Now, continue reading for the detailed pumpkin out of orange and green chenille stems.
[ez-toc]
DIY Loopy Pipe Cleaner Pumpkin Keychain
Make a cute miniature pumpkin using pipe cleaners. This quick and beginner-friendly project is perfect for keychains, bag charms, gift toppers, or fall decorations. & buntings.
Materials
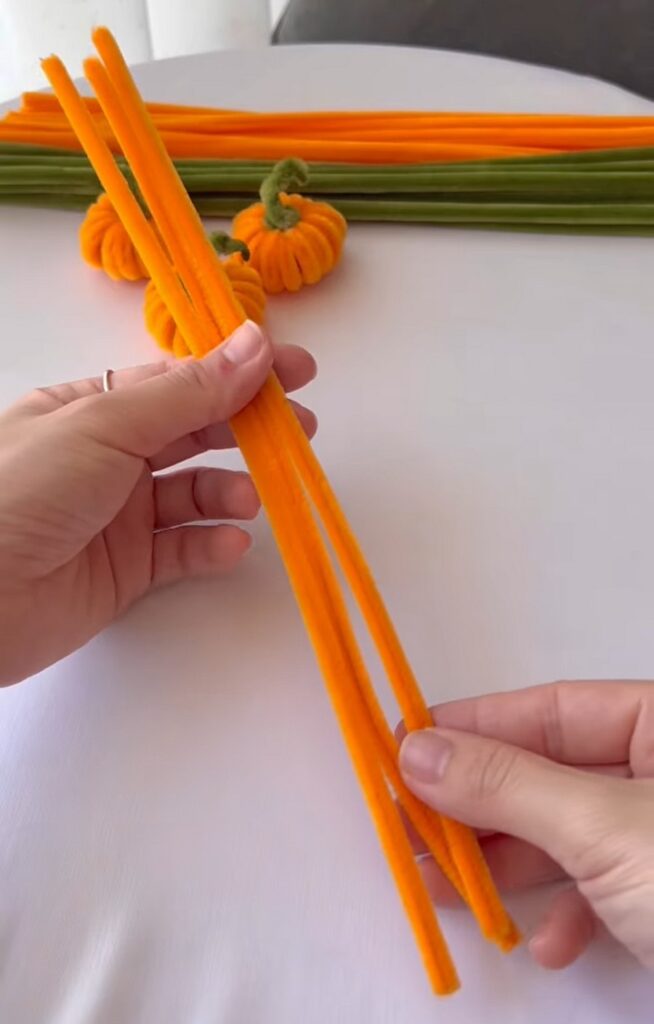
- 3 orange pipe cleaners (21 cm each)
- 1 green pipe cleaner
- A glass rod or hot glue stick (approximately 3 cm in diameter)
- Wire cutters or scissors suitable for pipe cleaners
- Lighter or heat source (optional, for sealing the cut end of the stem wire if appropriate and used with care)
Characteristics
- Quick and easy to make
- Soft yet sturdy
- Lightweight and reusable
- Perfect size for keychains and bag charms
- Beginner-friendly with minimal materials
Instructions
Step 1 – Make One Long Pipe Cleaner
Take two orange pipe cleaners.
Overlap their ends by about 1 cm.
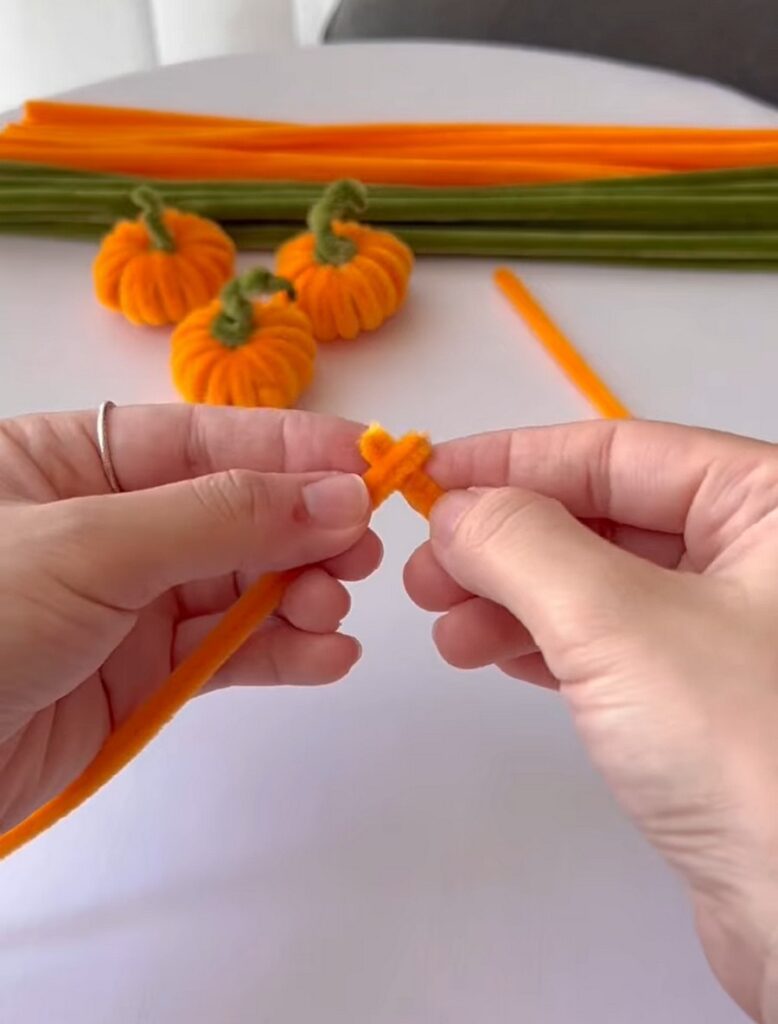
Twist each end around the other to securely join them together.
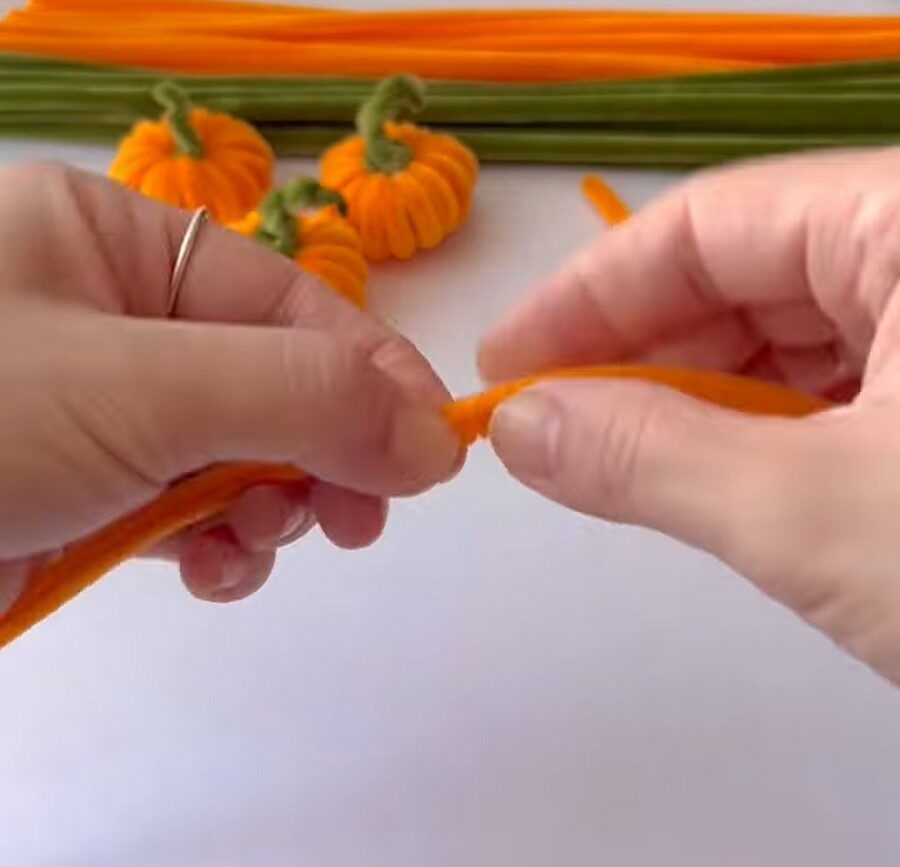
Now join the third orange pipe cleaner to one end using the same method to create one long pipe cleaner.
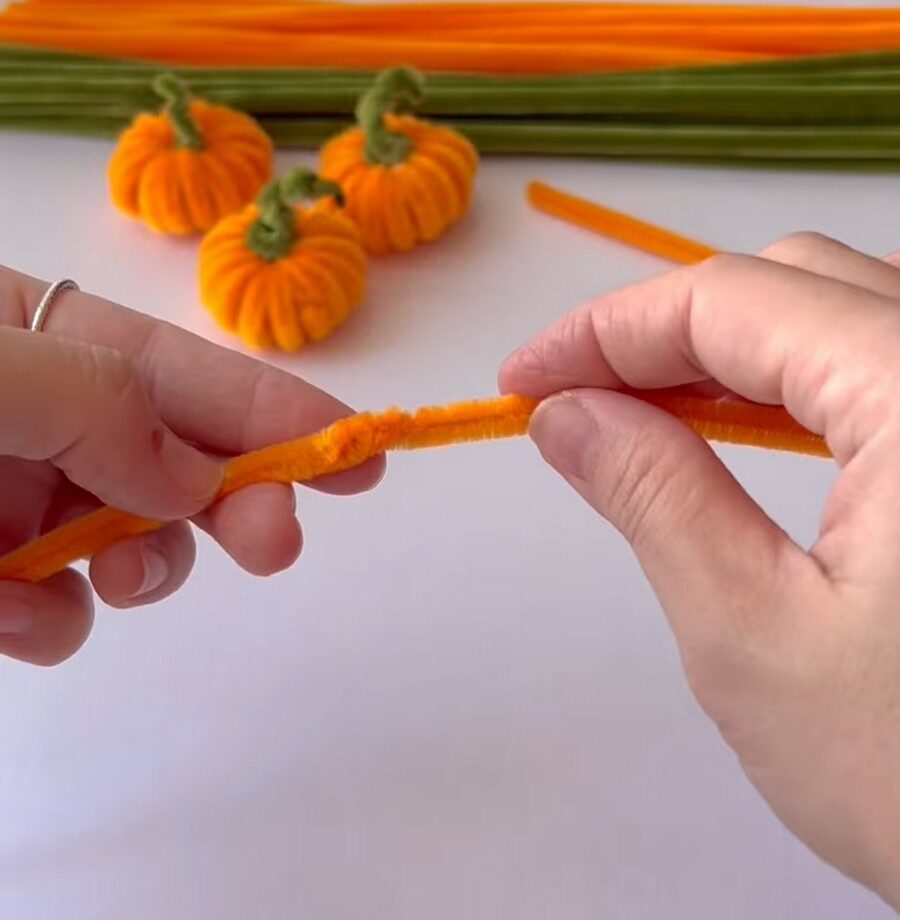
Step 2 – Create the Spiral
Wrap the long orange pipe cleaner tightly around a 3 cm diameter glass rod or hot glue stick.
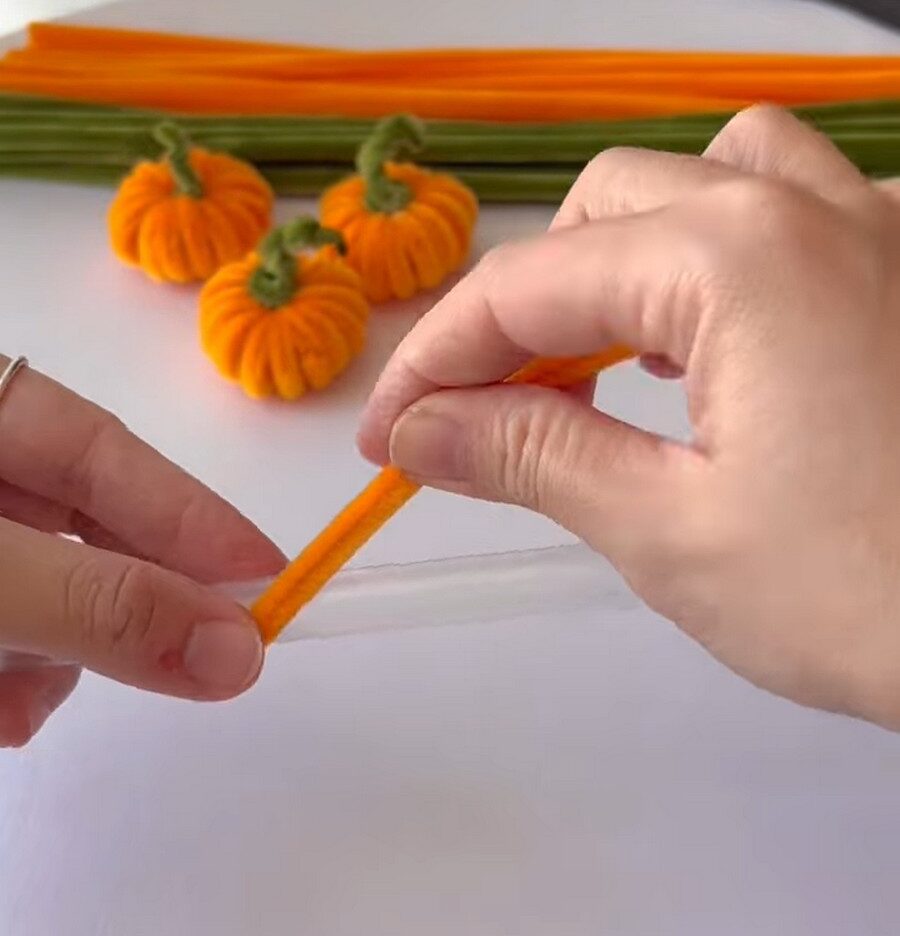
Cover the rod evenly from one end to the other.
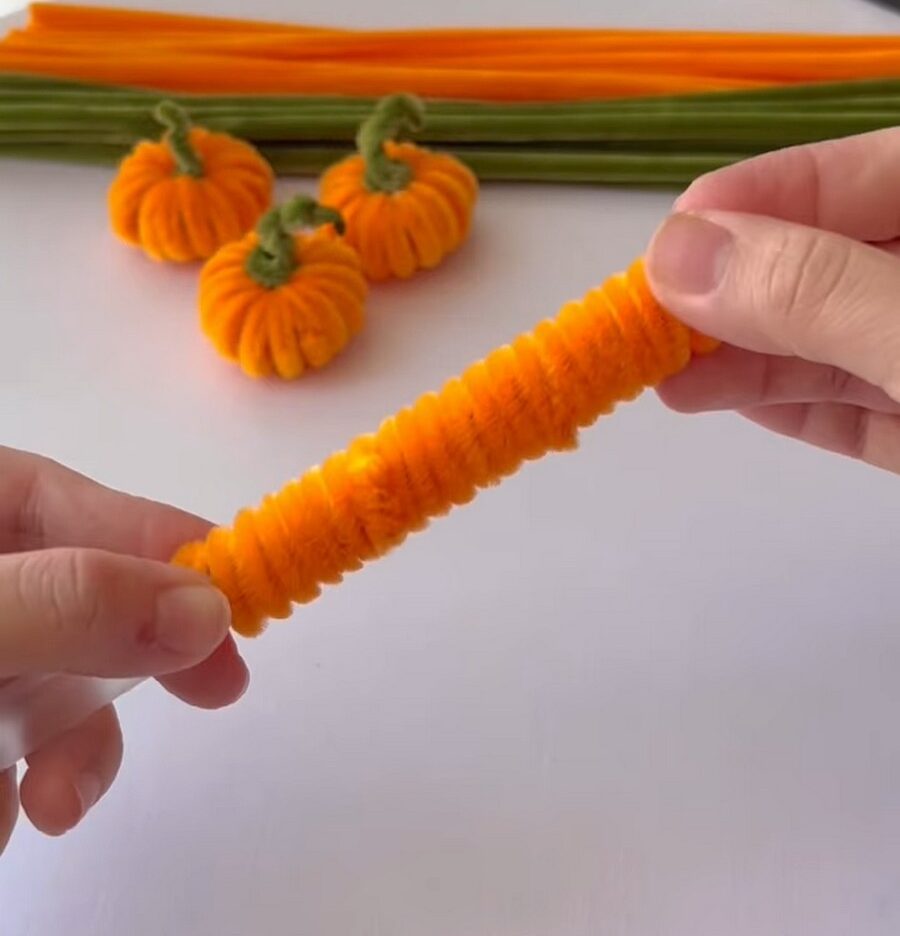
Carefully slide the rod out to leave a neat spiral.
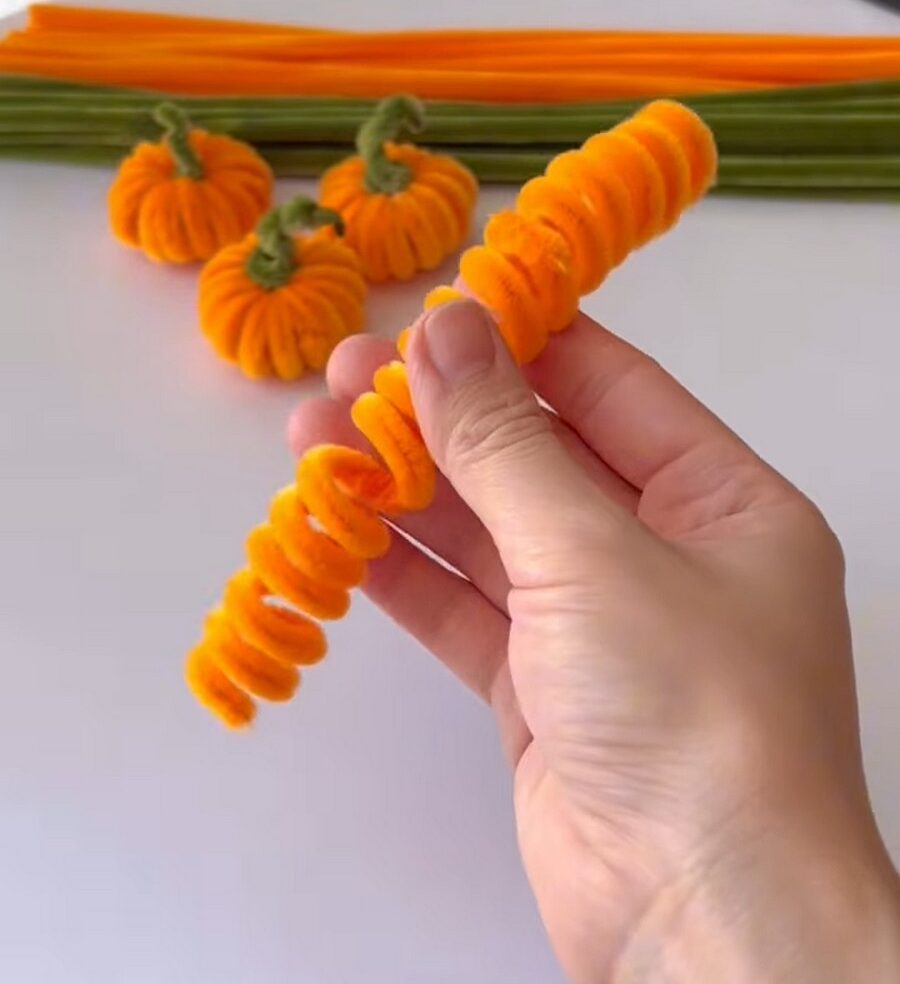
Step 3 – Insert the Green Pipe Cleaner
Thread the green pipe cleaner through the centre of the orange spiral so that equal lengths extend from both ends.
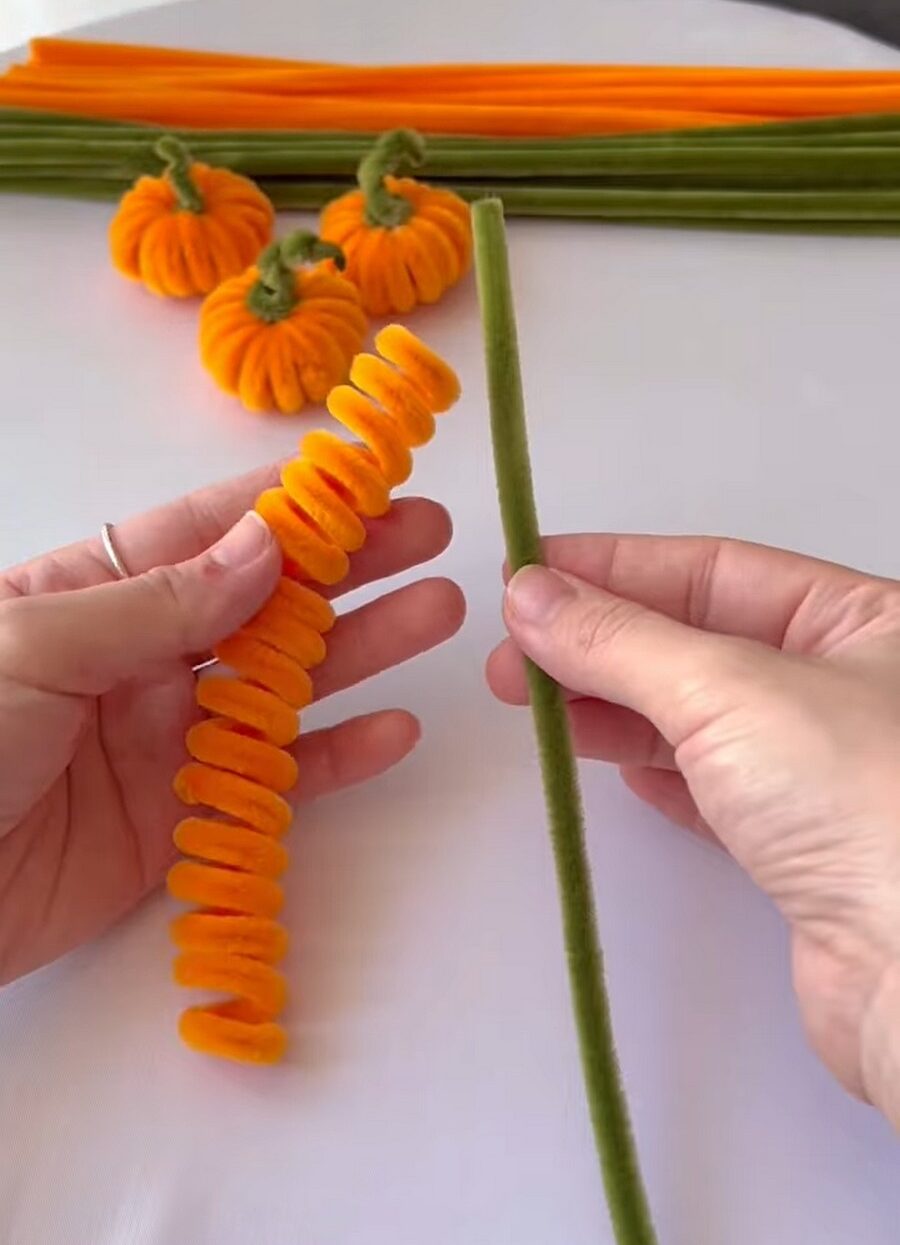
Take one end of the green pipe cleaner and insert it back through the spiral from the opposite side.
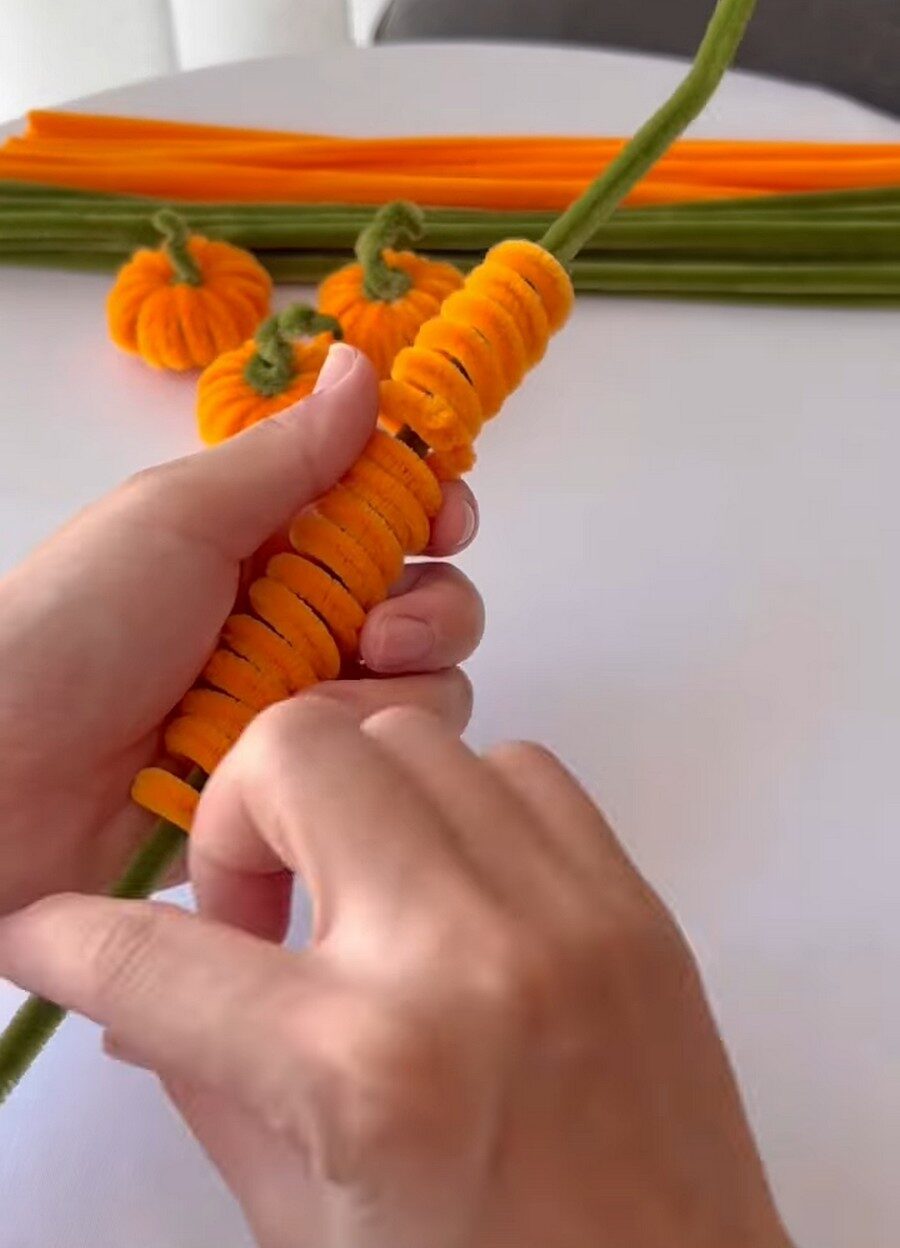
Leave approximately 9 loops of the orange spiral between the two points where the green pipe cleaner enters and exits.
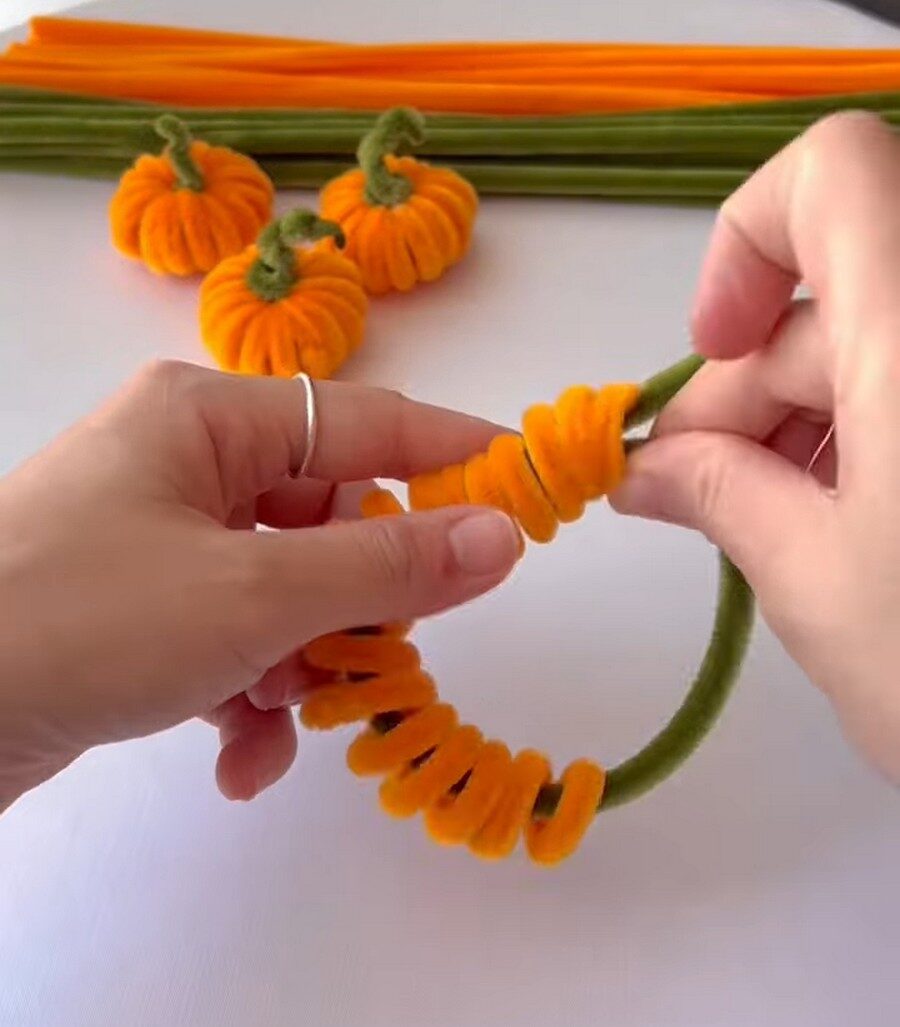
Pull the green pipe cleaner through until both ends are visible.
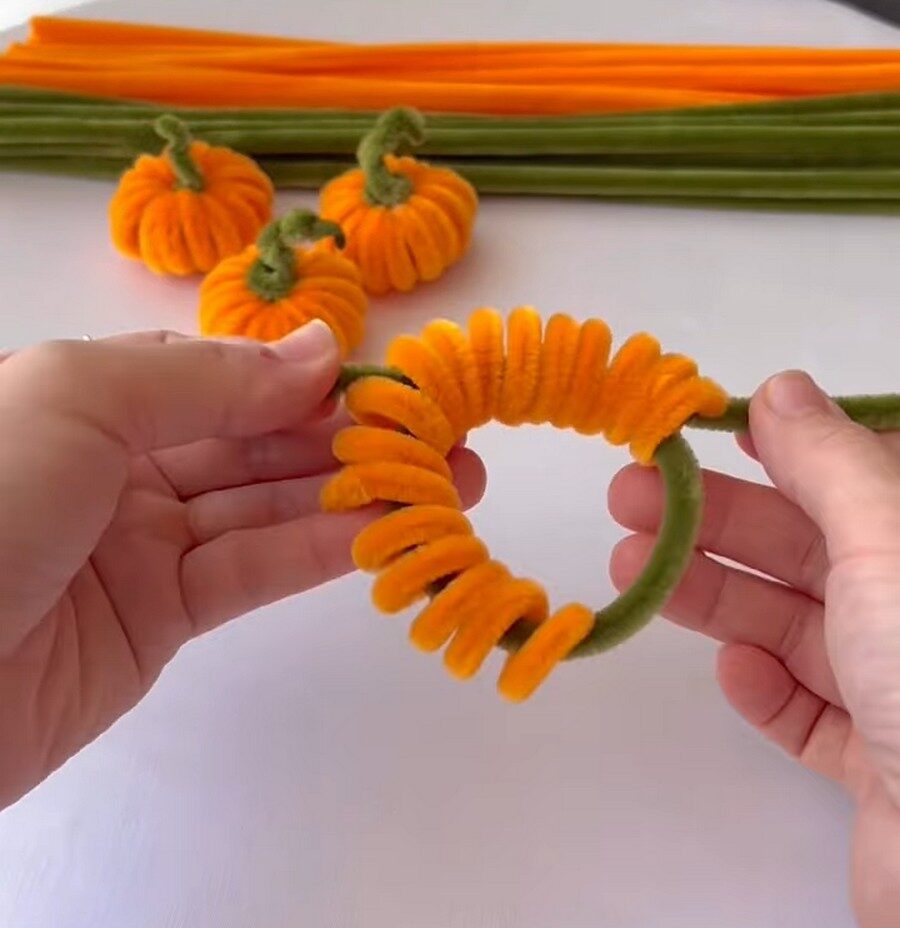
Step 4 – Form the Pumpkin
Gently pull both green pipe cleaner ends in opposite directions.
As you pull, the orange spiral gathers together, forming a rounded pumpkin shape.
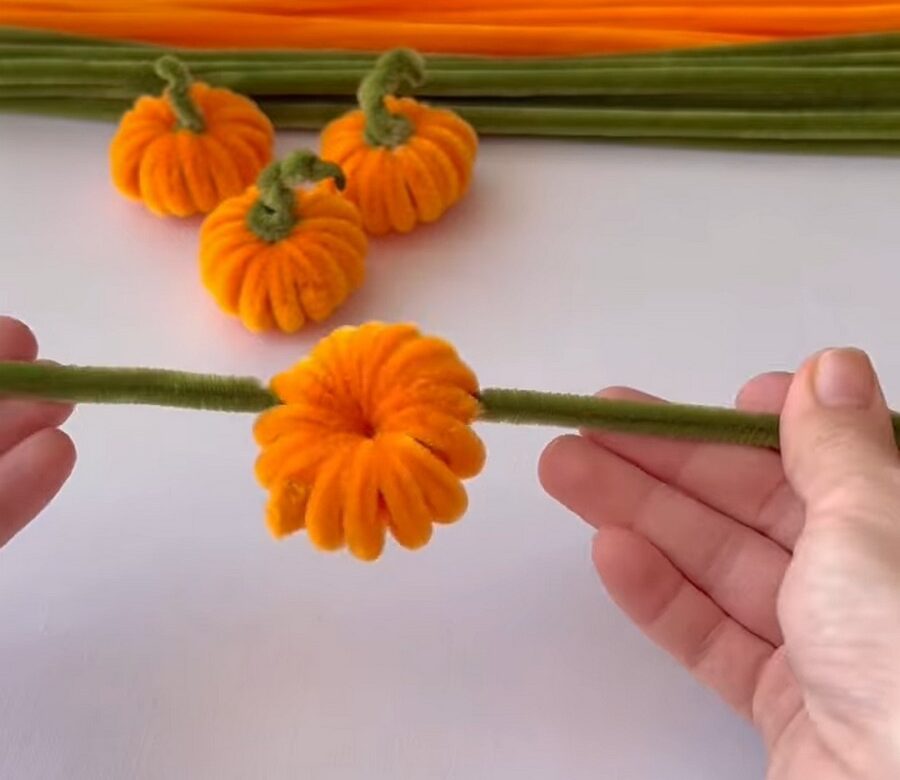
Adjust the loops evenly until the pumpkin looks full and symmetrical.
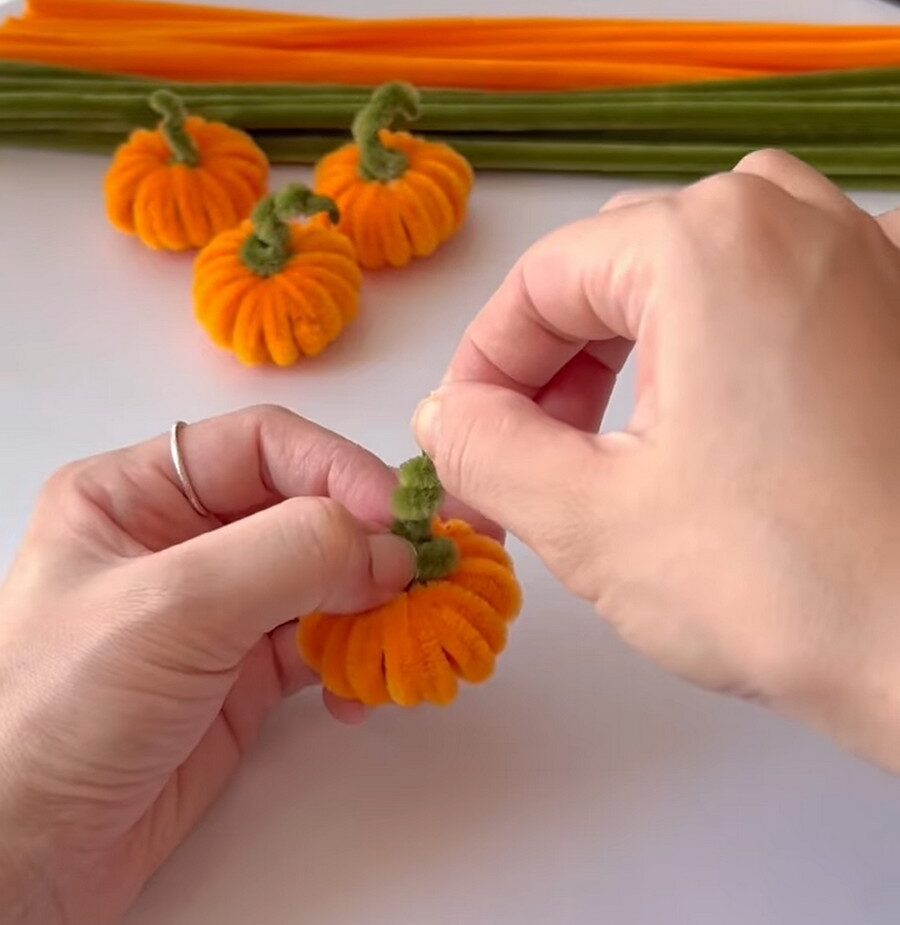
Step 5 – Secure the Stem
Slide both green pipe cleaner ends towards the centre of the pumpkin.
Twist them together tightly to lock the pumpkin in place.
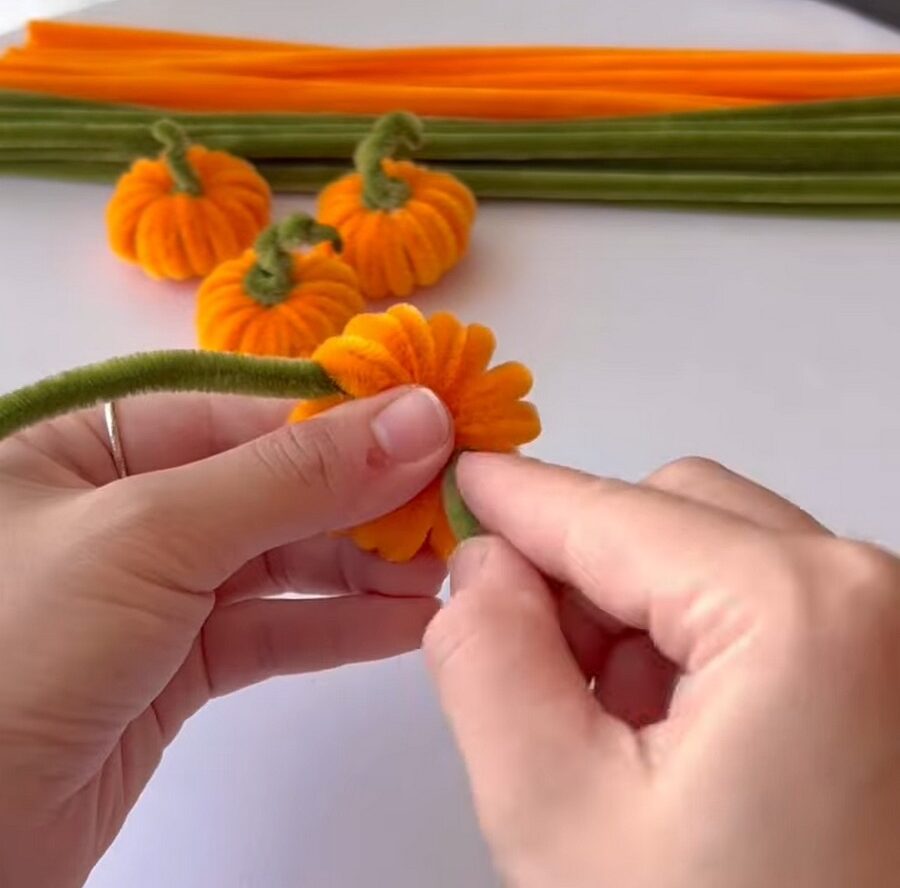
Trim one end, leaving about 1 cm.
Wrap the remaining long end around the twisted centre to create a neat stem.
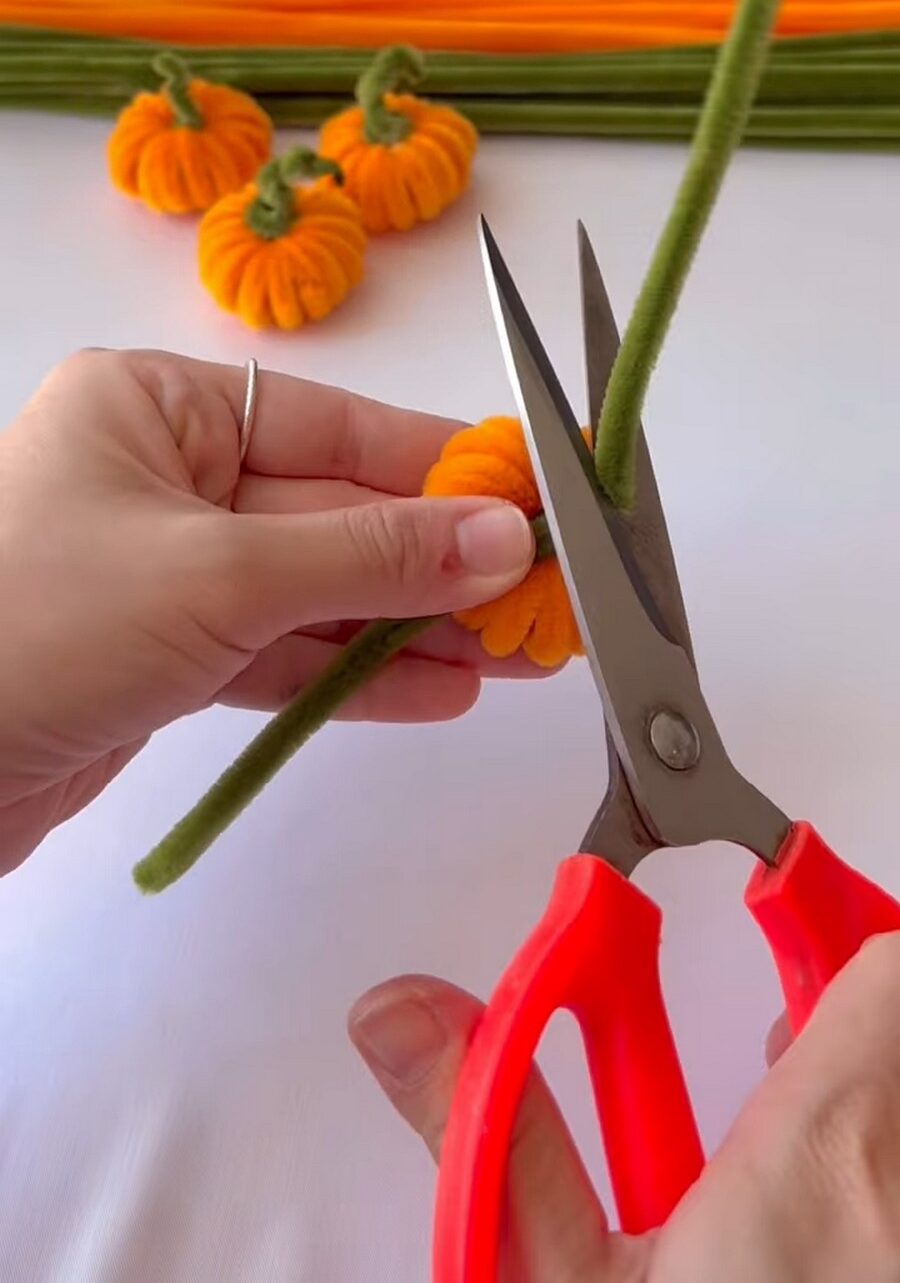
Trim the remaining end, leaving about 4 cm.
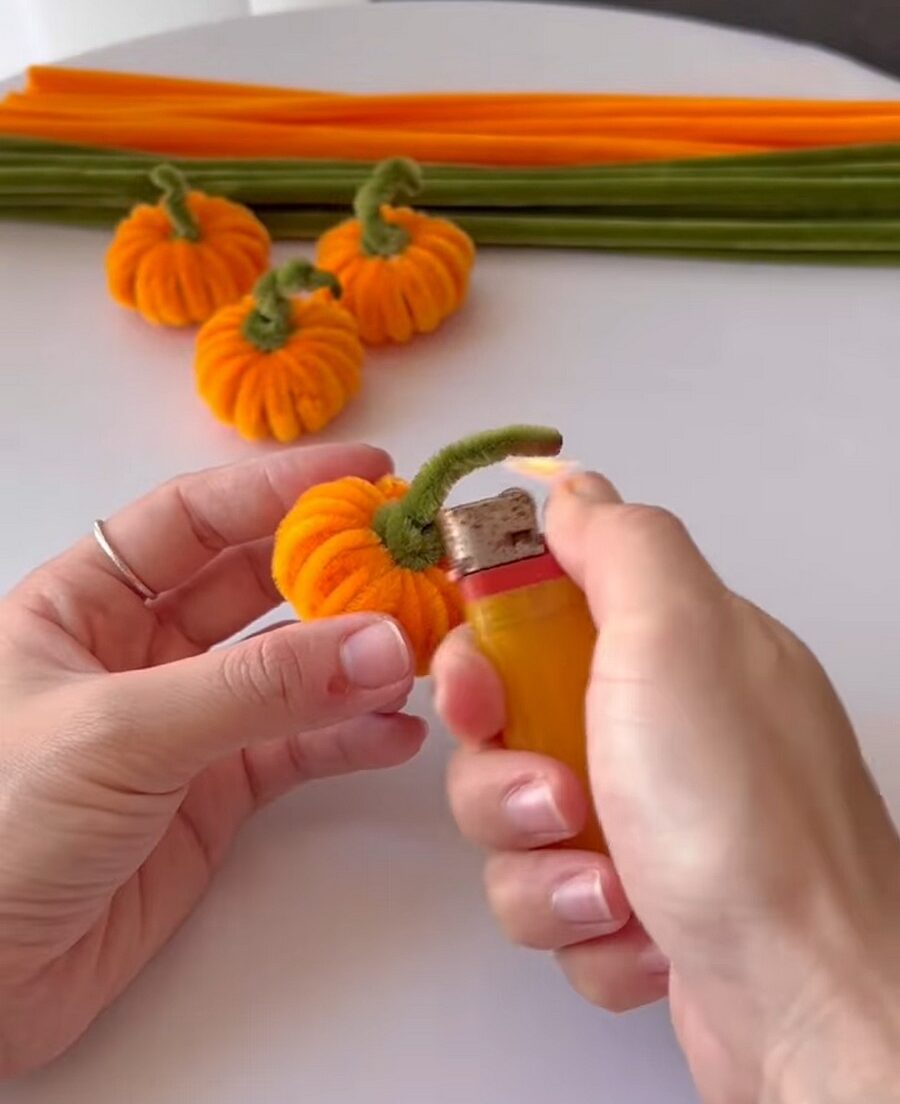
If suitable for your pipe cleaner wire and done safely, lightly melt or seal the cut end to reduce sharp edges. Allow it to cool before handling.
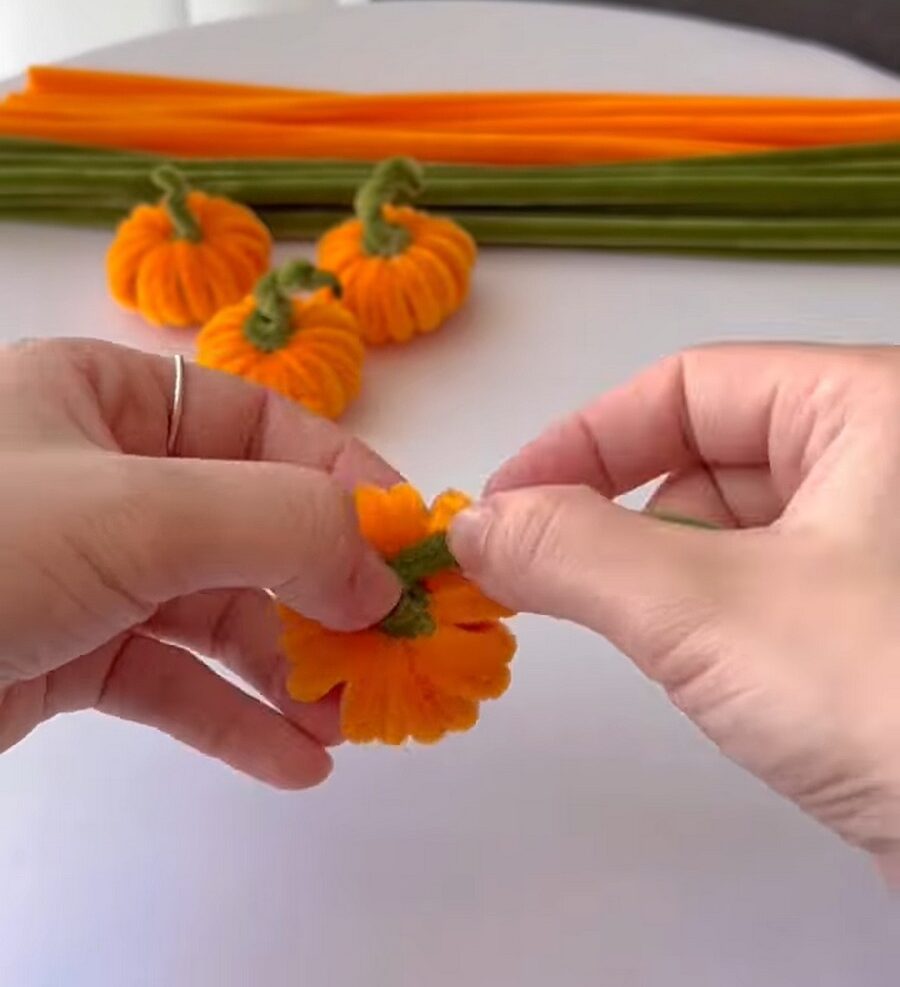
Finally, wrap the remaining length around your finger or a pencil to create a curly vine.
Your miniature loopy pumpkin is now ready to use as a keychain, zipper pull, bag charm, or festive decoration.
Tips for the Best Results
- Keep the pipe cleaner wraps close together for even loops.
- Twist the joins tightly so they do not come apart.
- Pull the green pipe cleaner gently to avoid distorting the pumpkin shape.
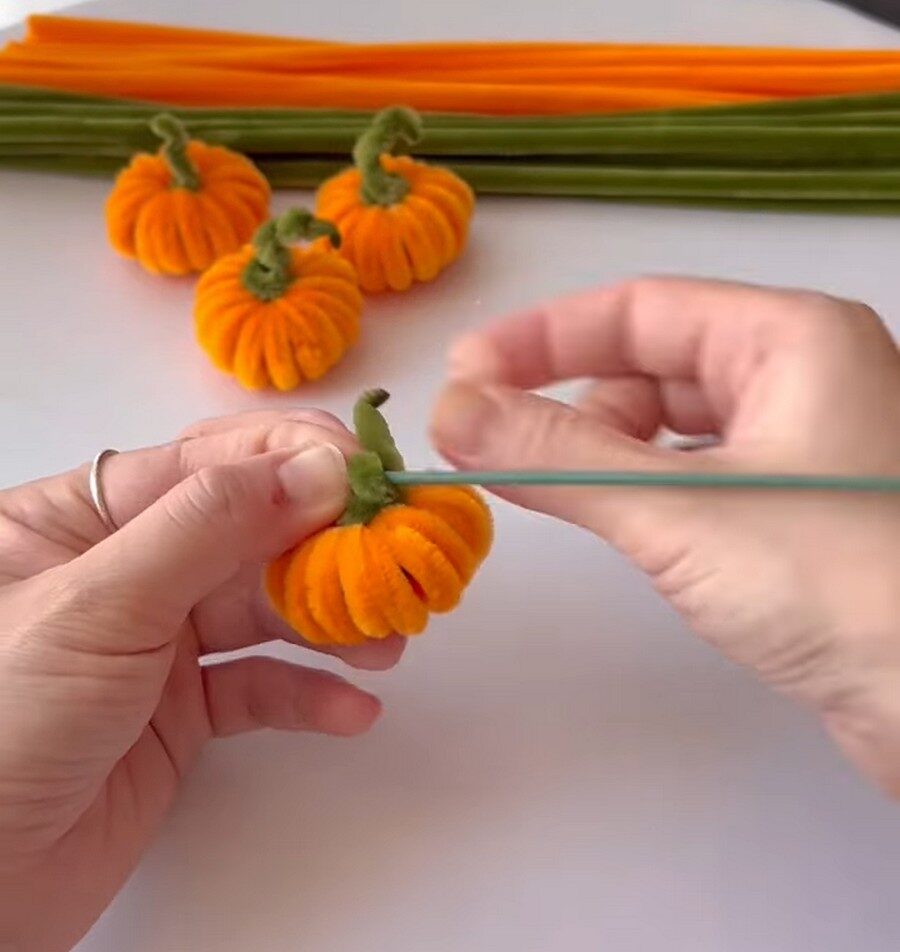
- Adjust each loop with your fingers until the pumpkin looks evenly rounded.
- Attach a keyring through the green stem or one of the top loops for a secure keychain.
- If using a lighter, work carefully, keep it away from the fuzzy fibres, and ensure adult supervision if children are making the craft.
Professional Finish
- Make all the orange loops the same size for a balanced pumpkin.
- Hide the joined sections inside the loops where possible.
- Keep the stem centred.
- Shape the curly vine neatly around a pencil or your finger for a realistic finishing touch.
- Add a small keyring or lobster clasp to turn your pumpkin into a durable, handmade keychain.

About "Talha"
Hey, I’m Talha, the Crafter on Craftstive.com. I love to share guides on folding cute origami models and paper crafts, and I am always ready to inspire your next craft project with my weekly craft discussions.