
Hi, guys, the video tutorial has been removed, so to help you, I have written the instructions!
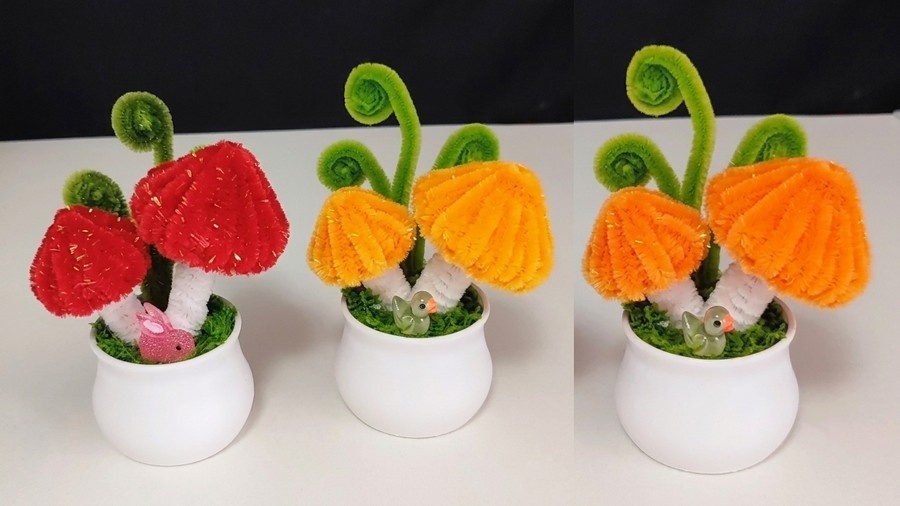
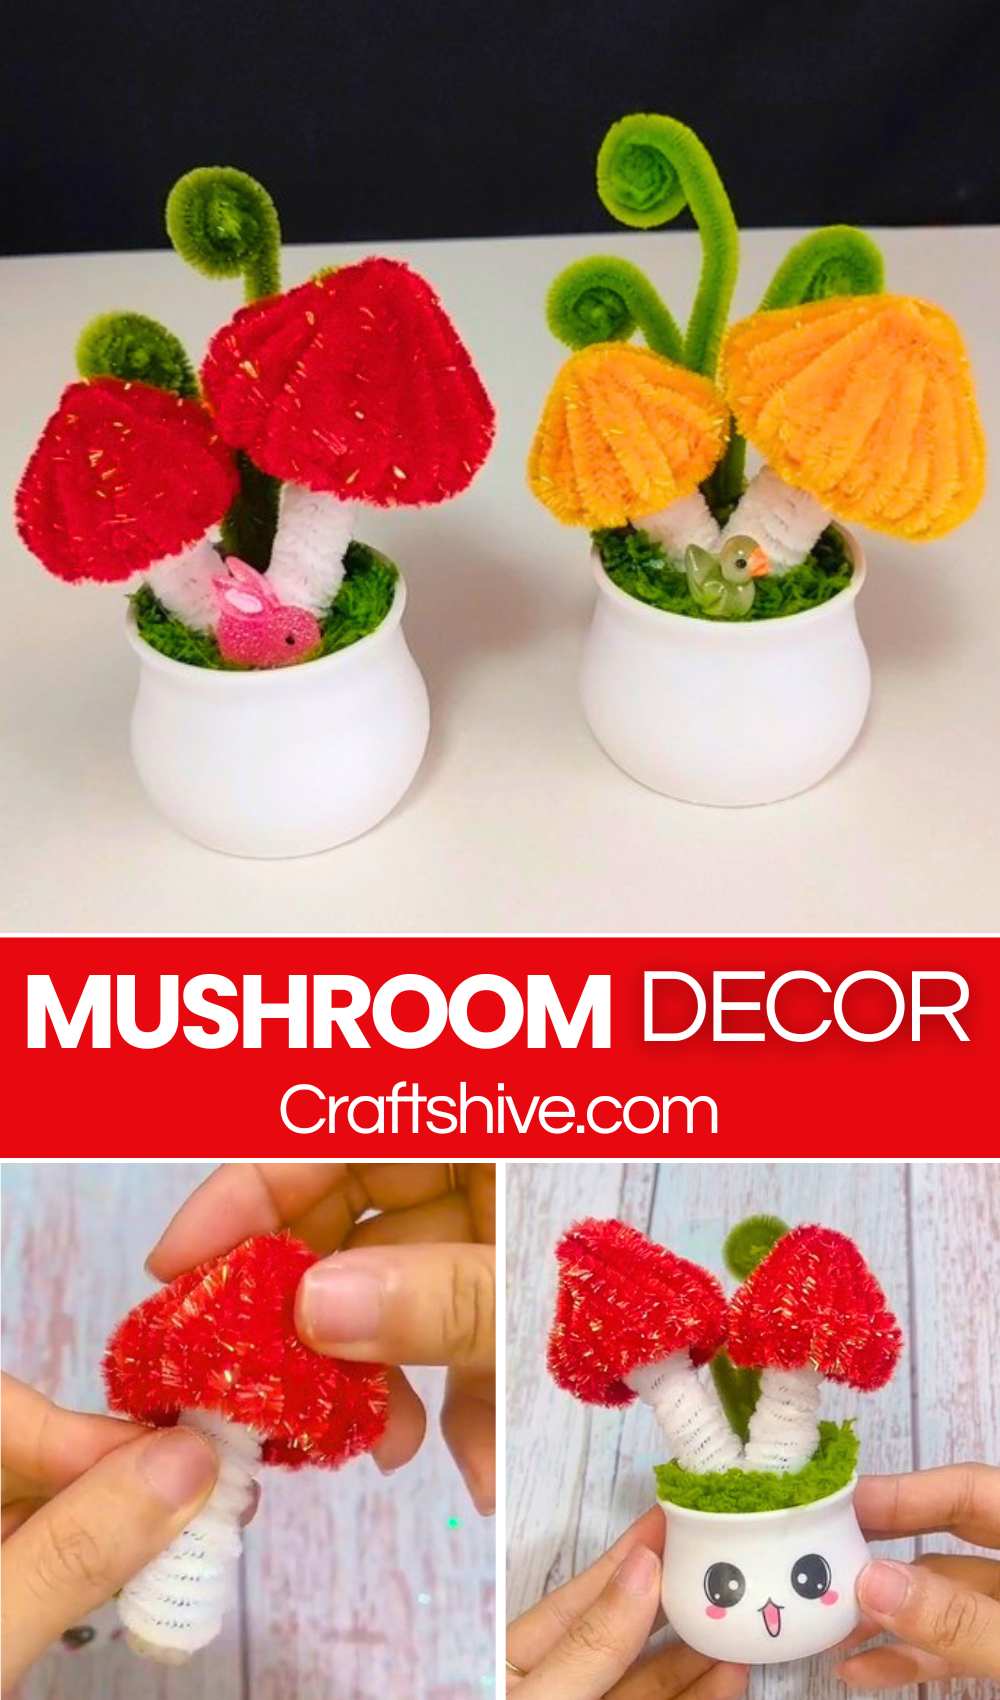
Learn how to DIY an elegant and lifelike mini pipe cleaner potted mushroom for both fall & Christmas decoration with this step-by-step tutorial. I have already shared tens of pipe cleaner potted plant projects, but this mushroom pot with the kawaii face is both easy and quick. You can also sell this mushroom plant at craft fairs because you can make it cheaply.
It features 2 different-sized chenille stem mushrooms in a kawaii face plastic pot with faux moss. You can make a red, yellow, or orange variant of this mushroom plushie.
With the use of the metallic pipe cleaners, you will also end up with a shiny potted mushroom decoration. You can also keep your little toy rabbit to make this DIY pot more lively and CUTE. Now, continue reading to get both the video tutorial and the written instructions in this guide.
Pipe Cleaner Potted Mushroom Plant
[ez-toc]

Pipe Cleaner Mushroom Tutorial
The mushrooms will be made with tightly packed pipe cleaner loops that are shaped into cones, then attached to thick wrapped stems. Make one large cap and one smaller cap for a natural-looking arrangement.
Materials
- Red, orange, or yellow pipe cleaners (for the caps)
- Cream or white pipe cleaners (for the stems)
- Scissors
- Hot glue gun
- Small flower pot
- Floral foam
- Artificial moss
- Decorative miniatures (optional)
Pipe Cleaners?
I recommend using the sparkle, aka tinsile, pipe cleaners for an elegant pumpkin room decoration!
Uses
- Home Décor
- Fairy Garden Decoration
- Room Decoration
- Seasonal Décor
- Table Centerpiece
- Handmade Gift
- Office Desk Ornament
- Photography Prop
- Craft Fair Item
Part 1: Make the Mushroom Cap
Step 1: Create the Anchor
- Take one red pipe cleaner.
- Pinch about 0.5 cm at one end to form a small V.
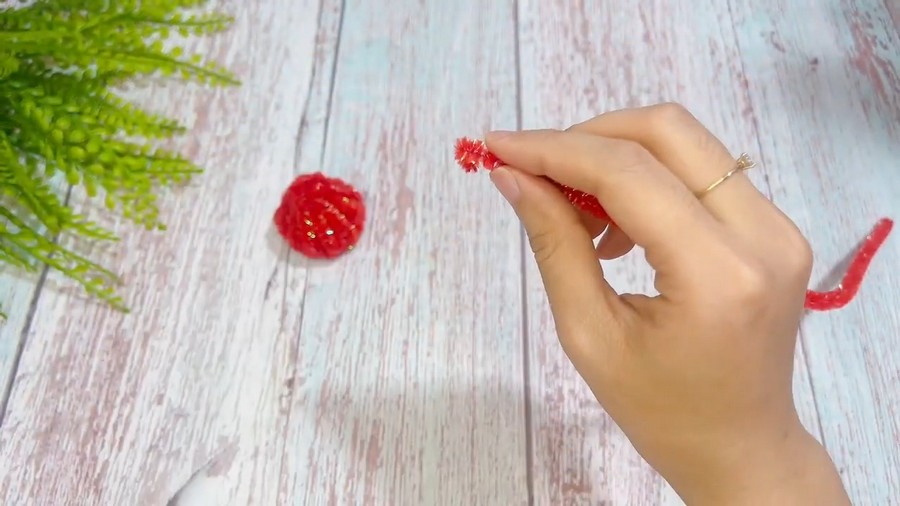
- Take a second pipe cleaner and hook the V around it, leaving about 3 cm extending past the joint.
- Pinch the V tightly closed so the two pipe cleaners form an L shape.
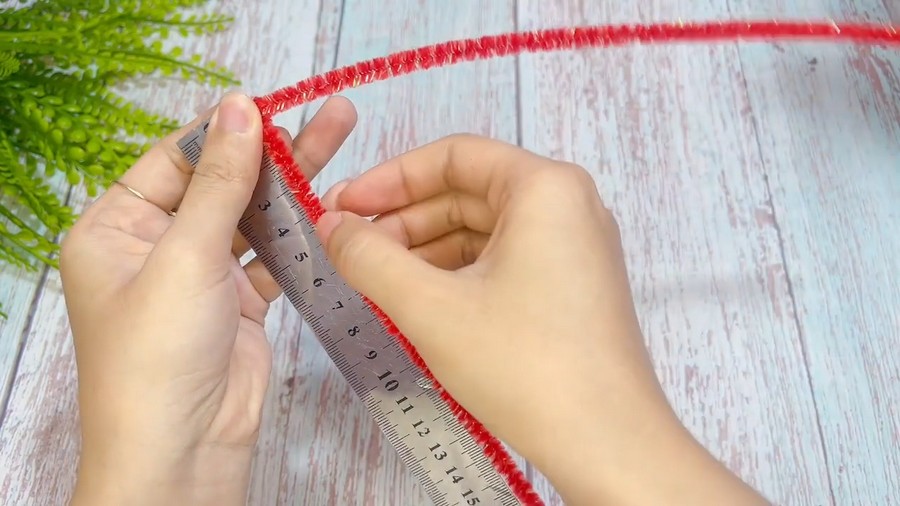
Step 2: Make the First Loop
- Measure about 4 cm along the horizontal pipe cleaner.
- Bend the remaining length upward and back toward the starting point to form a loop.
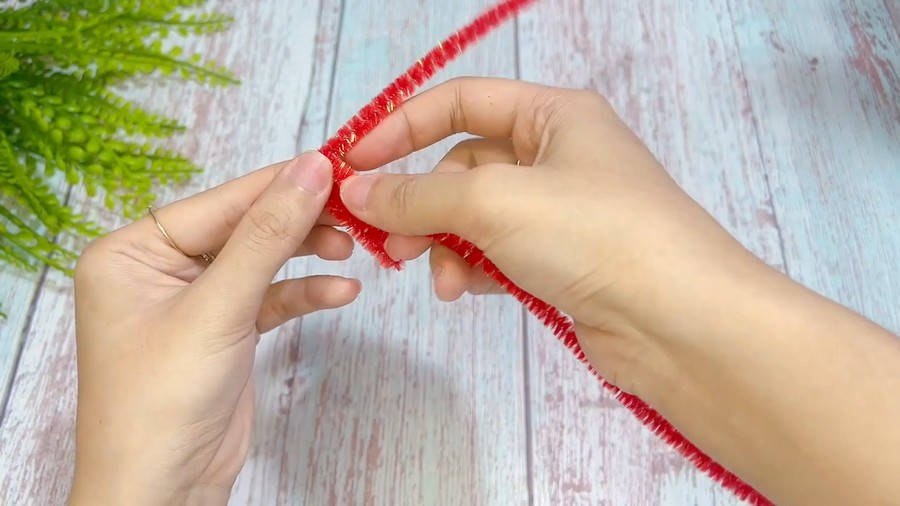
- Twist the pipe cleaner around the base once to secure it.
Step 3: Continue the Loops
- Make another loop the same size.
- Twist once to secure.
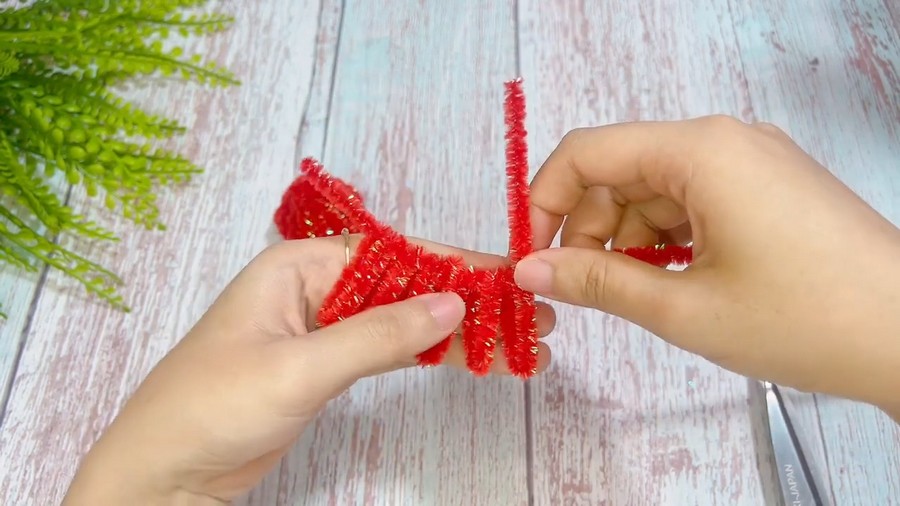
- Repeat until you have four tightly packed, closed loops.
- Trim the remaining 0.5 cm of excess pipe cleaner.
Keep all of the loops compressed instead of leaving them open.
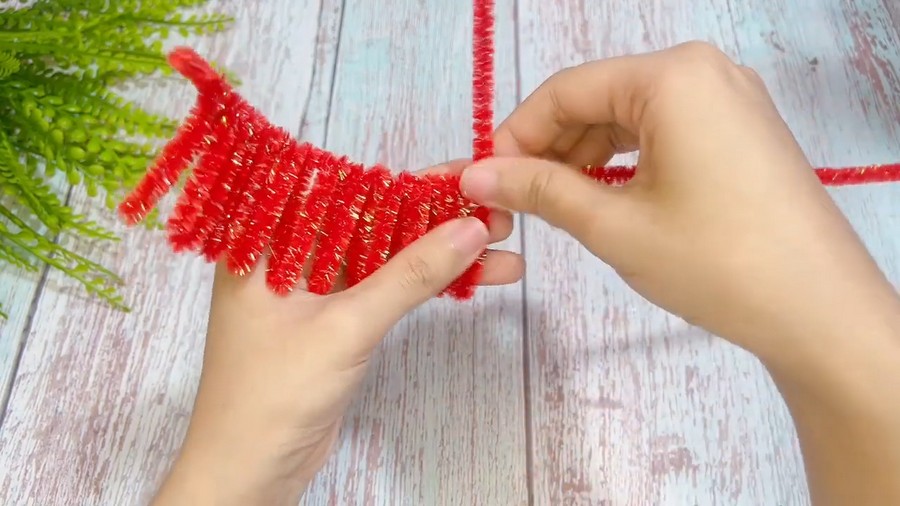
Step 4: Extend the Strip
- Attach another pipe cleaner to continue the pattern.
- Keep making tightly packed loops.
- Continue until the strip measures approximately 11 cm long.
Step 5: Close the Strip
- Thread another pipe cleaner through the opposite side of all the loops.
- Bring the two ends of the strip together.
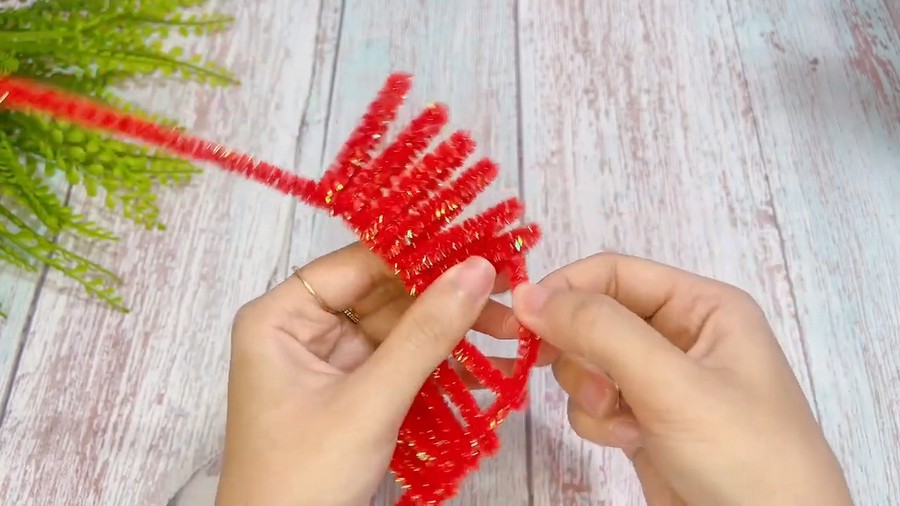
- Twist the ends securely to form a continuous ring.
Step 6: Shape the Cap
- Pull the top threaded pipe cleaner upward.
- Push the looped strip inward so it curves naturally.
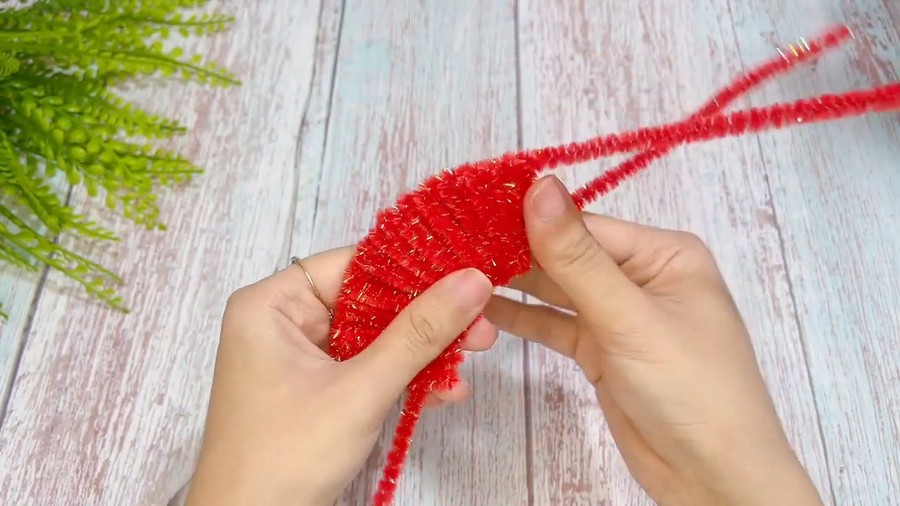
- Bring the edges together to form a cone.
- Twist the top pipe cleaner to secure the point of the cone.
- Trim any excess pipe cleaner.
- Twist the bottom ends together and trim off the excess.
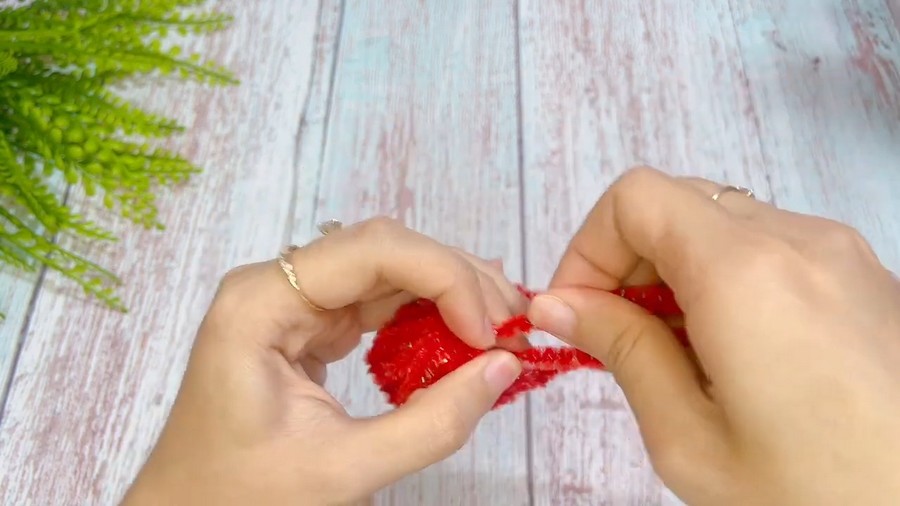
Your large mushroom cap is now complete.
Are you a Beginner?
Better learn the cap-making of these mushroom plants and the branch-making by following this step-by-step tutorial:
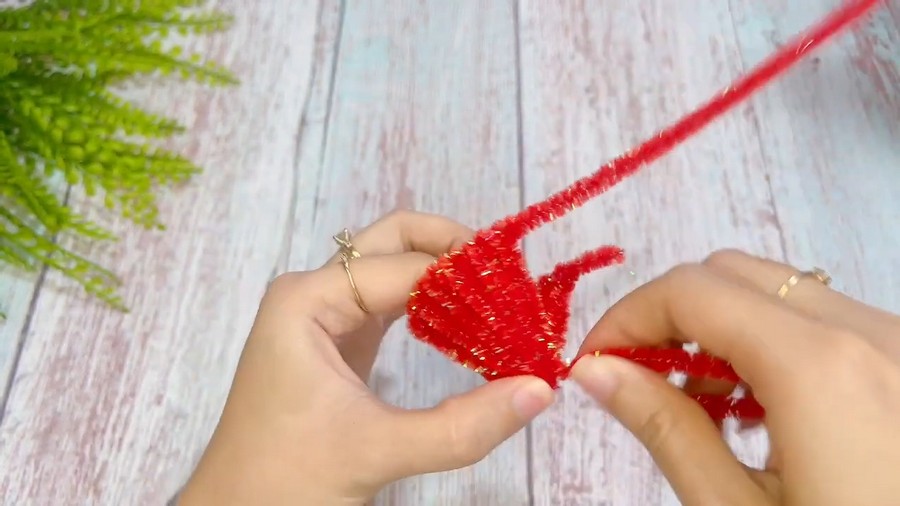
Step 7: Make the Smaller Cap
Repeat the entire process, but make each loop approximately 3 cm tall instead of 4 cm. This creates a smaller mushroom cap that pairs nicely with the larger one.
Part 2: Make the Stem
Step 1: Form the Stem Core
- Take two cream-colored pipe cleaners and place them together.
- Measure roughly the length of your finger.
- Fold them in half.
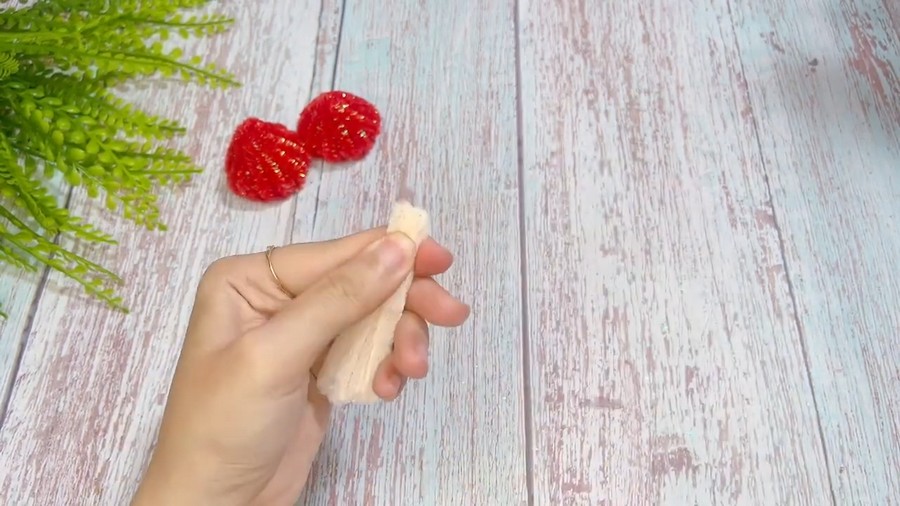
- Continue folding the doubled pipe cleaners until they become too thick to fold any further.
- Fold the remaining short end neatly against the stem.
This creates a sturdy stem core.
Step 2: Wrap the Stem
- Starting at the bottom, wrap a white pipe cleaner tightly around the stem.
- Continue wrapping upward until the entire stem is covered.
- You will need approximately 2 to 2½ white pipe cleaners for each stem.
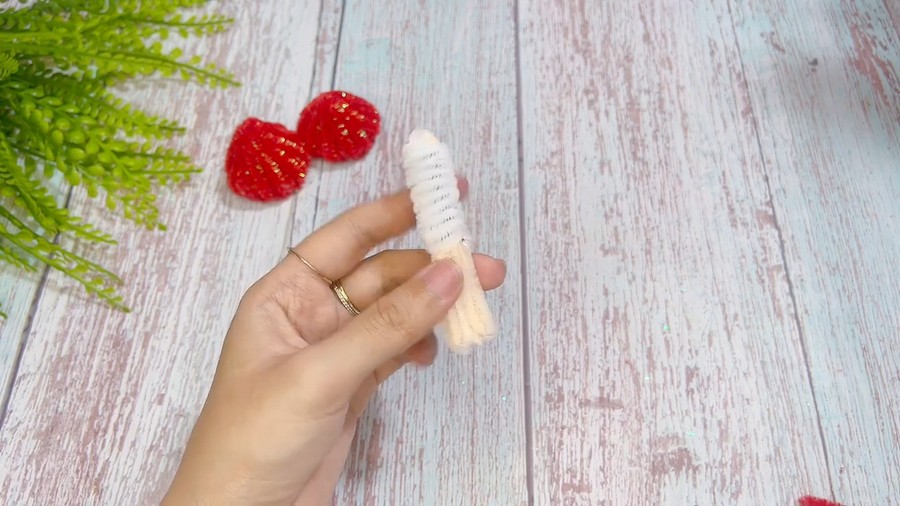
- Secure the end by tucking or twisting it into the wrapping.
Repeat these steps to make a second stem.
Part 3: Assemble the Mushrooms
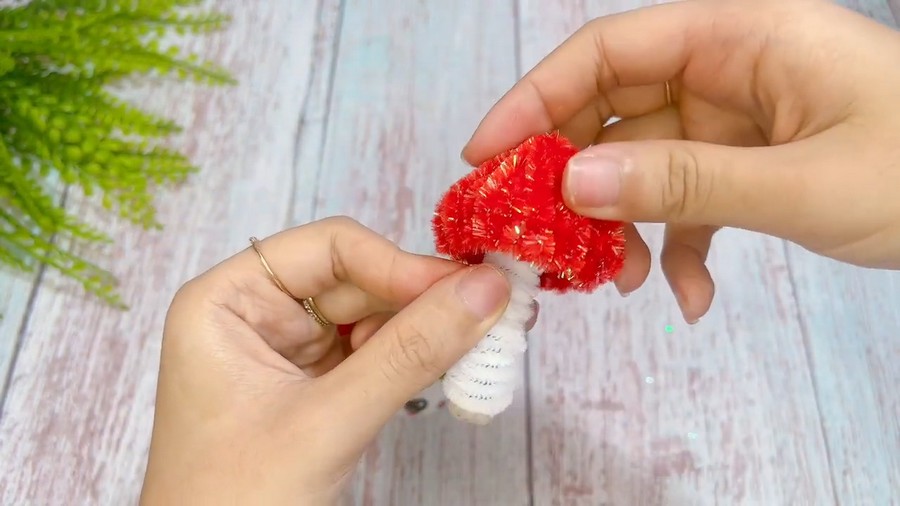
- Apply hot glue to the top of each stem.
- Insert each stem into the center of a mushroom cap.
- Hold in place until the glue sets completely.
Part 4: Arrange the Pot
- Fill a small flower pot with floral foam.
- Insert the completed mushrooms into the foam, placing them at slightly different heights for a natural appearance.
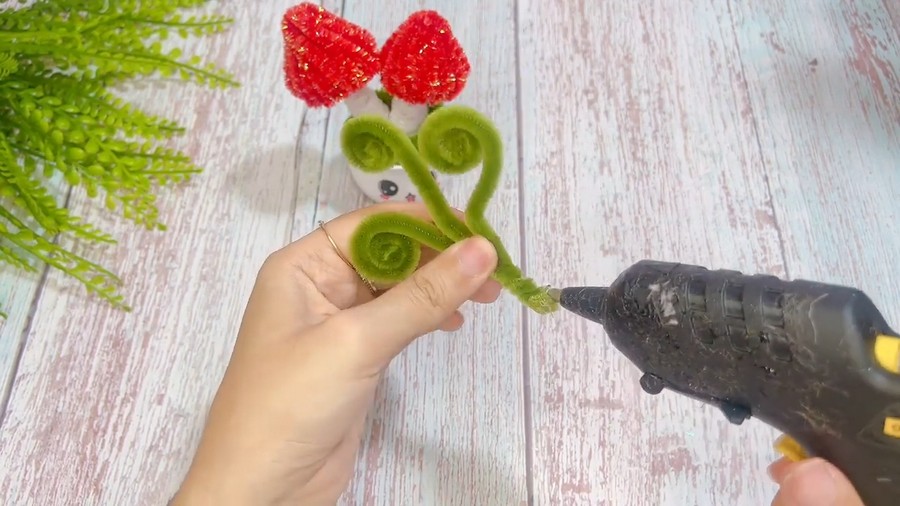
- Cover the foam with artificial moss.
- Add miniature decorations such as a bunny, bird, or other woodland accents if desired.
- Adjust the mushroom caps so they lean gently in different directions for a whimsical, finished look.
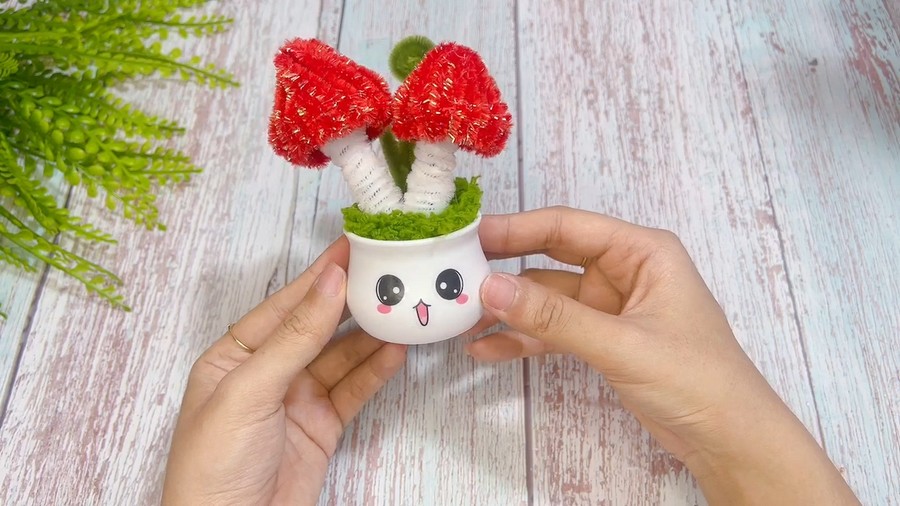
Your decorative pipe cleaner mushroom arrangement is now complete and ready to display.