
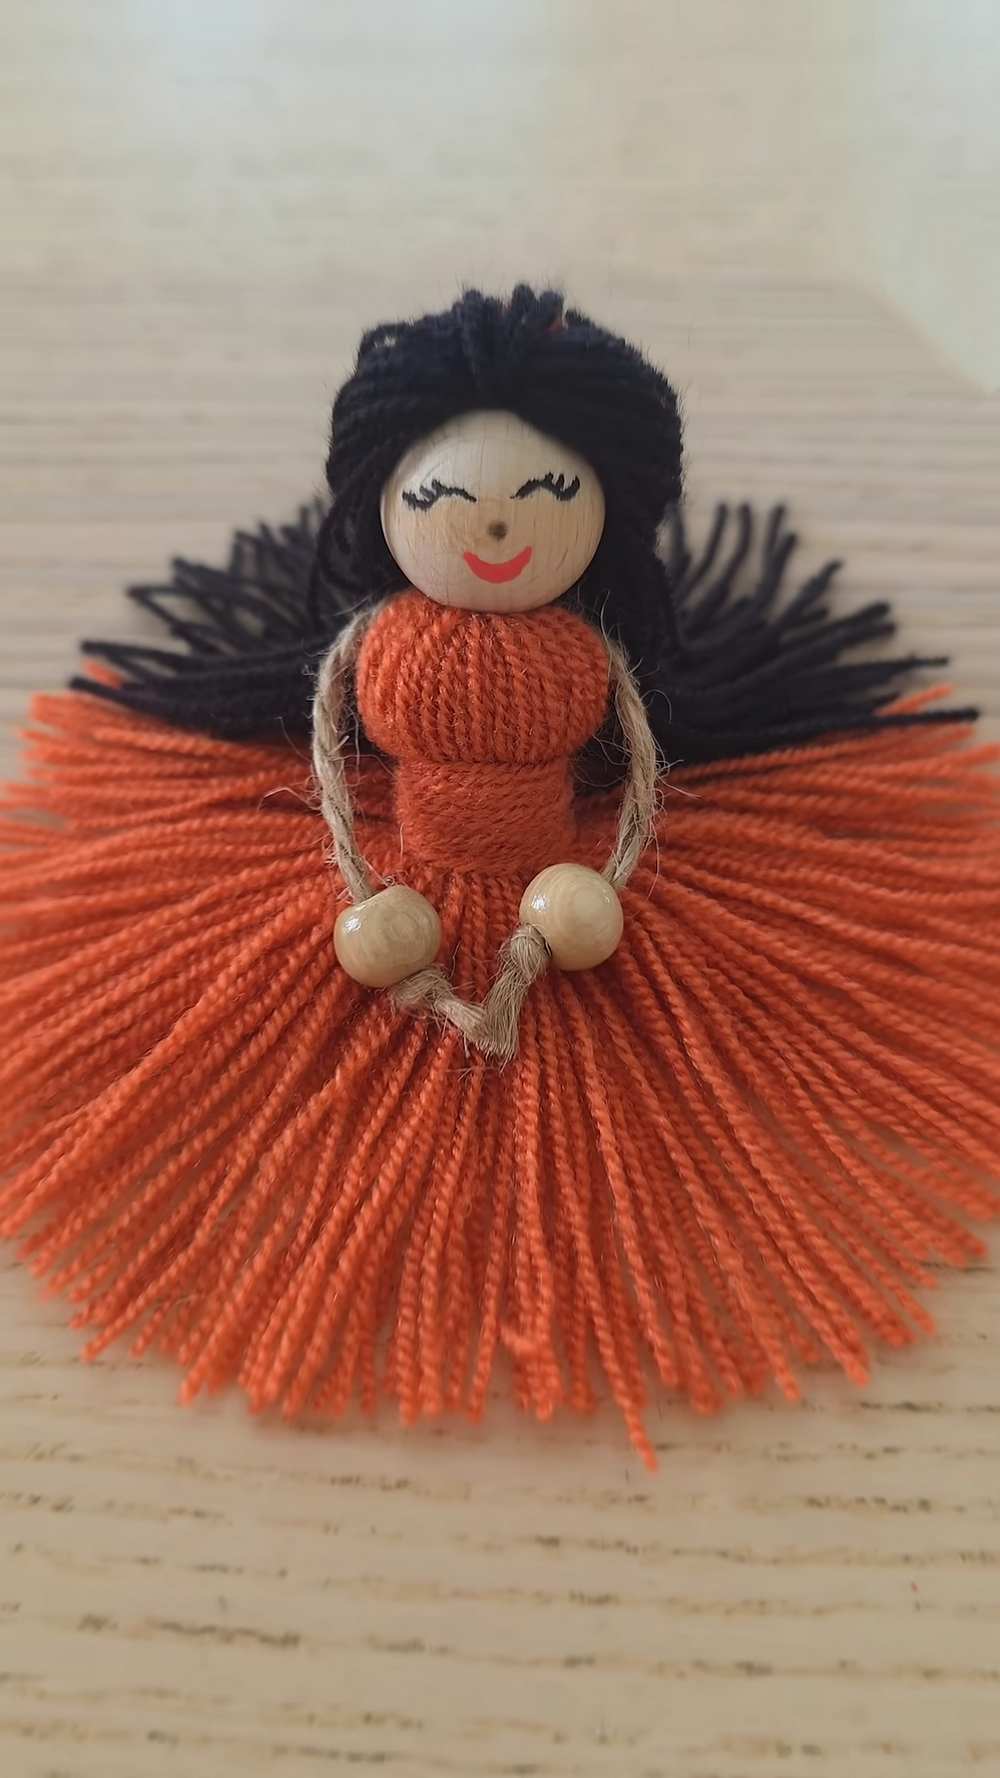
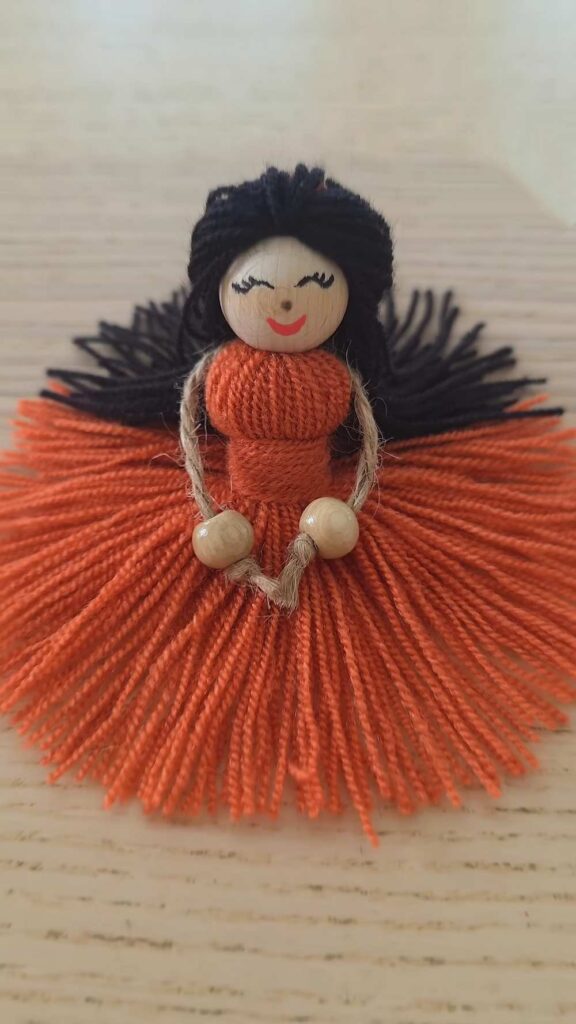
For this year’s fall festivals, if you are looking to DIY a CUTE yarn plushie especially for little girls instead of spooky ones, today’s yarn craft is for you. Learn how to DIY this CUTE dressed autumn yarn doll using some thin yarn, wooden spacer beads, and some twine cord. This yarn plushie doll, which you can use as a hanging for your fall bag or your window, has long hair and a flowy yarn tassel dress.
The hands of this orange doll are also made with spacer beads, just like the head. You can draw any face you like on your head bead, but the one with long eyelashes (no eyes), a red smile, and a dotted look really looks cute.
With the help of a glue gun, you can put this yarn doll together in less than 10 minutes and also customize it for Christmas (hang as a lovey ornament). Below I have provided both the video tutorial and a written guide, so you can learn the wrapping count and measurements of cuts to craft this DIY dressed doll super easily!
[ez-toc]
Tutorial to Make A Fall Girl Doll Plushie out of Yarn
Making these cute yarn dolls is a fun and easy craft project. You only need a few things like yarn, wooden beads, glue, and scissors. You start by wrapping yarn around your hand to make the body and dress. Then, you tie it and cut it to look like a tassel.
You add a wooden bead on top to be the head. Next, you use a different color of yarn to make the hair. You can use string and small beads to make the arms. Finally, you draw a face on the bead. It is a very simple way to make a toy.
How to Make a Yarn Doll
What You Need:
-
Orange yarn (for the dress)
-
Black yarn (for the hair)
-
One large wooden bead (for the head)
-
Two tiny wooden beads (for the hands)
-
A piece of thin rope or twine (for the arms)
-
Scissors
-
Glue gun
-
A comb
-
Black and red markers
Video Tutorial!
Step-by-Step Instructions
Step 1: Make the Dress
-
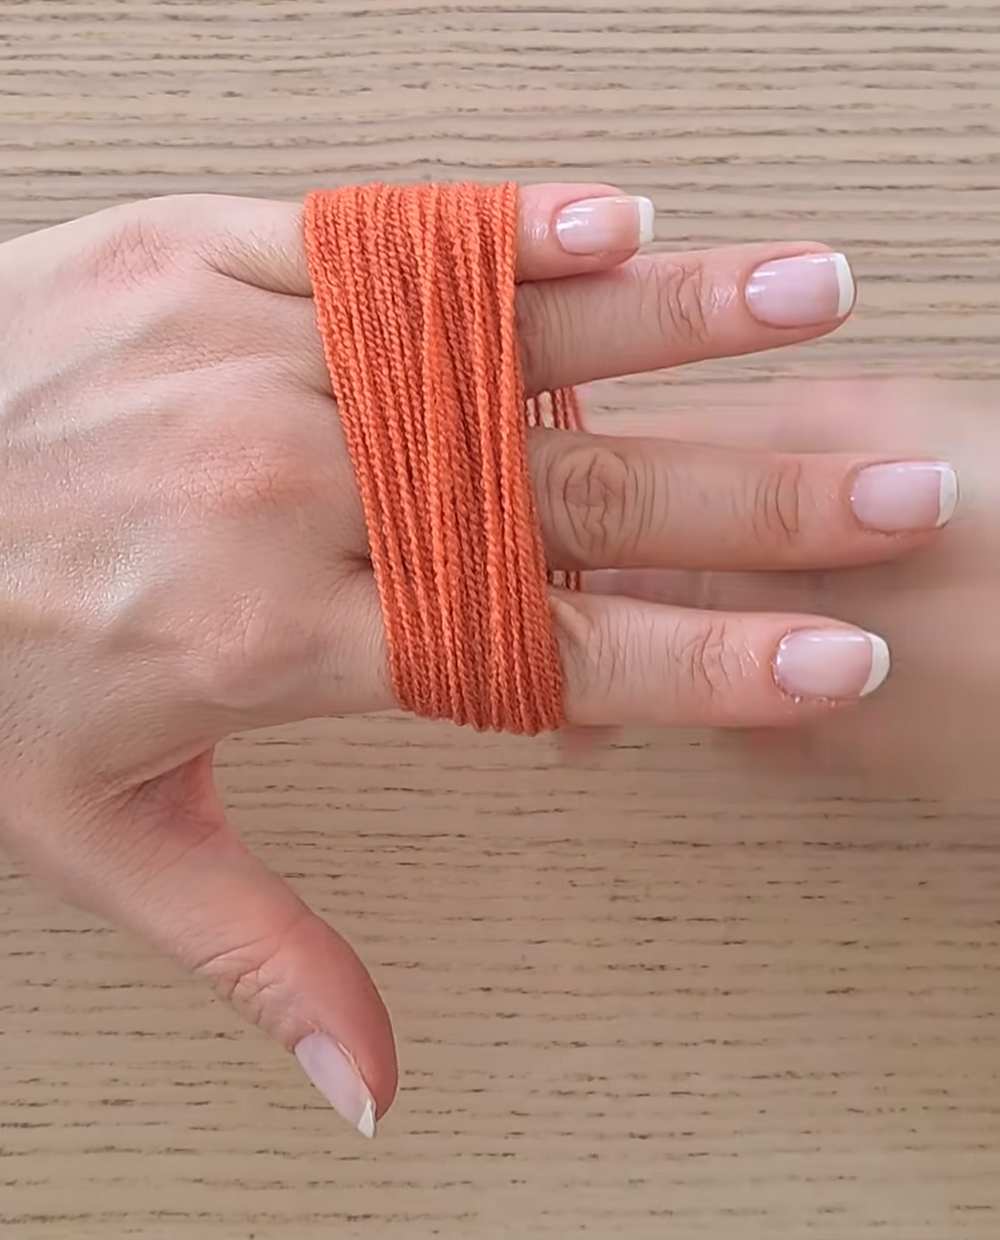
Wrap the orange yarn around three or four of your fingers many times (about 30 to 40 times) to make a thick bunch.
-
Carefully slide the yarn off your fingers.
-
Tie a small piece of orange yarn through the top of the loop and knot it tightly.
-
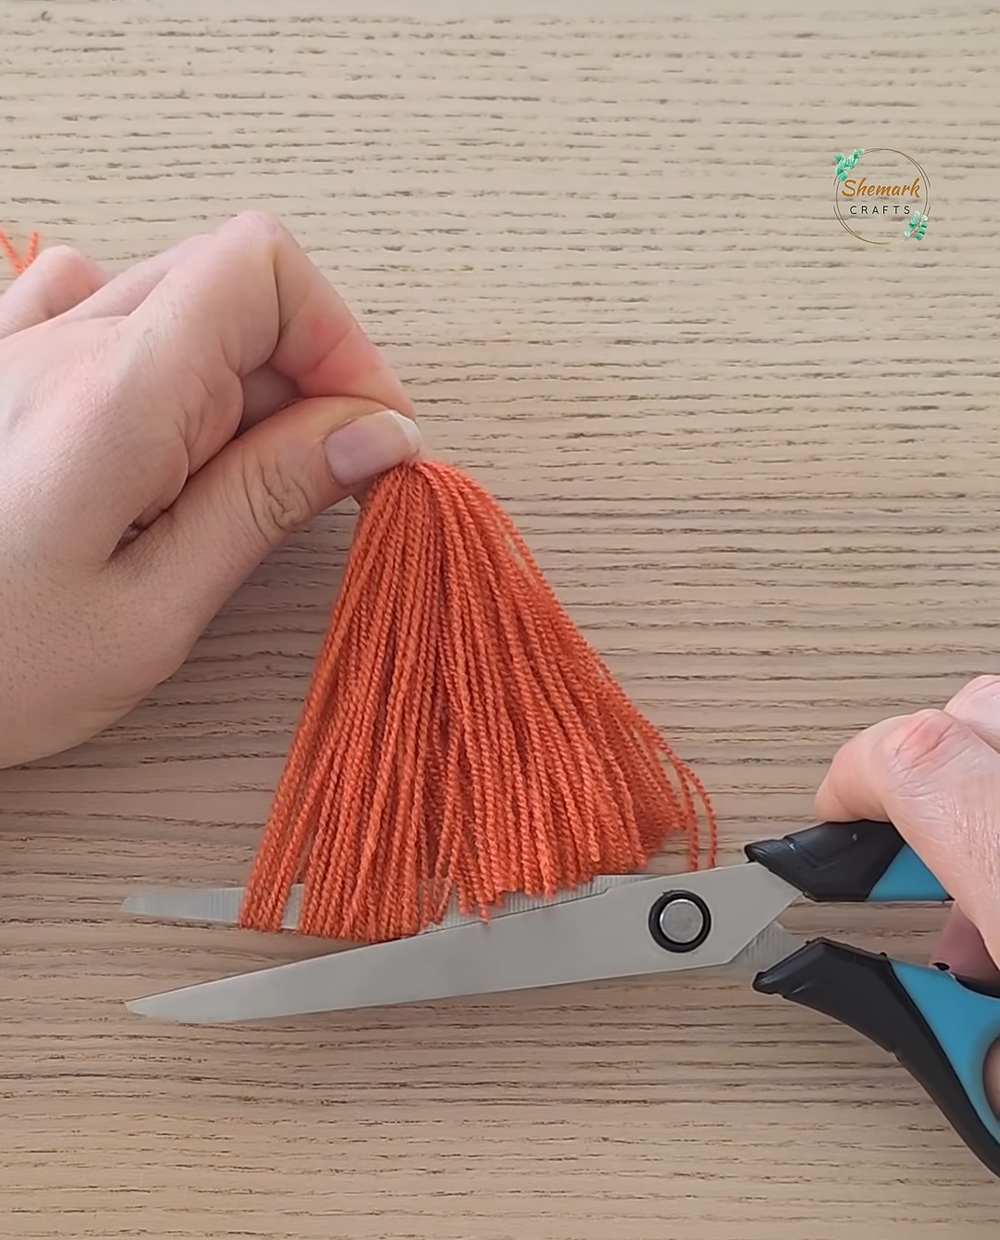
Use your scissors to cut the loops at the very bottom so the yarn hangs down like a skirt.
-
Tie another piece of yarn about an inch below the top knot. This creates a small “ball” shape for the doll’s chest and makes the dress look full.
Step 2: Add the Head
-
Take your large wooden bead.
-
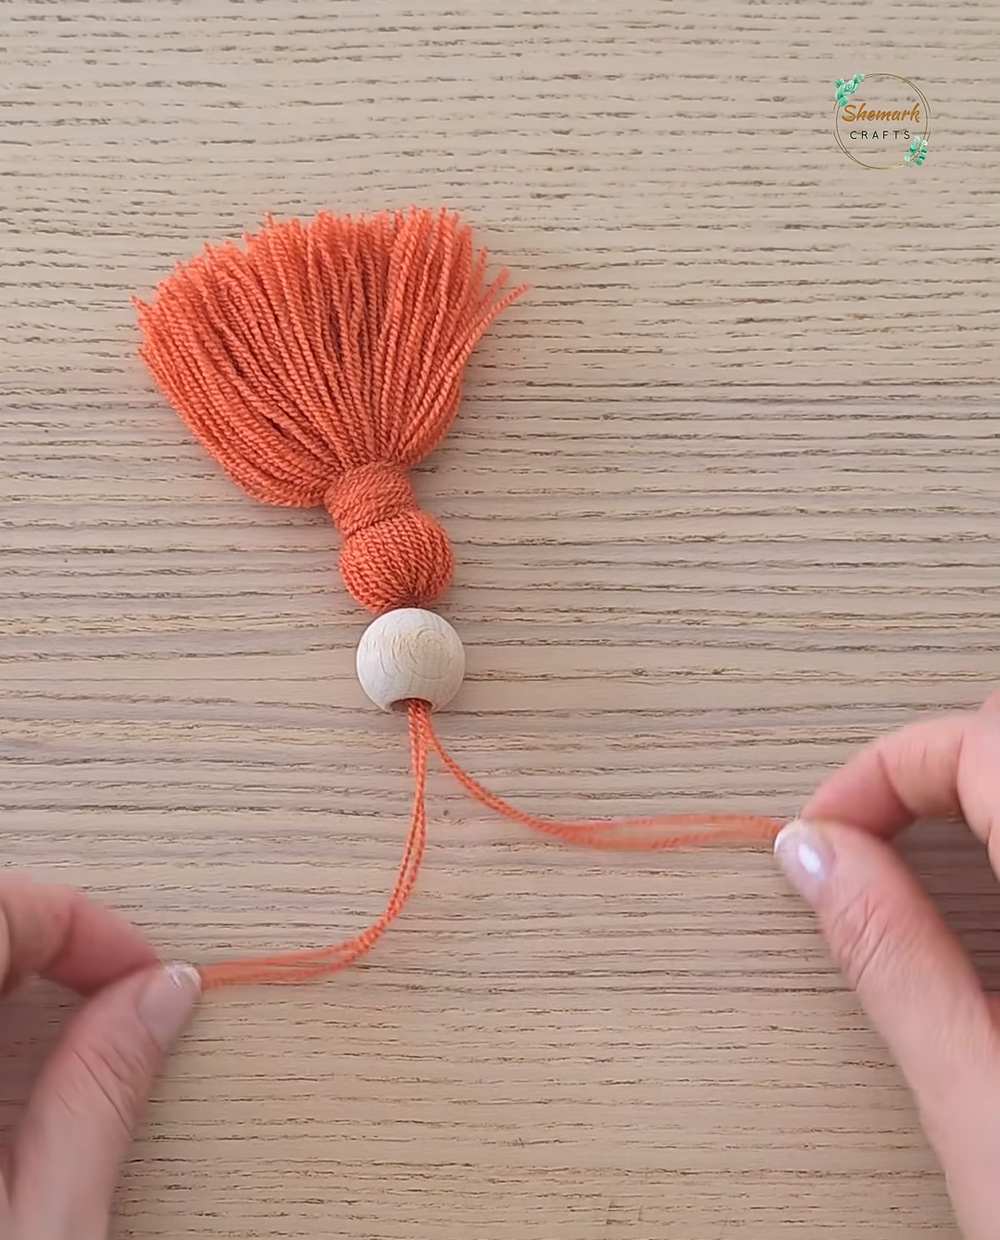
Thread the ends of the yarn from the top of the dress through the hole in the bead.
-
Pull it tight so the bead sits right on top of the dress and tie a knot.
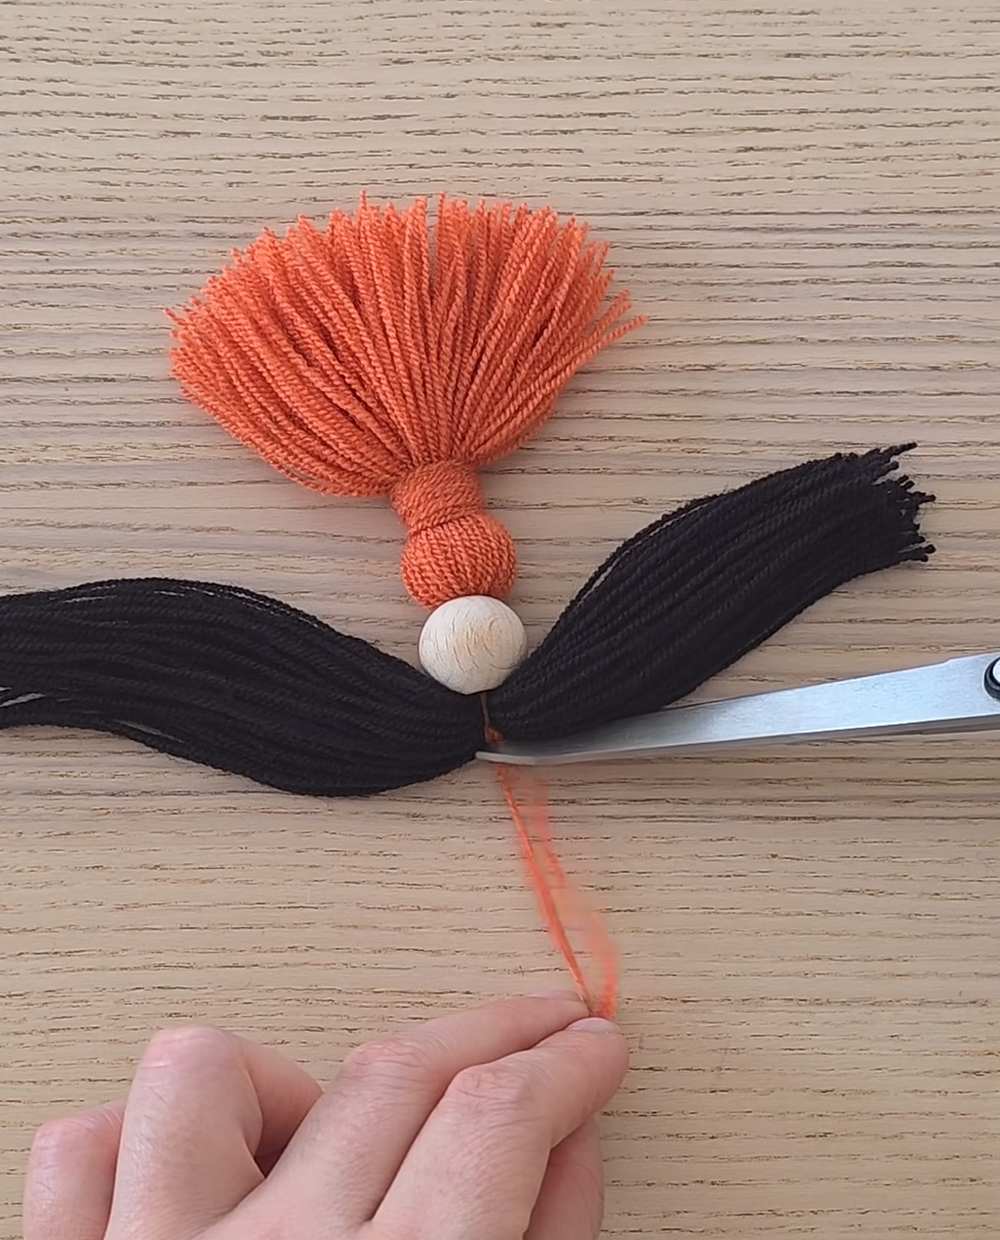
Step 3: Make the Hair
-
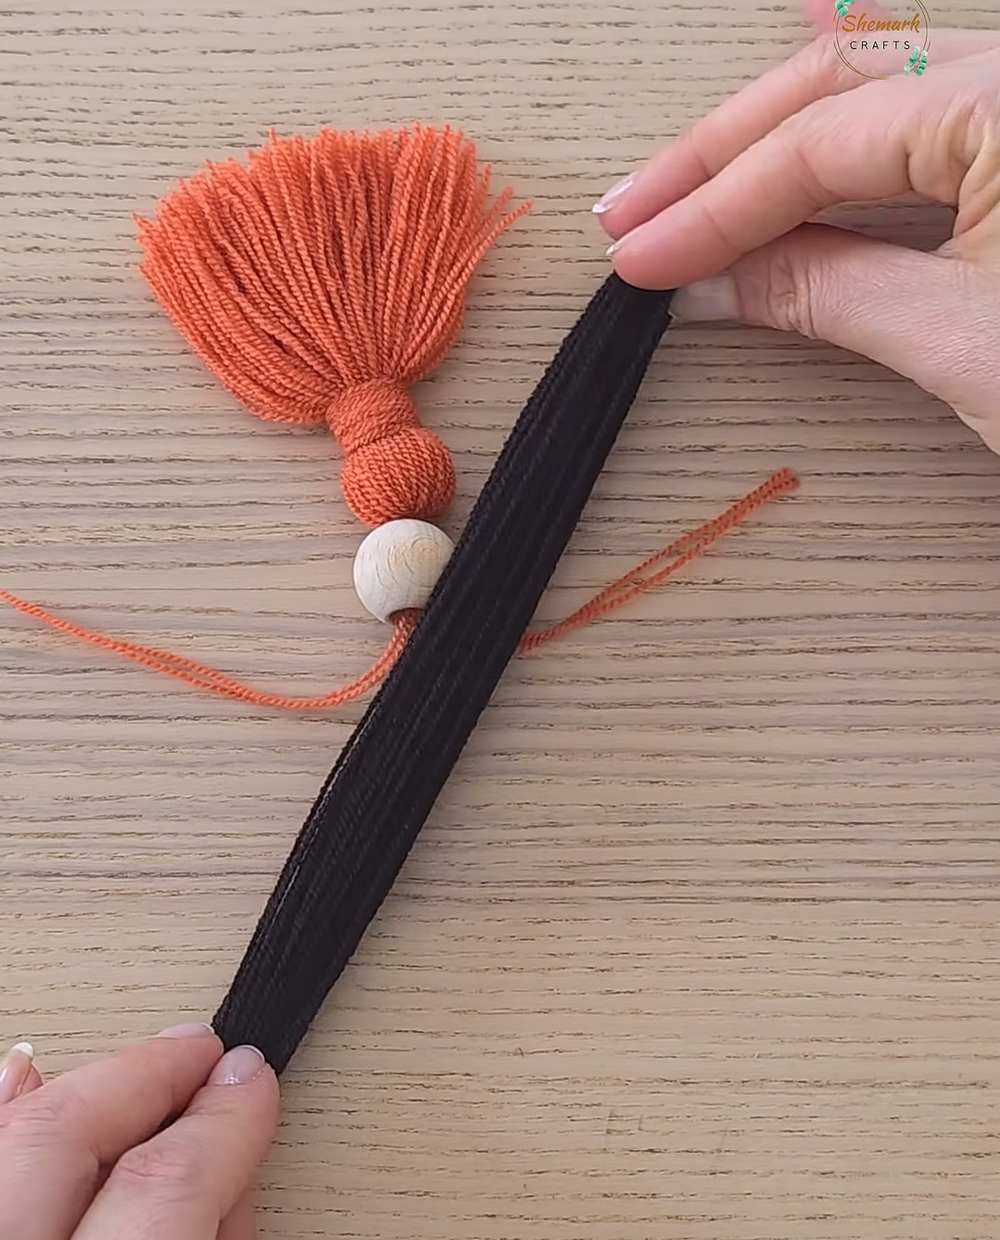
Wrap the black yarn in a loop several times.
-
Lay the black yarn across the top of the wooden bead.
-
Tie it down in the middle with a piece of orange or black yarn
-
Use a comb to brush the black yarn so it spreads out smoothly around the head.
-
You can use a little bit of glue to keep the hair in place.
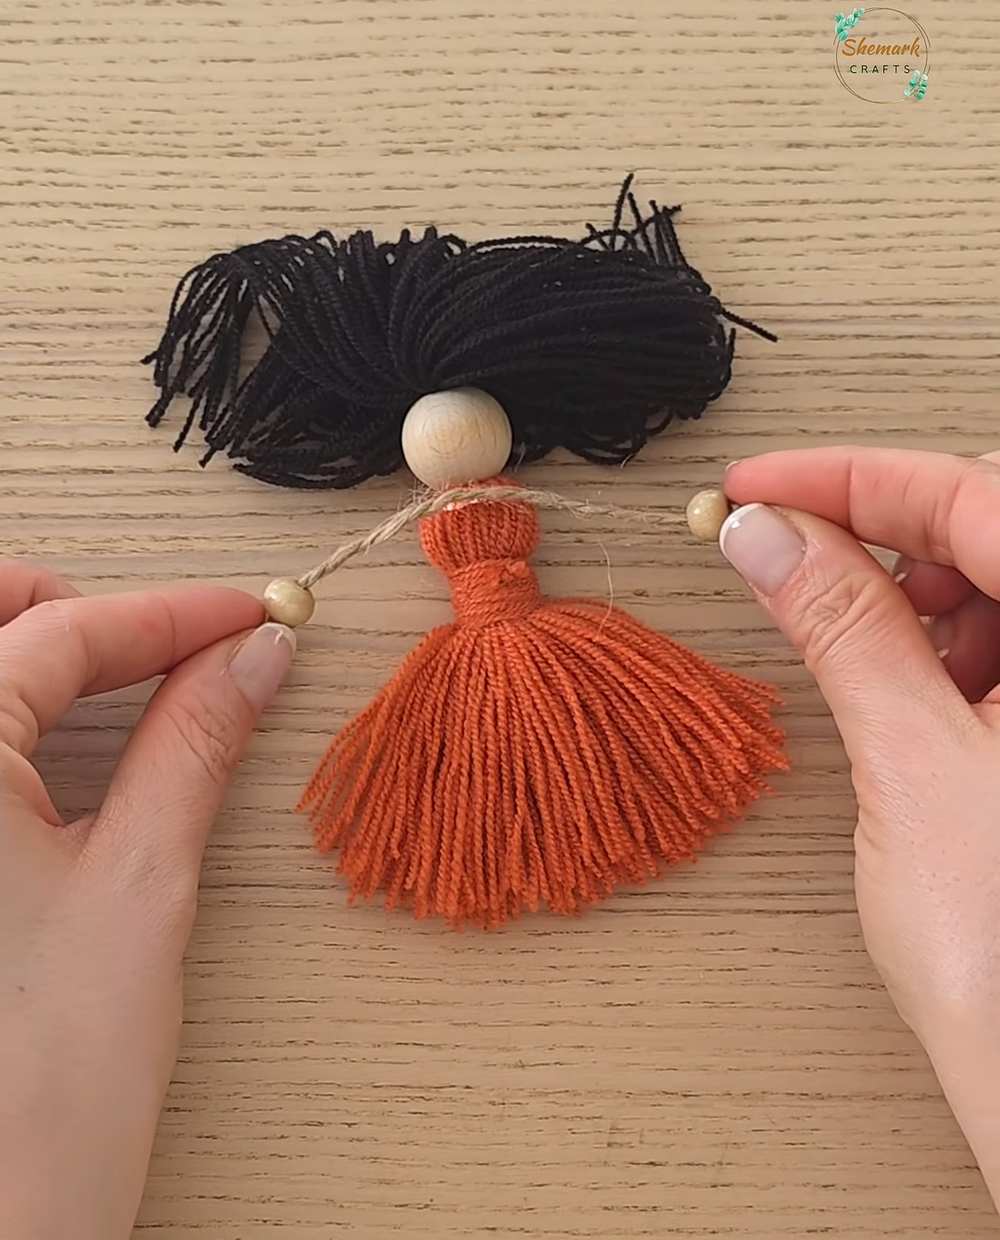
Step 4: Make the Arms
-
Cut a short piece of thin rope or twine.
-
Slide a tiny wooden bead onto each end of the rope and tie a knot so they stay on. These are the hands.
-
Wrap the rope around the doll’s “neck” (the area between the head and the dress) and glue it in place.
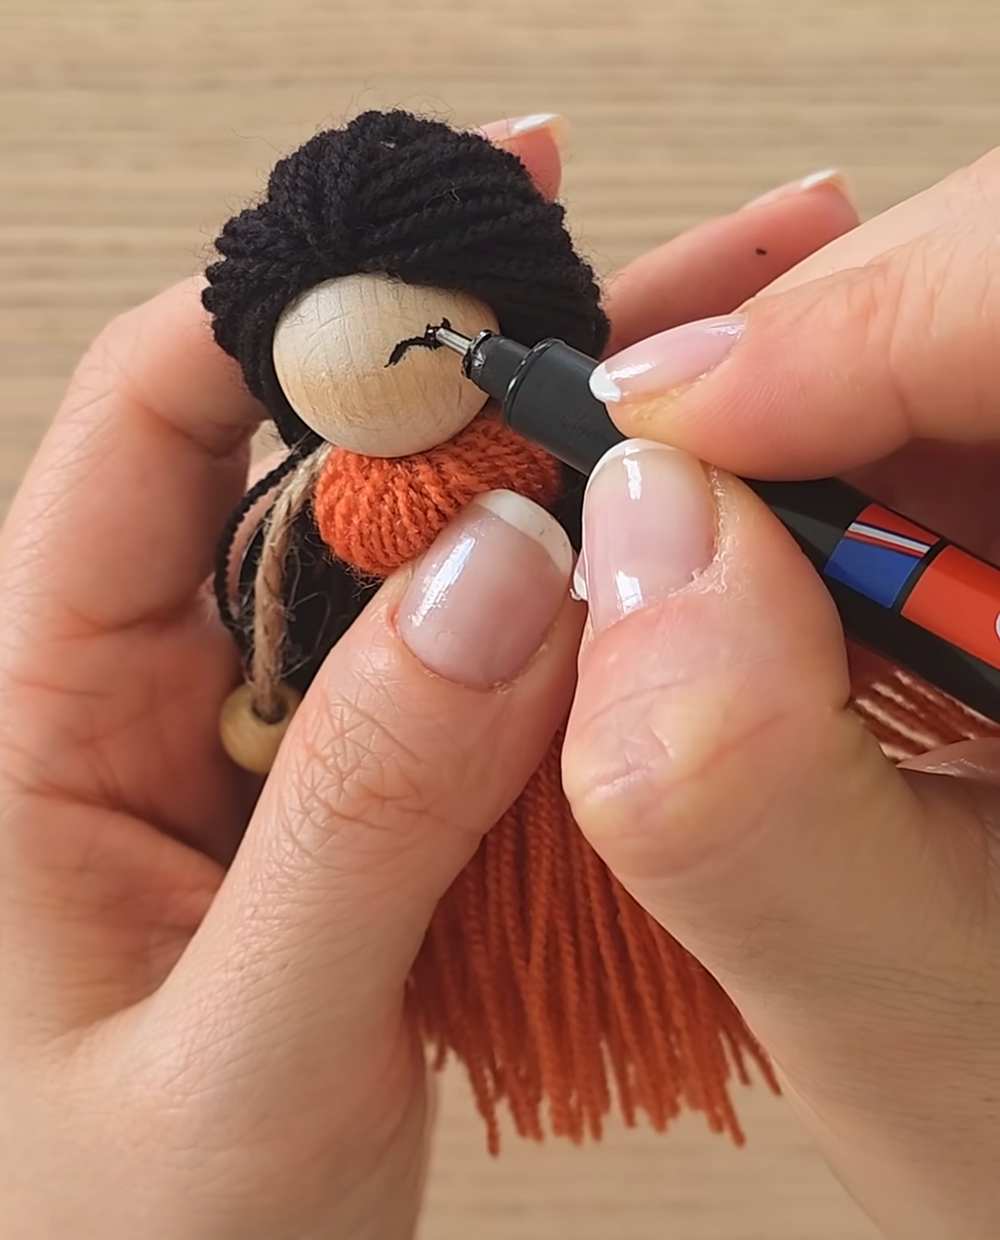
Step 5: Draw the Face
-
Use your black marker to draw two small curved lines for eyes and some eyelashes.
-
Use the red marker to draw a small, happy smile.
-
Your yarn doll is now finished!
About "Shemcrafts"
She is an incredible pom, pipe cleaner and yarn craft!