
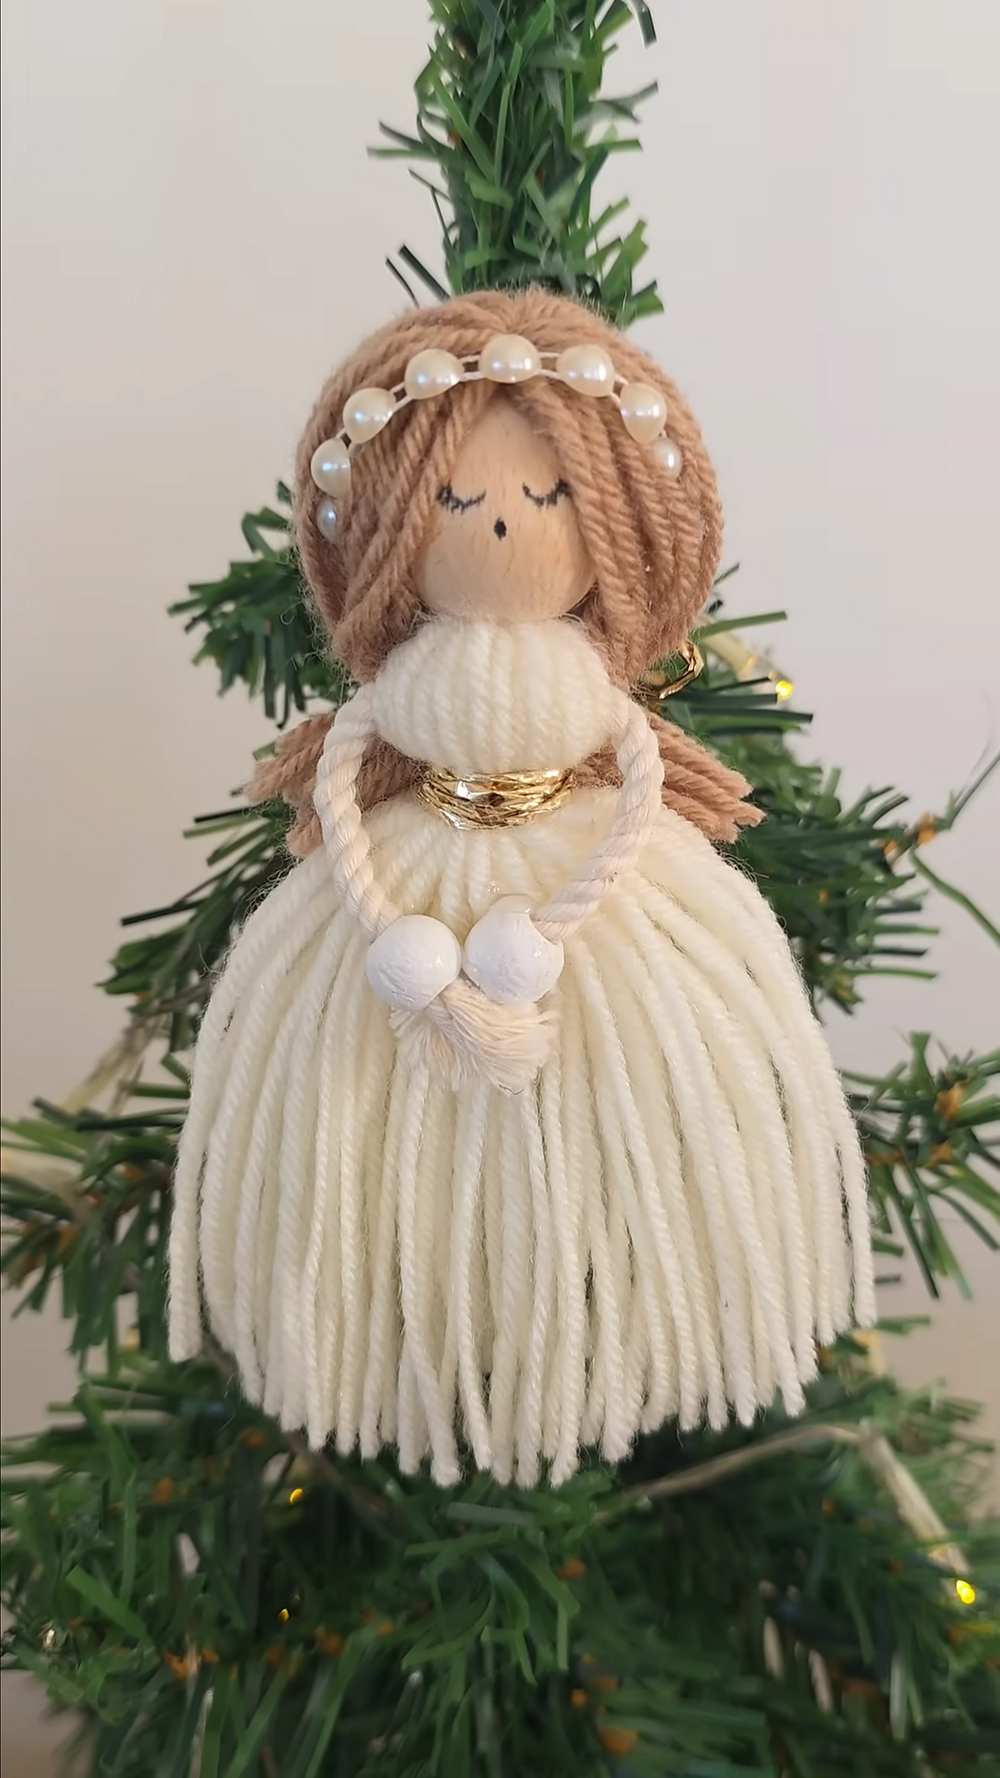
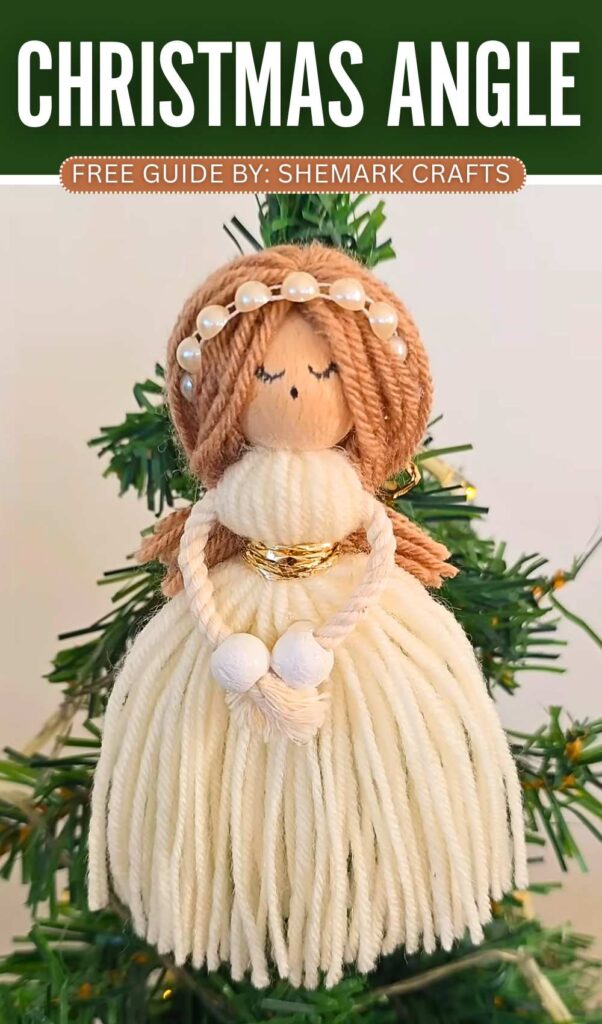
This Christmas, decorate your Christmas tree with this elegant no-knit yarn angel plushie with a CUTE praying pose and face drawn onto a wooden spacer bead. This is a no-trim yarn angel plushie with long brown hair wearing a pearl headband and a gown dress, all made just by wrapping and knotting tassels!
You can attach it at the top of a small faux Christmas tree, and it will simply increase the charm.
The golden wire wrapped around the waist makes it even shinier as a Christmas ornament. So, be sure to craft one in 5 minutes today, following the guide below.
[ez-toc]
Tutorial to DIY A Yarn Wite Praying Angel Plushie
Making a yarn angel is a fun and easy craft. You use white yarn for the body and brown yarn for the hair. A wooden bead is used for the head.
You tie the yarn bundles together and pull them through the bead. You make arms using cord and small beads.
Then, you wrap gold wire around the middle to make a waist. You comb the hair and style it with a ponytail and pearl decorations. Finally, you draw a face and trim the dress. It is a cute ornament for a tree.
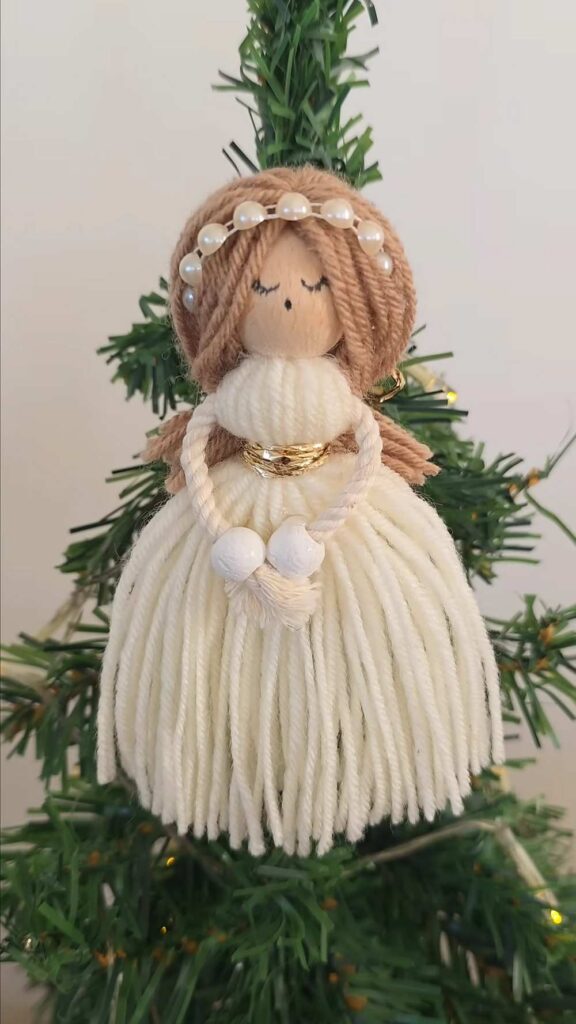
Materials You Will Need:
-
Off-white yarn (for the dress)
-
Light brown yarn (for the hair)
-
A large wooden bead (for the head)
-
A thin white cord (for the arms)
-
Two small white beads (for hands)
-
Gold wire or thread
-
Small pearl beads and a tiny gold bow
-
A comb
-
Hot glue gun
-
Black fine-tip marker
-
Scissors
Video Tutorial?
Detailed Step-by-Step Instructions:
Step 1: Prepare the Yarn Bundles
Cut a bunch of brown yarn and a bunch of white yarn into equal lengths. Tie a piece of white yarn tightly around the center of the brown bundle. This will be the hair.
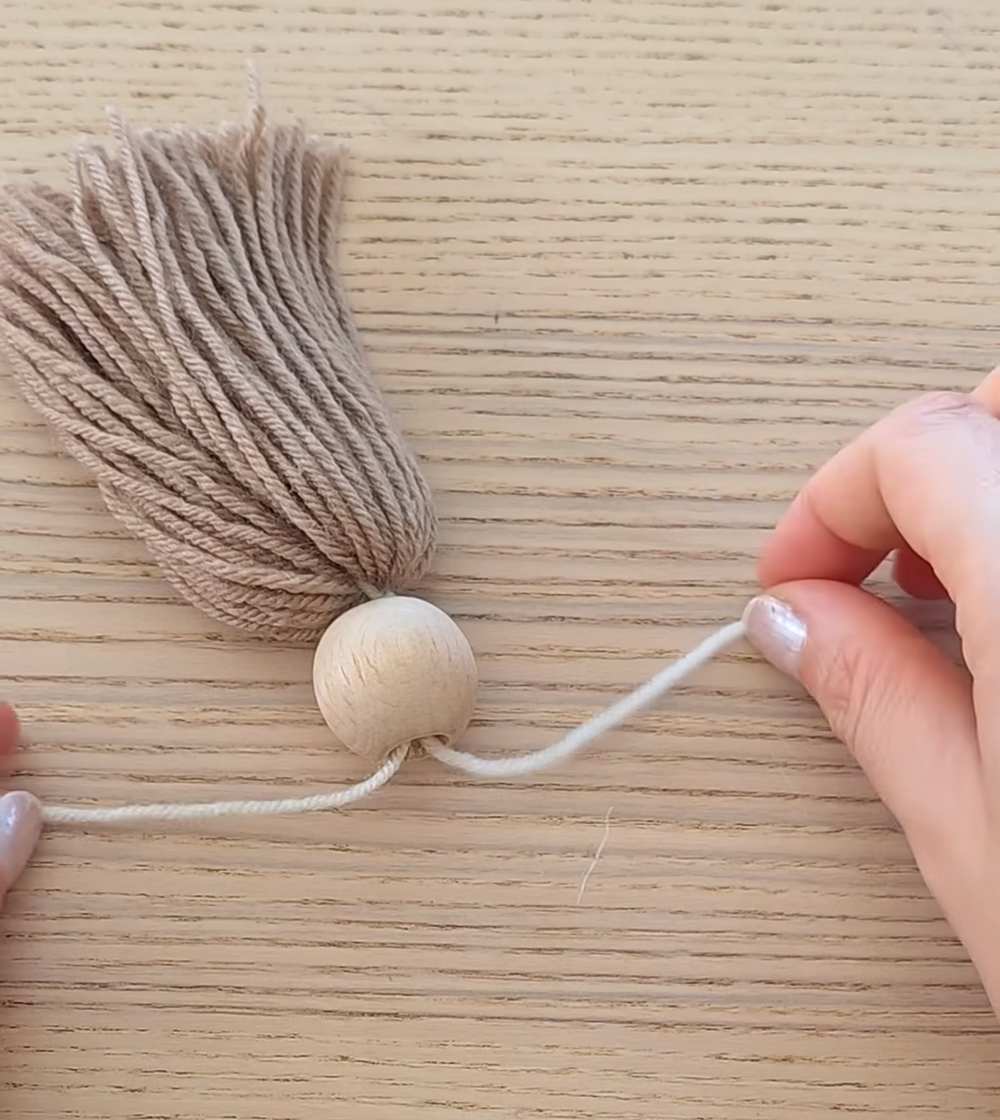
Step 2: Create the Head and Main Body
Take the ends of the white yarn that you used to tie the hair. Thread these ends through the hole of the large wooden bead. Pull it tight so the brown “hair” sits on top of the bead. Now, tie a large bundle of white yarn underneath the bead to create the angel’s body.
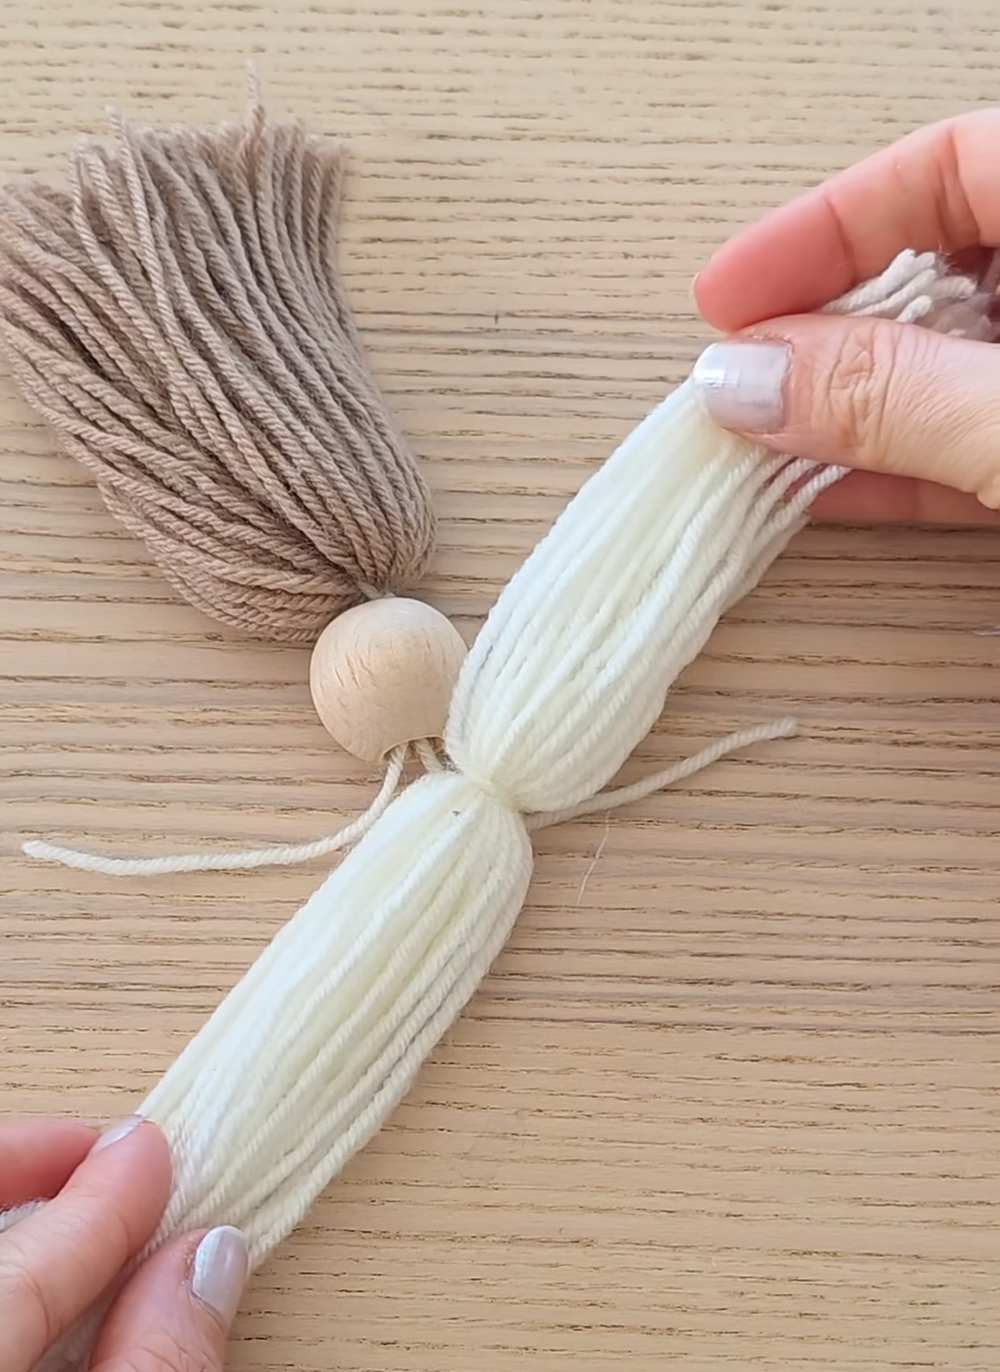
Step 3: Make the Arms
Take a piece of white cord. Slide one small white bead onto each end and tie a knot at the very tip to keep the beads from falling off. These beads are the hands.
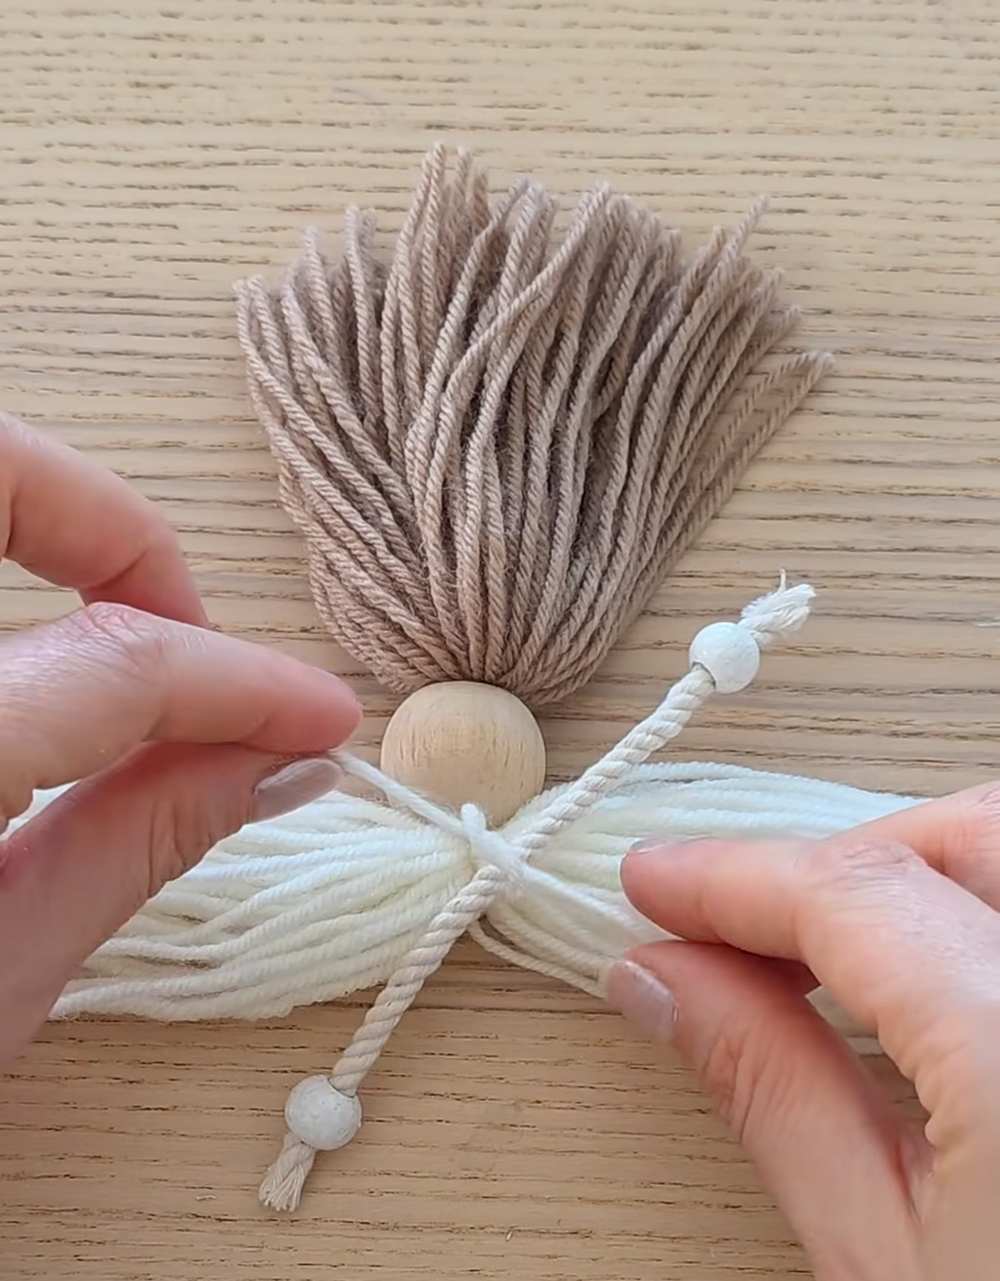
Step 4: Attach the Arms and Waist
Lay the arms across the white yarn just below the wooden bead. Fold the white yarn over the arms to hide the middle of the cord. Take your gold wire and wrap it several times around the white yarn (under the arms) to create a waist. Twist or tie the wire to secure it.
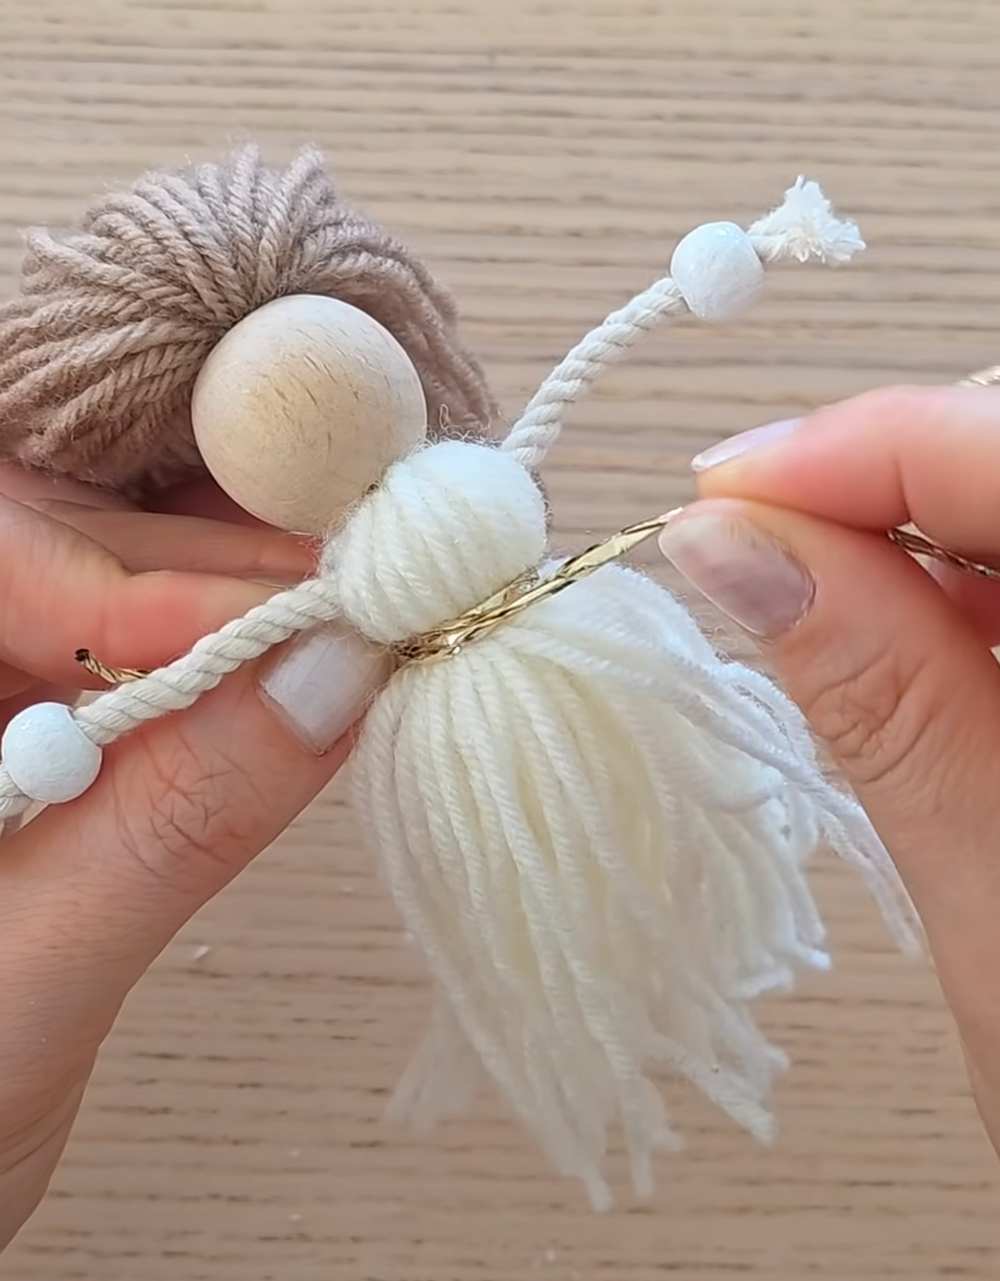
Step 5: Style the Hair
Use a comb to brush out the brown yarn so it looks smooth. Pull the hair back and tie a small section with a piece of brown yarn to make a ponytail. Use your scissors to trim the ponytail so it is neat.
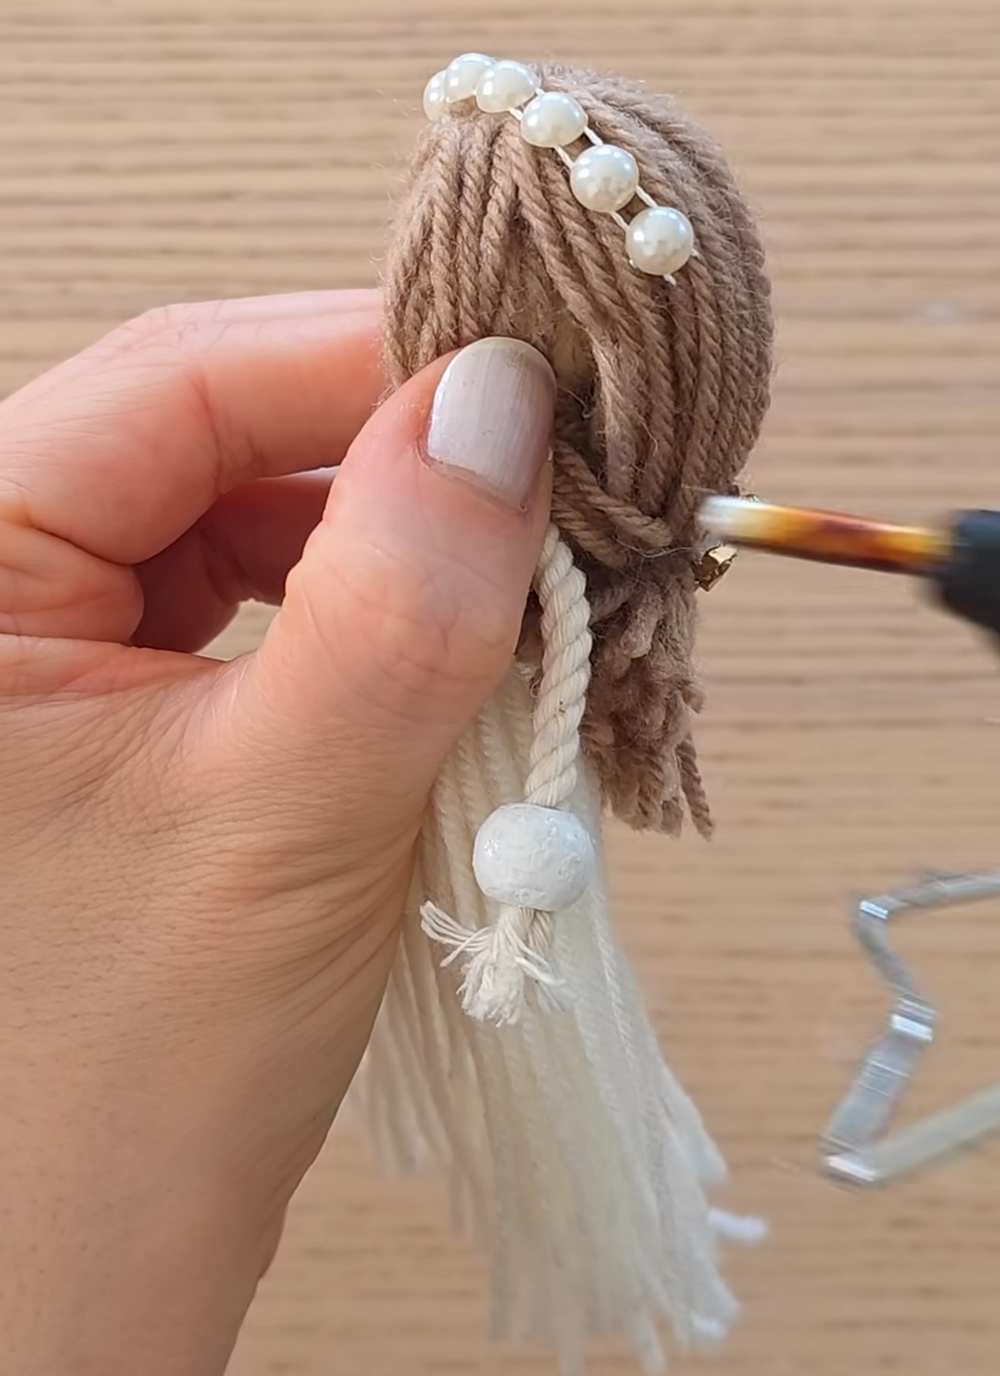
Step 6: Attach the Hair and Decorations
Use a hot glue gun to stick the ponytail to the back of the head. Glue a small gold bow with a pearl on top of the ponytail. Then, glue a row of small pearl beads across the top of the head like a headband.
Step 7: Final Trimming
Use your scissors to cut the bottom of the white yarn dress in a straight line so it looks neat and even.
Step 8: The Finishing Touches
Put a small dot of glue on the small hand beads and press them together so the angel looks like she is praying. Finally, use the black marker to draw two small “U” shapes for closed eyes and add tiny eyelashes on the wooden bead.
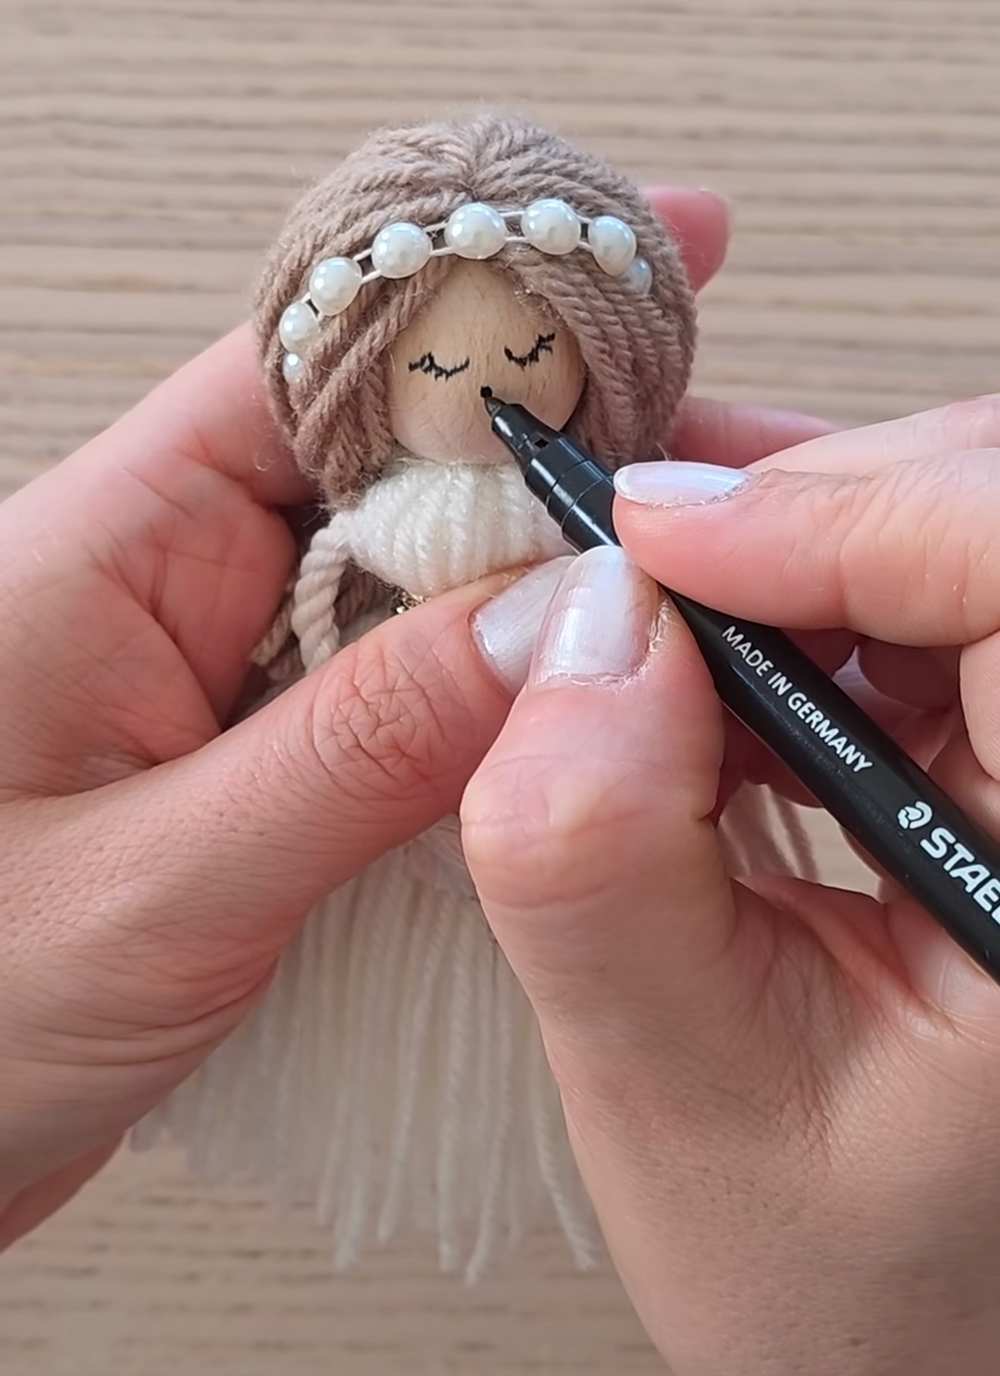
Your yarn angel is now finished and ready to hang on your tree!
About "Shemcrafts"
She is an incredible pom, pipe cleaner and yarn craft!