Subscribe to bartowpubliclibrary!
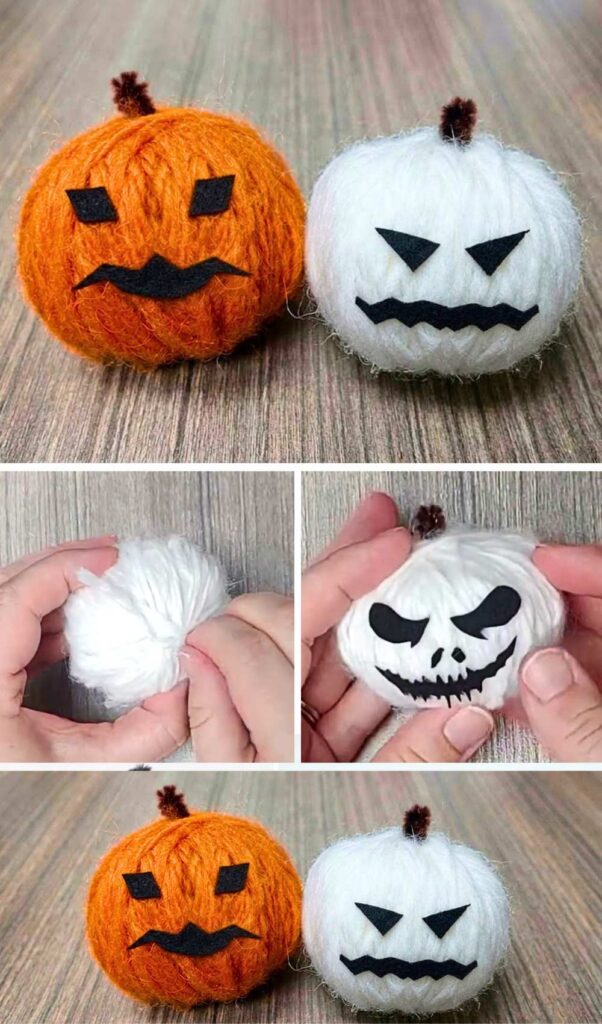
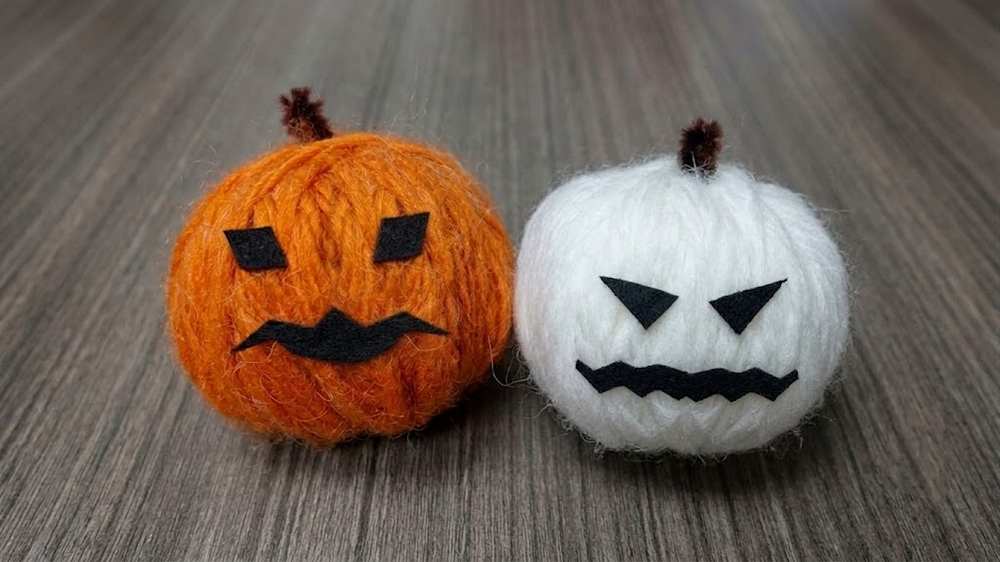
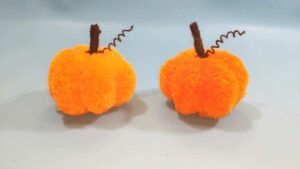
In this DIY no-knit pumpkin plushie lesson, I have a new jack-o’-lantern pumpkin design to showcase and a tutorial to share. Make this DIY pumpkin plush out of a scrap plastic bag, some tape, yarn, and a brown pipe cleaner. We are making a DIY pumpkin plush with a spooky face cut out of felt. I will also provide the printable template for the spooky face, too. Since you can quickly make this pumpkin plush without cutting and trimming the yarn loops, you can also craft these pumpkins to add to a Halloween garland.
Spooky Orange and White Yarn Pumpkins
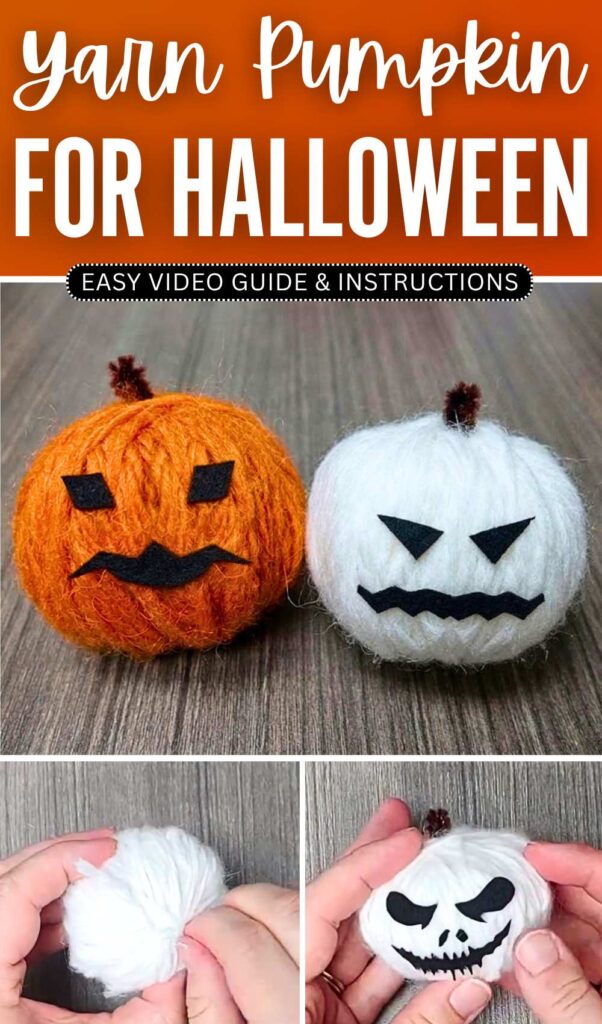
Just alternate between the white and the orange variation. If you use the recommended combed yarn, you will end up with an even fuzzier and plush pumpkin. If you remember your childhood method of making a paper ball, that’s what is needed as a base for this pumpkin plush.
However, we are making an even securer base by wrapping the ball with the plastic bag. You can also prepare this pumpkin ghost plush as a pincushion. Now, continue reading to learn more about this DIY Halloween pumpkin project.
DIY Jack Skellington Yarn Pumpkin Guide
Making a small pumpkin from yarn is a fun craft. You need a plastic bag, tape, white yarn, and a fuzzy wire. First, you fold the plastic bag into a round ball.
You use tape to make it stay in a ball shape. You poke a small hole in the top. You put a piece of fuzzy wire in the hole to be the stem. Then you wrap white yarn around the ball many times. You wrap it until you cannot see the tape or the bag. Last, you cut a face from black paper and stick it on the front.
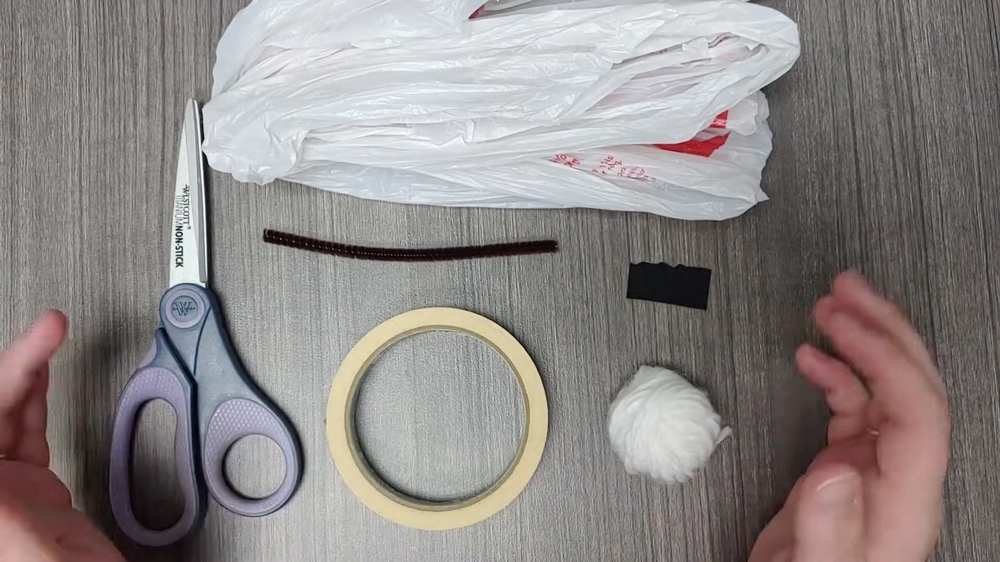
Materials Needed:
-
One plastic grocery bag
-
Masking tape
-
White yarn
-
One brown or black pipe cleaner
-
Scissors
-
Black peel-and-stick felt
- Pen or pencil
Video Tutorial?
Detailed Instructions:
Step 1: Prepare the Tape
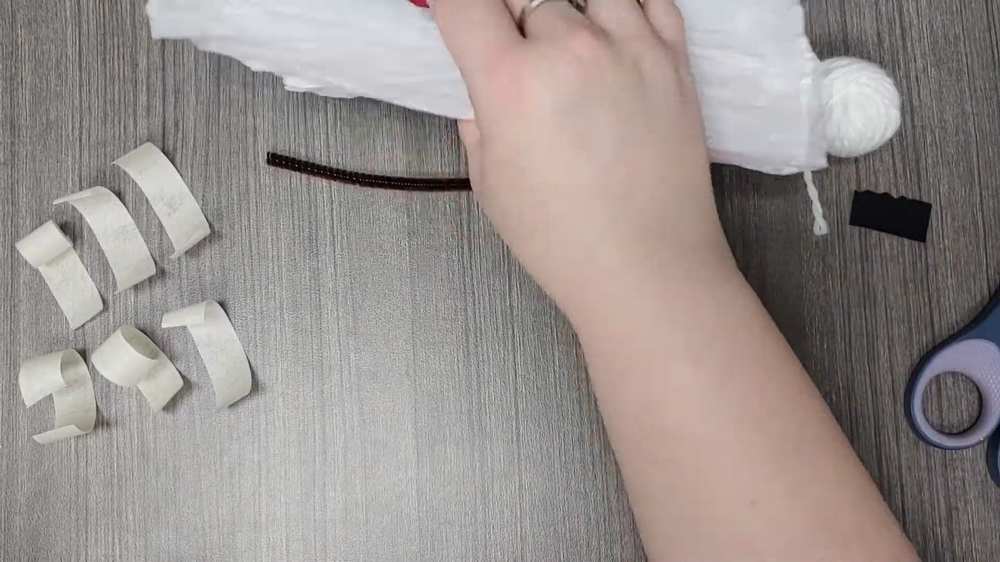
Before you start, pull off six strips of masking tape. This makes it easier to work with one hand later.
Step 2: Create the Pumpkin Base
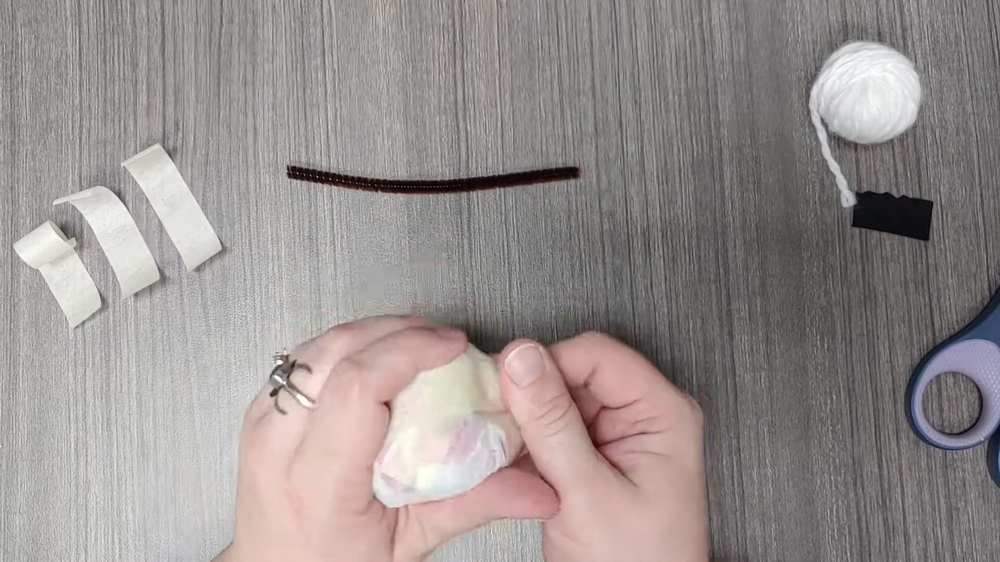
Take a plastic grocery bag and lay it flat. Fold the sides inward and roll it tightly into a ball about the size of a tennis ball. Use three strips of masking tape to wrap around the ball to hold its shape.
Step 3: Add the Stem
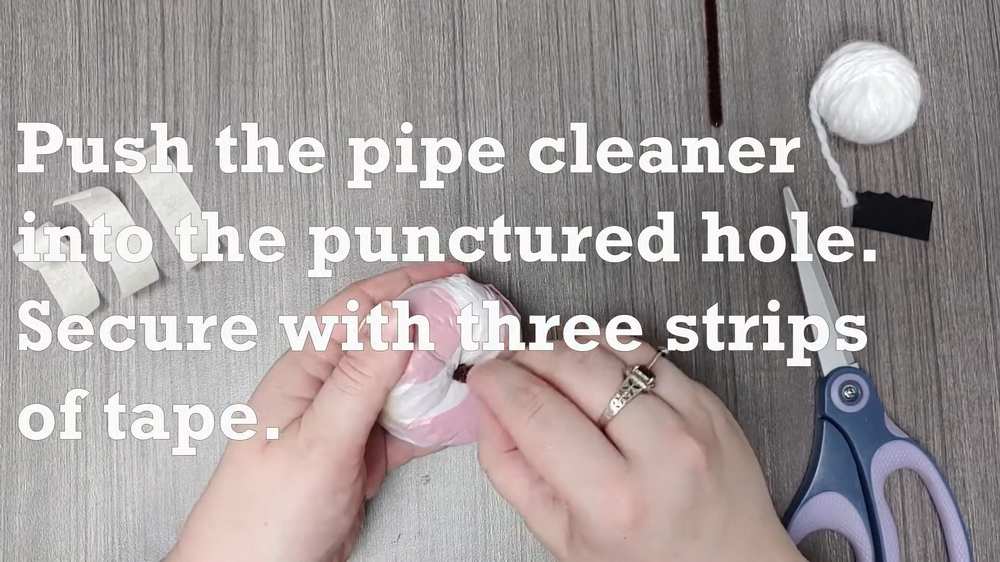
Find the top of your plastic ball. Use the tip of your scissors to carefully poke a hole through the tape and bag. Cut a small piece of pipe cleaner (about 3 inches) and twist it. Push the bottom of the pipe cleaner into the hole. Use your remaining three strips of tape to secure the pipe cleaner to the ball so it doesn’t fall out.
Step 4: Wrap the Pumpkin
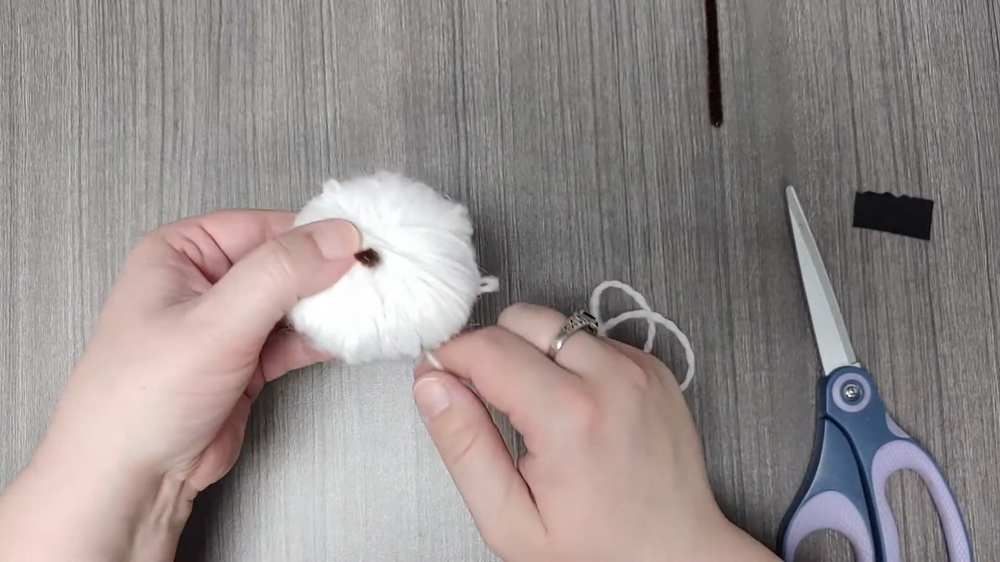
Take the end of your white yarn and tie it securely around the base of the pipe cleaner stem. Begin wrapping the yarn around the ball. Go in different directions each time to ensure the tape and plastic bag are completely covered. Continue wrapping until the pumpkin looks thick and soft.
Step 5: Secure the Yarn
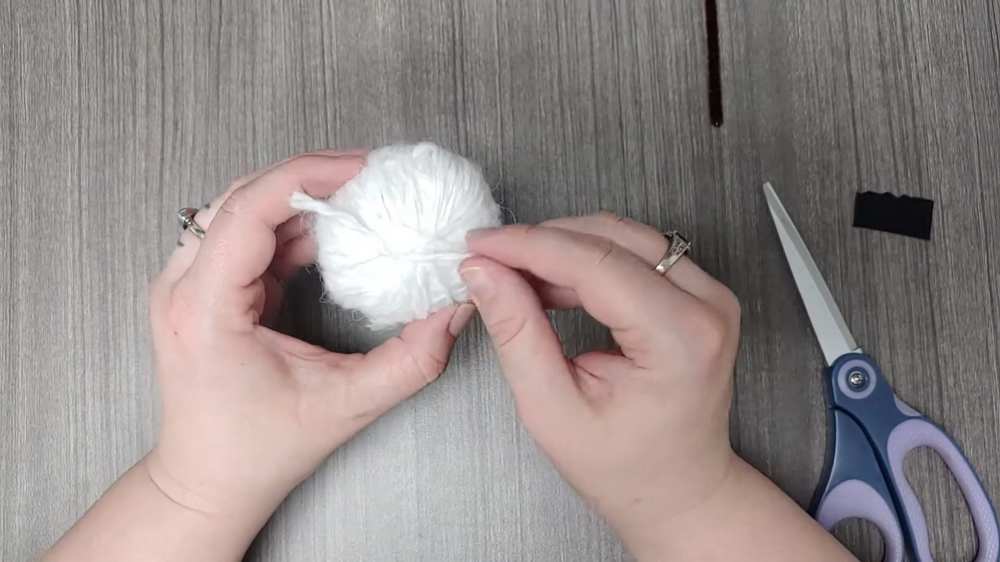
Once the ball is covered, cut the yarn. Tie the loose end to another piece of yarn on the ball. Use your fingers or a small tool to tuck the knot and the loose tail under the wrapped yarn so it is hidden.
Step 6: Make the Face
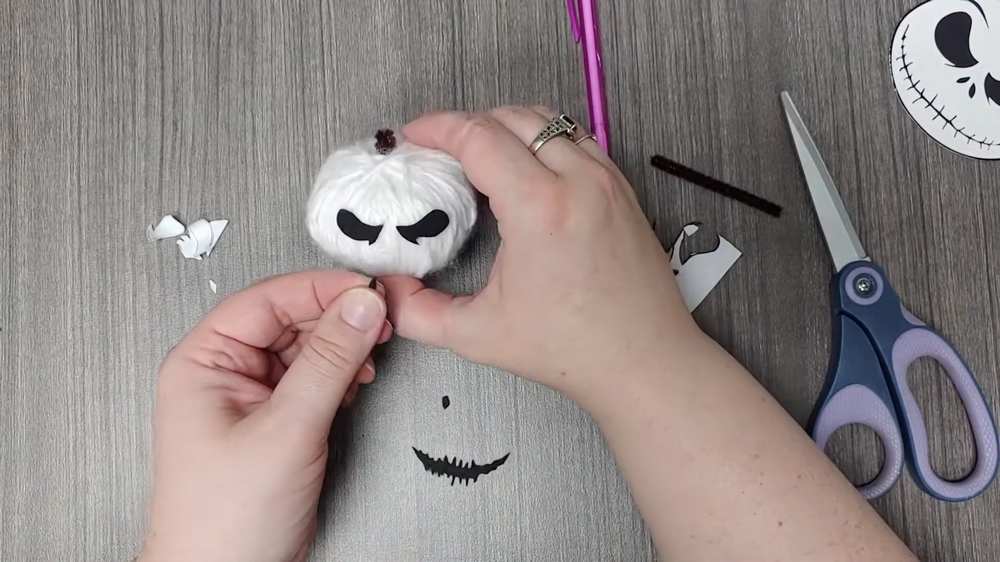
Take your black peel-and-stick felt. Draw two large, slanted eye shapes and a long, stitched mouth shape on the back (the paper side). Carefully cut these shapes out with your scissors.
Step 7: Finish the Craft
Peel the paper backing off the felt pieces. Stick the eyes onto the front of your yarn pumpkin. Finally, stick the mouth below the eyes. Your spooky yarn pumpkin is now finished!