Show support for Shemrak crafts!
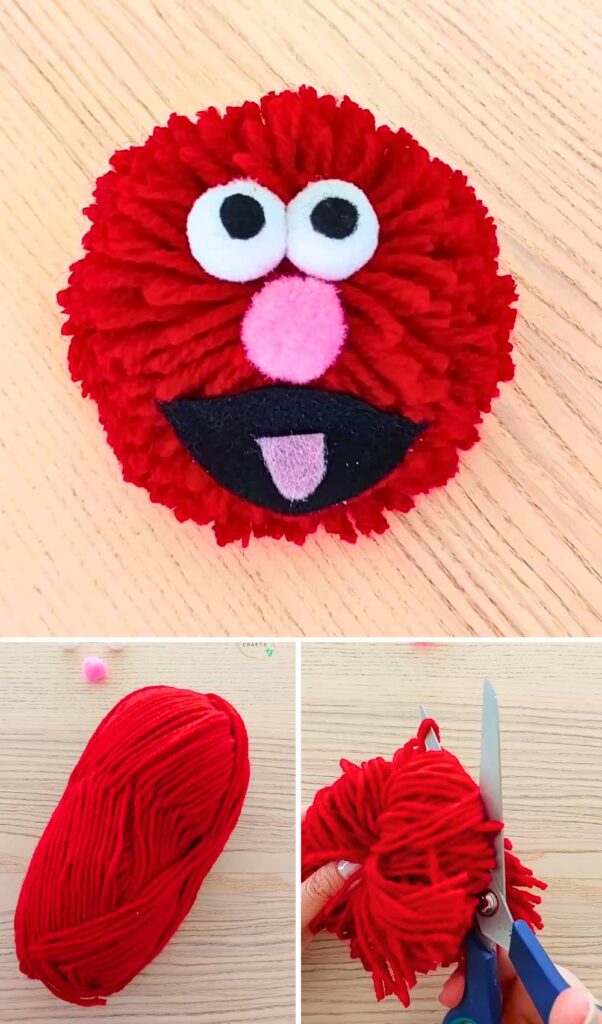
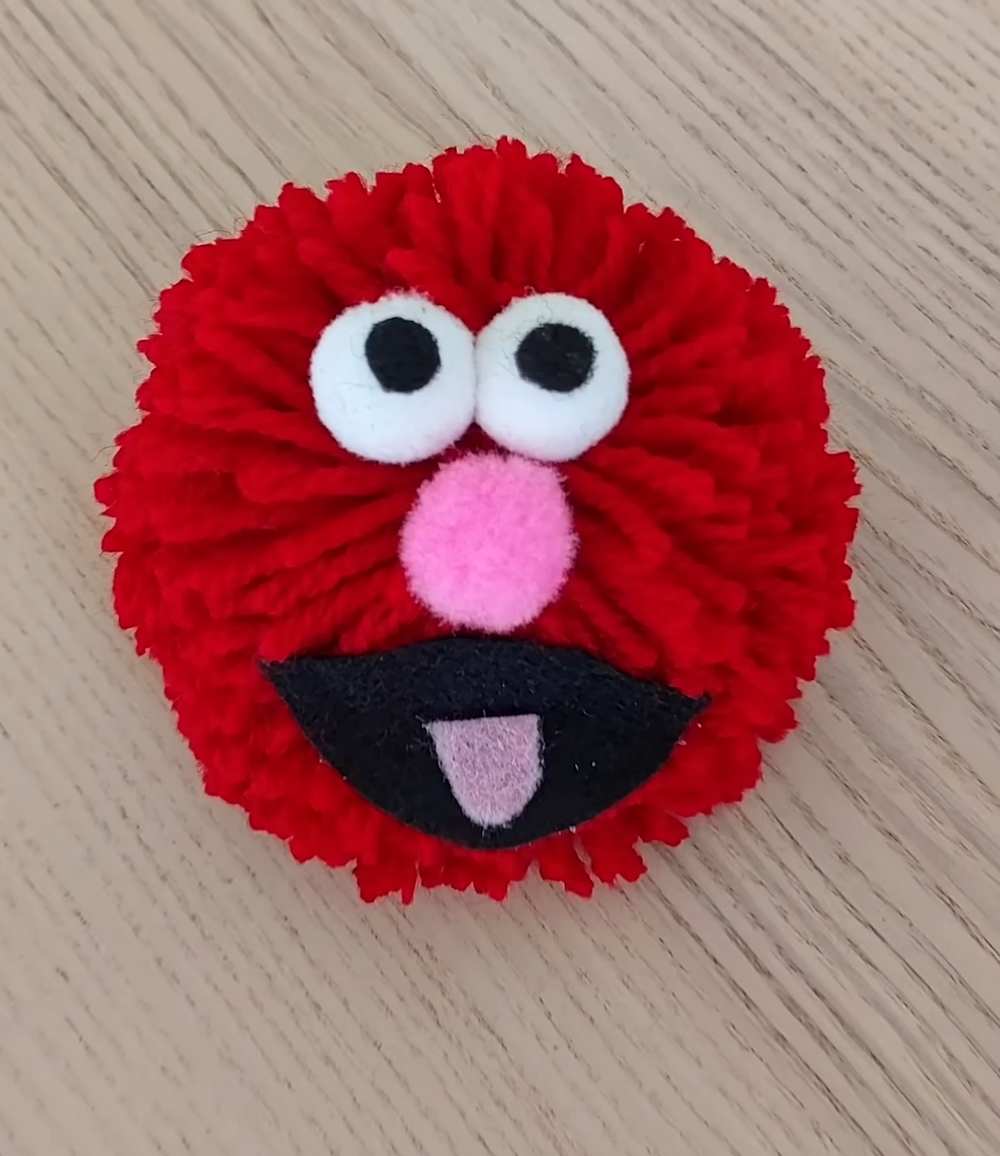
In today’s sphere, pom-pom character craft for busy makers: learn how to DIY this cute red cookie monster plushie in less than 5 minutes. It is made from a 10cm cardboard pom-pom base, which makes it a cozy fidget toy and anti-stress squishy. Features the iconic face of the Cookie Monster: the googly sphere eyes, pink pom-pom nose, and the felt open mouth with tongue. You can make this monster craft at any time of the year, especially for kids’ cosplay during Halloween and making a party garland.
No-Knit Red Monster Plushie
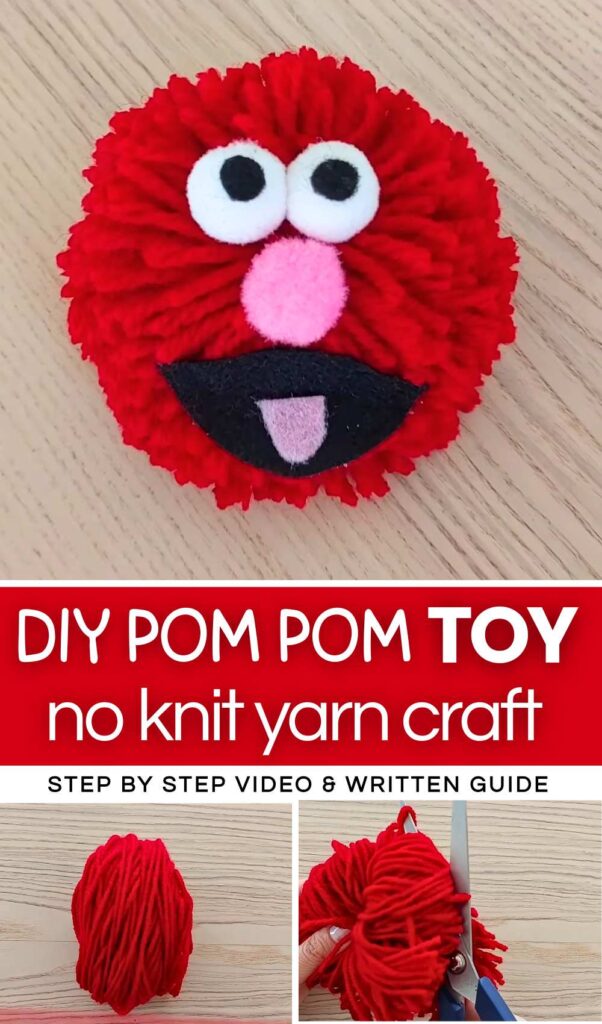
If you are having a cookie party this week, be sure to craft a bunch of these no-knit cookie monster plushies in both red and blue. If you are learning how to make a perfect fluffy pom pom for the first time but want to end up with something truly cute, playful, and playable, be sure to craft this red monster plush.
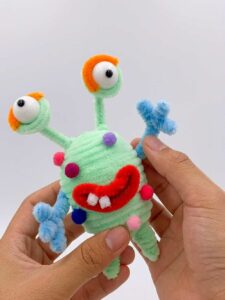
You can also make this monster face plush as a Christmas ornament. Or otherwise, transform it into a full monster plushie doll by following any pom pom doll body plushie tutorial. It is for sure the CUTEST DIY plush sphere project I have covered so far after the DIY LOVE monster plush. So, be sure to check my other discussion on the DIY ball pom pom plushies, too.
[ez-toc]
Tutorial to DIY A Red Monster Plushie
Making a red monster ball is very easy and fun. You need red yarn, white balls, and black paper. First, wrap the red yarn around a piece of cardboard. Wrap it many times so it is thick. Take the yarn off the cardboard and tie a string in the middle. Cut the loops with scissors on both sides.
Trim the yarn until it looks like a round ball. This is the body. Next, make the face. Glue two white balls on the top for eyes. Put black dots on them. Glue a pink ball below the eyes for a nose. Last, cut a black mouth and glue it on.
DIY Red Monster Pom Pom Crafting Guide
Materials Needed:
-
Red yarn
-
Cardboard piece (10 cm wide)
-
Scissors
-
Two medium-sized white pom poms (for eyes)
-
One small pink pom pom (for the nose)
-
Black felt or thick black paper
-
Hot glue gun
Video Tutorial?
Detailed Instructions:
Step 1: Wrap the Yarn
-
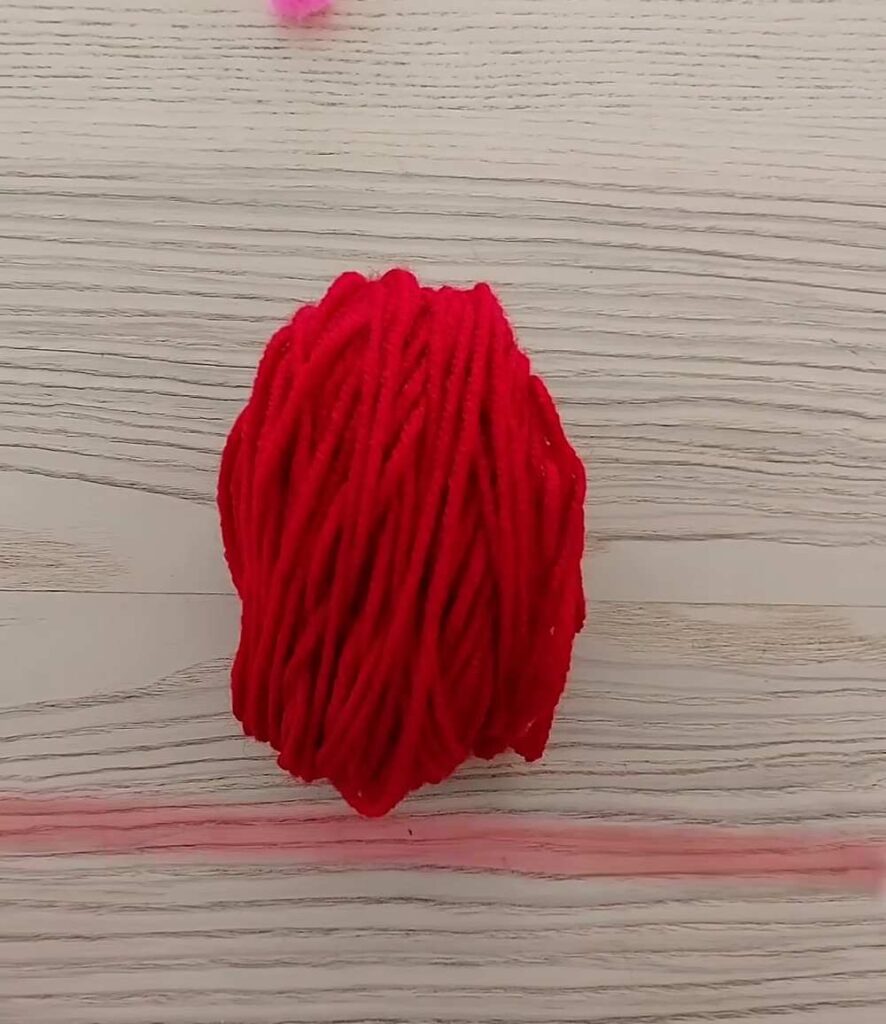
Take your red yarn and start wrapping it around the 10 cm cardboard piece.
-
Continue wrapping until you have a thick bundle. The more you wrap, the fluffier your monster will be.
Step 2: Tie and Cut
-
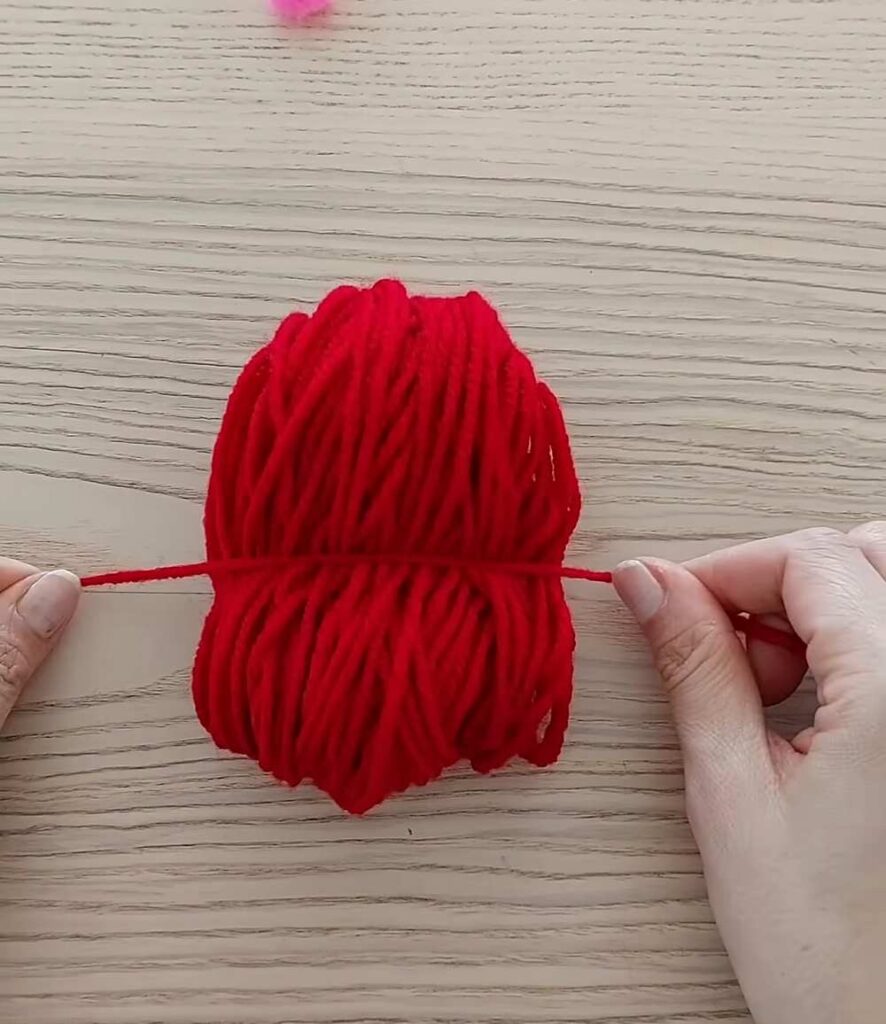
Carefully slide the yarn bundle off the cardboard, keeping it in its shape.
-
Cut a small piece of red yarn and tie it very tightly around the exact middle of the bundle. It should look like a bow.
-
Use your scissors to cut through the loops on both the left and right sides of the tie.
Step 3: Shape the Pom Pom
-
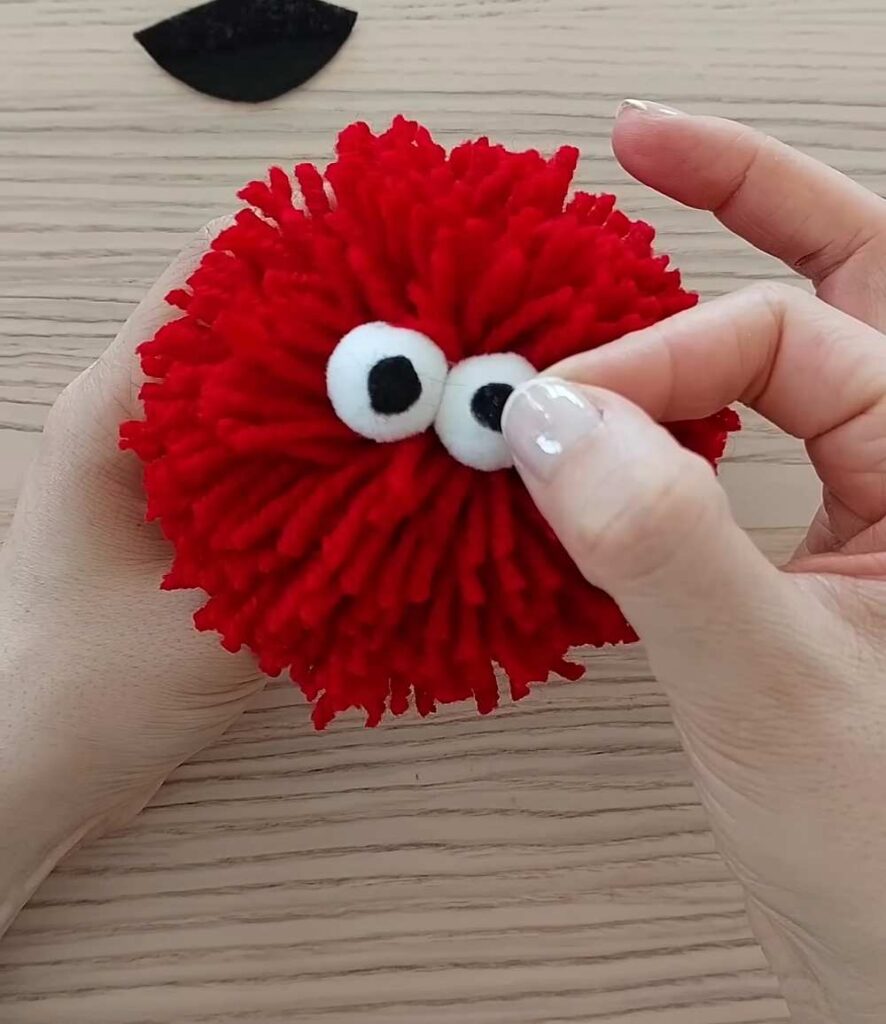
Once the loops are cut, the yarn will look messy. Use your scissors to trim the yarn ends.
-
Keep trimming until you have a neat, perfectly round red ball. Shake it a little to help it fluff out.
Step 4: Prepare the Face Parts
-
Mouth: Cut a semicircle shape out of the black felt or paper.
-
Eyes: Take your two white pom poms. Cut two tiny black circles from the felt and glue them to the center of the white pom poms to make pupils.
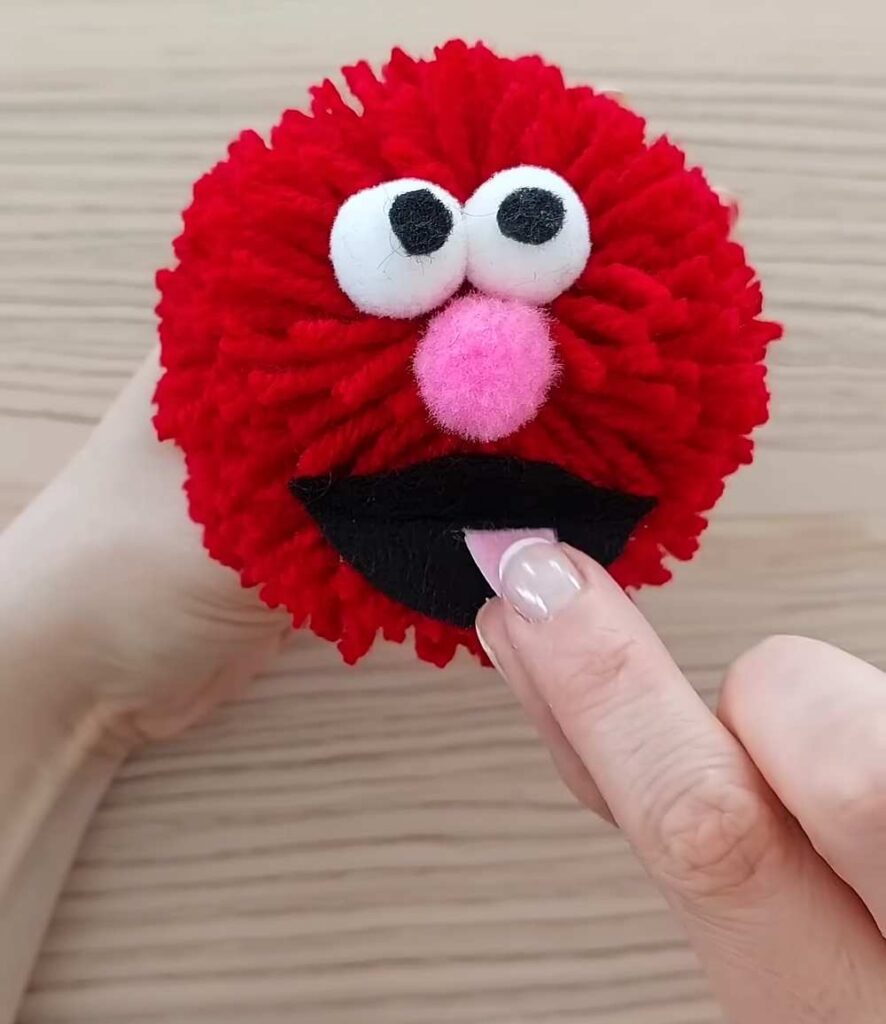
Step 5: Assemble the Monster
-
Eyes: Apply hot glue to the back of the white eyes and press them firmly onto the top front of the red pom pom. Place them close together.
-
Nose: Glue the small pink pom pom directly below the eyes.
-
Mouth: Glue the black mouth shape below the nose.
Your Red Monster Pom Pom is now complete!