
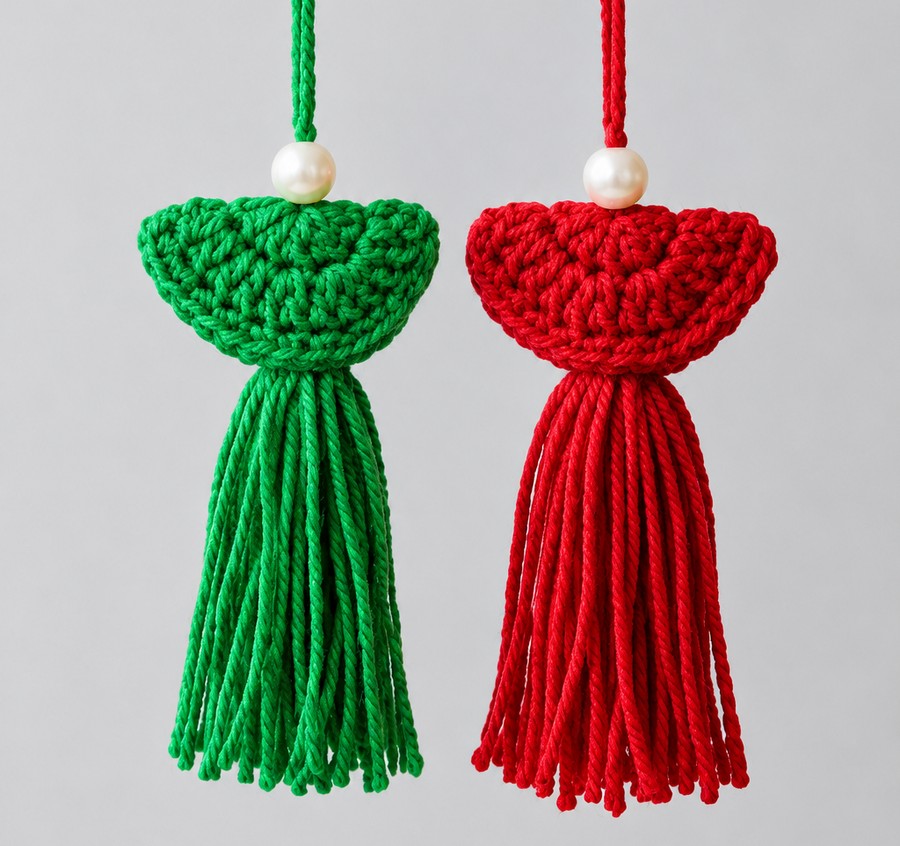
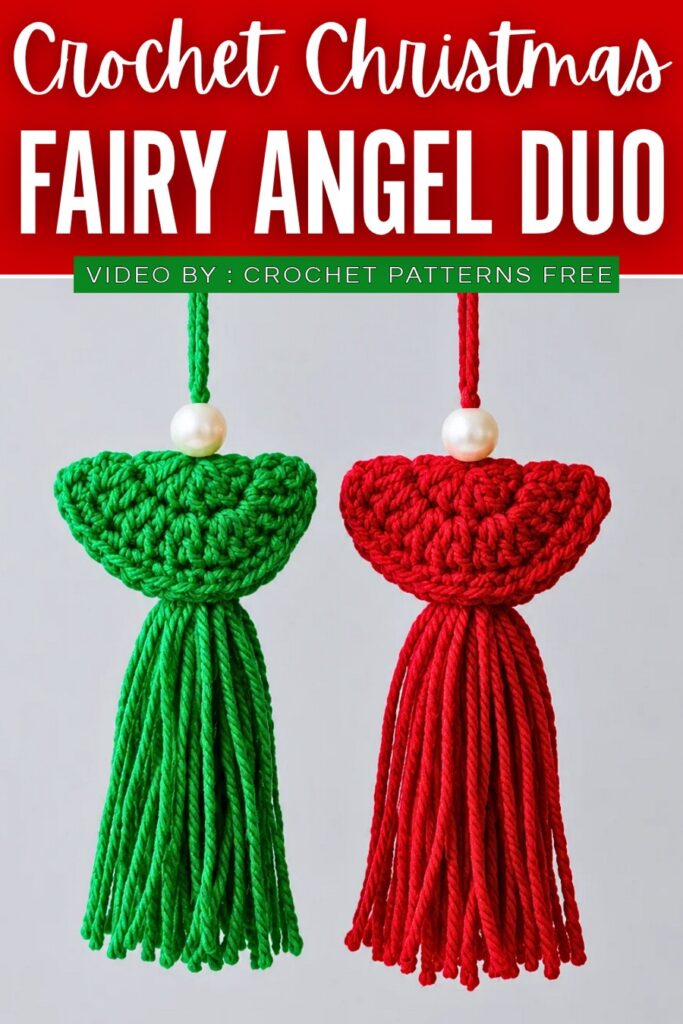
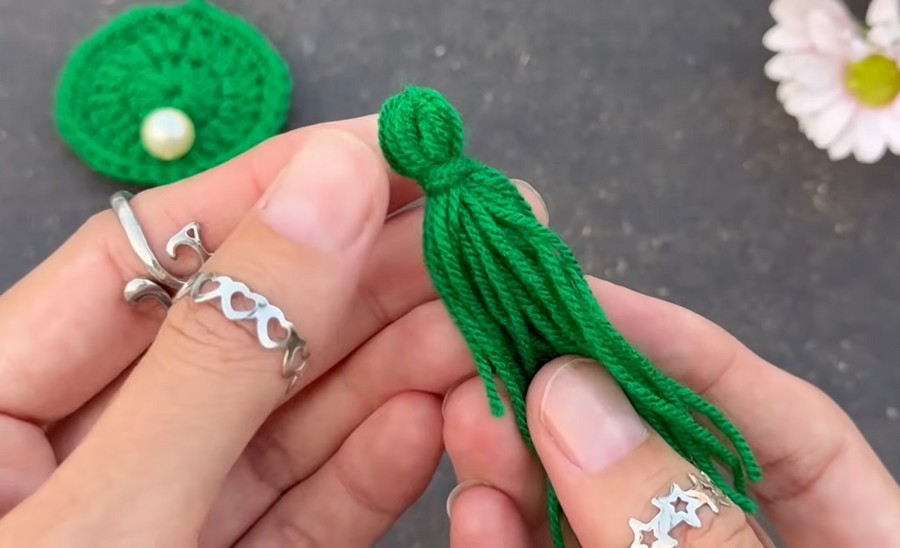
Transform simple yarn into pure elegance! This charming crochet tassel ornament effortlessly combines delicate handiwork with timeless style. Designed as a gracefully folded, bell-like canopy draped over a lush yarn tassel and crowned with a radiant pearl bead, it makes a versatile accent for any space.
Crochet This Christmas Tree Fairy Decoration
Difficulty Level: Beginner
-
Why: This project is wonderfully beginner-friendly because it only involves three simple circular rounds using foundational crochet stitches. There is no complex shaping, counting, or advanced color changes. The finishing touches—making a basic fringe tassel, folding the disc, and threading a bead—rely on straightforward crafting techniques rather than complicated stitchwork.
Materials
-
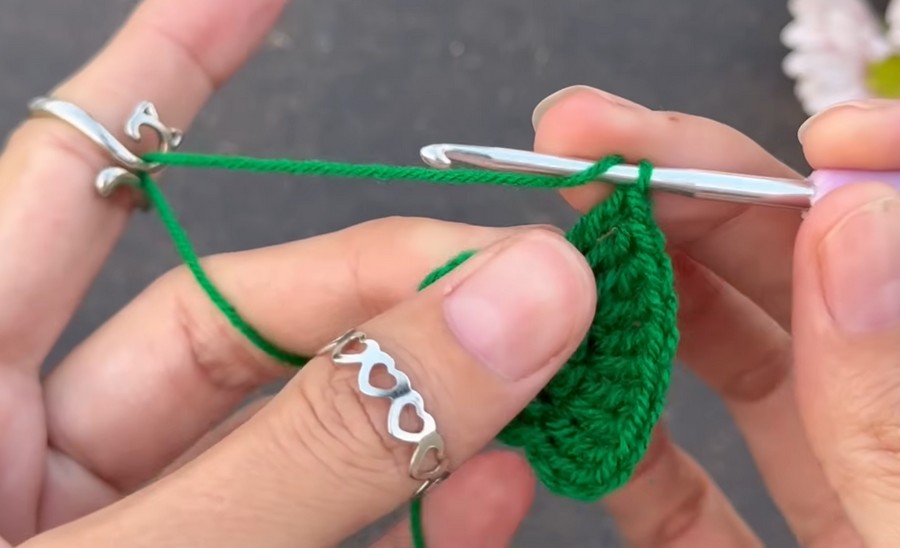
Yarn: 3-ply green yarn
-
Crochet Hook: 2.5 mm
-
Embellishment: 1 large pearl bead (with an opening wide enough for yarn)
-
Tools: Tapestry / yarn needle, scissors, and craft glue (or hot glue)
Pattern Abbreviations
-
ch – Chain
-
dc – Double crochet
-
sc – Single crochet
-
inc – Increase (work 2 stitches into the same stitch)
-
sl st – Slip stitch
-
st(s) – Stitch(es)
-
rep – Repeat
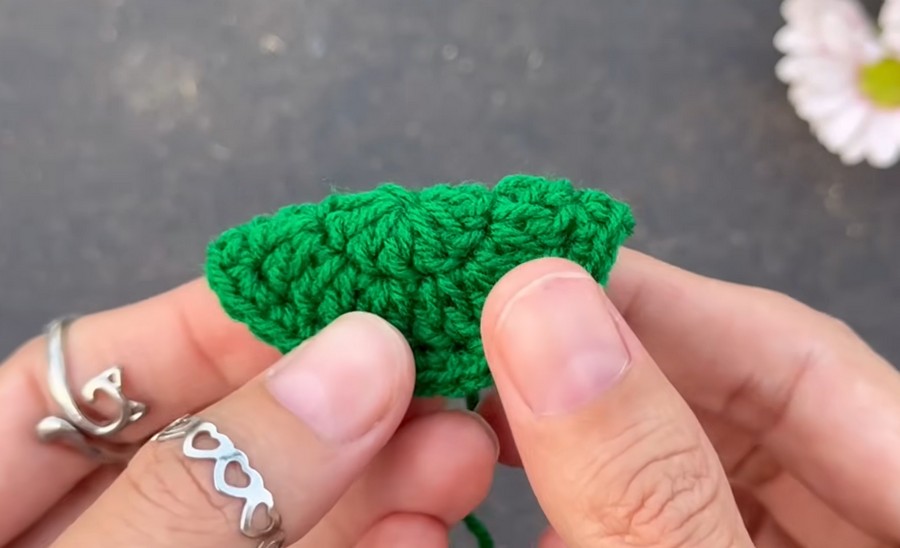
Stitch Guide: Double Crochet (dc)
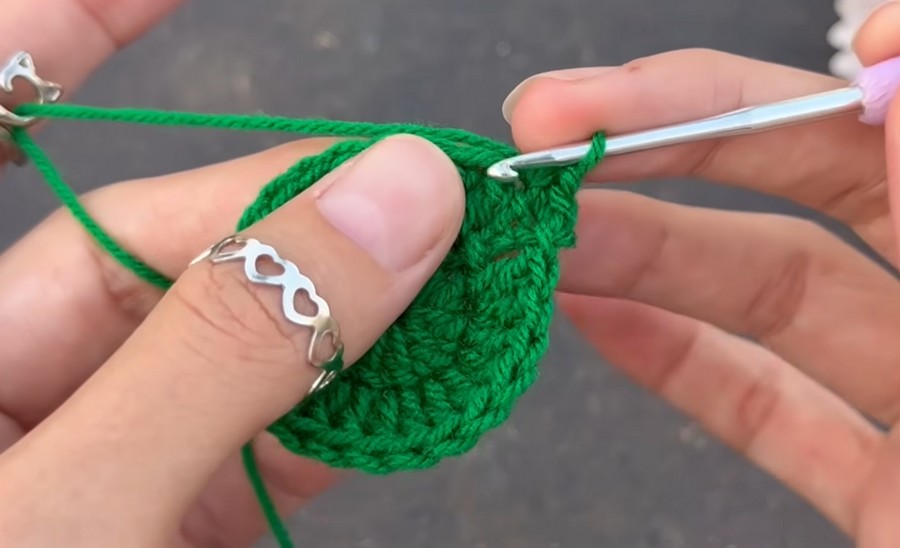
While the pattern uses basic stitches, the Double Crochet (dc) is the most technical stitch in the design. Here is how to work it:
-
Yarn over: Wrap the yarn over your hook from back to front.
-
Insert hook: Insert the hook into the indicated stitch (or the center of the magic ring).
-
Yarn over and pull up: Catch the working yarn and pull it through the stitch (you will have 3 loops on your hook).
-
First pull-through: Yarn over and draw the yarn through the first 2 loops on the hook (leaving 2 loops on the hook).
-
Complete the stitch: Yarn over once more and draw through the remaining 2 loops. You now have one double crochet completed!
Video Guide: