
Pattern Type: Video Pattern Only
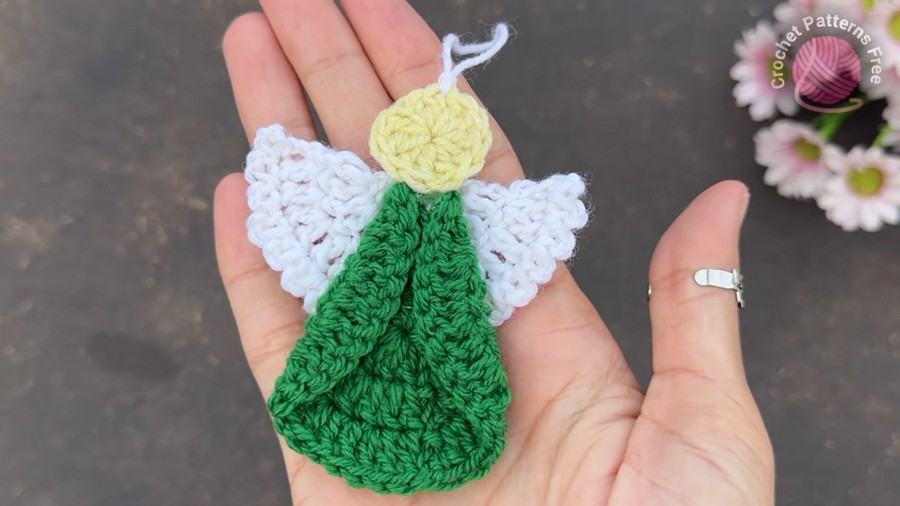
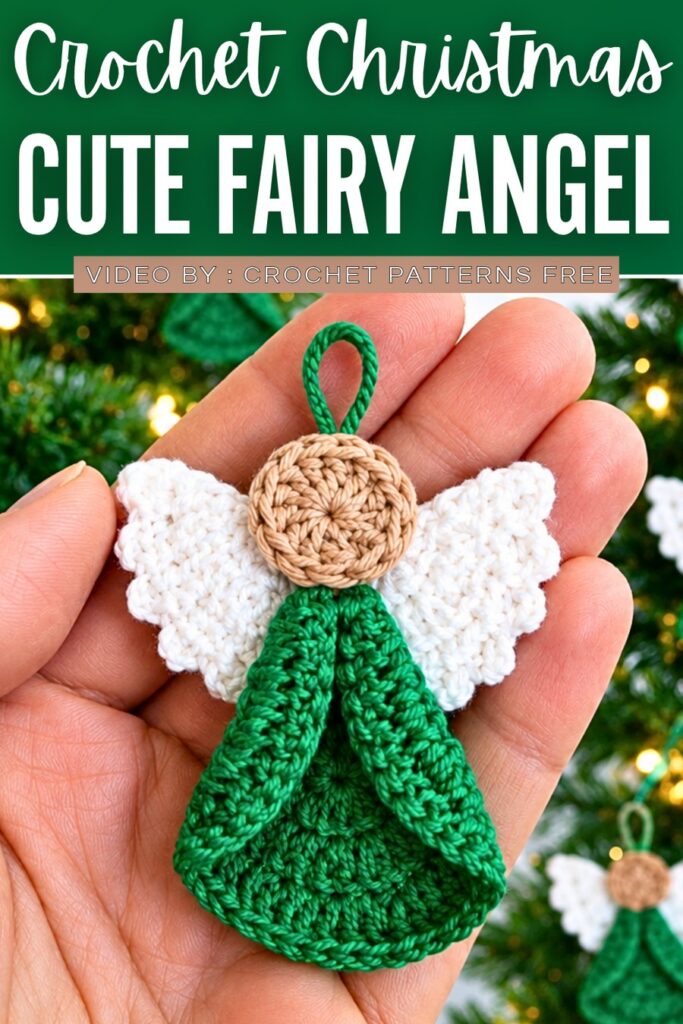
Add a touch of heavenly grace to your holiday decor with this sweet handmade Christmas angel ornament! This peaceful little angel features a soft yellow head crowned with a hanging loop, spreading warm holiday cheer wherever it rests. Dressed in a vibrant green folded gown, its robe creates a charming layered look reminiscent of festive evergreen boughs.
Crochet These Green Simplest Flat Fairy Charms
Difficulty Level
Level: Beginner / Easy
Why:
-
Fundamental Stitches: It uses only basic crochet techniques: the magic ring, chain stitches, slip stitches, and standard double crochets.
-
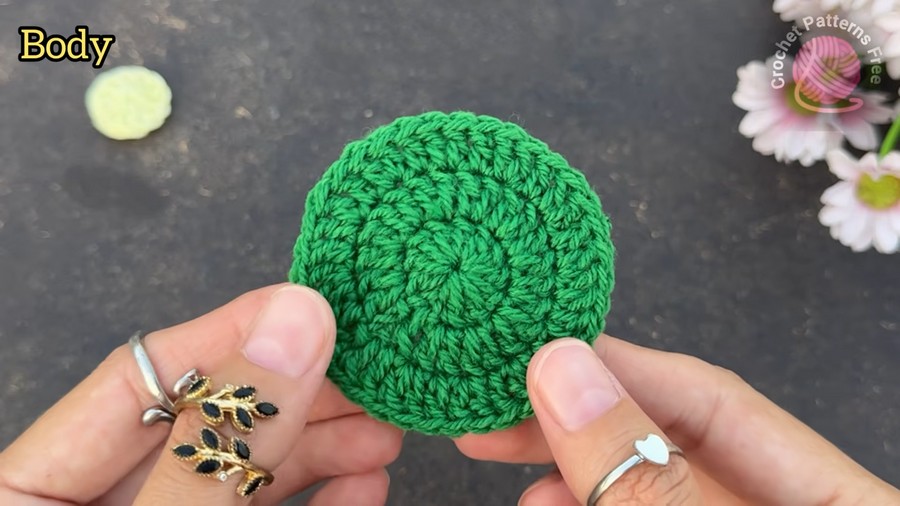
Simple Geometric Pieces: The project is composed of three flat 2D shapes: a small circle for the head, a larger circular disc for the body, and an easy semi-circle for the wings.
-
No Complex Shaping: The angel’s 3D draped robe is created simply by folding the green circle inward rather than using difficult increases or decreases.
-
Quick Assembly: The finished pieces are secured together with craft glue, making assembly fast and beginner-friendly without tedious needle sewing.
Materials
-
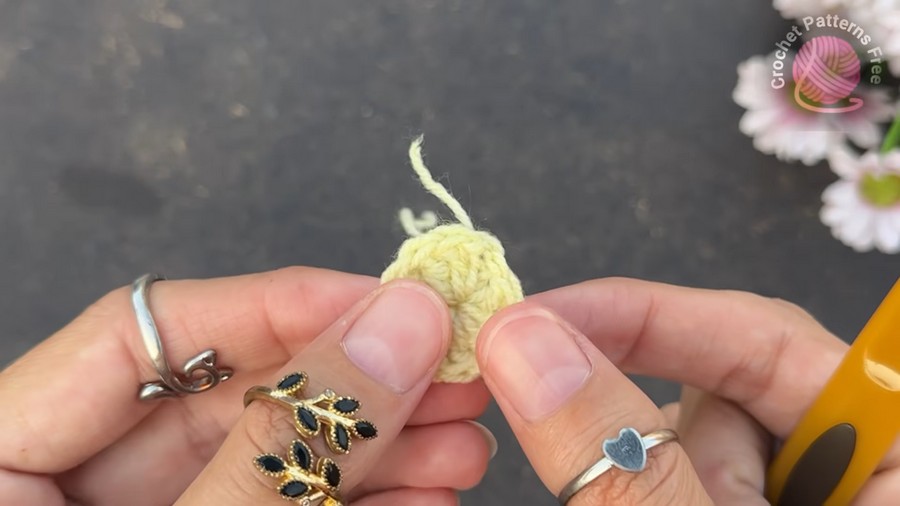
3-ply cotton yarn (Light Yellow, Green, and White)
-
2.7 mm / 2.75 mm crochet hook (Size C)
-
Craft/fabric glue
-
Yarn/tapestry needle
-
Scissors
Pattern Abbreviations
-
MR: Magic ring
-
ch: Chain stitch
-
dc: Double crochet
-
inc: Increase (2 double crochets in the same stitch)
-
sl st: Slip stitch
-
st / sts: Stitch / stitches
-
rep: Repeat
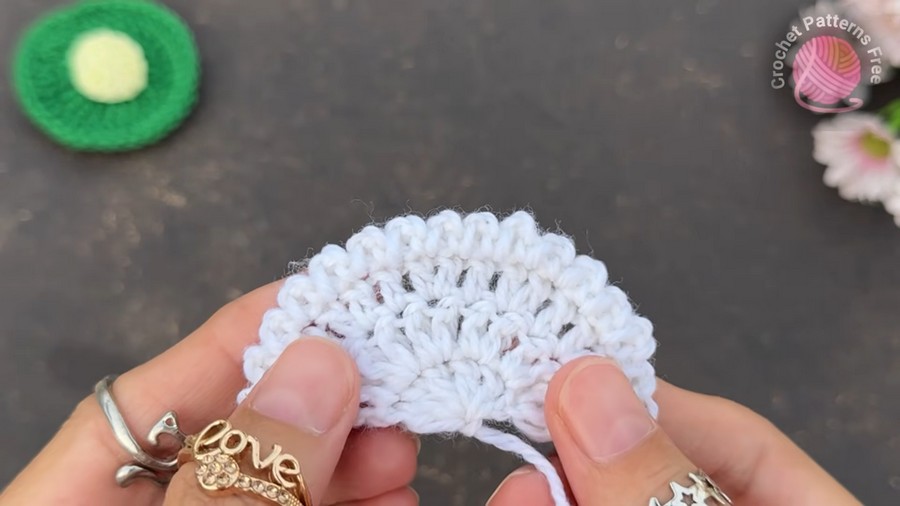
Difficult Stitch Breakdown: Double Crochet in a Magic Ring & Scalloped Feather Edge
1. Double Crochet in a Magic Ring (dc in MR)
Starting both the circular body and the semi-circular wings requires working tall double crochet stitches into an adjustable ring:
-
Prepare the ring: Wrap the yarn around your fingers to form an open ring loop. Insert your hook, draw up a loop, and chain 3 (ch 3 counts as your first double crochet).
-
Yarn over: Wrap the working yarn over your hook from back to front.
-
Enter the ring: Insert the hook through the center of the magic ring, under both the ring loop and the yarn tail.
-
Draw up a loop: Yarn over and pull a loop back up through the ring (3 loops on hook).
-
Two-step pull through:
-
Yarn over and pull through the first 2 loops (2 loops remain).
-
Yarn over and pull through the last 2 loops (1 dc completed).
-
-
Repeat until the required number of stitches are made, then pull the center tail firmly to close the center hole.
2. Scalloped Wing Edge (ch 2, sl st)
Used on the final row of the wings to give them a textured, ruffled feather appearance:
-
Chain 2 (ch 2).
-
Insert your hook under both loops of the next stitch along the curved edge.
-
Yarn over and pull directly through the stitch and the loop on your hook in one smooth motion (1 sl st).
-
Repeat this sequence in every stitch across the curved wing boundary to create a delicate wave pattern.
Video Guide: