
Subscribe to Juanjuan Crochet! The video tutorial & instructions are below!
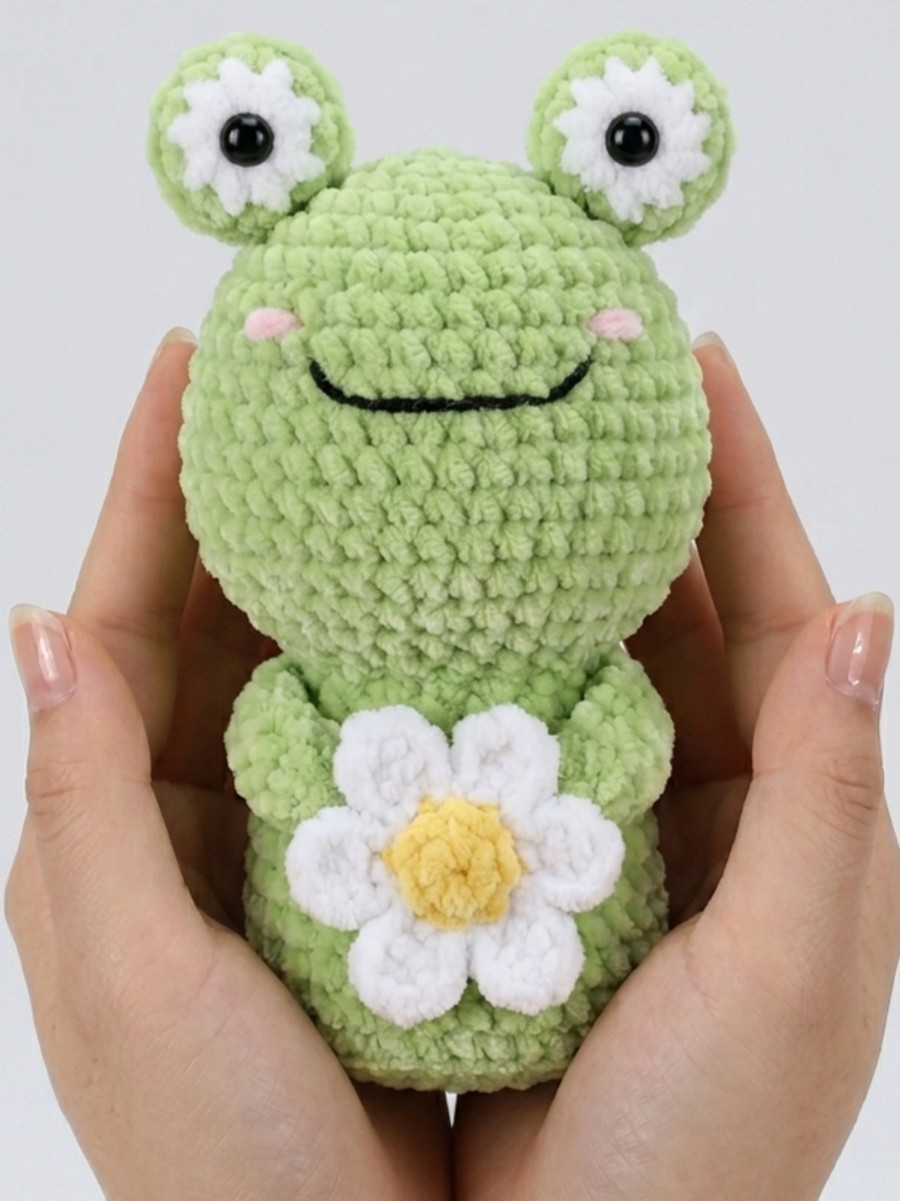
Learn how to crochet a cute, low-sew plush frog doll holding a small daisy flower in its hands with this pattern. This is a table buddy doll, as the body has no legs. The face of this plushie is the same popular sphere frog plushie, so kids will find it familiar and still unique. I am sharing a pattern to crochet it for summer, in particular, but yoy can also crochet it for spring or the New Year.
Soon, I will also provide a fall version pattern. In this, the frog will hold a small pumpkin, and you will be able to crochet it in orange. For this pattern, you will be crocheting it in green with blush pink cheeks and the googly eyes. Below is the written pattern in US terms.
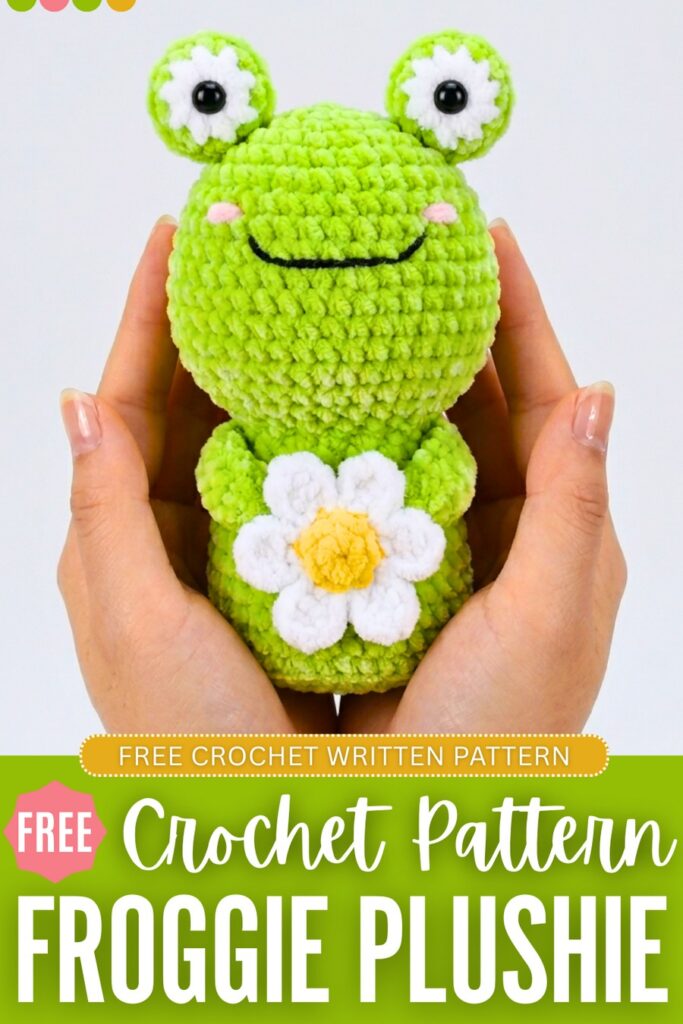
This pattern is perfectly accurate, like the one recommended, so you will love crocheting it!

Materials
Yarn: Super bulky plush yarn in Green, White, Yellow, and pink.
Hook: 5.0mm or 5.5mm (depending on your tension).
Other: Safety eyes, fiberfill stuffing, black embroidery thread, and a yarn needle.
Video Tutorial?
Abbreiviations
- MR: Magic Ring
- ch: Chain
- st(s): Stitch(es)
- sc: Single Crochet
- inc: Increase
dec: Decrease - hdc: Half Double Crochet
- dc: Double Crochet
- sl st: Slip Stitch
- BLO: Back Loops Only
- [ ]: The number inside the brackets at the end of a round indicates the total stitch count for that round.
- x: Multiplier (e.g., “x 6” means to repeat the sequence inside the parentheses 6 times)
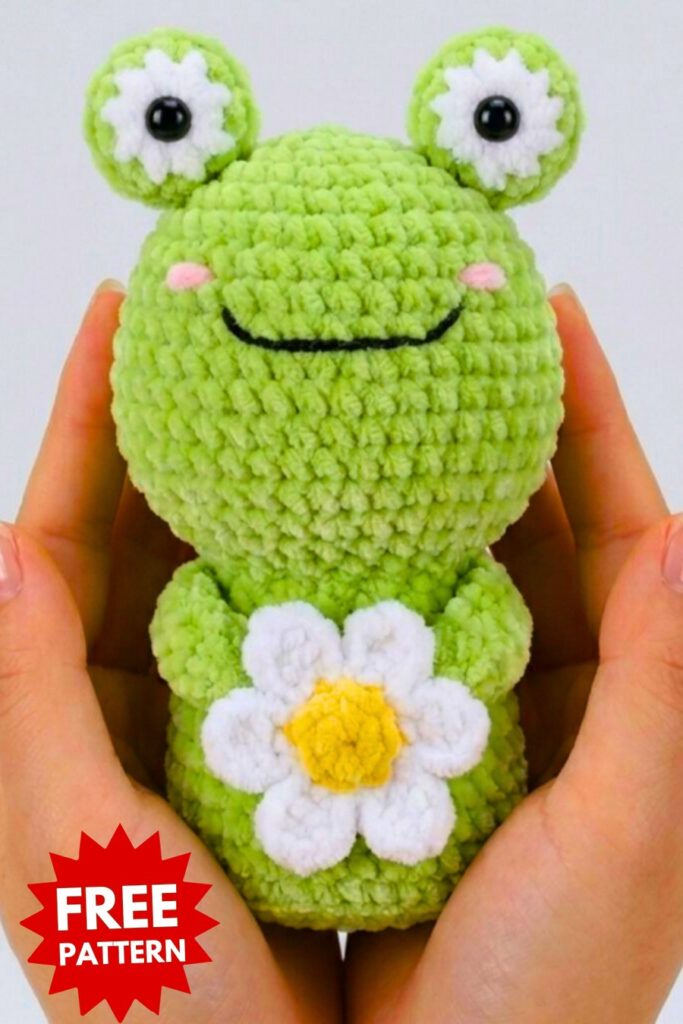
Crochet Prince Frog Pattern
Here is the free pattern for crocheting the frog plushie holding a daisy flower:
Frog Body
R1: 6 sc in MR [6]
R2: 6 inc [12]
R3: (1 sc, inc) x 6 [18]
R4: 1 sc, inc, (2 sc, inc) x 5, 1 sc [24]
(Staggering the increases helps maintain a round shape)
R5: (3 sc, inc) x 6 [30]
R6: 2 sc, inc, (4 sc, inc) x 5, 2 sc [36]
R7 – R9: 36 sc (1 sc in each st) [36]
R10: (5 sc, inc) x 6 [42]
R11 – R14: 42 sc (1 sc in each st) [42]
R15: (5 sc, dec) x 6 [36]
R16: (4 sc, dec) x 6 [30]
R17: (3 sc, dec) x 6 [24]
R18 – R20: 24 sc (1 sc in each st for 3 rounds) [24]
R21: (3 sc, inc) x 6 [30]
R22: (4 sc, inc) x 6 [36]
R23: (5 sc, inc) x 6 [42]
R24 – R31: 42 sc (1 sc in each st for 8 rounds) [42]
R32 (BLO): (5 sc, dec) x 6 [36]
(Insert a plastic or cardboard circle at this stage for a flat base support.)
R33: (2 sc, dec) x 9 [27]
R34 – R35: Continue decreasing as per the chart to reach 9 sts.
R36: (1 sc, dec) x 3 [6]
Finishing:
Leave a long tail and cut the yarn. Use a tapestry needle to weave through the front loops of the remaining 6 stitches, pull tight to close the hole, and hide the yarn tail inside the body.
Eyes (Make 2)
The eye starts with white and changes to green. Use a small black button for the pupil.
R1 (White): 4 sc in MR. (Insert button into the center before pulling the ring tight.) Join with a sl st. [4]
R2 (White): 4 inc. Join with a sl st while changing to green yarn. [8]
R3 (Green): (1 sc, inc) x 4. Join with a sl st. [12]
R4 (Green, BLO): 12 sc. [12]
R5 – R8 (Green): 12 sc. [12]
Stuff with fiberfill and leave a long tail for sewing.
Arms (Make 2)
R1: 5 sc in MR. [5]
R2 – R10: 5 sc. [5]
Leave a long tail for sewing. Do not stuff.
Small Flower
Flower Center (Yellow):
R1: 4 sc in MR. [4]
R2: (1 sc, inc) x 2. [6]
R3: 6 sc. [6]
Fasten off and hide the tail.
Petals (White):
Join white yarn to any stitch of the yellow center.
Ch 5.
Working back down the chain (starting in the 3rd ch from hook): 1 hdc, 1 dc, 1 hdc.
Sl st into the next stitch of the yellow center.
Repeat steps 1–3 for a total of 6 petals. Fasten off and leave a tail for sewing.
1. Eyes: Stuff the eyes with fiberfill.
Sew the eyes onto the top of the head. Position them symmetrically between R3 and R4 of the head. Ensure the black button (pupil) is centered.
2. Mouth and Blush
Mouth: Using black yarn, embroider a simple “V” or wide smile between R9 and R10. The mouth should span approximately 6 to 8 stitches in width.
Blush: Using pink yarn, embroider 2-3 horizontal lines just above the corners of the mouth on both sides.
3. Arms and Flower
Arms: Sew the arms to the sides of the body, slightly below the head. Position them so they angle forward. Do not stuff the arms.
Flower: Position the flower on the frog’s chest where the “hands” can reach it. Sew only the yellow center (flower heart) to the body to secure it.
Pose: Bring the hands to the sides of the flower and secure them with a few stitches so the frog looks like it is holding the flower.
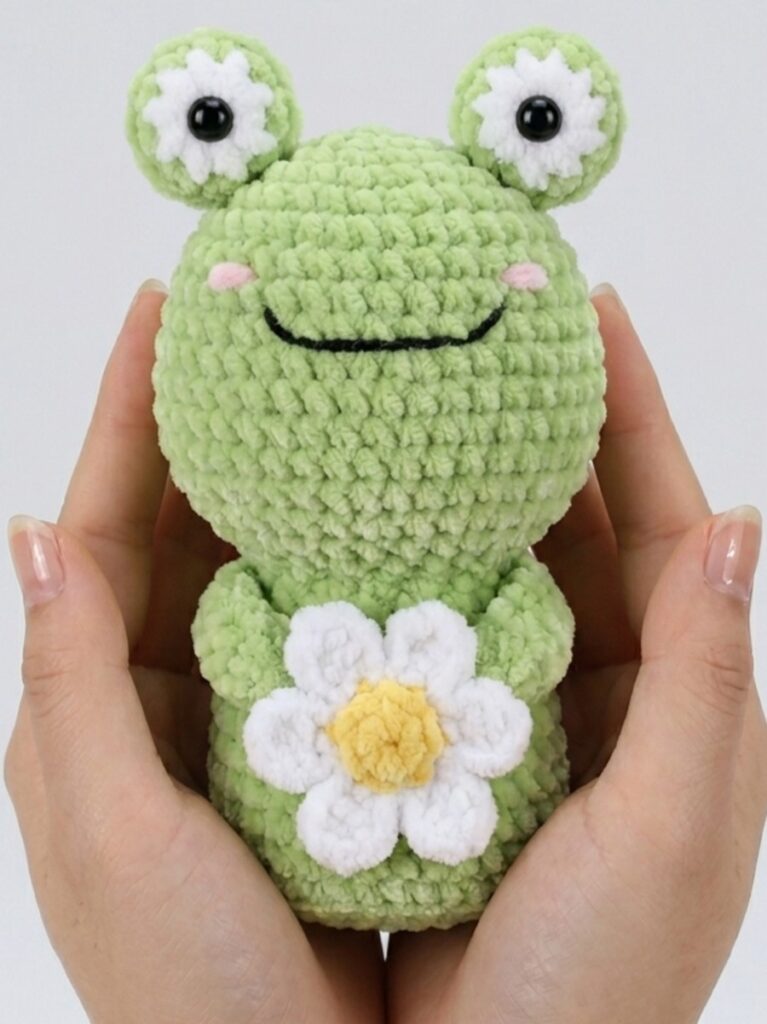
Double-check that all yarn tails are woven in and hidden inside the body.
Adjust the stuffing at the base to ensure the frog can stand upright on its own.
That finishes the crochet prince frog plushie!
About "Juanjuan Crochet"
She was an iconic crochet designer from China!

About "Talha"
Hey, I’m Talha, the Crafter on Craftstive.com. I love to share guides on folding cute origami models and paper crafts, and I am always ready to inspire your next craft project with my weekly craft discussions.