
Subscribe to Juanjuan Crochet! The video tutorial & instructions are below!
This pattern is perfectly accurate, so you will love crocheting it!
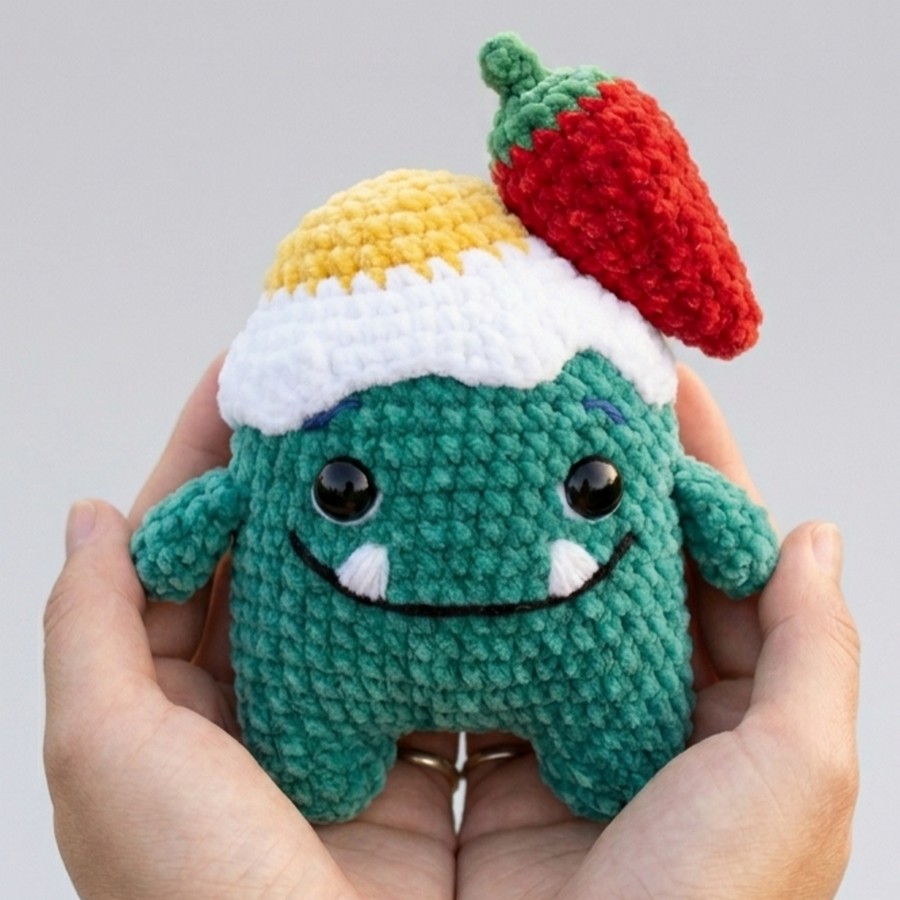
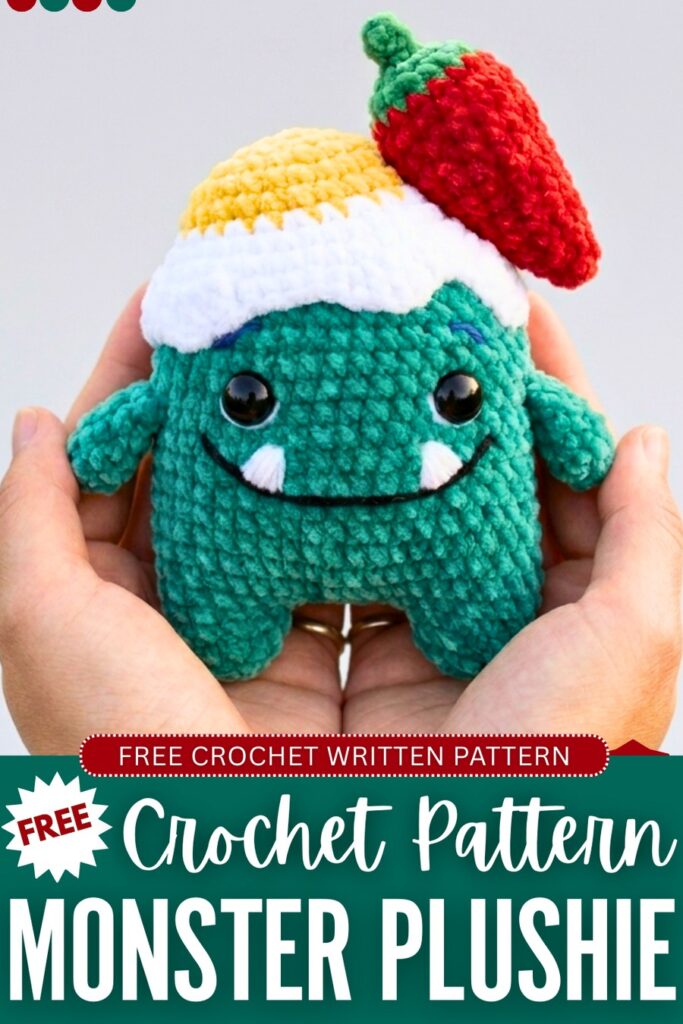
Learn how to crochet an oh-so cute no-sew monster plushie with a little Chili and a fried egg on the head. I have also shown you a full version in the end, in case you want to crochet it as a Thanksgiving or Halloween present. Below is the FREE pattern written in US terms. This version in teal is for summer, and kids will love to have one. You can crochet it within 2 hours with the super bulky yarn.
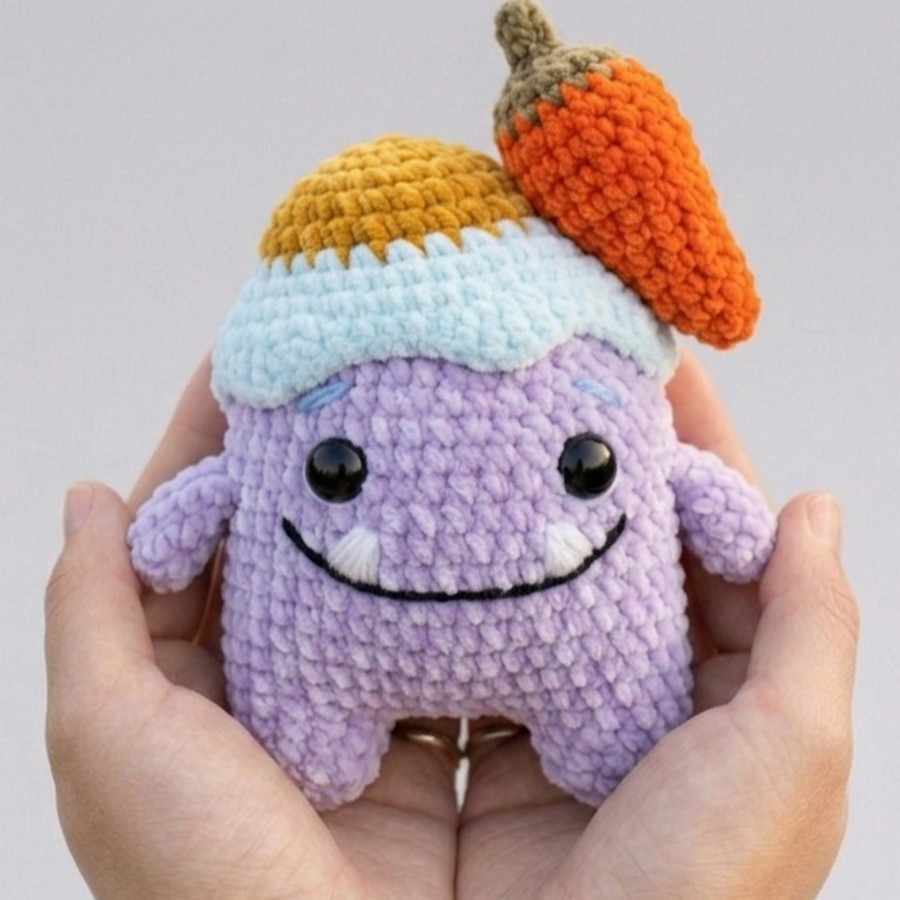
If you are crocheting the fall version, present the Chili as a carrot and egg as a pumpkin pudding. Everybody will love this pattern!

Materials
- Yarn: Super bulky plush yarn in Teal, White, Yellow, Red, and Green.
- Hook: 5.0mm or 5.5mm (depending on your tension).
- Other: Safety eyes, fiberfill stuffing, black embroidery thread, and a yarn needle.
Video Tutorial?
Abbreviations
- MR: Magic Ring
- SC: Single Crochet
- Ch: Chain
- INC: Increase (2 SC in one stitch)
- DEC: Invisible Decrease
- T (HDC): Half Double Crochet
- F (DC): Double Crochet
- TR: Treble Crochet
- SL ST: Slip Stitch
- R: Round/Row
Arms (Make 2)
R1: MR, 5 SC (5)
R2: 5 INC (10)
R3–R6: 10 SC (10)
Fasten off and leave a tail for joining later.
Legs (Make 2)
R1: MR, 6 SC (6)
R2: 6 INC (12)
R3: 12 SC (12)
For the first leg, fasten off and cut the yarn.
For the second leg, do not cut the yarn; continue to the body.
Body
Joining Legs: From the second leg, Ch 6. Join to the first leg with a SC.
R4: 12 SC around the first leg, [1 SC, 1 INC] 3 times along one side of the chain, 12 SC around the second leg, [1 SC, 1 INC] 3 times along the other side of the chain (42)
R5–R13: 42 SC (42)
R14 (Joining Arms): 5 SC, 4 SC (working through both the arm and the body to join), 16 SC, 4 SC (joining the second arm to the body), 13 SC (42)
R15–R19: 42 SC (42)
R20: [2 SC, 1 DEC, 1 SC, 1 DEC, 1 SC, 1 DEC], 14 SC, [1 DEC, 1 SC, 1 DEC, 1 SC, 1 DEC], 10 SC (36)
R21: [4 SC, 1 DEC] repeat 6 times (30)
R22: [3 SC, 1 DEC] repeat 6 times (24)
R23: [2 SC, 1 DEC] repeat 6 times (18)
Note: Stuff the body with fiberfill at this point.
R24: [1 SC, 1 DEC] repeat 6 times (12)
R25: 6 DEC (6)
Fasten off and use a sewing needle to weave through the front loops of the remaining 6 stitches to close the hole.
Egg Hat
R1: With Yellow, MR, 6 SC (6)
R2: 6 INC (12)
R3: [1 SC, 1 INC] repeat 6 times (18)
R4: [2 SC, 1 INC] repeat 6 times (24)
R5: [3 SC, 1 INC] repeat 6 times (30)
R6: 30 SC (30)
Change to White yarn on the last stitch of R6.
R7: [1 SC, 1 INC] repeat 12 times (45)
R8: [2 SC, 1 INC] repeat 12 times (60)
R9: 60 SC around (60)
R10 (Wavy Edge): 1 SC, 1 T, 2 F, 1 T, 2 SC, 1 T, 1 F, 2 TR… (Follow this sequence around to create the wavy “broken egg” effect).
Egg Hat Edge (Completion of R10)
From Part 2, continue the sequence around: 2 TR (yarn over twice), 1 F, 1 T, 5 SC, 1 T, 5 F, 1 T, 5 SC, 1 T, 2 F, 1 T, 2 SC.
Peak Detail: Ch 5, start in 3rd Ch from hook: 1 F, 1 F, 1 F. This creates a small triangular point.
Continue: 3 SC, 1 T, 2 F, 1 TR, 2 F, 1 T, 1 SC.
Fasten off and leave a long tail for sewing.
Chili Pepper
R1: With Green, MR, 4 SC (4)
R2: [1 SC, 1 INC] repeat 2 times (6)
R3: 6 SC (6)
Change to Red yarn on the last stitch of R3.
R4: [1 SC, 1 INC] repeat 3 times (9)
R5: 9 SC (9)
R6: [2 SC, 1 INC] repeat 3 times (12)
R7-R8: 12 SC (12)
R9: [1 SC, 1 DEC] repeat 4 times (8)
R10: 4 DEC (4)
Fasten off and close the hole.
Chili Stem
Ch 4. Start in 2nd Ch from hook (work in back bumps/blo): 3 SC back down the chain.
Fasten off and sew to the top of the green part of the chili.
Eyebrows: Use blue yarn (or your body color). Stitch them 2 rows above the eyes, spanning about 2 stitches wide and slanting downwards.
Mouth: Use thin black embroidery thread. Start about 1 row below eye level. Create a wide “U” shape that reaches about 3 rows below the eyes at its lowest point. Wrap the thread around the initial stitches to make the line smooth and rounded.
Teeth: Use the white yarn ends from the eye detail. Stitch a small upside-down triangle shape inside each side of the mouth to create two pointy teeth.

Assembly
Egg Hat: Place the egg shell on the head, positioning the “cracked” peak to one side. Sew along the white wavy edge to secure it to the head.
Chili Pepper: Sew the finished chili pepper near the mouth area using red yarn.
The little chili-eating monster is now complete!
About "Juanjuan Crochet"
She was an iconic crochet designer from China!

About "Talha"
Hey, I’m Talha, the Crafter on Craftstive.com. I love to share guides on folding cute origami models and paper crafts, and I am always ready to inspire your next craft project with my weekly craft discussions.