
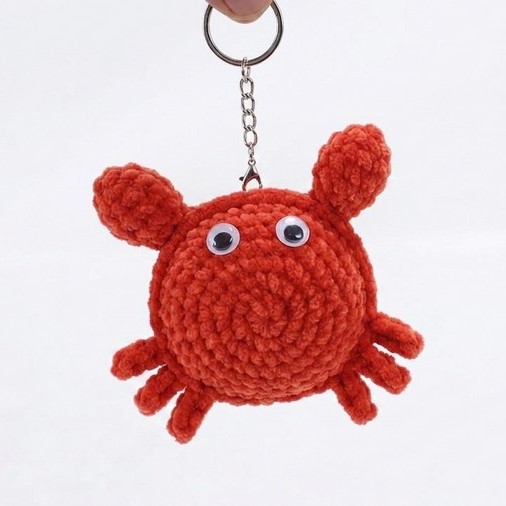
Summer’s official start is finally here, which means we can crochet the sea creature amigurumi and plushies. I have already shared patterns for crocheting the octopus and cuttlefish plushies. Now, crochet this little crab plushie keychain with a FREE pattern for beginners. This is crocheted as a ragdoll plushie (by joining two flat pieces). So, you can think of it as an easy introduction to raddoll techniques if you have not crocheted one already.
Kids can bring this plushie to the beach, or you can hang it from your crochet beach bag. The crab claws are stuffed, so they look so cute and itty-bitty. You can also crochet it in other colors and with the mouth. For this plushie, we will be using the oh-so cute craft eyes, which look so funny and cute. Now, let me give you a US pattern!
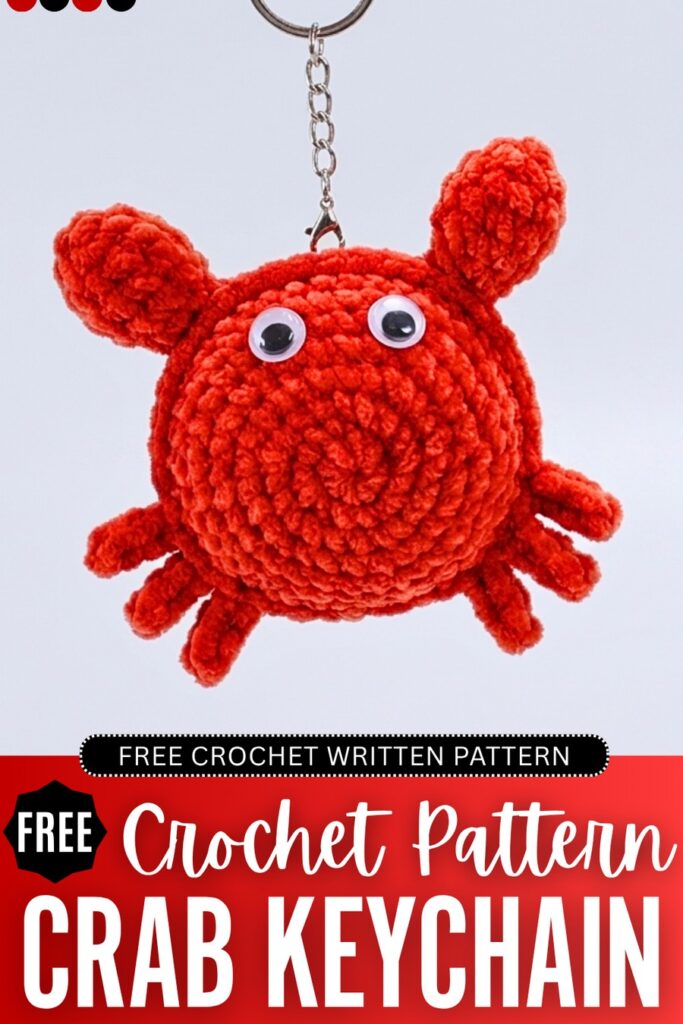
This pattern is perfectly accurate, like the one recommended, so you will love crocheting it!
Crochet Ragdoll Crab Plushie Keychain: Row-by-Row Pattern
Here is the full pattern written in US instructions for this little ragdoll crab for kids:
Abbreviatons
Here are the US abbreviations used to crochet this crab plushie for kids:
- Ch: Chain
- Dec: Decrease
- Inc: Increase
- Rnd: Round
- Sc: Single crochet
- Sl st: Slip stitch
Materials Needed
Here is the full pattern written in US instructions for this little crab plushie for kids:
- Yarn: Chenille yarn in orange.
- Hook: 4.0mm.
- Eyes: Googly craft eyes.
- Others: Fiberfill stuffing.
Body Pattern (Single Piece)
You need to make two similar round pieces using the spiral crochet method. Please use stitch markers to track the number of rounds.
R1: Magic ring, 6x. (6)
R2: 6v. (12)
R3: (x, v) * 6. (18)
R4: (2x, v) * 6. (24)
R5: (3x, v) * 6. (30)
R6: (4x, v) * 6. (36)
R7: (5x, v) * 6. (42)
R8: (6x, v) * 6. (48)
For the first piece: Fasten off and weave in the ends.
For the second piece: Do not cut the yarn; join with a sl st to the first stitch to begin the assembly.
Assembly & Legs
Place the two pieces back-to-back (wrong sides together) and join them by crocheting through both layers.
Join Top Edge: ch 1, work 8x through both pieces to join one side.
Leg 1: ch 6, start in 2nd ch from hook, 5x back down the chain.
To attach: insert hook into the last stitch worked on the body, pull up a loop, insert hook into the next new stitch through both layers, pull up a loop, and pull through all 3 loops on the hook.
Work 1x through both layers.
Leg 2: ch 6, 5x back down. Attach using the same method as Leg 1.
Work 1x through both layers.
Leg 3: ch 6, 5x back down. Attach using the same method as Leg 1.
Work 1x through both layers.
Other Sides: Continue joining the edges with single crochets through both layers.
Repeat the leg pattern on the opposite side to create three legs for the other side of the crab.
Crab Claws Pattern
Make 2 claws using the Main Color.
R1: Magic ring, 6x. (6)
R2: (2x, v) * 2. (8)
R3: (3x, v) * 2. (10)
R4: (4x, v) * 2. (12)
R5: 12x. (12)
R6: 6a (Work 6 decreases by picking up only the front loops of the stitches). (6)
R7–R8: 6x. (6 stitches per round)
Finish: Work a slip stitch into the next stitch, fasten off, and leave a long tail for assembly.
Body Completion & Legs (Part 2)
Filling: Before closing the body, fill it with fiberfill.
Alignment: Work 2x through both layers of the body pieces to ensure the legs on this side align perfectly with the first side.
Leg 4: ch 6, start in 2nd ch from hook, 5x back down the chain.
Attachment: Insert hook into the current body stitch, pull up a loop, insert hook into the next new stitch through both layers, pull up a loop, and pull through all 3 loops on the hook.
Middle Stitch: Work 1x through both layers.
Leg 5: ch 6, 5x back down. Attach using the same 3-loop pull-through method.
Middle Stitch: Work 1x through both layers.
Leg 6: ch 6, 5x back down. Attach using the 3-loop pull-through method.
Finish: Work 1x through both layers to finish the edge.
Closing: Cut the yarn and use a sewing needle to weave through the final stitches for a clean finish.
Assembly
Claw Placement: Position the claws on the two corners of the top edge (the joined side above the legs).
Sewing: Sew through both layers of the body to secure each claw.
Eyes: Center and glue or sew two small eyes onto the front edge of the top piece, positioned between the two claws.
And that completes the crochet crab pattern!