
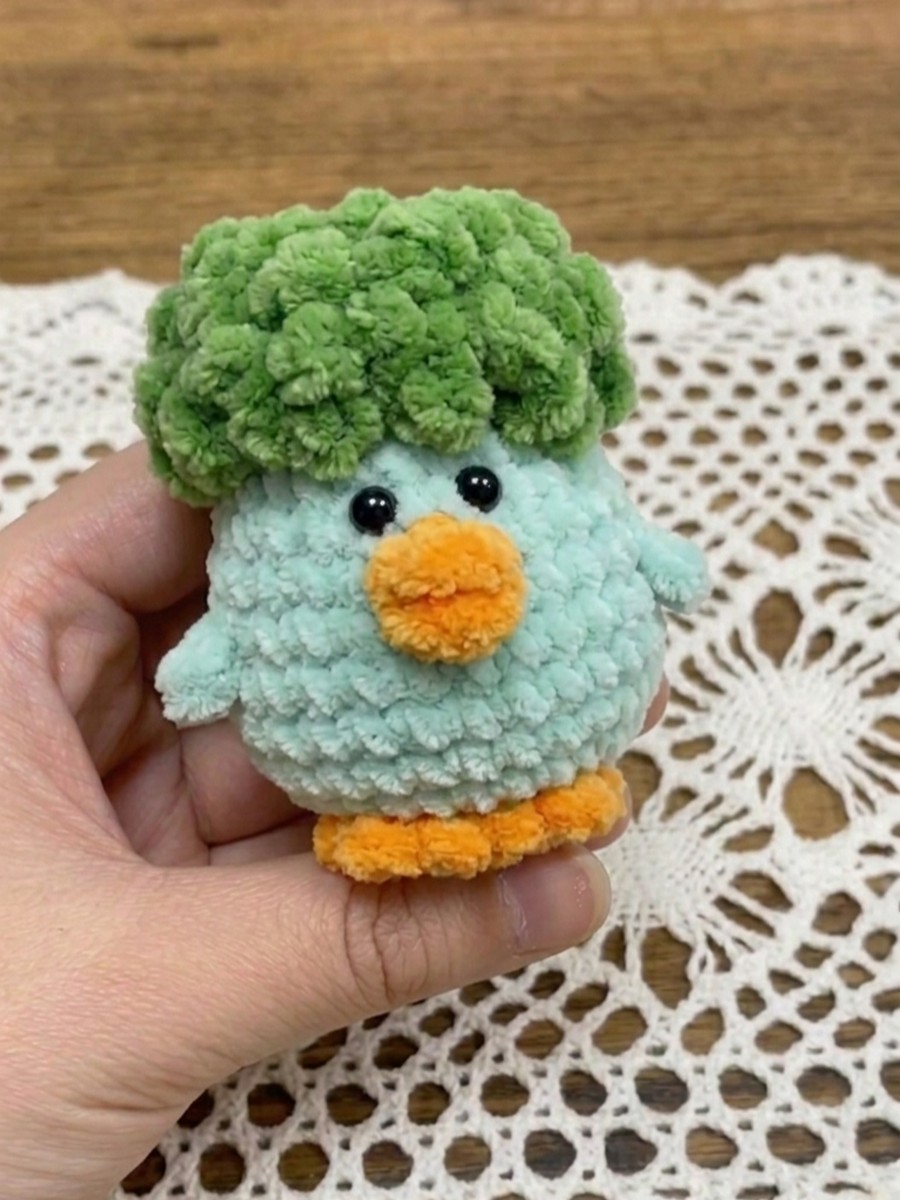
Crochet this chubby, googly-eyed parrot plushie to bring smiles to little faces with a FREE pattern. This bird plushie has fuzzy crochet hair and, with its big, flat feet, can stand on your table. So, you can make it your desk buddy for your future crochet projects. It is small, crocheted with the thin plush yarn, so you can also use it as a keychain or bag charm. This is a part of the Hawaiian plushie series, so kids can take it to the beach and play with it to their heart’s content.
Couple this plushie with the whale pouch that can hold beach momentos, too. The amigurumi parrot is low-sew and will look equally cute with the cotton yarn. Now, let me provide you with a US pattern to crochet it!
[ez-toc]
Crochet Parrot Fat Bird Plushie: Row-by-Row Pattern
Below is the complete FREE pattern for crocheting this fat bird plushie for beginners:
Materials Needed
- Yarn: Thin chenille or Milk Cotton yarn (4-ply) in Mint Green (body), White (eyes), and Orange (beak/feet).
- Hook Size: 2.5mm
- Green yarn cotton!
- Others: 2 black safety eyes (beads), fiberfill stuffing, sewing needle, and glue.
Abbreviations
- MR: Magic Ring
- ch: Chain
- sc: Single Crochet
- inc: Increase (2 sc in one stitch)
- dec: Decrease (sc 2 together)
- hdc: Half Double Crochet
- sl st: Slip Stitch
- BLO: Back Loop Only
- FLO: Front Loop Only
- (…) x 6: Repeat instructions inside parentheses 6 times.
1. Body (Mint Green & Dark Green)
Starting with Mint Green:
R1: 6 sc in MR (6)
R2: 6 inc (12)
R3: (1 sc, inc) x 6 (18)
R4: (2 sc, inc) x 6 (24)
R5: (3 sc, inc) x 6 (30)
R6–R8: 30 sc (30)
R9: (3 sc, dec) x 6 (24)
R10: 24 sc (24)
R11: (2 sc, dec) x 6 (18)
R12–R13: 18 sc (18)
Stuff the body firmly.
R14: BLO (1 sc, dec) x 6 (12)
R15: BLO 6 dec (6)
Fasten off and weave in the end to close the hole.
“Broccoli” Hair Texture (Dark Green): Join Dark Green yarn to the remaining Front Loops of R14 and R15.
Pattern: [ch 3, 1 sc in the same loop, ch 3, 1 sc in the same loop].
Skip 1 loop, sl st into the next loop, and repeat the pattern until the entire top head area is covered in “florets.”
2. Eyes (White – Make 2)
R1: 5 sc in MR.
Join with a seamless sl st. Fasten off, leaving a tail for sewing or gluing.
Attach a black bead/safety eye to the center.
3. Beak (Orange)
R1: In MR, work: ch 2, 1 hdc, ch 1, sl st, ch 1, 1 sc, ch 1, sl st.
Pull the ring tight and fasten off. Fold slightly to create the beak shape.
4. Wings (Mint Green – Make 2)
Find the side of the body between R8 and R9.
Step: ch 3, 1 hdc in the 2nd chain from hook, 1 sc in the next chain.
Fasten off and secure to the side of the body.
5. Feet (Orange – Make 2)
Using a slip knot to start:
Step 1: ch 3, sl st in the 2nd ch from hook, sl st in the 1st ch.
Step 2: ch 2, sl st in the 1st ch, then sl st back into the base of the first “toe.”
Step 3: ch 2, sl st in the 1st ch, then sl st back into the base.
This creates a small 3-toed webbed foot.
Assembly
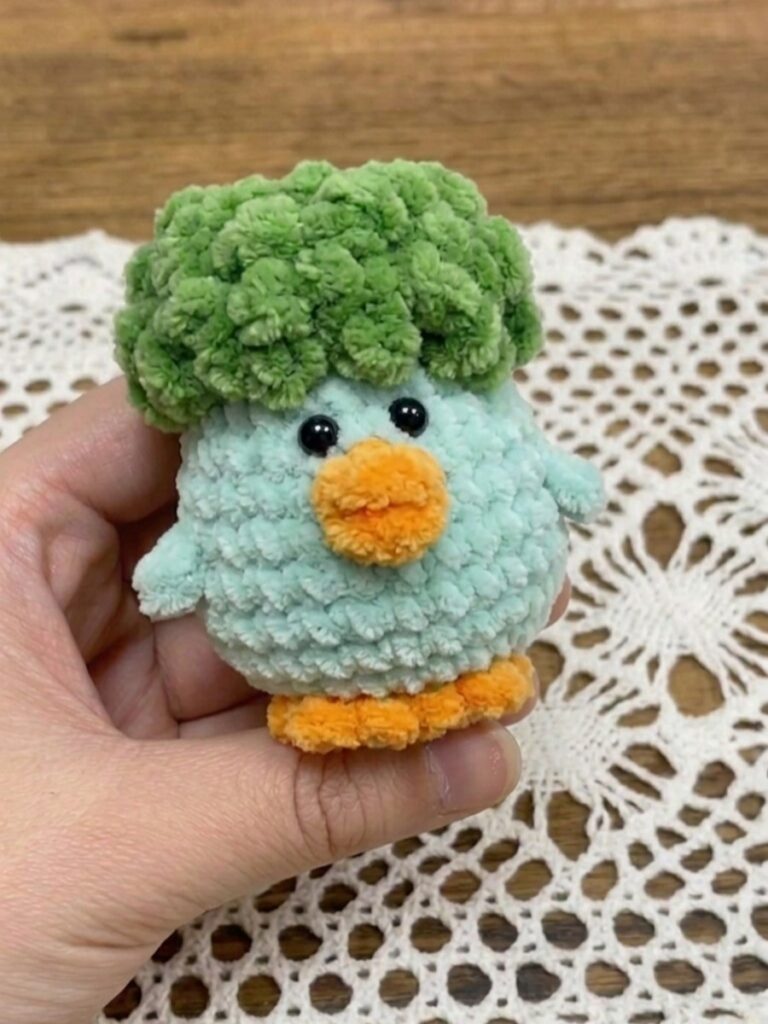
Eyes: Glue or sew the white circles to the front of the body (around R10–R11).
Beak: Glue the beak centered just below the eyes.
Wings: Attach to the sides of the body.
Feet: Glue or sew to the bottom of the body so the chick can stand.