
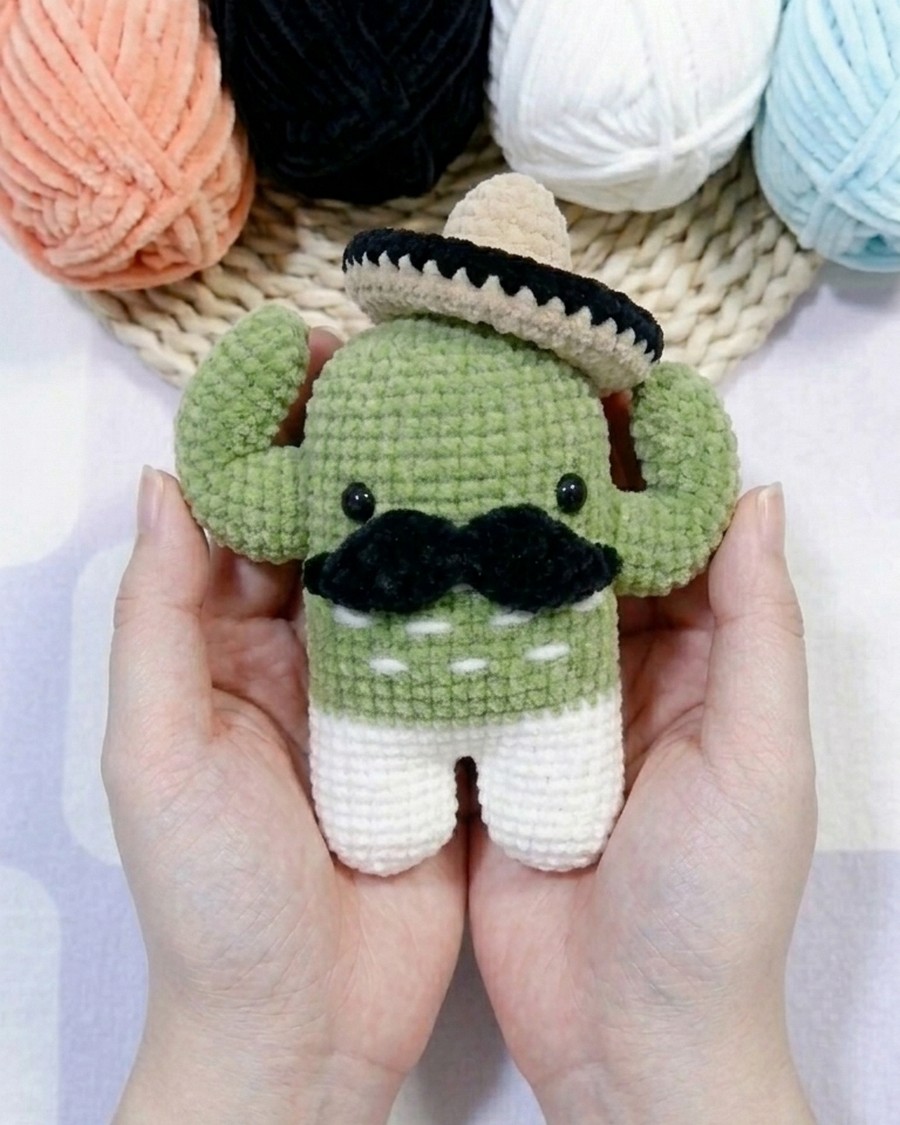
I am finally finishing the “crochet couple cactus dolls” plushie series with this crochet man cactus plushie pattern. Sharing the same base pattern, this crochet cactus doll has a big moustache, two lifted hands as if it is showing its muscles, and a sun bucket hat for summer. It is the best beach companion, and you can call it “Dapper Boy Cactus.” Features such as the belly embroidery spots in white, white legs, and no-sew body are the same as in the girl version.
When you complete the set, you will have the CUTEST couple present for weddings, Valentine’s Day, and even the New Year. Since the hat is tilted a bit and it is removable, you can also think it is posing its hat when its hands are lifted. Now, continue reading for the complete US pattern to crochet this plushie.
[ez-toc]
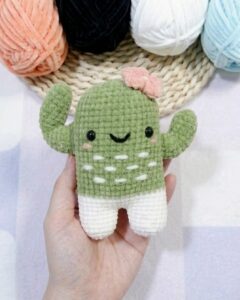
Here is how to crochet both the girl version of the cactus plushie with this pattern:
Crochet Cactus Man Plushie: Row-by-Row Pattern
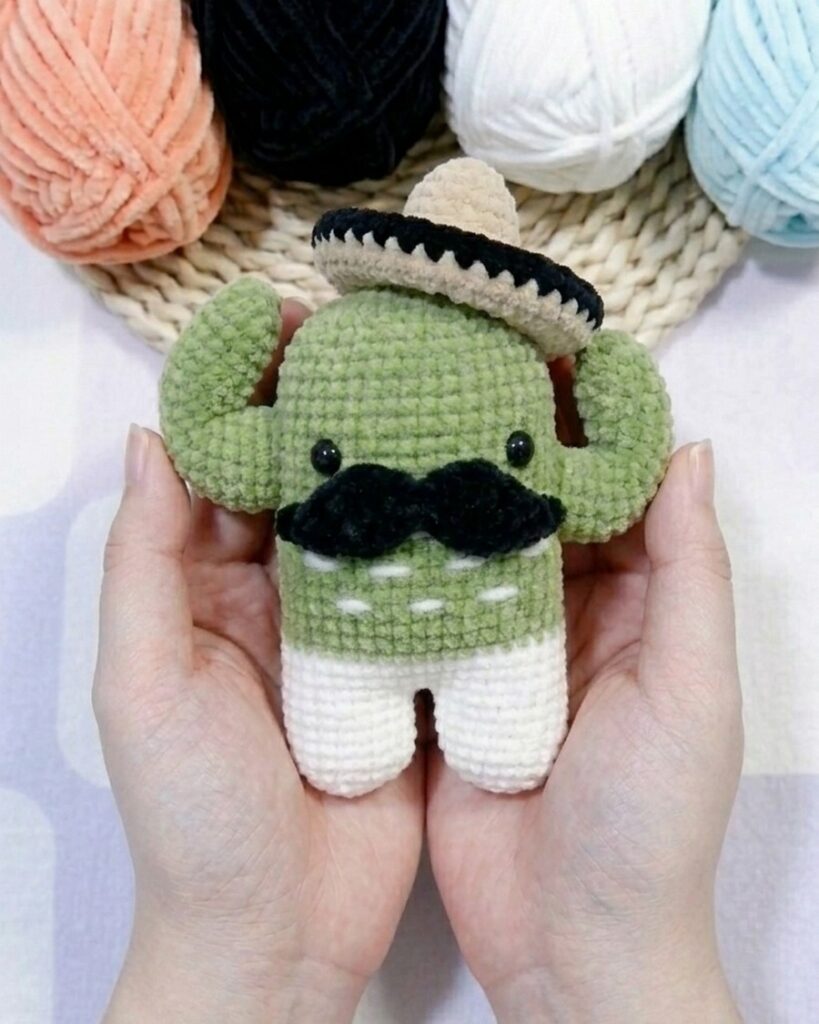
He features a clean color-block look with white pants. Again, has mismatched arms for a uniquely organic shape. To complete his gentlemanly look, he gets a classic top hat with a black brim and a dapper black mustache.
Here is the free pattern for crocheting this cactus man plushie for beginners:
Materials Needed
- Green, white, black, yellow (or light brown), and light blue yarn
- 2.0 mm crochet hook
- 6mm safety eyes
- Fiberfill stuffing
- Yarn needle, scissors, and a keychain ring
Legs and Body
- Round 1: With white yarn, make a MR and work 6 sc into it. (6 sts)
- Round 2: Work 6 inc around. (12 sts)
- Round 3: [1 sc, 1 inc] x 6. (18 sts)
- Round 4 – 7: Work 18 sc around. (18 sts) Fasten off the first leg. Repeat rounds 1–7 for the second leg but keep the yarn attached.
- Round 8: Chain 3 from the second leg, join to the first leg, and work 18 sc around it. Work 3 sc along the chain, 18 sc around the second leg, and 3 sc along the back of the chain. (42 sts)
- Round 9 – 12: Work 42 sc around. (42 sts)
- Round 13: Switch to green yarn and work 42 sc around. (42 sts)
- Round 14 – 30: Work 42 sc around for each round. (42 sts)
- Round 31: [5 sc, 1 dec] x 6. (36 sts)
- Round 32: [4 sc, 1 dec] x 6. (30 sts)
- Round 33: [3 sc, 1 dec] x 6. (24 sts) Stuff the body firmly here.
- Round 34: [2 sc, 1 dec] x 6. (18 sts)
- Round 35: [1 sc, 1 dec] x 6. (12 sts)
- Round 36: Work 6 dec around. (6 sts) Fasten off and weave the tail through the front loops to pull tight and close.
Left Arm
- Round 1: With green yarn, make a MR and work 6 sc. (6 sts)
- Round 2: Work 6 inc around. (12 sts)
- Round 3: [1 sc, 1 inc] x 6. (18 sts)
- Round 4: [2 sc, 1 inc] x 6. (24 sts) Flatten the piece and divide it into two halves of 12 stitches each.
- Top Section (Rounds 1 – 4): Work 12 sc around the first set of 12 stitches. (12 sts)
- Top Section (Round 5): Work 6 dec. (6 sts) Fasten off.
- Bottom Section (Round 1): Attach green yarn to the remaining 12 stitches and work 12 sc. (12 sts)
- Bottom Section (Round 2): Work 12 sc, adding 1 inc at the very end. (14 sts)
- Bottom Section (Round 3): Work 14 sc around. (14 sts) Fasten off and leave a long tail.
Right Arm
- Round 1 – 4: Follow the exact same setup and division instructions as the Left Arm.
- Top Section: Work 6 rounds of 12 sc instead of 4 rounds before closing.
- Top Section Close: Work 6 dec to close the tip and fasten off.
- Bottom Section: Repeat the exact same 3 rounds as the Left Arm bottom section (12 sc, 14 sc with an increase, 14 sc) and leave a long sewing tail.
Top Hat
- Round 1: With yellow or light brown yarn, make a MR and work 6 sc. (6 sts)
- Round 2: [1 sc, 1 inc] x 3. (9 sts)
- Round 3: [2 sc, 1 inc] x 3. (12 sts)
- Round 4: [3 sc, 1 inc] x 3. (15 sts)
- Round 5: [4 sc, 1 inc] x 3. (18 sts)
- Round 6: [5 sc, 1 inc] x 3. (21 sts)
- Round 7: [6 sc, 1 inc] x 3. (24 sts)
- Round 8: [3 sc, 1 inc] x 6. (30 sts)
- Round 9: [4 sc, 1 inc] x 6. (36 sts)
- Round 10: [5 sc, 1 inc] x 6. (42 sts)
- Round 11: Work 42 sc around. (42 sts)
- Round 12: Change to black yarn and work 42 sc around to create the hat brim. (42 sts) Fasten off.
Mustache
- Step 1: Using black yarn, chain 19.
- Step 2: Skip the first chain. Work 1 sl st into the second chain, followed by another 1 sl st in the next chain.
- Step 3: Work 1 sc, 1 hdc, 1 dc, 1 tr, and another 1 tr in the next consecutive chains.
- Step 4: Work 1 dc, then work 2 sl sts across the next two chains to form the center dip of the mustache.
- Step 5: Work 1 dc, 2 tr in the next two chains, 1 dc, 1 hdc, 1 sc, and finish with 2 sl sts in the final two chains. Fasten off and leave a tail for sewing.
Assembly and Finishing Touches
- Step 1: Sew the left arm to the side of the body around Round 17 and the right arm around Round 19.
- Step 2: Use light blue yarn to embroider small, staggered horizontal accent lines across the green body rows to mimic cactus texture.
- Step 3: Insert 6mm safety eyes between Rows 23 and 24, leaving a gap of 7 stitches between them.
- Step 4: Center and sew the black mustache directly underneath the safety eyes.
- Step 5: Securely sew the top hat onto his head, tilting it slightly if you want a more playful look.
- Step 6: Secure a keychain ring to the top of the hat to finish your project.