
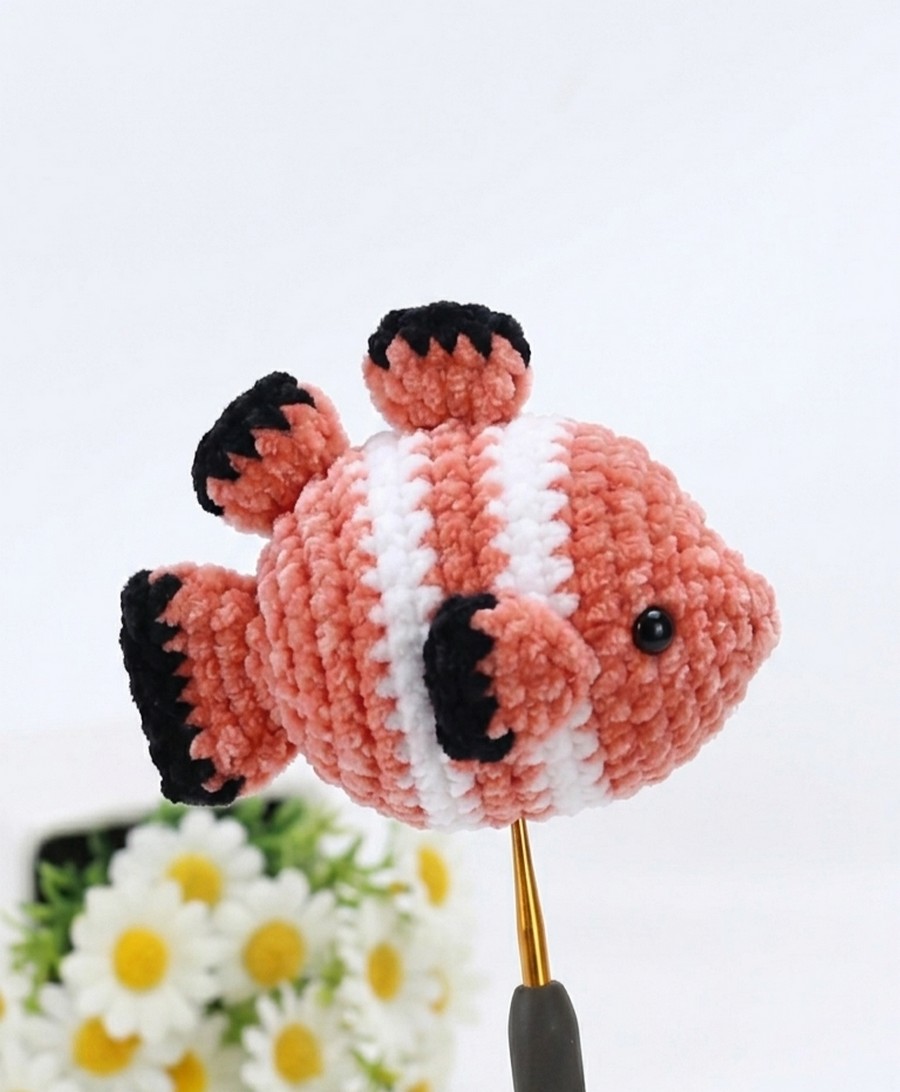
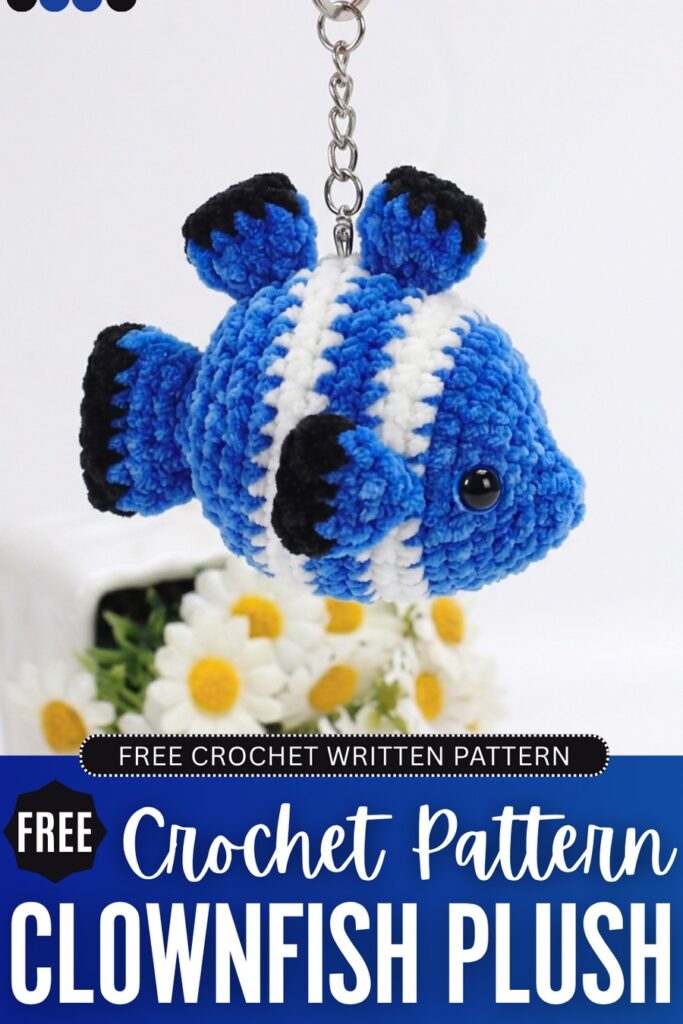
With this FREE pattern, learn how to crochet an authentic clownfish plushie inspired by Nemo that is small enough to be used as a fish keychain. You can crochet both the blue and an orange version with the same pattern. The strawberry clownfish variation, too, whose pattern I will share separately, can be made with the same pattern. Crochet one for kids for this year’s Shark Week, using a small amount of white and black yarn in addition to the orange or blue.
Each fin has a unique pattern, whether it’s pectoral, tail, or dorsal fin. Luckily, you can crochet it in less than 45 minutes. The pattern below will also contain the color instructions, so you can quickly and easily follow along with the tutorial. You can look forward to me for the strawberry fish pattern as it will be available very soon. For now, let’s crochet this oh-so cute clownfish plush for your beach tote bag.
Little fish plushies? Why not check the one below?
https://craftshive.com/cuttlefish-plushie-pattern/Nemo Plush: Round-by-Round Pattern
Here is the complete crochet pattern for the amigurumi Clownfish. The assembly is in the end:
Materials Needed
- Yarn: 4-ply milk cotton yarn (or your preferred plush yarn like chenille)
- Main Color (MC): Orange, Blue, or Pink
- Secondary Color 1 (CC1): White (for stripes)
- Secondary Color 2 (CC2): Black (for fin accents)
- Crochet Hook: 2.0 mm
- Other Tools: Fiberfill stuffing (PP cotton), tapestry needle, stitch markers, and safety eyes.
Crochet Abbreviations
- MR: Magic Ring
- ch: Chain
- sc: Single Crochet
- inc: Increase (2 sc in one stitch)
- dec: Invisible Decrease
- w: 3 sc in the same stitch (1针内钩3个短针)
- st(s): Stitch(es)
1. Body
Worked from the mouth to the tail in continuous rounds.
- R1: Using MC, 5 sc into a MR. [5]
- R2: 2 sc, 1 inc, 2 sc. [6]
- R3: 1 inc, 1 sc, 2 inc, 1 sc, 1 inc. [10]
- R4: 1 sc, 7 inc, 2 sc. [17]
- R5: 4 sc, (1 inc, 1 sc) × 4, 1 inc, 4 sc. [22]
- R6: 5 sc, (1 inc, 1 sc) × 6, 5 sc. [28]
- R7: 8 sc, 1 inc, 10 sc, 1 inc, 8 sc. [30]
- R8: 30 sc. [30]
- Change to CC1 (White) in the last stitch of R8.
- R9–R10: Using CC1, 30 sc. [30] (2 rounds)
- Change to MC in the last stitch of R10.
- R11–R12: Using MC, 30 sc. [30] (2 rounds)
- Change to CC1 (White) in the last stitch of R12.
- R13–R14: Using CC1, 30 sc. [30] (2 rounds)
- Change to MC in the last stitch of R14.
- R15: Using MC, 30 sc. [30]
- R16: (4 sc, 1 dec) × 6. [24]
- R17: (3 sc, 1 dec) × 6. [18]
- R18: 18 sc. [18]
- Stuff the body firmly with fiberfill before continuing.
- R19: (1 sc, 1 dec) × 6. [12]
Finishing the body: Fasten off, leaving a tail. Flatten the opening edge and sew it closed symmetrically from side to side.
2. Tail Fin
Worked around both sides of a foundation chain.
- R1: Using CC2 (Black), ch 8. Starting from the 2nd ch from the hook: 6 sc, 1 w (3 sc in the corner ch). Turn to work along the opposite side of the chain: 5 sc, 1 inc. [16]
- Change to MC in the last stitch of R1.
- R2: Using MC, 16 sc. [16]
- R3: (1 dec, 6 sc) × 2. [14]
- R4: (1 dec, 5 sc) × 2. [12]
Fasten off using an invisible join and leave a yarn tail for assembly.
3. Dorsal Fins — Make 2
Worked around both sides of a foundation chain.
- R1: Using CC2 (Black), ch 5. Starting from the 2nd ch from the hook: 3 sc, 1 w (3 sc in the corner ch). Turn to work along the opposite side of the chain: 2 sc, 1 inc. [10]
- Change to MC in the last stitch.
- R2: Using MC, 10 sc. [10]
- R3: (1 dec, 3 sc) × 2. [8]
- R4: (1 dec, 2 sc) × 2. [6]
Fasten off, leaving a long tail for sewing.
4. Pectoral Fins — Make 2
Worked in continuous rounds.
- R1: Using MC, 4 sc into a MR. [4]
- R2: (1 sc, 1 inc) × 2. [6]
- R3: (1 sc, 1 inc) × 3. [9]
- R4: 9 sc. [9]
- Change to CC2 (Black) in the last stitch of R4.
- R5: Using CC2, (2 sc, 1 inc) × 3. [12]
Finishing the pectoral fins: Flatten the opening edge together and sew it closed flat. Leave a tail for sewing.
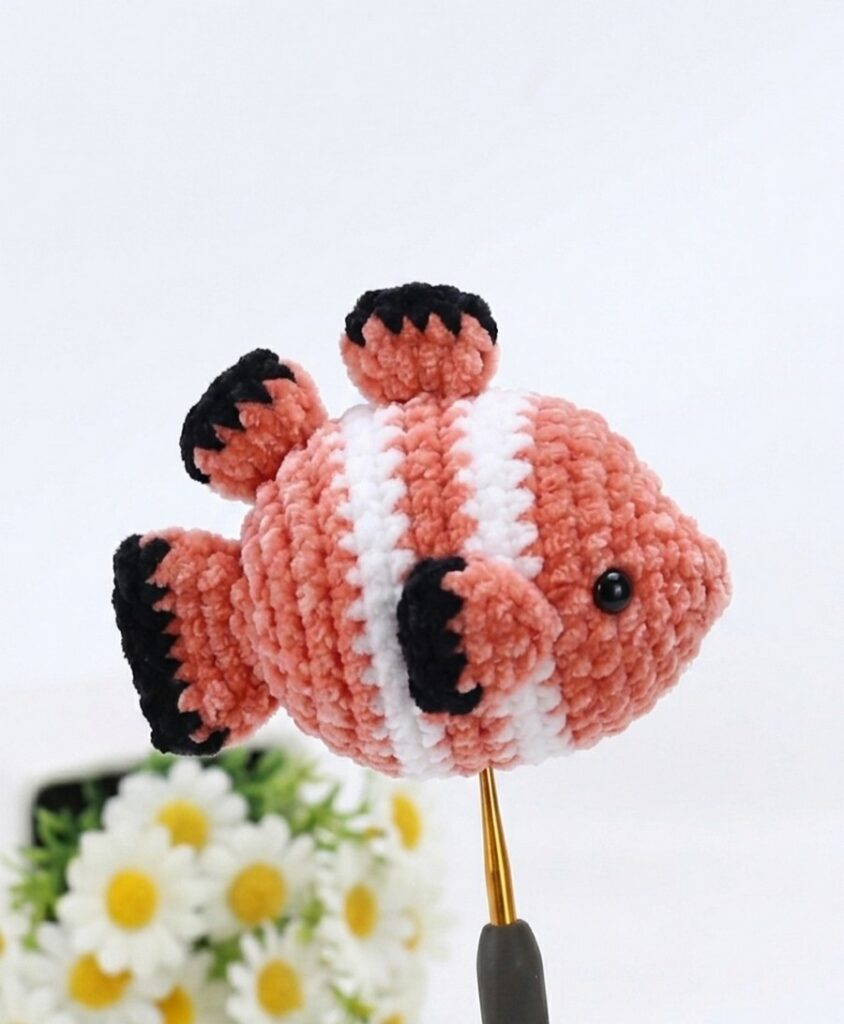
5. Assembly Instructions
- Tail Fin: Attach and sew the tail fin to the flattened back end of the body.
- Dorsal Fins: Position and sew the two small dorsal fins vertically along the spine on top of the fish.
- Pectoral Fins: Attach the two side fins symmetrically right at the boundary where the first white stripe meets the main color body.
- Eyes: Securely attach or glue two safety eyes onto the front head area to finish your clownfish!

About "Talha"
Hey, I’m Talha, the Crafter on Craftstive.com. I love to share guides on folding cute origami models and paper crafts, and I am always ready to inspire your next craft project with my weekly craft discussions.