
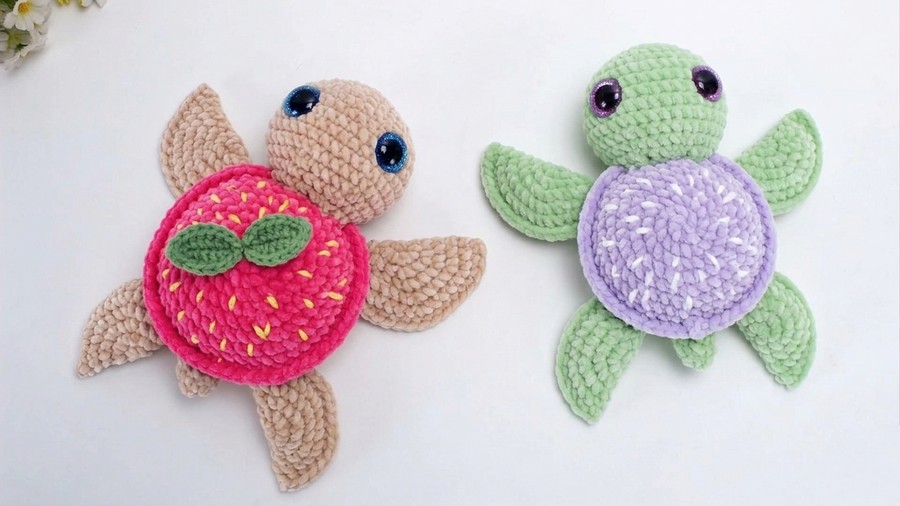
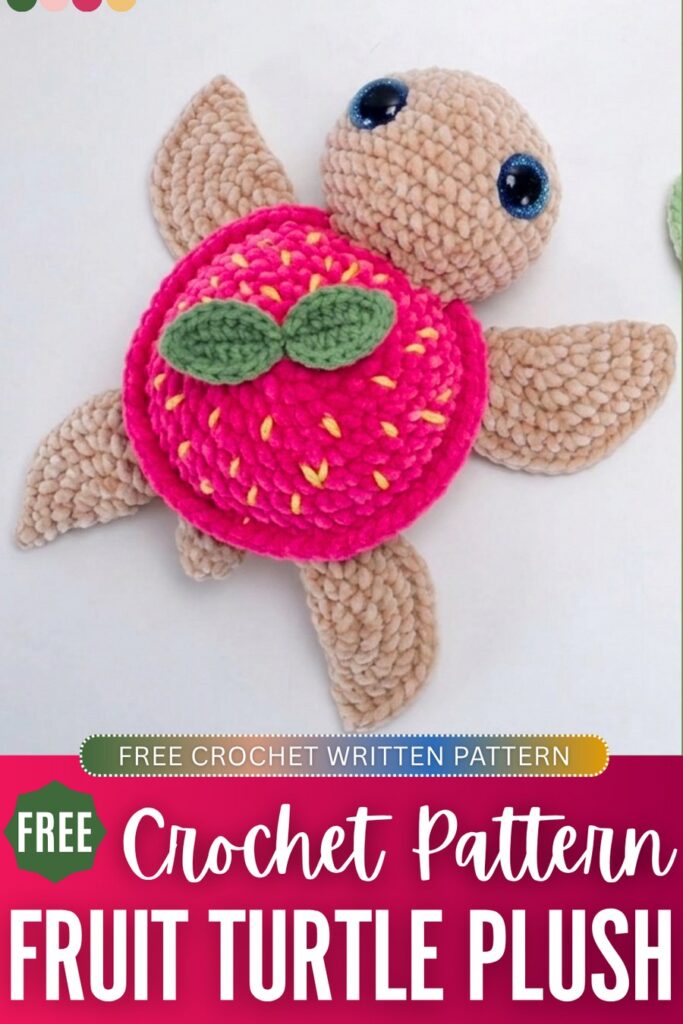
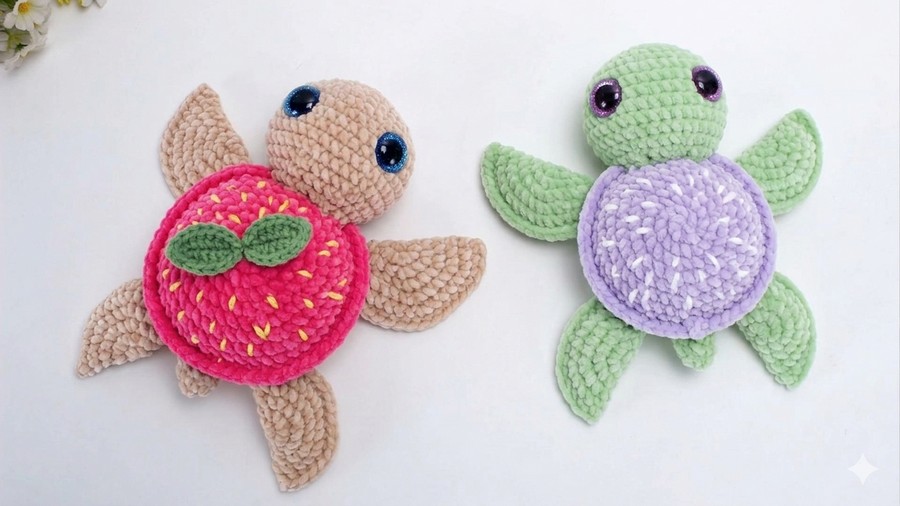
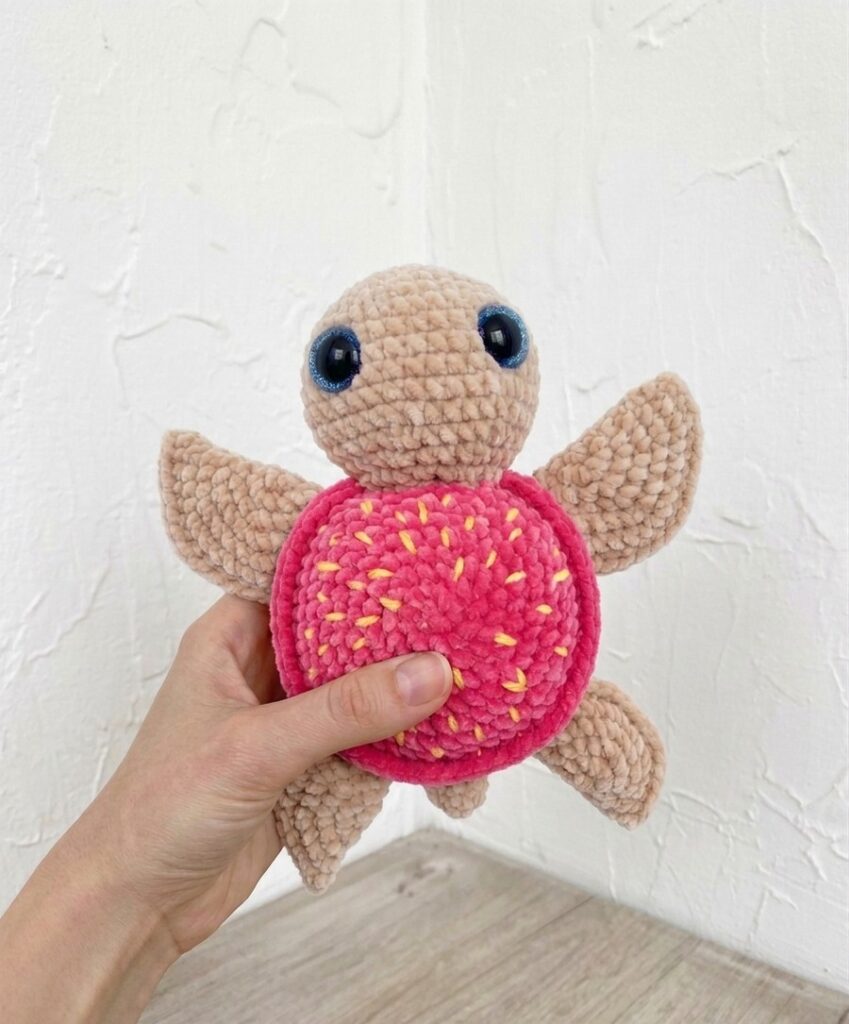
This is part 2 of the crochet “themed shell” turtle plushie series. Today, you will learn how to crochet a big strawberry shell turtle plushie for both spring and summer. The base body and the pattern to crochet this turtle plushie are the same as the eggplant turtle for which I shared a tutorial last time. Now, you will learn how to crochet a plushie with yellow embroidery on a hot pink shell, also a two-leaf sprout, and blue glitter eyes.
We will first crochet the head of the plush, which has to be kept open. Then the arms and legs, which will require folding and sewing a crochet circle. The shell and body will be worked as a single piece, and in the end, I will explain the assembly in detail. Now, continue reading for the crochet strawberry turtle pattern.
[ez-toc]
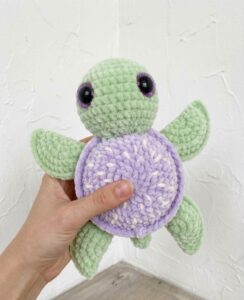
Looking for another fruit shell turtle plushie? Check out the eggplant plushie:
Crochet Strawberry Fruit Turtle: Round-by-Round Pattern
Here is the complete crochet pattern for the strawberry version of our big turtle plushie that you can customize. We will crochet as separate parts for the head, arms, legs, and body and sew later-on:
Materials Required
-
Yarn: Super bulky plush/velvet yarn in Beige (for head, limbs, and tail) and Vibrant Pink/Strawberry Red (for the shell). Medium-weight or plush yarn in Green (for the leaves) and Yellow (for the seeds).
-
Crochet Hook: 4.5mm to 5.5mm (or size needed to match your plush yarn tension).
-
Safety Eyes: One pair of large blue glitter safety eyes (approx. 16mm–18mm).
-
Stuffing: Polyester fiberfill / PP cotton.
-
Tools: Stitch markers, a yarn needle with a large eye, and scissors.
Abbreviations Guide
-
MR: Magic Ring
-
ch: Chain
-
sc: Single Crochet
-
hdc: Half Double Crochet
-
dc: Double Crochet
-
inc: Increase (2 sc in the same stitch)
-
dec: Decrease (Invisible single crochet decrease)
-
FLO: Front Loop Only
-
BLO: Back Loop Only
-
sl st: Slip Stitch
-
st(s): Stitch(es)
-
Rnd: Round
Head Pattern
Use Beige yarn. Work in a continuous spiral.
-
Rnd 1: MR, 6 sc (6 sts)
-
Rnd 2: 6 inc (12 sts)
-
Rnd 3: (sc, inc) × 6 (18 sts)
-
Rnd 4: (2 sc, inc) × 6 (24 sts)
-
Rnd 5: (3 sc, inc) × 6 (30 sts)
-
Rnd 6: (4 sc, inc) × 6 (36 sts)
-
Rnd 7–11: 36 sc (36 sts)
-
Eye Installation: Insert the blue glitter safety eyes between Rnds 6 and 7, leaving about 10 to 12 stitches of space between them. Snap the back washers securely in place.
-
Rnd 12: (4 sc, dec) × 6 (30 sts)
-
Rnd 13: (3 sc, dec) × 6 (24 sts)
-
Rnd 14: (2 sc, dec) × 6 (18 sts)
-
Finish: sl st to the next stitch, leave a long tail for sewing, and fasten off. Stuff the head firmly with fiberfill.
Tail Pattern
Use Beige yarn.
-
Rnd 1: MR, 4 sc (4 sts)
-
Rnd 2: 4 inc (8 sts)
-
Rnd 3–5: 8 sc (8 sts)
-
Finish: Leave a long tail for sewing and fasten off. Leave the tail unstuffed.
Back Legs Pattern (Make 2)
Use Beige yarn.
-
Rnd 1: MR, 7 sc (7 sts)
-
Rnd 2: 7 inc (14 sts)
-
Rnd 3: (sc, inc) × 7 (21 sts)
-
Finish: Fold the circle flat in half. Lightly stuff the inside with fiberfill. Work sc stitches through both aligned edges across the top to seal the opening shut. Fasten off, leaving a long tail for sewing.
Front Legs Pattern (Make 2)
Use Beige yarn.
-
Rnd 1: MR, 7 sc (7 sts)
-
Rnd 2: 7 inc (14 sts)
-
Rnd 3: (sc, inc) × 7 (21 sts)
-
Rnd 4: (2 sc, inc) × 7 (28 sts)
-
Finish: Fold the circle flat in half. Lightly stuff the inside. Work sc stitches through both aligned edges across the top to seal the flipper closed. Fasten off, leaving a long tail for sewing.
Strawberry Shell & Body Pattern
Start with Vibrant Pink/Strawberry Red yarn.
-
Rnd 1: MR, 6 sc (6 sts)
-
Rnd 2: 6 inc (12 sts)
-
Rnd 3: (sc, inc) × 6 (18 sts)
-
Rnd 4: (2 sc, inc) × 6 (24 sts)
-
Rnd 5: (3 sc, inc) × 6 (30 sts)
-
Rnd 6: (4 sc, inc) × 6 (36 sts)
-
Rnd 7: (5 sc, inc) × 6 (42 sts)
-
Rnd 8: (6 sc, inc) × 6 (48 sts)
-
Rnd 9: 48 sc (48 sts)
-
Rnd 10: FLO 48 sc (48 sts). Fasten off with an invisible join and weave in this tail.
-
Seed Embroidery Step: Before moving to the bottom color, take your Yellow yarn or thread and a needle. Embroider small, scattered vertical ‘V’ shapes or straight stitches across the pink shell surface to resemble strawberry seeds. Tie off securely on the inside of the shell.
-
Rnd 11: Switch to Beige yarn. Attach it to the remaining inner BLO loops left behind from Rnd 10: BLO 48 sc (48 sts).
-
Rnd 12 (Limb Gap Round): 5 sc, ch 4 (skip 4 sts), 8 sc, ch 3 (skip 3 sts), 3 sc, ch 2 (skip 2 sts), 3 sc, ch 3 (skip 3 sts), 8 sc, ch 4 (skip 4 sts), 5 sc (48 total sts and chains).
-
Rnd 13: (6 sc, dec) × 6. Note: Work directly into the chain loops from the previous round as if they are normal stitches. (42 sts)
-
Rnd 14: (5 sc, dec) × 6 (36 sts)
-
Rnd 15: (4 sc, dec) × 6 (30 sts)
-
Rnd 16: (3 sc, dec) × 6 (24 sts)
-
Rnd 17: (2 sc, dec) × 6 (18 sts). Pause here to assemble the limbs and stuff the body.
-
Rnd 18: (sc, dec) × 6 (12 sts)
-
Rnd 19: 6 dec (6 sts)
-
Finish: Cut yarn, leaving a short tail. Weave the tail through the front loops of the remaining 6 stitches, pull tightly like a drawstring to close the hole completely, and hide the yarn tail inside the body.
Strawberry Leaves Pattern (Make 2)
Use Green yarn.
-
Foundation: ch 7.
-
Row 1: Starting in the 2nd ch from the hook, work: sc, hdc, 2 dc, hdc. In the very last chain loop, work 3 sc all into the same stitch to round the tip of the leaf.
-
Row 2: Rotate your piece to work down the opposite side of the foundation chain loops: hdc, 2 dc, hdc, sc.
-
Finish: sl st to the very first sc to close the leaf circle. Fasten off, leaving a long green tail for sewing.
Detailed Assembly Instructions
-
Positioning the Legs and Tail: Pause after finishing Rnd 17 of the body. Locate the chain holes you created along Rnd 12. The two 4-stitch holes near the front are for the large front flippers, the two 3-stitch holes are for the back legs, and the single 2-stitch hole at the rear center is for the tail.
-
Sewing the Limbs: Insert the flat, stitched edge of a front flipper into one of the 4-stitch gaps. Use your yarn needle and the beige yarn tail to securely whipstitch the edge of the flipper to the opening, ensuring the curved edge points outward and forward. Repeat this process to secure the remaining front leg, both back legs in their 3-stitch gaps, and the little tail in its 2-stitch gap. Pull all remaining yarn ends into the interior of the shell.
-
Stuffing the Main Body: Firmly stuff the underbelly of the turtle through the bottom hole with fiberfill until the strawberry shell maintains a plump, rounded dome shape. Once stuffed, resume crocheting Rnds 18 and 19 to close the body base tightly.
-
Attaching the Topper Leaves: Take your two green leaves and place them flat against the top center of the pink strawberry shell, angled slightly outwards from each other. Use the green yarn tails to sew them flat against the top of the shell, then weave the excess thread into the body to hide it.
-
Attaching the Head: Position the stuffed beige head directly between the two front flippers. Center it carefully so the glittery blue eyes face forward and sit evenly above the body line. Use the long beige tail from the head to sew deeply around the neck opening and into the body shell stitches. Pull your stitches tight and go around the neck twice to ensure the head is stable and won’t droop. Knot the yarn and pull the remaining tail inside the body to finish.

About "Talha"
Hey, I’m Talha, the Crafter on Craftstive.com. I love to share guides on folding cute origami models and paper crafts, and I am always ready to inspire your next craft project with my weekly craft discussions.