
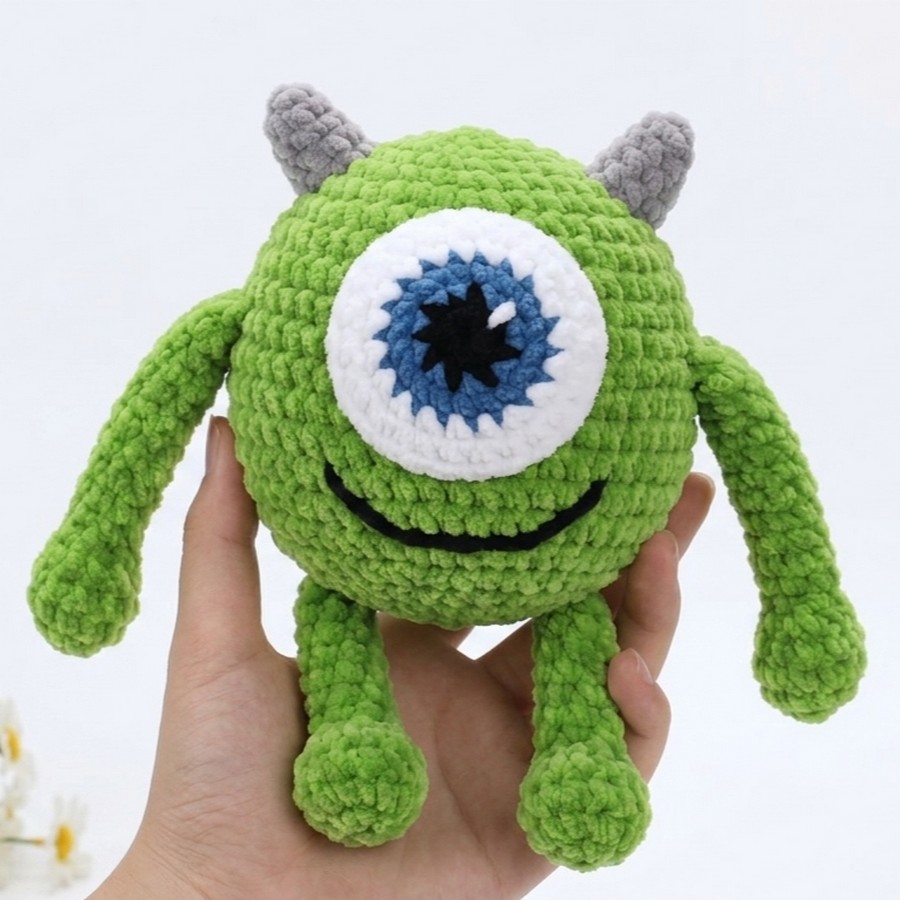
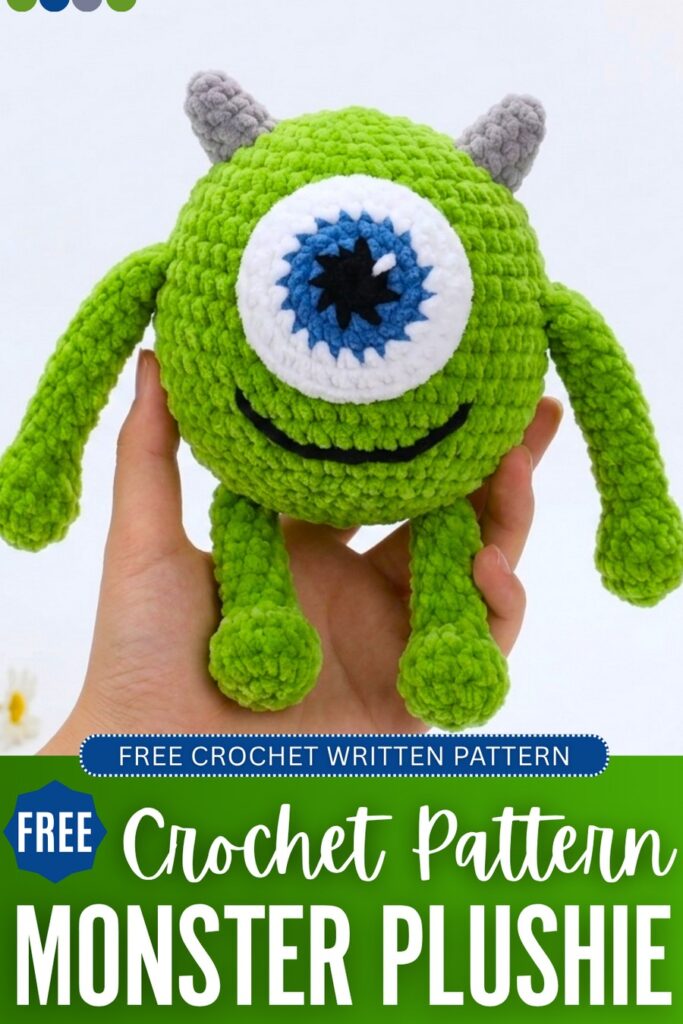
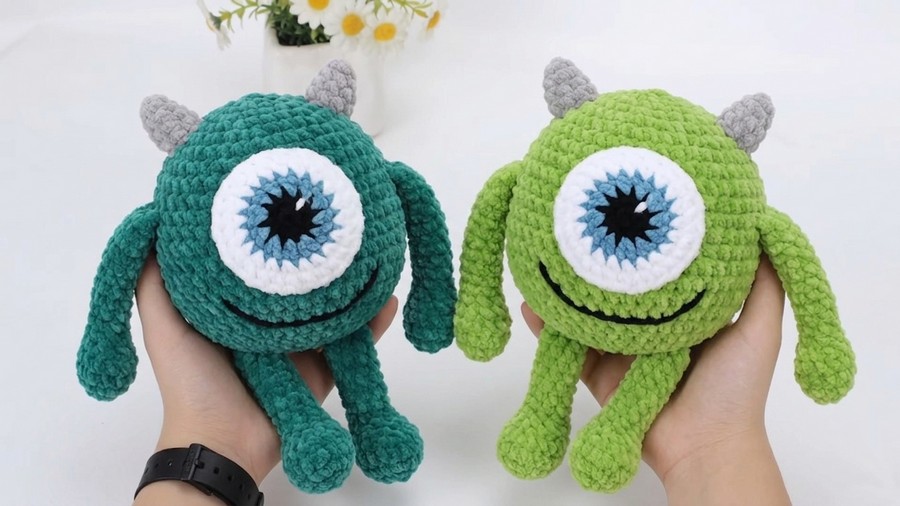
Learn how to crochet a one-eyed chubby & smiling monster plushie named “Mike Monster” with this pattern. This will be your familiar Disney Monster plush, crocheted in any shade of green. It is also a quick and beginner-friendly monster plush, as the body is just a crochet sphere. You can also treat it as a masterclass to learn basic amigurumi doll shapes and parts, such as the arms, a cone for the horns, and a striped circle for the eyes.
You can easily crochet this monster plushie (yup! I have also shared Chili Monster plush) in less than 60 minutes. I will explain the assembly in detail in the end, and the full pattern just below. You can also crochet it for Halloween or as a birthday present for a little one.
Crochet Mike the Monster Plush from Monsters Inc.: Round-by-Round Pattern
Learn how to crochet this plush version of a monster round-by-round with this free pattern for beginners:
Materials Needed
- Yarn: Main color (Green), Grey, Black, and White. Super bulky chenille yarn.
- Crochet Hook: 5mm crochet hook
- Fiberfill / PP Cotton (for stuffing the body)
- Craft Wire or Chenille Stems / Pipe Cleaners (for making the limbs posable)
- Tapestry Needle (for seamless joining and assembly)
- Scissors
- Stitch Markers
Crochet Abbreviations
- MR: Magic Ring
- ch: Chain
- x: Single crochet
- v: Increase
- a: Decrease
- sl st: Slip stitch
Full Crochet Pattern
1. Body
Using Green Yarn (Main Color)
- R1: MR 6x (6)
- R2: 6v (12)
- R3: (x, v) * 6 (18)
- R4: (2x, v) * 6 (24)
- R5: (3x, v) * 6 (30)
- R6–R7: 30x (30)
- R8: (4x, v) * 6 (36)
- R9–R16: 36x (36)
- R17: (4x, a) * 6 (30)
- R18: (3x, a) * 6 (24)
- R19: (2x, a) * 6 (18) (Stuff firmly with fiberfill at this stage)
- R20: (x, a) * 6 (12)
- R21: 6a (6)
- Fasten off and weave in the remaining yarn tail to close up the sphere.
2. Eye
Using Black, Green, and White Yarn
- R1: Starting with Black yarn, MR 6x. On the 6th stitch, pull through with Green yarn to change colors. Join with a sl st to the first stitch. (6)
- R2: Continuing with Green yarn, ch 1, 6v. On the 12th stitch, pull through with White yarn to change colors. Join with a sl st to the first stitch. (12)
- R3: Continuing with White yarn, ch 1, (x, v) * 6. Join with a sl st. (18)
- R4: ch 1, (2x, v) * 6. (24)
- Fasten off, leaving a long yarn tail for sewing. Use your tapestry needle to seamlessly join the final round by threading through the second stitch, then back down through the center of the final stitch loop.
3. Arms — Make 2
Using Green Yarn (Main Color)
- R1: MR 6x (6)
- R2: 6v (12)
- R3: 12x (12)
- R4: 6a (6)
- R5–R15: 6x (6)
- Fasten off, leaving a long tail for sewing.
4. Horns — Make 2
Using Grey Yarn
- R1: MR 4x (4)
- R2: (x, v) * 2 (6)
- R3: 6x (6)
- Fasten off, leaving a long tail for sewing.
5. Legs — Make 2
Using Green Yarn (Main Color)
- R1: MR 6x (6)
- R2: 6v (12)
- R3: 12x (12)
- R4: 6a (6)
- R5–R12: 6x (6)
- Fasten off, leaving a long tail for sewing.
Detailed Assembly Instructions
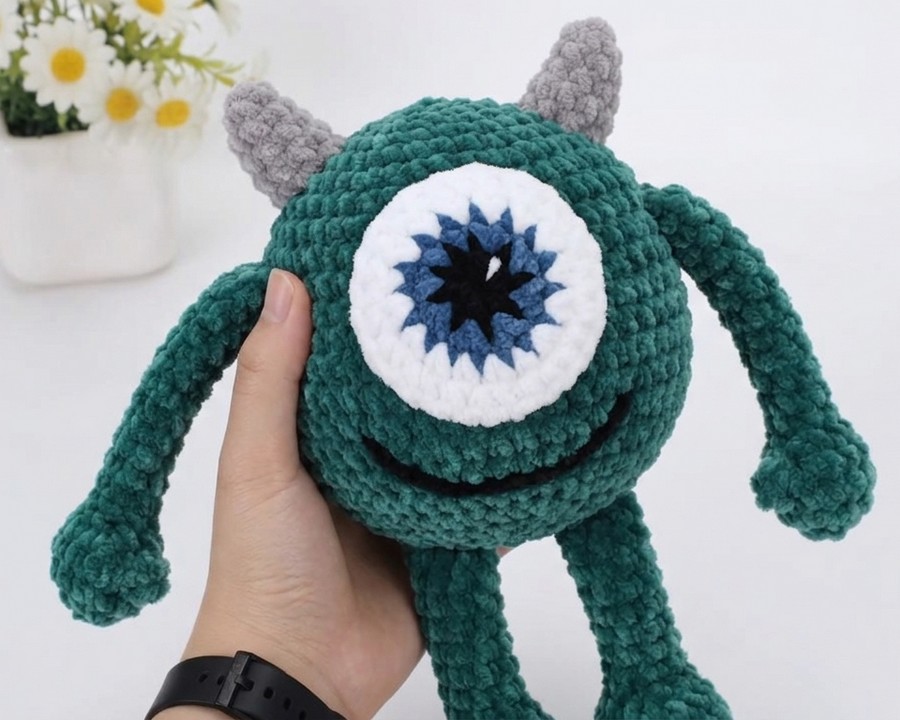
Attaching the Eye: Because the monster’s body is entirely spherical, you can select any side to serve as the face. Position the single large completed eye right in the center, covering roughly rows 5 and 6 down from the top. Use your tapestry needle to stitch all the way around the white perimeter to fix it flush against the face.
Inserting Limb Wire and Sewing Arms: Measure and cut two pieces of craft wire or pipe cleaner slightly shorter than the arm tubes. Fold the sharp tips inward so they don’t poke out through your stitches. Slide one wire piece fully inside each arm to make them bendable. Sew the arms symmetrically onto opposite sides of the body, roughly 8 to 9 rows down from the crown, ensuring they look perfectly balanced on either side of the eye.
Positioning the Horns: Do not add any stuffing or wire to the two grey horns. Sew them directly onto the crown of the head, aligned around rows 4 to 5 down from the top center magic ring.
Wiring and Sewing the Legs: Just like the arms, insert a small folded piece of wire or pipe cleaner into both leg pieces to add stability. Sew the legs onto the base of the sphere, positioned around rows 2 to 3, counting up from the very bottom closure.
Embroidering the Smile: Thread your tapestry needle with a thinner strand of black yarn. Insert it through the body and bring it out about two rows directly beneath the bottom edge of the eye. Sew a wide smile line. To give the smile a cleaner and more rounded look, wrap your black thread continuously around the main smile baseline stitches until it forms a smooth, bold curve, then secure and bury the knot inside the body.

About "Talha"
Hey, I’m Talha, the Crafter on Craftstive.com. I love to share guides on folding cute origami models and paper crafts, and I am always ready to inspire your next craft project with my weekly craft discussions.