
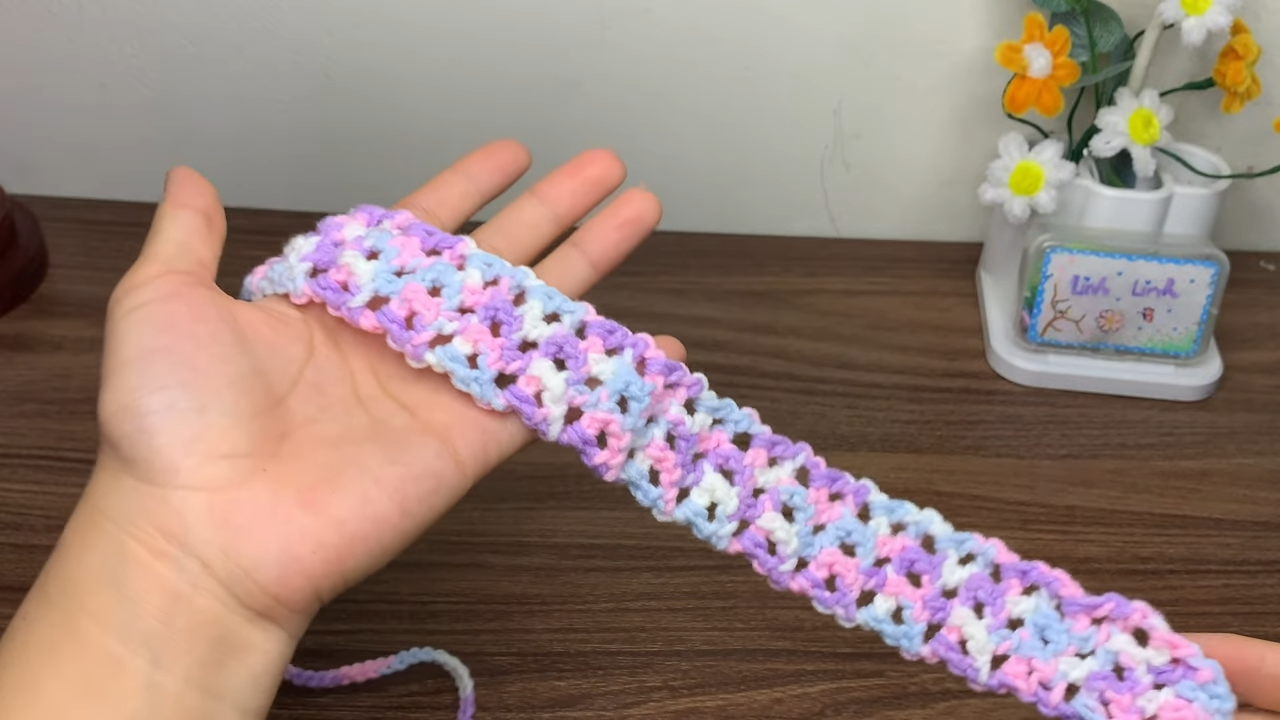
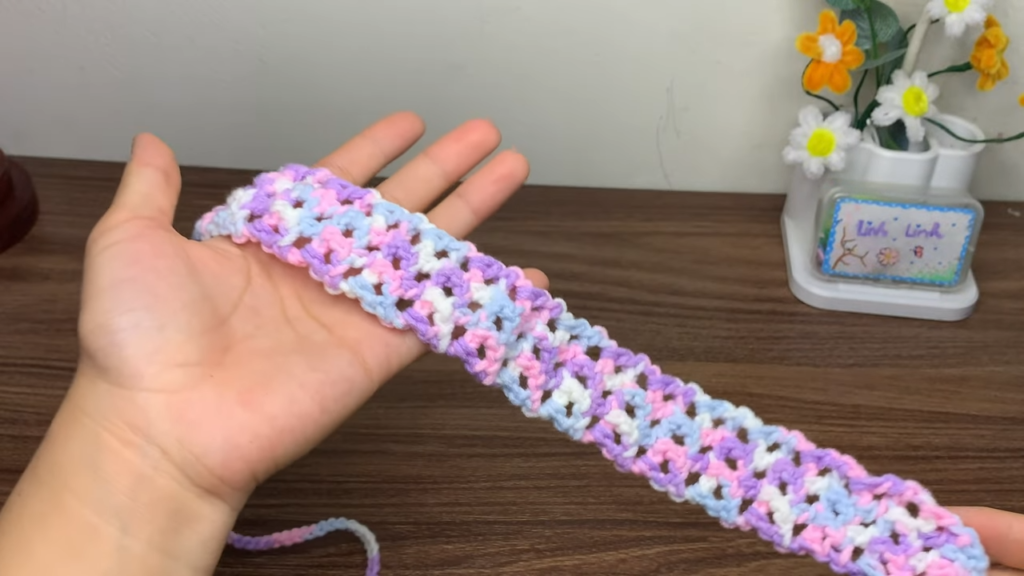
Let’s crochet the cotton candy headband with this pattern, an easy, sweet, and colorful crochet ombre headband with a beautiful mesh texture. We will use the self-striping yarn of three beautiful colors to crochet it, and it will turn out to be elegant! While it is not as easy as the Basic Headband, it is perfect for beginners. It is CUTE and Trendy and perfect for baby girls.
You can easily crochet this stylish headband in less than 30 minutes. It is easy to adjust the size because of its repetitive mesh stitch pattern. You can also crochet it using the usual square mesh stitch. I will try to describe the whole pattern. So, be sure to crochet this present this summer for sure.
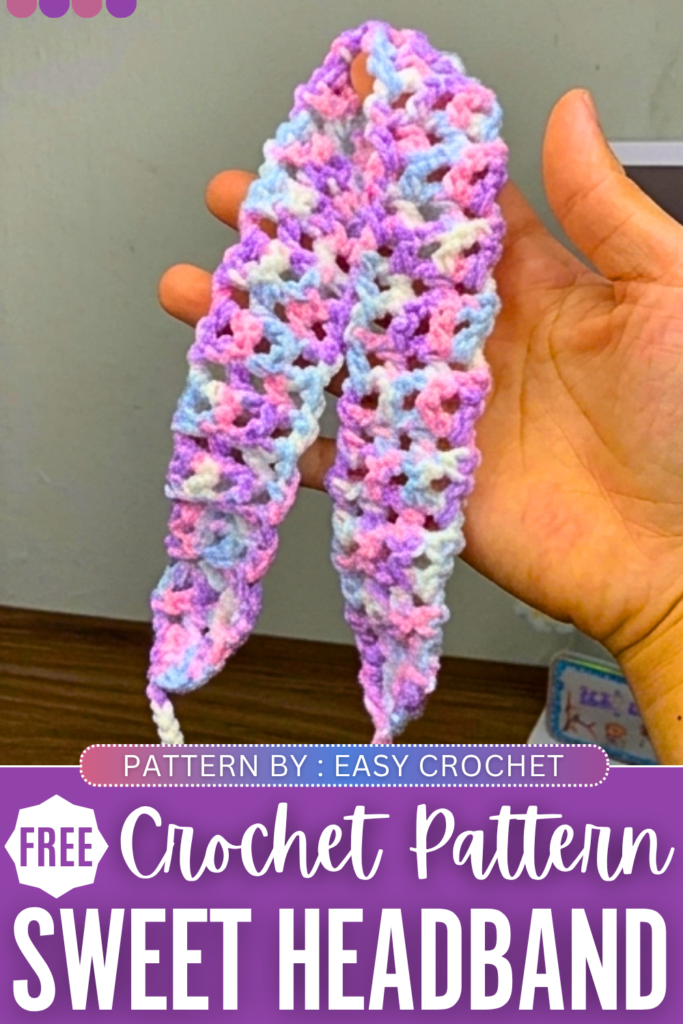
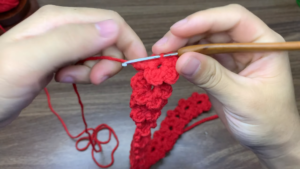
Super Easy Crochet Mesh Headband Pattern
The headband features a trendy square grid motif and is worked in one continuous piece, starting from the first tying strap, expanding into the mesh body, and decreasing down into the second tying strap.
Materials Needed
- Yarn: Color-changing yarn (approximately 3mm thickness, which is roughly a DK or Light Worsted weight yarn).
- Crochet Hook: 3.5 mm (Note: The yarn label in the video recommends a 4.5 mm hook, but the creator specifically sizes down to a 3.5 mm hook so the stitches stay tight and neat).
- Other: Scissors.
Abbreviations (US Terms)
- ch = chain
- st / sts = stitch / stitches
- dc = double crochet
- dc3tog = double crochet 3 together (a decrease cluster)
- yo = yarn over
Important Pattern Notes
- The ch-3 at the beginning of the rows always counts as your first double crochet (dc) stitch.
- The pattern creates a slightly asymmetrical grid: one edge of the headband will have two solid double crochets sitting side-by-side, while the rest of the row forms the open mesh spaces.
- You can easily adjust the length of the tying straps by chaining more or fewer stitches at the very beginning and very end of the project.
Step-by-Step Instructions
Part 1: The First Tie and Base
- Start by making a slip knot, leaving a small tail.
- Foundation: ch 45 (This creates the first strap. Adjust this number if you want a longer or shorter tie).
- Once you reach your 45th chain, pull it tightly. This ensures the gap won’t stretch open too wide when you crochet the base of the headband into it.
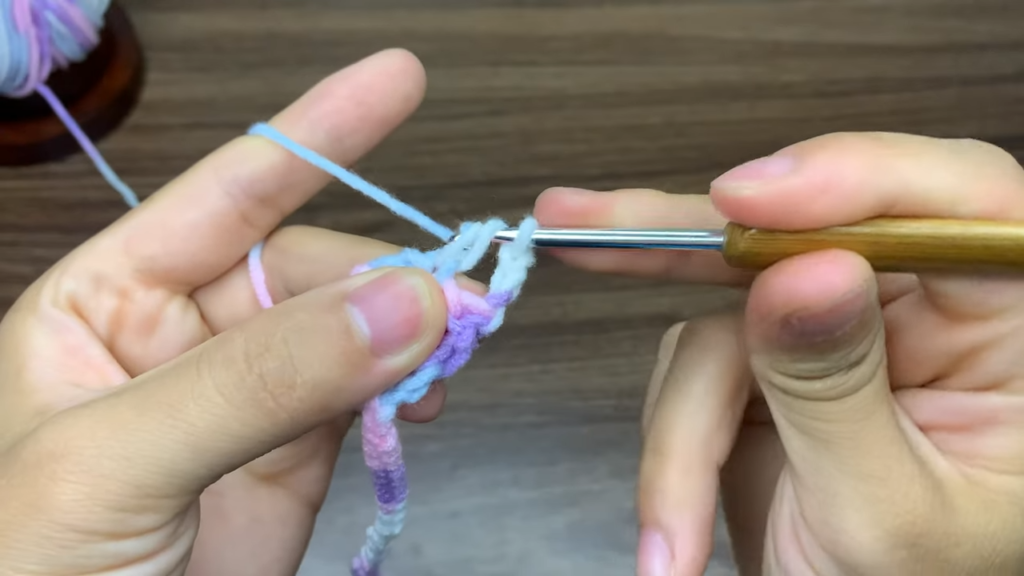
- Row 1 (Headband Base): ch 3 (this counts as your first dc). Work 3 dc directly into the very first chain of your 45-ch strap (the one you just pulled tight). You should now have a small fan of 4 dc posts in total, all coming out of that single chain stitch.
Part 2: The Headband Body (Grid Motif)
- Row 2: ch 3 and turn your work. Skip the base stitch (the stitch your chain is coming out of). Work 1 dc into the next dc. ch 1, work 1 dc into the next dc. ch 1, work 1 dc into the top of the turning chain-3 from the previous row. (You now have 4 vertical dc posts separated by two ch-1 spaces).
- Row 3: ch 3 and turn your work. Work 1 dc into the next dc. ch 1, skip the ch-1 space from the previous row, work 1 dc into the next dc. ch 1, skip the next ch-1 space, work 1 dc into the top of the turning chain-3.
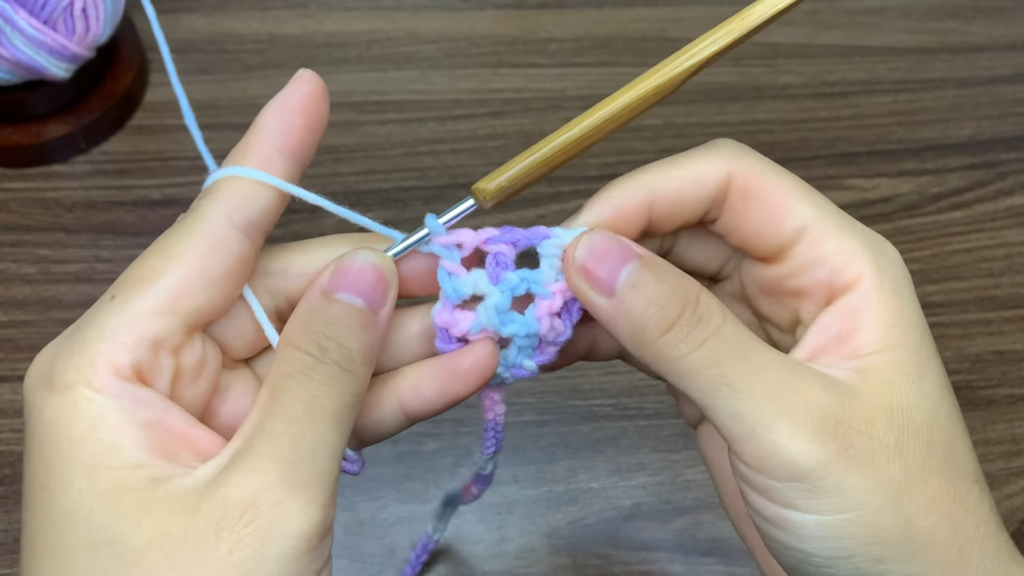
- Rows 4 to 38: Repeat Row 3 continuously to build the square grid pattern. Keep repeating until the headband body reaches your desired length across the top of your head. The video creator stopped at Row 38, which measured approximately 38 cm (about 15 inches) long.
Part 3: Decreasing the End
- Row 39 (Closing the mesh): ch 3 and turn. Work 1 dc into the next dc. Work 1 dc into the next dc (do not chain 1 in between). Work 1 dc into the top of the turning chain-3. (You should now have 4 solid dc posts sitting right next to each other with no gaps, perfectly mirroring the solid base from Row 1).
- Row 40 (Cluster decrease): ch 2 and turn. You will now work a dc3tog across the remaining stitches to gather the end into a neat point:
- yo, insert hook into the next st, pull up a loop, yo, pull through 2 loops (2 loops remain on your hook).
- yo, insert hook into the next st, pull up a loop, yo, pull through 2 loops (3 loops remain on your hook).
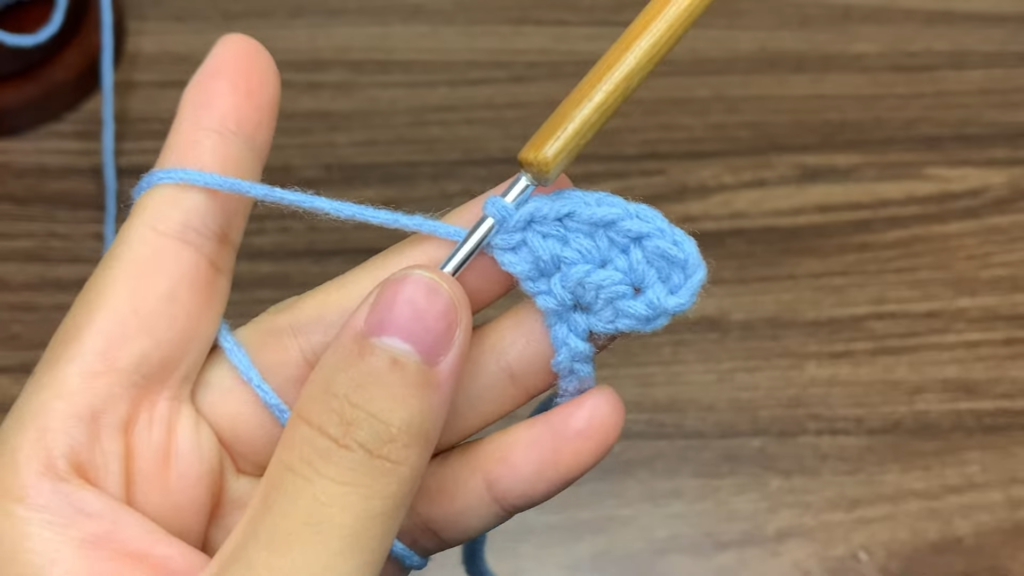
- yo, insert hook into the last st (the top of the turning chain), pull up a loop, yo, pull through 2 loops (4 loops remain on your hook).
- yo and pull through all 4 loops on your hook at the same time.
- ch 1 tightly to lock the cluster securely in place.
Part 4: The Second Tie and Finishing
- Second Tie: From the locked cluster you just created, immediately ch 45 (make sure this matches the exact number of chains you made for your first tie).
- Finishing: Cut the yarn, leaving a small tail.
- Pull the yarn tail all the way through the last loop on your hook and pull tight to knot it.
- You can leave the small yarn tails at the ends of the straps as decorative little tassels (as shown in the video), or weave them in with a tapestry needle for a cleaner finish.
Learn with the Video Tutorial

About "Talha"
Hey, I’m Talha, the Crafter on Craftstive.com. I love to share guides on folding cute origami models and paper crafts, and I am always ready to inspire your next craft project with my weekly craft discussions.