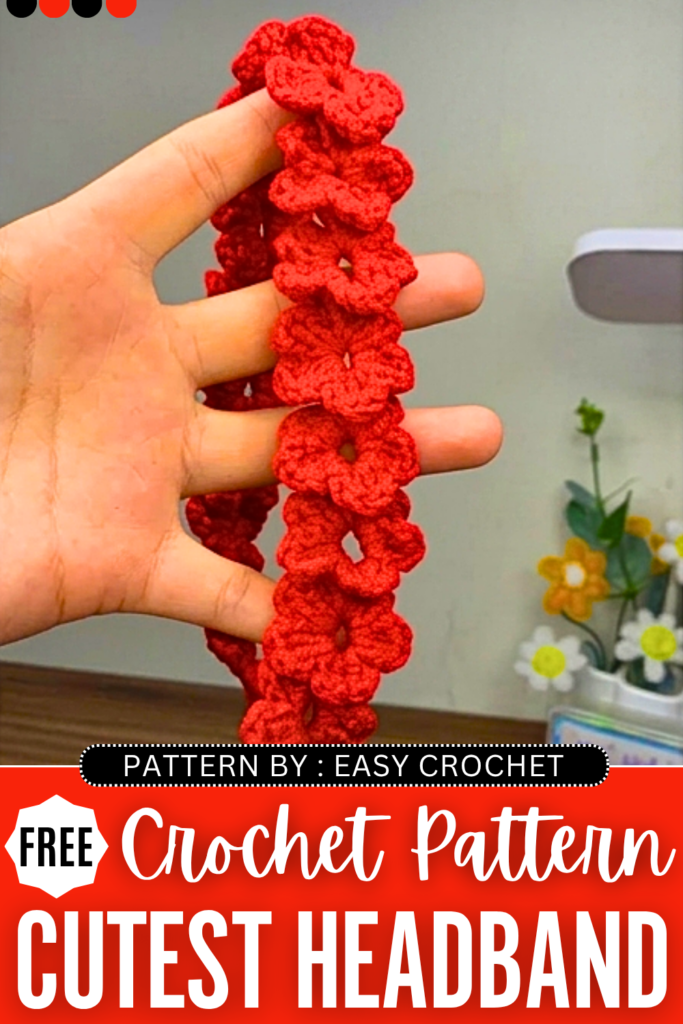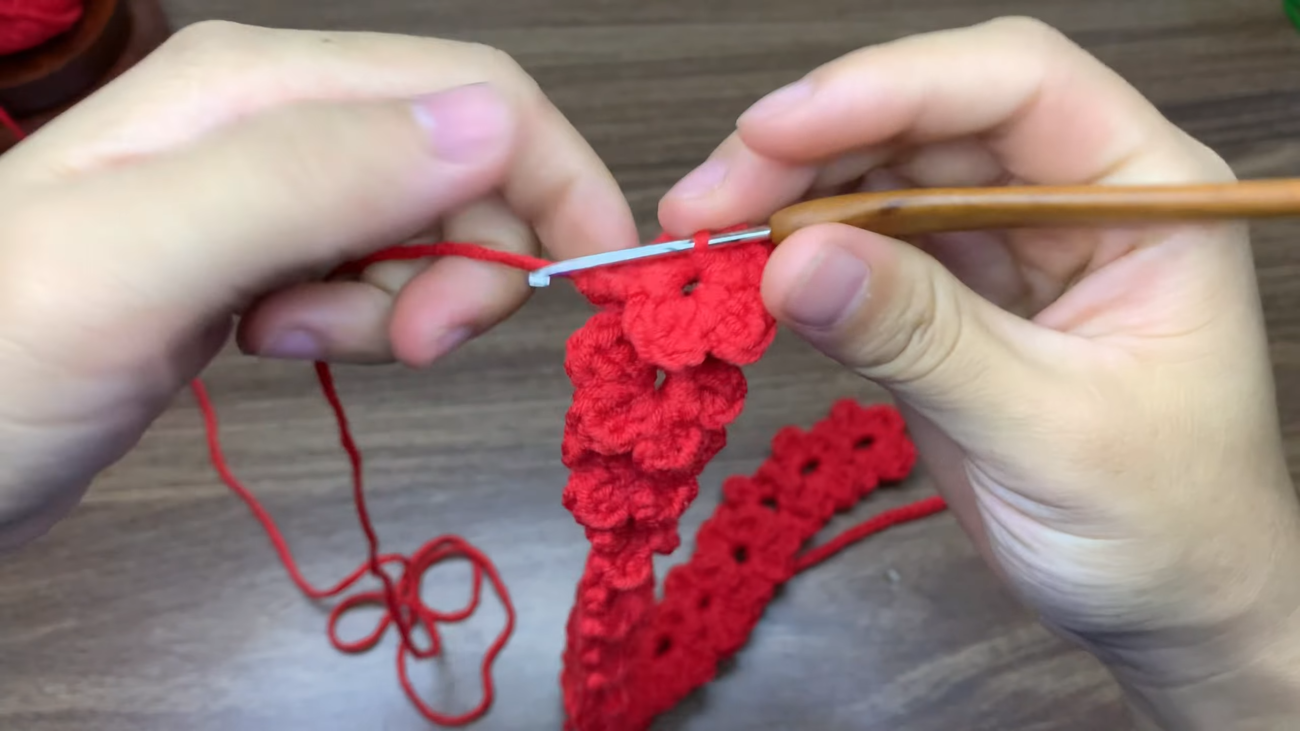
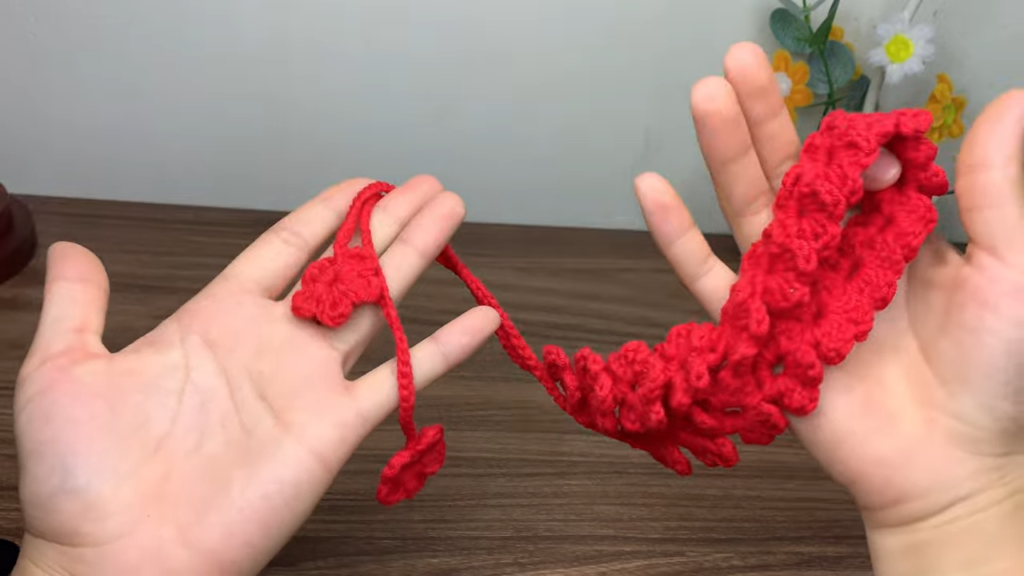
Looking for a crochet summer headband with UNIQUE construction? Learn how to crochet this flower applique headband that is crocheted entirely of basic crochet flowers and a chain stitch string. Luckily, we will be crocheting the flowers as we go, so there is no need for sewing. This method will require you to crochet joined chain-6 rings so we can crochet each 5-petal flower.
You will love this method for a “spring memory” crochet flower headband for summer. This is a part of the 5 summer essentials crochet series and a great project for Mother’s Day crochet gifting. You can crochet it in red, pink, or purple. You can also knot the strings as a bow. Now, continue reading for the full pattern.
Crochet CUTEST Headband: Round-by-Round Pattern
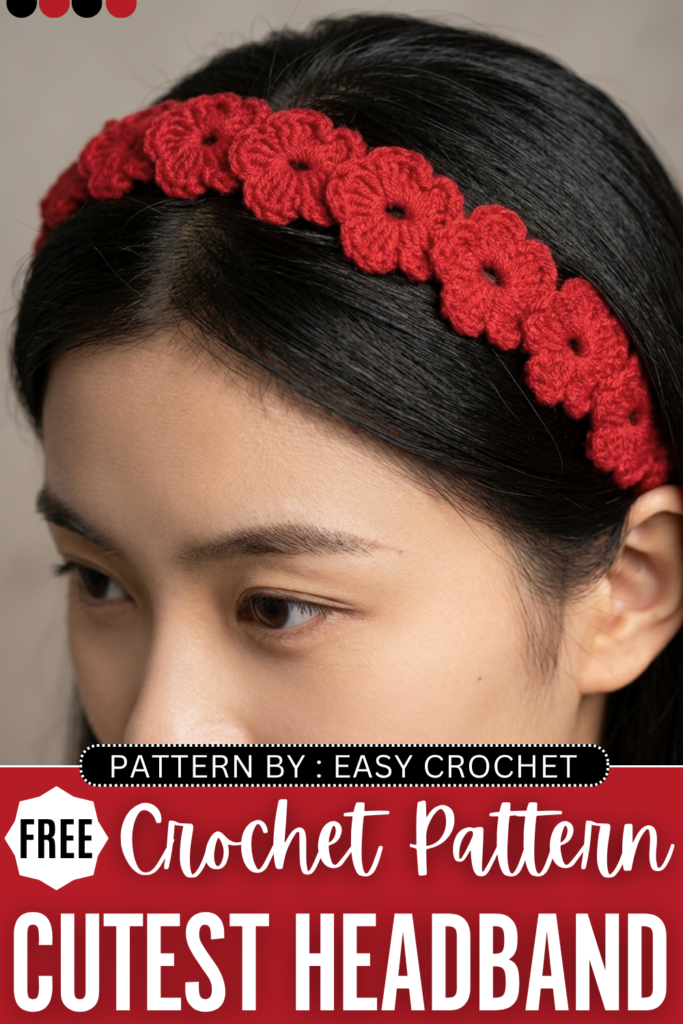
This continuous, “no-sew” floral headband features a beautiful daisy-chain design. You will create a sequence of lovely five-petal flowers flanked by two long matching tie-straps.
Because the entire project is worked in one continuous piece, there is no tedious sewing or assembling required at the end.
Materials Needed
- Yarn: Susan’s Family 5-ply yarn (or any sport/DK weight yarn with an approximate thickness of 2mm).
- Crochet Hook: 2.5 mm hook.
- Tools: Scissors and a tapestry needle for weaving in your yarn ends.
Abbreviations (US Crochet Terms)
- Ch: Chain
- Sl st: Slip stitch
- Dc: Double crochet
- St(s): Stitch(es)
Step-by-Step Pattern Instructions
Part 1: The First Strap-End Flower
This individual flower sits at the very tip of your first tie-strap to give the ends a finished look.
- Form a slip knot and slide it onto your crochet hook.
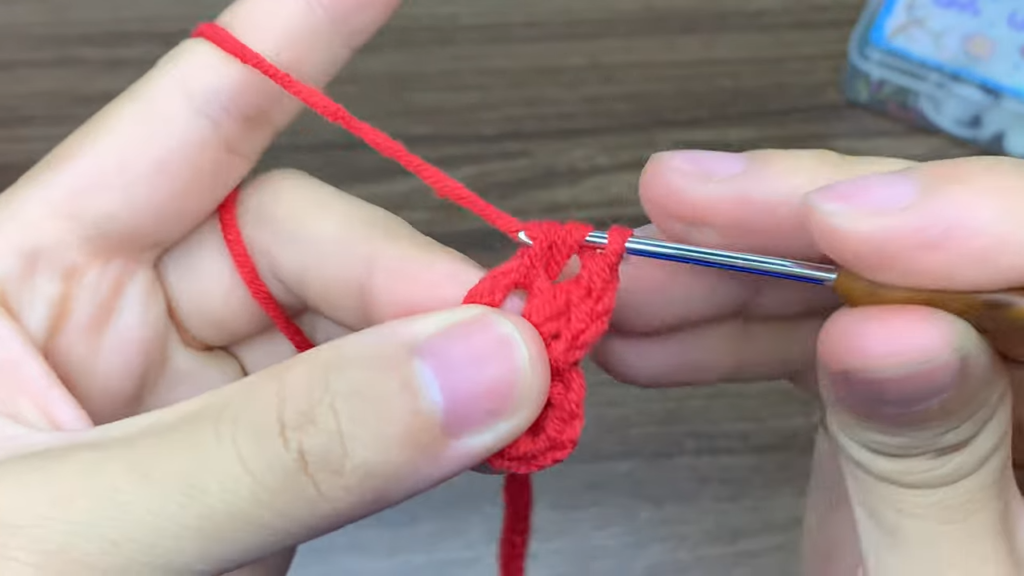
- Chain 6.
- Insert your hook into the very first chain you made and work a slip stitch to join, forming a small center ring.
- Now, work 5 petals directly into this ring.
- For each petal: Chain 2, work 2 double crochets into the ring, chain 2, then slip stitch into the ring.
- Repeat this sequence until you have 5 full petals surrounding the center ring. Do not fasten off or cut your yarn.
Part 2: The First Tie Strap
- Directly from the final slip stitch of your fifth petal, chain 50.
- Note: This forms one side of the tie-on strap. If you are using thinner yarn or want longer ties to wrap or bow beautifully at the back of your head, feel free to add more chains here until it reaches your preferred length.
Part 3: The Main Headband Body (Daisy-Chain Flowers)
This section forms the decorative band that rests on top of your head. The tutorial creates a total of 17 flowers for an adult size, but you can easily scale this down for children by simply making fewer flowers.
Flower 1 of the Main Body:
- Right after completing your 50th chain strap stitch, chain an additional 6 chains.
- Count back to the first of these 6 new chains (the 6th chain from your hook) and work a slip stitch into it to form a new center ring.
- Petals 1 and 2: Work them normally into the ring (Chain 2, 2 double crochets, chain 2, slip stitch into the ring).
- Petal 3 (The Joining Petal): To ensure the headband stays secure and flat, chain 2, work 1 double crochet into the ring while simultaneously catching and wrapping around the adjacent strap chain. Then, work 1 regular double crochet into the ring alone, chain 2, and slip stitch into the ring.
- Petals 4 and 5: Work them normally into the ring alone (Chain 2, 2 double crochets, chain 2, slip stitch into the ring).
Subsequent Main Body Flowers (Flowers 2 through 17):
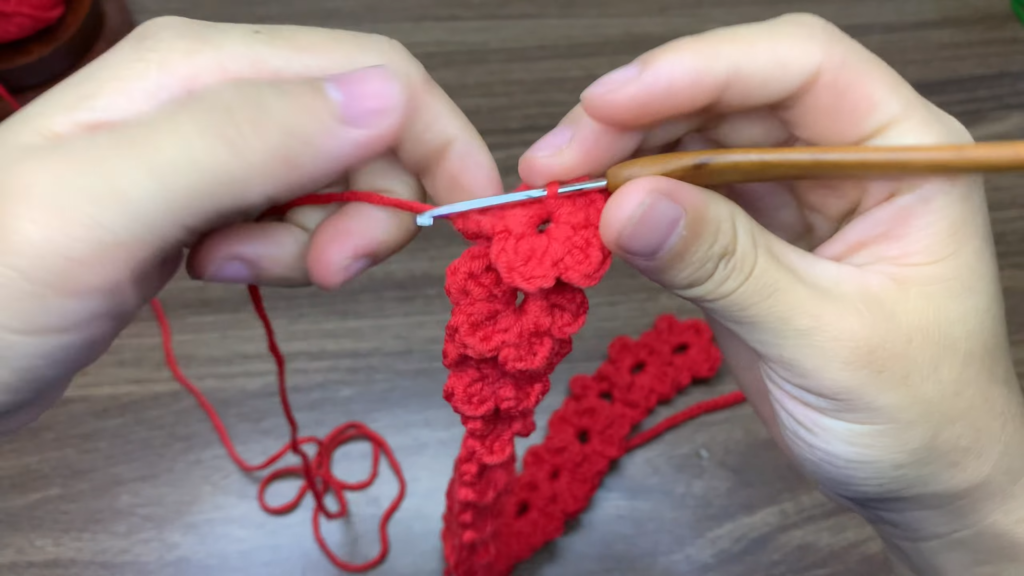
- Chain 8.
- Look at the 8 chains you just created. Count back 6 chains from your hook and work a slip stitch into that 6th chain. This creates your next flower ring while leaving a small 2-chain space (the “stem”) connecting it to the previous flower.
- Petals 1 and 2: Work them normally into the new ring (Chain 2, 2 double crochets, chain 2, slip stitch into the ring).
- Petal 3 (The Connecting Petal): Chain 2. Work your first double crochet by inserting your hook into the ring while catching and wrapping around that 2-chain connecting stem. Then, let go of the stem and work your second double crochet normally into the ring alone. Chain 2, and slip stitch into the ring. This step acts as a structural bridge that keeps all your flowers neatly aligned in a straight, flat line.
- Petals 4 and 5: Work them normally into the ring alone (Chain 2, 2 double crochets, chain 2, slip stitch into the ring).
- Repeat this exact sequence for each new flower until your main headband body reaches your preferred length (17 flowers total is recommended for standard adult sizing).
Part 4: The Second Tie Strap and Final Flower
- Once you finish the 5th petal of your last main body flower, chain 50 to create the matching second tie-strap.
- Chain an additional 6 chains.
- Work a slip stitch into the 6th chain from your hook to create the final center ring.
- Work a standard 5-petal flower into this ring (Chain 2, 2 double crochets, chain 2, slip stitch for each of the 5 petals). Since this sits at the very end of the project, no special joining steps are needed for this flower.
Finishing Your Project
- Cut your yarn, leaving a tail of about 3 to 4 inches. Pull the yarn tail completely through the last loop on your hook and tug tightly to secure the knot.
- Thread the yarn tails onto your tapestry needle. Neatly weave the tails into the center rings of the closest flowers to securely hide them, then snip off any excess yarn.
Your beautiful continuous floral headband is now completely finished and ready to wear! Enjoy your lovely new accessory.
Save for Later