
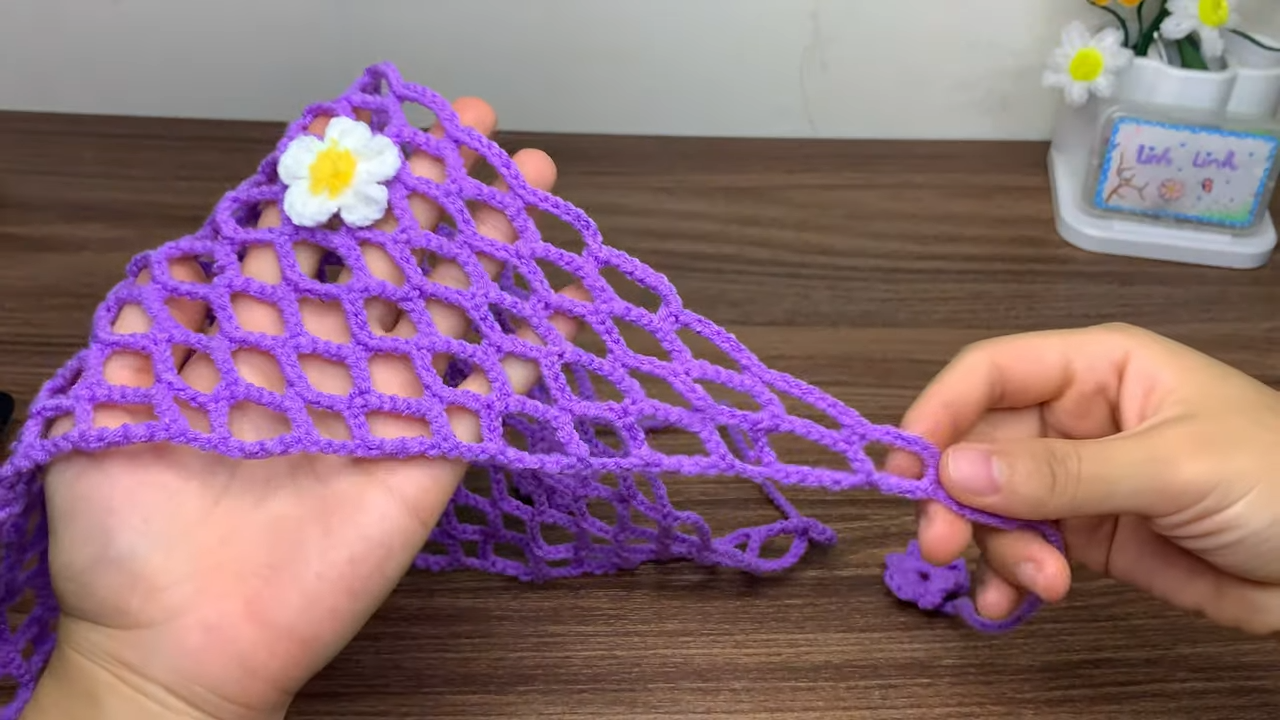
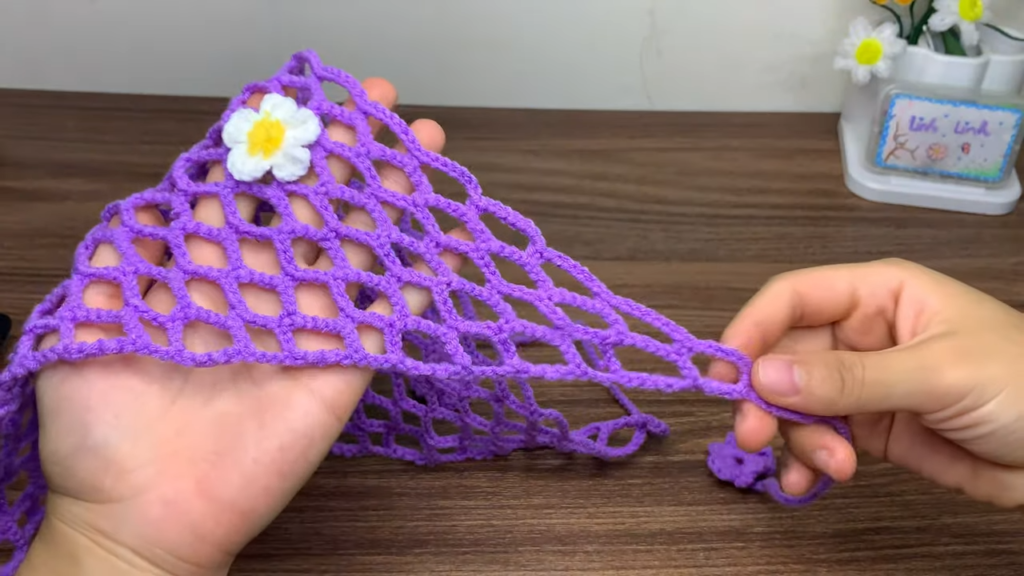
Continuing the crochet summer bandana series, today you will learn another easy and elegant crochet bandana with a free pattern. This is a diamond mesh-stitch bandana crocheted in purple and finished with a beautiful daisy flower charm, which you will also learn in this same pattern. Summer is arriving, so I have added it to my list of “5 summer essentials” to crochet.
The stitch that we shall use is also similar to the leaf mesh stitch. This makes a beautiful texture on the bandana that you will simply love. The ties also have two small solid flower charms attached at the ends. While the finished charm will measure about 45 cm, you can crochet it in any size. Continue reading for the full pattern.
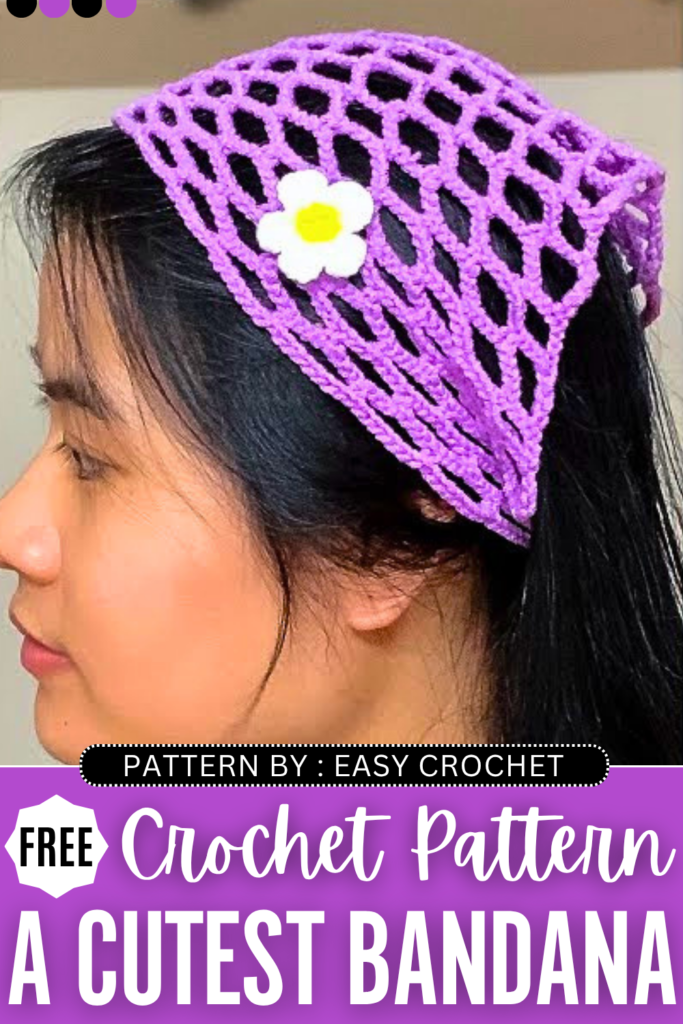
Crochet Mesh Bandana with Flowers: Round-by-Round Pattern
This lovely, lightweight mesh bandana is perfect for beginners because it uses a simple, repeating increase pattern that builds a classic triangle shape.
Here is the complete, step-by-step pattern transcribed directly from the tutorial.
Materials Needed
-
Main Body Yarn: Milk Cotton yarn (about 2mm thickness, 50g skein). The video features a classic black, but any color works beautifully.
-
Embellishment Yarn: A slightly thinner yarn like Baby Yarn (around 1.5mm thickness) in a contrasting shade (like cream or white) for the decorative flower, plus a tiny scrap of yellow yarn for the center.
-
Crochet Hook: A 2.5 mm hook to keep the open lace stitches smooth and uniform.
-
Notions: A pair of scissors, a tapestry needle to weave in your ends, and a hot glue gun (optional, for assembling the flower).
Crochet Abbreviations (US Terms)
-
ch: Chain
-
sc: Single crochet
-
dc: Double crochet
-
tr: Treble crochet (wrapping the yarn around your hook two times)
-
dtr: Double treble crochet (wrapping the yarn around your hook three times)
-
sl st: Slip stitch
Main Bandana Body
The bandana is worked from the bottom tip upward. Every single row will expand outward by starting with a long chain and ending with a tall stitch worked into the edge, creating a perfect triangle.
Row 1: Create a slip knot and chain 11. Work 1 dtr into the very first chain you made (the 11th chain from your hook). This forms your very first open triangle mesh space.
Row 2: Chain 11 and turn your work. Count over to the 4th chain of the Row 1 loop and work 1 sc directly into it. Chain 7, then work 1 dtr into the 4th chain from the opposite edge (the base stitch). You now have an expanded row with multiple mesh sections.
Row 3: Chain 11 and turn your work. Work 1 sc into the 4th chain of the first loop from the previous row. Chain 7, then work 1 sc into the 4th chain (the exact center) of the next chain-7 loop. Chain 7, and finish the row by working 1 dtr into the 4th chain of the final edge loop.
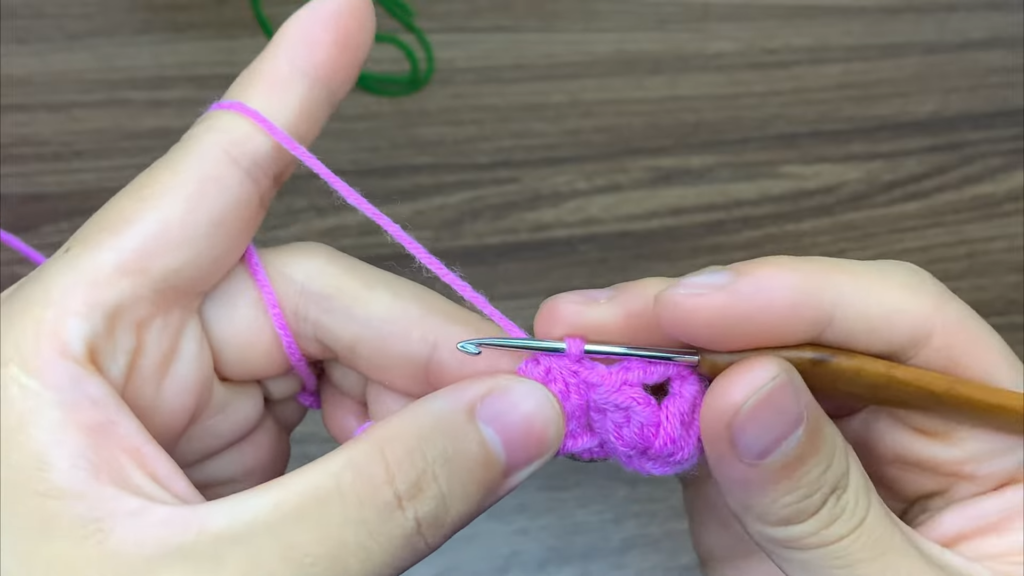
Rows 4 through 19 (or until you reach your desired size): To keep growing your bandana, repeat the established pattern rhythm:
-
To Start the Row: Always chain 11, turn, and work 1 sc into the 4th chain of the very first mesh loop.
-
Across the Middle: Chain 7, then work 1 sc into the 4th chain of the next available loop. Repeat this across all middle loops.
-
To End the Row: After your last regular sc is placed, chain 7 and work 1 dtr into the 4th chain of that same exact final loop to create your outside increase space.
The video guide completes a total of 19 rows, which measures out to roughly 46 cm (18 inches) wide along the top edge and 22 cm (8.5 inches) long from the top edge down to the bottom point. If you are making this for a child, you can simply stop a few rows early!
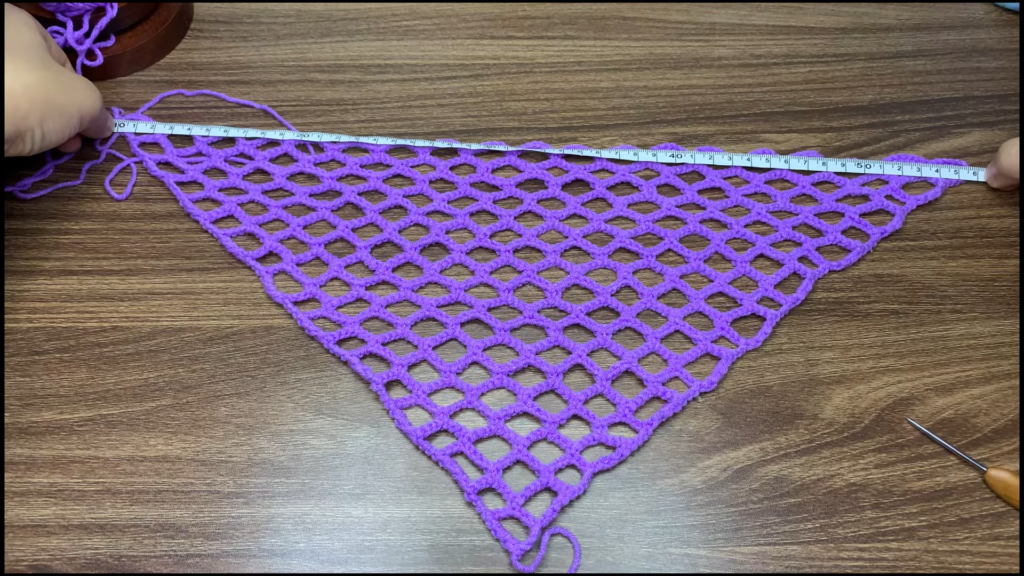
Side Straps and Accent Flowers
Once you finish your final body row, do not fasten off or cut your yarn. We will transition directly into the first tie strap from the corner you are currently on.
First Tie Strap: From your current corner, crochet a long, continuous chain to your preferred length for tying comfortably around your head. At the very tip of this chain, we will add a small 5-petal accent flower:
-
Chain 6. Slip stitch into the 6th chain from your hook (the first chain of this small sequence) to form a tiny ring.
-
Create the first petal by crocheting: Chain 3, work 2 dc into the ring, chain 3, and sl st back into the ring.
-
Repeat that exact petal sequence 4 more times inside the ring until you have 5 complete petals.
-
Cut your yarn, pull it through securely, and use your tapestry needle to hide the tail inside the flower stitches.
Second Tie Strap: Join your main body yarn to the completely opposite top corner of your bandana. Crochet a long chain matching the exact stitch count or length of your first strap. At the very end of the chain, repeat the exact same accent flower method: Chain 6, sl st to form a ring, then make 5 petals using the (chain 3, 2 dc, chain 3, sl st) sequence. Fasten off and weave in the tail.
Main Decorative Flower
This larger statement flower is made separately and attached to the bandana body at the end. Grab your thinner accent yarn for this part.
-
Start by creating a magic ring (an adjustable yarn loop used to start projects in the round).
-
Create 5 large petals inside the ring by repeating this sequence 5 times: Chain 4, work 3 tr into the magic ring, chain 4, and sl st back into the ring.
-
Gently but firmly pull the tail of your magic ring to pull the center hole closed tightly. Knot the starting tail and ending tail together at the back to secure the shape.
Creating the Fuzzy Flower Center:
-
Cut a few short, matching pieces of bright yellow yarn.
-
Tie them tightly together right in the middle with another scrap piece of yarn to create a small bundle.
-
Trim the ends down very short so it looks like a tiny yellow pom-pom or tuft.
-
Take the tip of your crochet hook or a tapestry needle and gently comb/fray the yarn strands apart until they form a soft, fuzzy texture.
Final Assembly
-
Apply a small drop of hot glue (or use a needle and thread) to attach your fuzzy yellow yarn center right into the middle of your large white decorative flower.
-
Pick a spot on the front of your mesh bandana to place your flower embellishment. The video creator attaches it beautifully near one of the upper side edges for an asymmetrical look. Glue or sew the flower securely to the mesh.
-
Double-check your entire bandana for any remaining loose yarn tails, weave them in cleanly, and clip away any excess. Your handmade mesh bandana is finished and ready to style!

About "Talha"
Hey, I’m Talha, the Crafter on Craftstive.com. I love to share guides on folding cute origami models and paper crafts, and I am always ready to inspire your next craft project with my weekly craft discussions.