
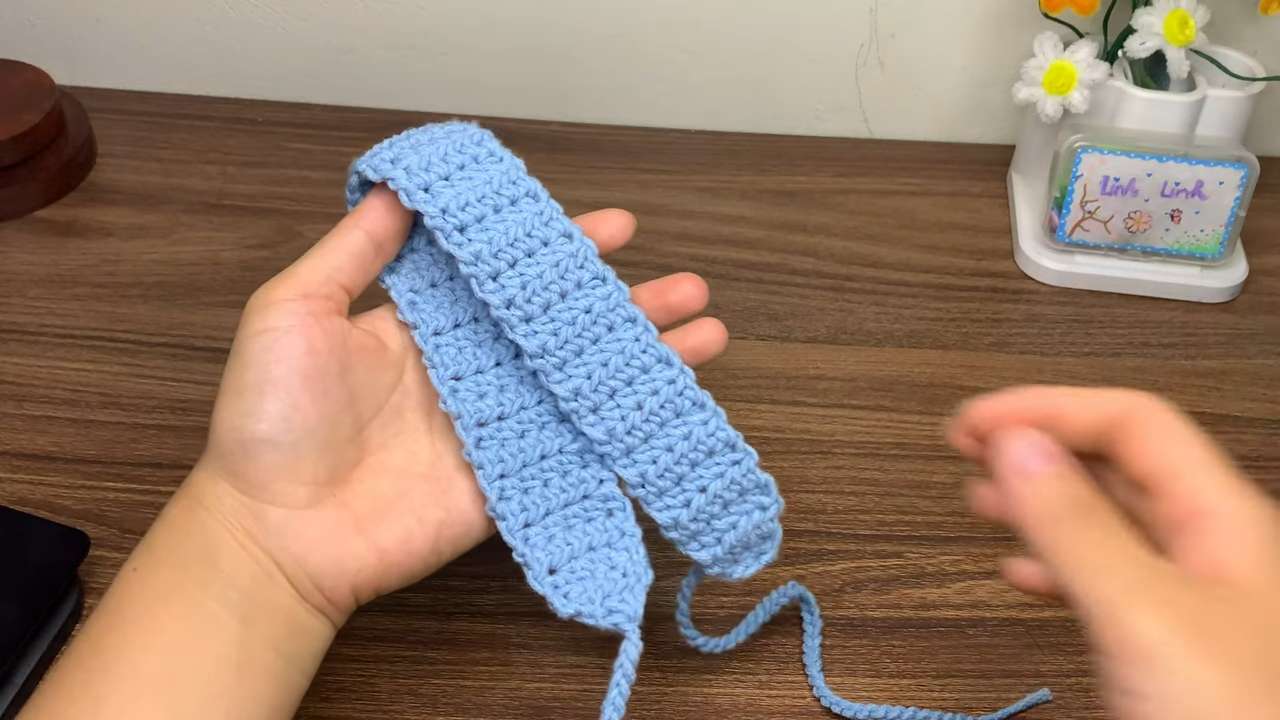
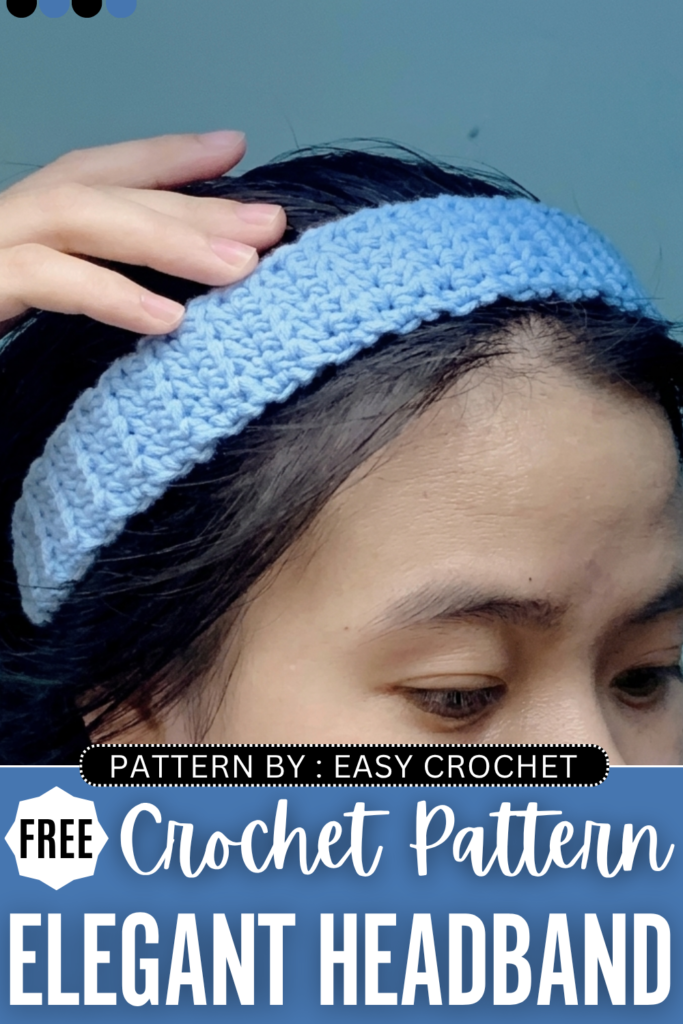
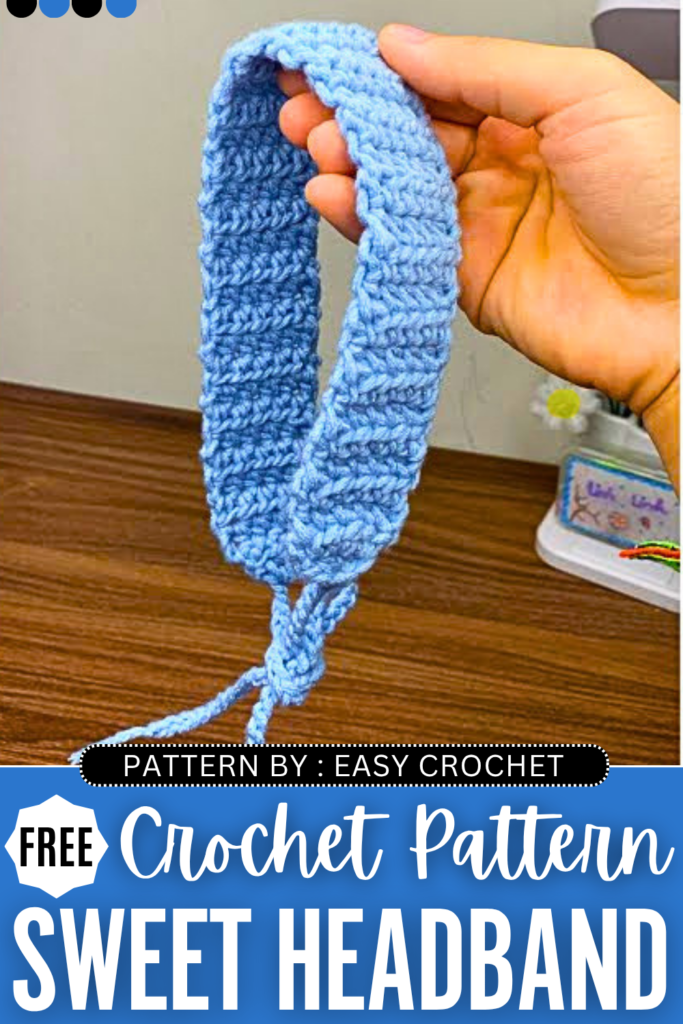
While I have shared FREE patterns for many of the EASY & ELEGANT crochet headband patterns, there is still the EASIEST one left! That’s why, today, you can learn how to crochet this solid crochet headband designed for absolute beginners and for summer. The repetitive pattern just requires crocheting in the back and forth rows using the half double crochet.
There is also a small amount of shaping using increases on either side, but it is easier and quicker, still! That’s because it is as easy as the crochet joined 5-petal headband and the joined 4-petal flower headband.
We will crochet the strings just by chaining, or you can also crochet a double-chain I-cord. Overall, this is the BEST crochet headband for summer, and you can find the pattern at the end!
[ez-toc]
Crochet Basic but Beautiful Headband: Round-by-Round Instructions
Below is the free crochet pattern you need to crochet this CUTE headband that’s gender neutral and easy:
Materials Needed
- Yarn: Medium/DK weight yarn (approximately 3 mm thick, such as Milk Cotton yarn or similar).
- Crochet Hook: 3.5 mm (or an appropriate hook size for your chosen yarn; going slightly larger than the yarn label recommends is perfectly fine for this airy drape).
- Scissors
- Tapestry needle (optional, for weaving in your loose ends)
Abbreviations (US Crochet Terms)
- ch: chain
- st(s): stitch(es)
- hdc: half double crochet
- hdc2tog: half double crochet two together (a decrease stitch)
- sc2tog: single crochet two together (a decrease stitch)
- YO: yarn over
Pattern Instructions
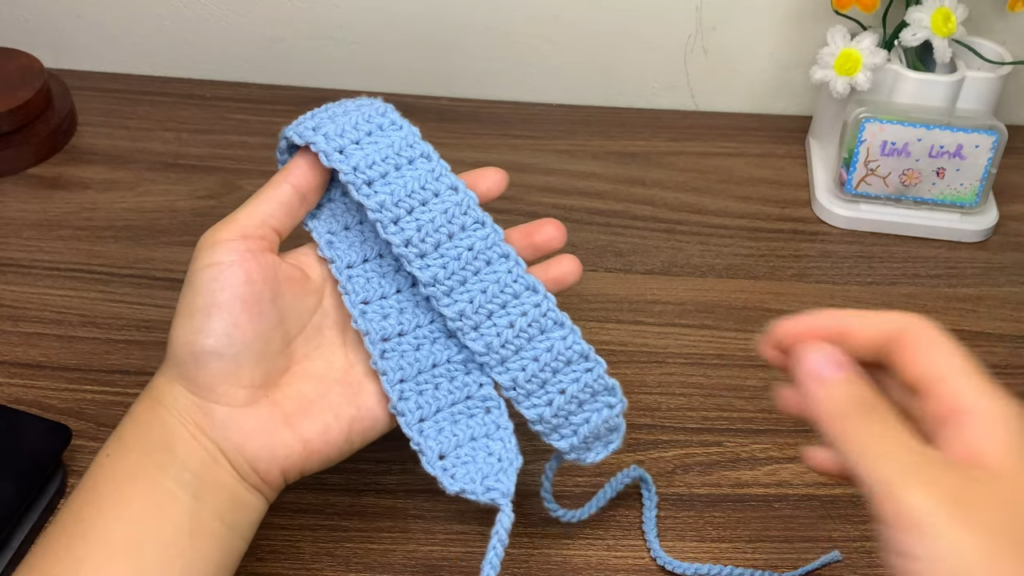
Part 1: The First Tie String
- Start by making a secure slip knot and inserting your hook.
- ch 45 (Note: If you are using a thinner yarn or simply want longer ties for your headband, you can increase the number of chains until it reaches your desired tying length).
- Once you reach your 45th chain, pull that specific stitch very tight to secure it. This tightened chain will act as the anchor and base for the main body of the headband.
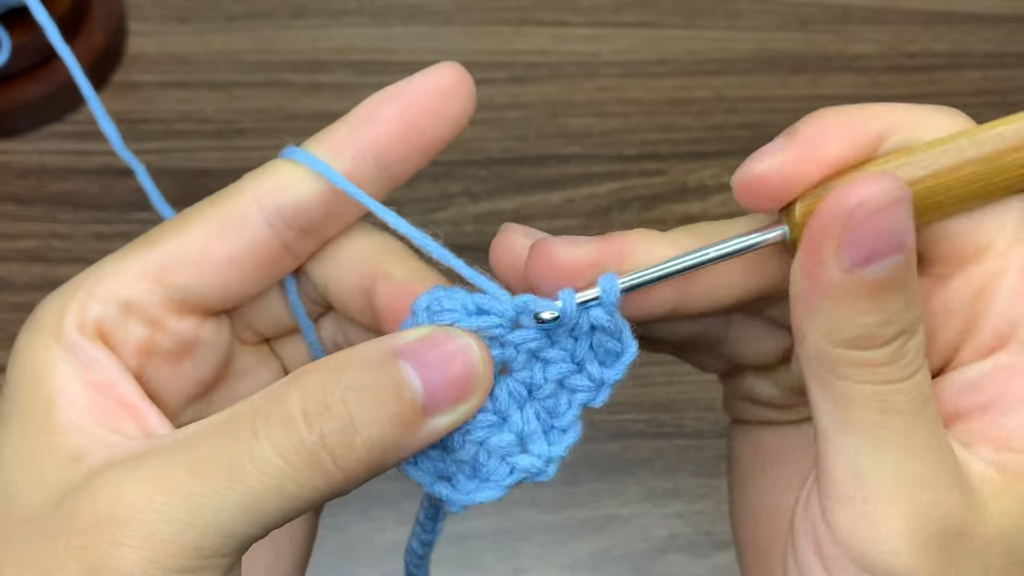
Part 2: Headband Body (Increasing & Main Width)
- Row 1: From your tightened chain, ch 2 (this counts as your first hdc stitch). Work 3 hdc directly into that tightened 45th chain. You will now have a total of 4 stitches in this row (including your starting ch-2).
- Row 2: ch 2, turn your work. Work 1 hdc into the very first stitch. Work 2 hdc into the next stitch. Finally, work 2 hdc into the space created by the turning ch-2 from the previous row. You will now have a total of 6 stitches (including the ch-2).
- Row 3: ch 2, turn your work. Work 1 hdc into each of the next 4 stitches. For your final stitch, work 1 hdc directly into the turning ch-2 space from the previous row. Tip: Working entirely into the large gap/space rather than struggling into the top chain loop helps keep the edge of the headband perfectly straight. You should have exactly 6 stitches.
- Rows 4 through 42: Repeat Row 3. Continue this 6-stitch hdc repeat until the main body of the headband reaches your desired length across the top of your head. The creator in the video demonstrates stopping at exactly 42 rows for a standard fit.
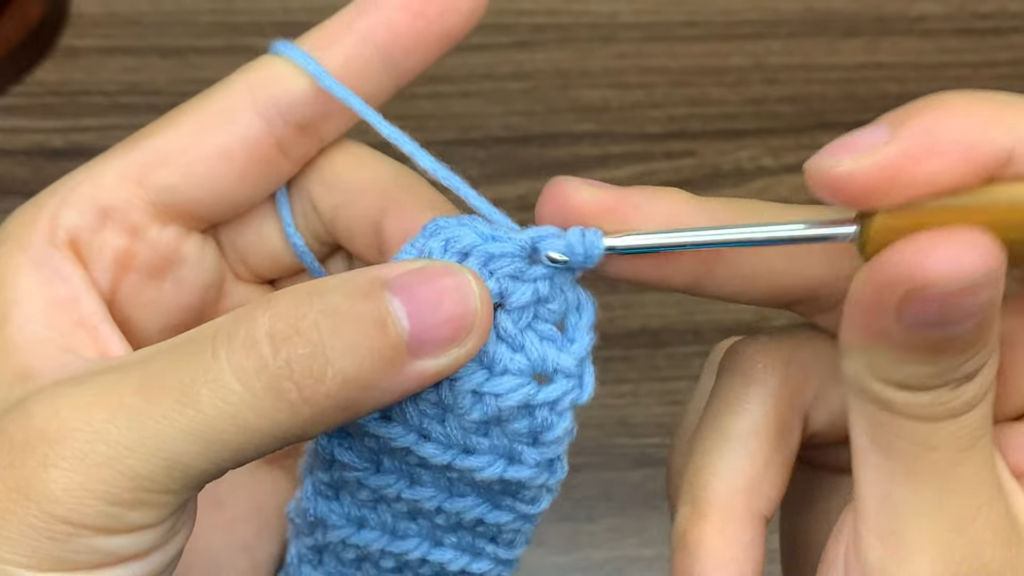
Part 3: The Decrease (Tapering the End)
- Decrease Row 1: Turn your work (do not chain). We will now reduce the 6 stitches back down to match the width of the starting end.
- Work a sc2tog over the first two stitches to combine them.
- Work an hdc2tog over the next two stitches. (To do this: YO, insert hook into next st, pull up a loop, insert hook into next st, pull up a loop, YO and pull through all 4 loops on the hook).
- Work one more hdc2tog over the final two stitches (which includes the turning chain space). You should now be reduced to 4 stitches.
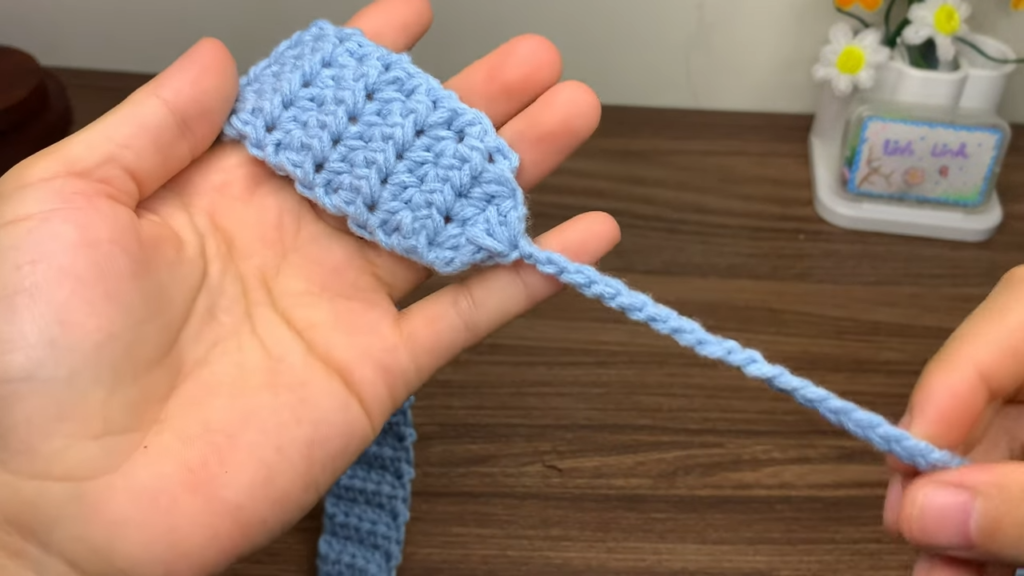
- Decrease Row 2: ch 1, turn your work. We will now gather these remaining stitches into a tidy point.
- Work a gathering half-double crochet cluster: YO, insert hook into the first st, pull up a loop; YO, insert hook into the second st, pull up a loop; YO, insert hook into the third st, pull up a loop. YO and pull through all the loops currently on your hook.
- ch 1 and pull it extremely tight to completely close and secure the tapered point.
Part 4: The Second Tie String
- Without breaking the yarn, work directly from the secured point you just made and ch 45 (or match the exact number of chains you made for your very first tie string).
- Once you reach the end of the chain, cut the yarn, leaving a small tail.
- Pull the tail through the final loop tightly to fasten off.
- Trim any excess ends or weave them in with a tapestry needle for extra security.
Learn with Video Tutorial

About "Talha"
Hey, I’m Talha, the Crafter on Craftstive.com. I love to share guides on folding cute origami models and paper crafts, and I am always ready to inspire your next craft project with my weekly craft discussions.