
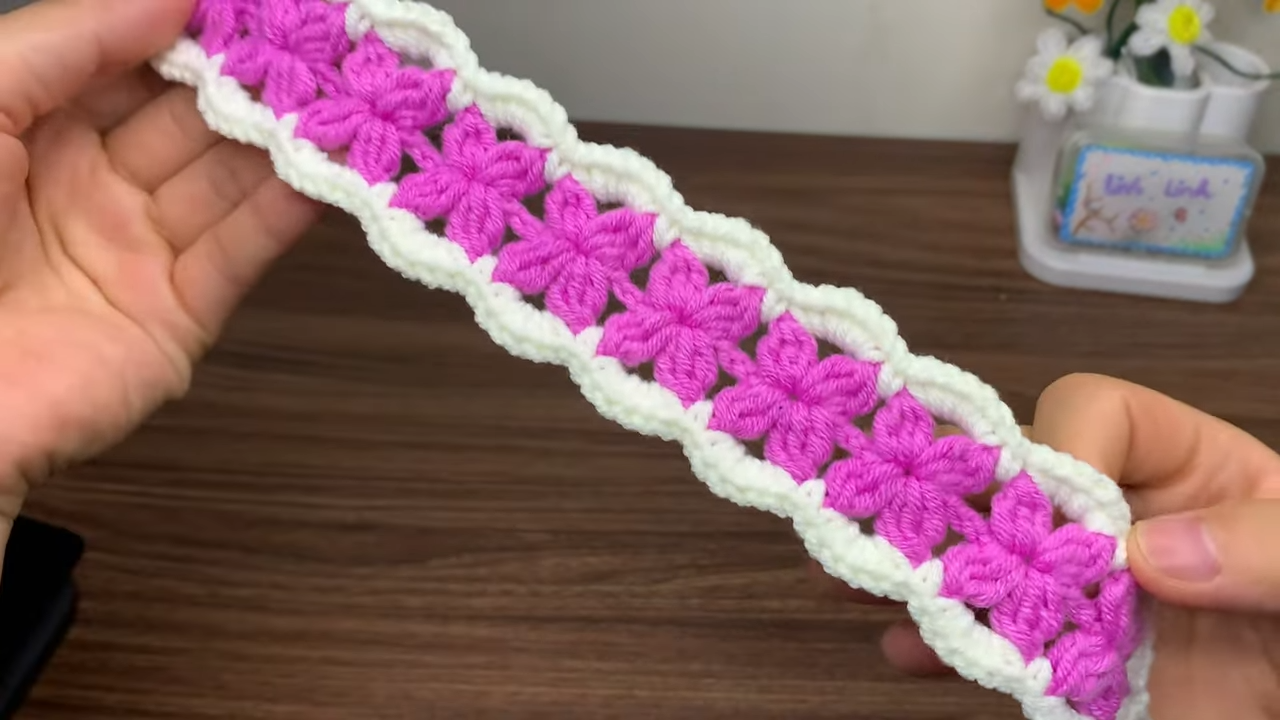
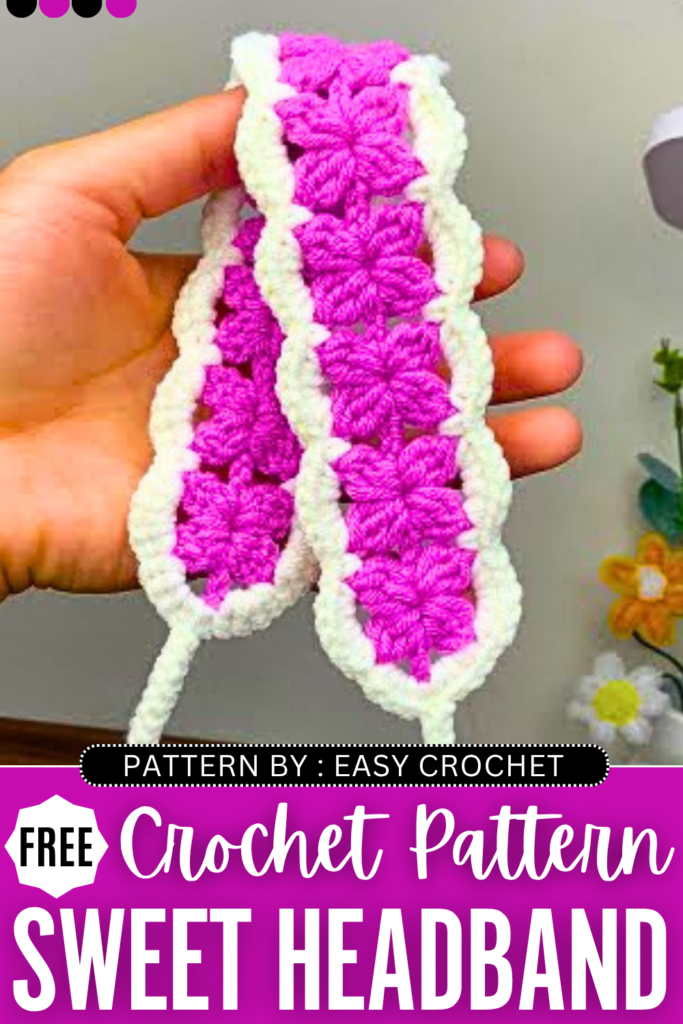
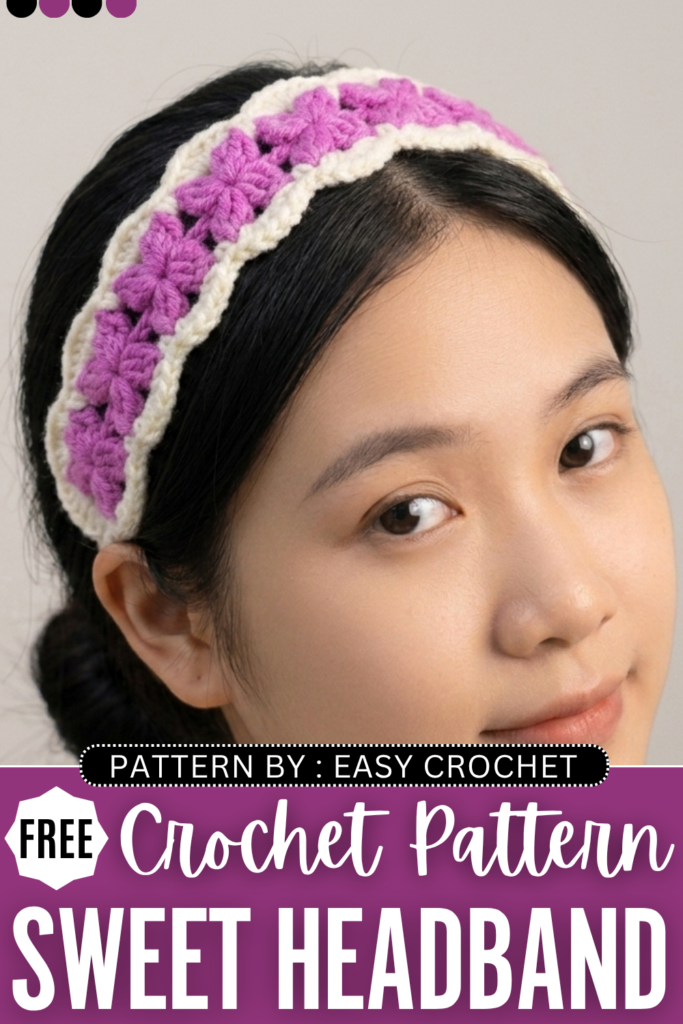
Learn how to crochet another ELEGANT flower headband, this time with beautiful white edging and 4-petal flowers, with this pattern. This crochet flower has simple strings, so you can tie it in any way, such as in the popular bow knot. I would like to call it the “flower stitch” headband, as we don’t need any sewing to crochet the flowers in a series. This is the same technique we used in the 5-petal basic flower headband.
Crochet it for baby girls or for yourself; The repetitive pattern makes it much easier to crochet it in any size, as all you have to do is to crochet the flowers. The shell stitch edging used can also be changed to the picot stitch or other simple stitches. Now, continue reading for the full pattern.
[ez-toc]
Crochet Sweet Flower Stitch Headband: Round-by-Round Pattern
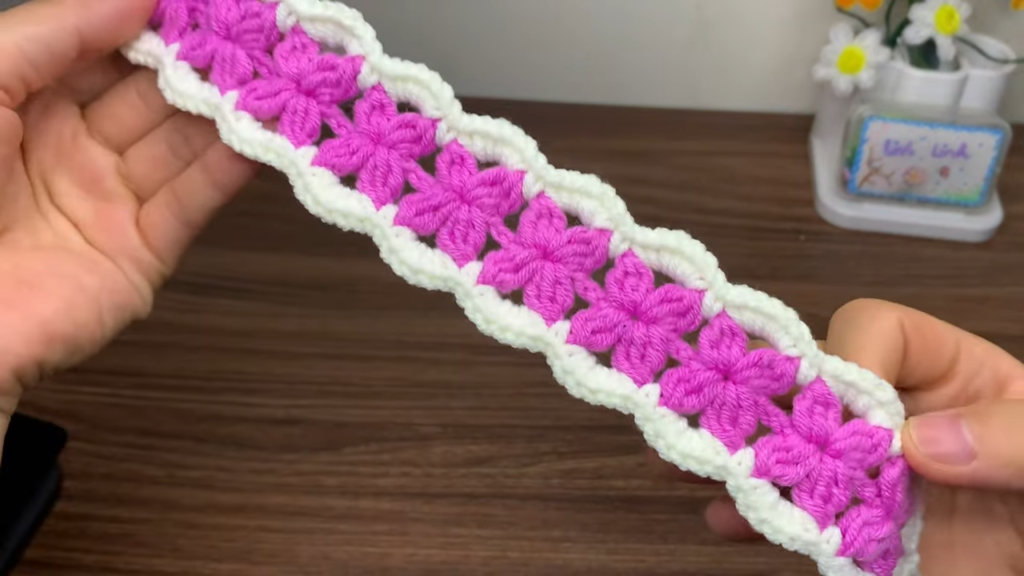
This beautiful, delicate floral crochet headband is composed of a row of small joined flower motifs framed by a contrasting color border and long tie strings.
Materials Needed
- Yarn: Milk Cotton yarn in two colors:
- Color A: Pink (for the main floral body)
- Color B: Beige (for the border and tie strings)
- Crochet Hook: 2.5 mm hook
- Tools: Scissors and a tapestry needle to weave in the ends.
Abbreviations (US Crochet Terms)
- Ch: Chain
- Sl st: Slip stitch
- Sc: Single crochet
- Dc: Double crochet
- Dc3tog: Double crochet 3 together (used to make the flower petals)
- Sp / Ch-sp: Space / Chain space
- St(s): Stitch(es)
Step-by-Step Pattern Instructions
Part 1: The Headband Foundation Base (Color A – Pink)
- Start: Create a slip knot.
- First Foundation Arch: Chain 3. Work 1 Double Crochet (dc) into the very first chain you made. You will see this creates a little loop or “hole.”
- Second Foundation Arch: Chain 3. Work 1 dc into the first chain of this new ch-3 group.
- Continue: Repeat step 3 (Ch 3, dc into the first ch of that group) until you have reached the desired length for the main body of your headband. The tutorial creates a total of 11 foundation arches.
Part 2: The First Side of the Flowers (Color A – Pink)
Now you will work down the length of the foundation arches you just made to create the top halves of the flowers.
- Start the turn: Chain 4.
- First Petal: Find the center of your very first foundation arch (the space created by the ch-3 and dc). Work a Dc3tog (Double crochet 3 together) into this space to form your first petal. To do a Dc3tog:
- Yarn over, insert hook into space, yarn over, pull through, yarn over, pull through 2 loops on hook. (2 loops left on hook).
- Yarn over, insert hook into same space, yarn over, pull through, yarn over, pull through 2 loops. (3 loops left on hook).
- Yarn over, insert hook into same space, yarn over, pull through, yarn over, pull through 2 loops. (4 loops left on hook).
- Yarn over, pull through all 4 loops on the hook to close the petal. Chain 1 to lock it tightly.
- Chain Space: Chain 4.
- Second Petal: Work another Dc3tog into the exact same foundation arch space.
- Next Flower: Move directly to the next foundation arch space. Work a Dc3tog. Chain 4, then work another Dc3tog in that same space.
- Repeat: Continue this pattern (Dc3tog, ch 4, Dc3tog in the same space) into every foundation arch down the line until you reach the very end.
Part 3: The Second Side of the Flowers (Color A – Pink)
You are now at the end of the foundation chain and will turn the work upside down to crochet along the opposite side, completing the bottom halves of the flowers.
- Turn the Corner: When you finish the final petal in the last foundation arch, chain 2. Work 1 dc into the outer edge of that arch (the side stitch), then chain 3.
- First Petal (Bottom Half): Work a Dc3tog into the same foundation arch space you were just working in (you are now working on the opposite side of the chain). Be sure to crochet over your starting yarn tail to hide it!
- Chain Space: Chain 4.
- Second Petal (Bottom Half): Work another Dc3tog into the exact same foundation arch space. This completes your first full flower.
- Continue: Move to the next foundation arch space. Work (Dc3tog, ch 4, Dc3tog) in that space. Repeat this in every foundation arch all the way back down the line.
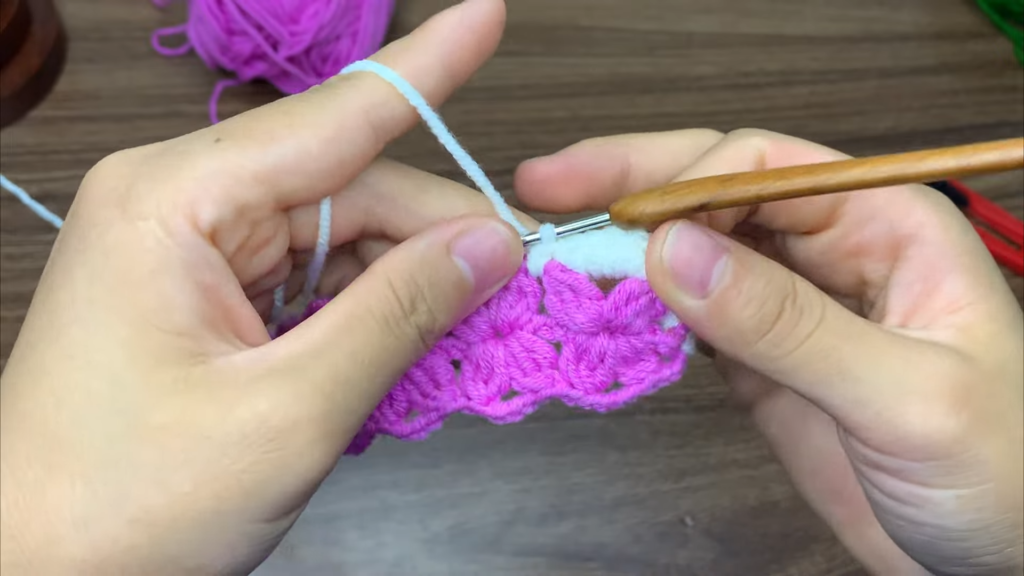
- Finish the Pink Section: When you complete the final petal of the last flower, chain 3. Slip stitch into the 3rd chain of the starting ch-4 you made at the very beginning of Part 2. Slip stitch once more to secure. Chain 1, cut your yarn, and pull tight.
Part 4: First Side Border and First Tie String (Color B – Beige)
Switch to your Beige yarn.
- Attach Yarn: Attach the beige yarn at the very outer edge stitch of the first flower (the dc you placed on the edge during the turn). Ch 1, and work 1 Single Crochet (sc) into that same space.
- First Petal Space: Working into the first large ch-4 space of the flower, work 4 sc.
- Between Petals: Working into the large center ch-4 space between the top two petals of the flower, work 6 sc.
- Between Flowers: Find the small space between the first flower and the second flower. Work 1 sc in that space.
- Repeat down the side:
- Work 6 sc in the ch-4 space at the top of the next flower.
- Work 1 sc in the space between the flowers.
- Continue this alternating pattern (6 sc at the top of the flower, 1 sc between flowers) down the entire top edge of the headband.
- The Corner: When you reach the last flower, work 4 sc in the final ch-4 space on the side. Work 1 sc into the very end stitch.
- The Tie String: From this end stitch, Chain 50 (or your desired length for the tie string).
- Thicken the Tie String: Skip the very first chain from your hook. Work 1 slip stitch into the second chain. Continue working 1 slip stitch into every chain all the way back down the length of the string until you reach the main headband body again.
Part 5: Second Side Border and Second Tie String (Color B – Beige)
- Start the Bottom Edge: Once you have slip-stitched back to the main body, you are ready to edge the opposite side. Work 4 sc into the first side space of the bottom flower.
- Repeat down the side: Just like you did on the top edge, alternate working 6 sc into the large center ch-4 space of each flower, and 1 sc into the small space between the flowers. Continue this down the entire bottom edge.
- The Corner: When you reach the last flower, work 4 sc into the final side space.
- Join: Slip stitch into the very first sc you made at the beginning of Part 4.
- The Second Tie String: Chain 50 (or the same number you did for the first string). Skip the first chain, and work 1 slip stitch into every chain back down the length of the string.
- Finish Off: When you reach the headband body, slip stitch into the next stitch to secure. Chain 1, cut your yarn, pull tight, and weave in all remaining ends with your tapestry needle.

About "Talha"
Hey, I’m Talha, the Crafter on Craftstive.com. I love to share guides on folding cute origami models and paper crafts, and I am always ready to inspire your next craft project with my weekly craft discussions.