Subscribe to magicofcreativity233!
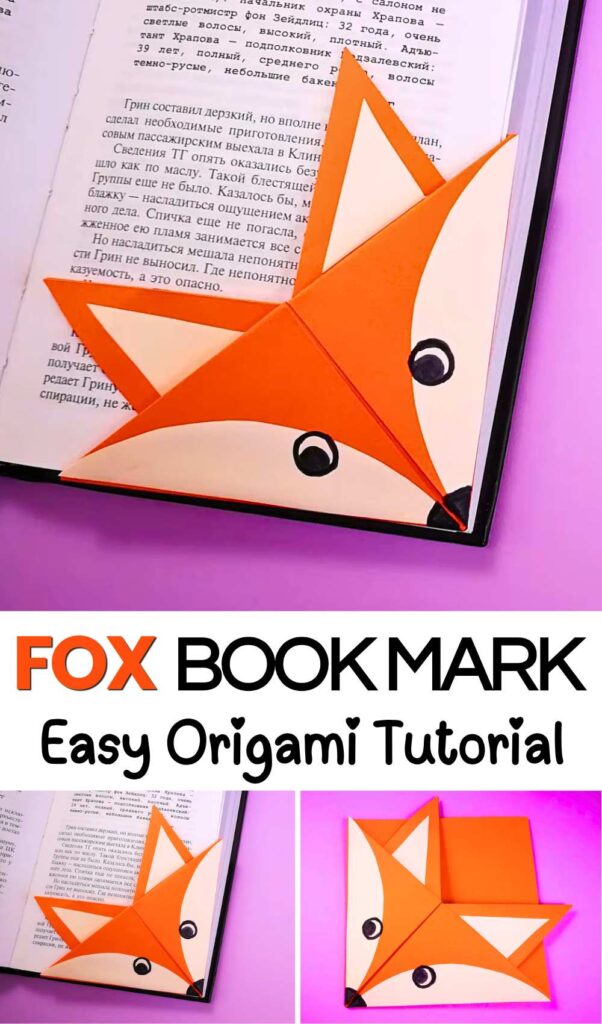
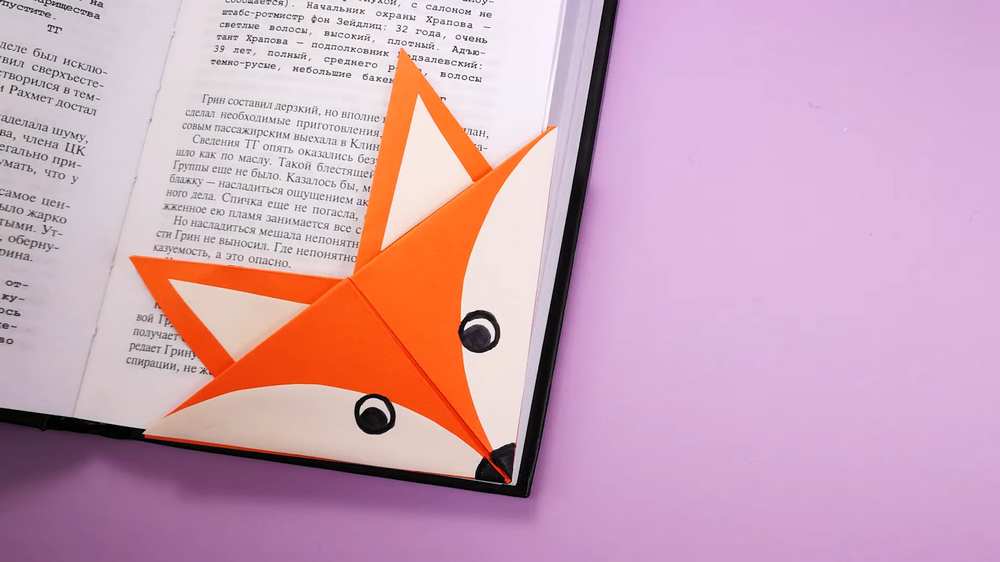
Fall is all about woodland stories! That’s why you should learn how to make this KAWAII origami fox face bookmark as a fall present for kids! This is an easy fox craft made using the classic corner-of-the-page bookmark, using orange Tant paper. This bookmark requires the origami helmet base, which I taught in my fox origami tutorial. This is also a back-to-school kids’ craft activity, as you will attach many small white paper cutouts.
Make Origami KAWAII Fox Bookmark for

You can either draw the kawaii round eyes or also pick out the stickers. Not just the origami fox bookmark; with this base, you can make tons of other origami characters for fall, such as the pumpkin, ghost, and more.
Kids can make this fall fox origami bookmark in under 5 minutes as a school craft activity. Or they can show their creativity by crafting the bookmark with other animal faces, such as a cat or a dog. Below, you can learn how to fold the origami fox using both the written and the video tutorial. It is also a fall greeting card, pouch, and gift holder! So, continue reading to learn more about the fall project!
[ez-toc]

Tutorial to Make An Origami Craft Fox Bookmark
Learn how to fold the fox bookmark in detail
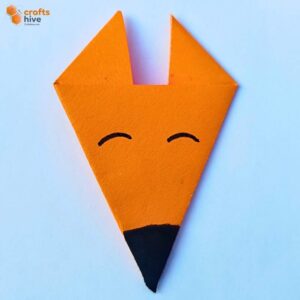
How to Make Origami Helmet Base for the Fox Bookmark
Skill Level: Beginner – Level 1
Recommended paper: Tant paper with white printing sheet
Supplies:
- Orange and white paper
- Black marker
- Scissors
Step 1: Position the Paper
Place the square sheet on your work surface so that it is oriented like a diamond, with one corner pointing toward you, one pointing away from you, and the remaining two pointing to the left and right. Smooth the paper so it lies completely flat.
Step 2: Fold the Paper in Half Diagonally
Bring the bottom corner straight up to meet the top corner. Carefully align the two corners before making the crease.
Once the corners match perfectly, press along the folded edge from the center outward to create a sharp crease.
Unfolding is not necessary. You should now have a large triangle with the folded edge along the bottom and the top corner pointing upward.
Step 3: Check the Orientation
Before continuing, make sure the triangle is positioned with:
- the longest edge resting horizontally along the bottom,
- the single point facing upward,
- the two remaining corners extending to the left and right.
This orientation will make the following folds easier.
Step 4: Fold the Left Corner to the Top
Locate the left corner of the triangle.
Lift this corner and fold it upward so that its tip meets the top point of the triangle. Take your time aligning the points precisely. The folded edge should run diagonally toward the center of the model.
Once the corner is correctly positioned, press firmly along the new crease.
Step 5: Fold the Right Corner to the Top
Repeat the previous step with the right corner.
Bring the right tip upward until it meets the same top point reached by the left corner. The two folded corners should meet neatly at the top without overlapping unevenly.
After checking that both sides are symmetrical, crease the fold firmly.
At this stage, the model resembles a diamond sitting on top of a triangular base.
Step 6: Fold the Front Top Layer Down
Examine the top of the model. You will notice that several layers meet at the top point.
Lift only the frontmost layer. Fold this layer downward over the two side flaps.
The exact position of this fold may vary slightly depending on the variation of the helmet base you are making, but a common approach is to bring the point down so that it extends just below the line where the two side flaps meet.
Take care not to fold all the layers together. Only the uppermost layer should move.
Press the crease firmly.
Step 7: Turn the Model Over
Carefully flip the entire model over while keeping all folds in place.
Smooth the paper so it lies flat again before proceeding.
Step 8: Fold the Bottom Point Upward
Locate the single point at the bottom of the model.
Fold this point upward toward the top. The point should stop short of the very top edge, leaving a small margin rather than extending beyond it.
Align the fold carefully and press along the crease.
This fold begins to form the lower edge, or brim, of the helmet.
Step 9: Fold the Remaining Bottom Layer Up Again
You will notice that another layer still extends below the model.
Fold this remaining flap upward over the previous fold.
This second fold creates a thicker brim and helps secure the layers together, making the helmet base more stable.
Crease firmly across the entire width.
Save For Later: